8 Simple Steps To Create Cute Scooby-Doo Drawing – How To Draw Scooby-Doo
Creating A Scooby-Doo Drawing In Eight Easy Steps
Today we meet again and discover more Scooby-Doo drawing with a fun time.
This is a fascinating task for everyone, from children to adults; you will realize your task step by step.
You do the Scooby-Doo drawing task comfortably with us because it is simply a fun activity, and depending on your ability, you can complete this task quickly or slowly.
We arrange this Scooby-Doo drawing tutorial from easy to difficult; you will easily follow it whether you are a beginner or an expert in the drawing field.
I also hope our illustration tutorial will bring many exciting things to this article.
How To Draw Scooby-Doo – Let’s Get Started!

Scooby-Doo is a cartoon character that appeared in 1969 and has not stopped popular until now.
If you love dogs in general and Scooby-Doo in particular, then this guide is a perfect choice.
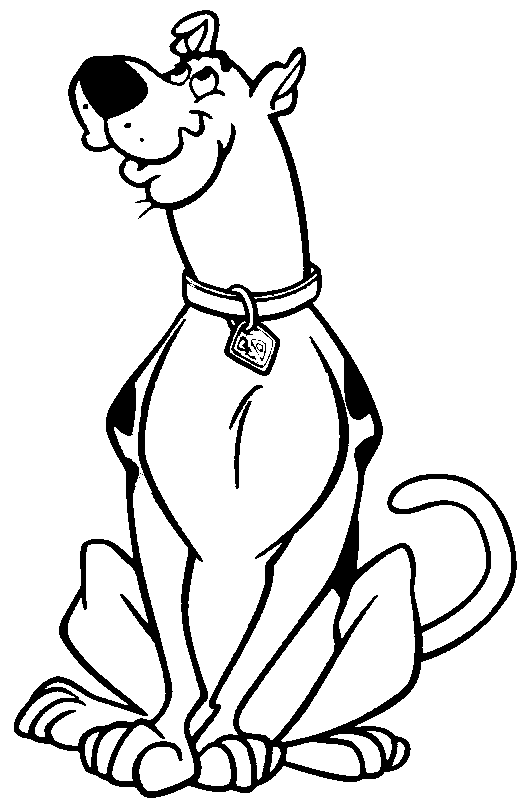
You will get a perfect Scooby-Doo with eight easy steps and reference images.
It would help if you had some supplies such as a pencil, pen, A4, color, and marker..before starting to draw.
You will start to draw Scooby-Doo with a pencil and A4 paper. You can erase the wrong stroke and redraw until you are satisfied.
Once you get a complete Scooby-Doo, you will choose the suitable colors for your character.
With eight steps and about 30 minutes, you will finish drawing Scooby-Doo. It’s not too tricky, although it’s not simple; you need to focus during the process of learning to draw.
With this drawing guide, you can enjoy Scooby-Doo coloring pages for free on our website to practice your drawing and coloring skills.
You will surely be satisfied with the result by following the instructions and our reference images.
We are always with you throughout the tutorial, so you can draw confidently and without fear of anything.
Now, let go to eight steps on how to draw Scooby-Doo!
Step 1 – Draw Face And Head For Scooby-Doo

Start to draw Scooby-Doo; you will create some curved lines for the head and face of your character.
Right now, you can begin with his snout and nose. You continue to draw two small ovals for his eyes; you can use black to color the pupils.
You add two ears on the top of Scooby-Doo’s head then you will create his chin with a simple line.
You can finish your task in this step of our guide on how to draw Scooby-Doo by coloring his nose, as you see in our reference image, and be ready for step 2.
Step 2 – Draw The Scooby-Doo Neck

In this second step of your Scooby-Doo drawing, you must draw his neck to make him more perfect.
You use two parallel curved lines to create his neck; you can observe and follow our reference picture.
Once you’re happy with your image, you can move to the third step.
Step 3 – Draw The Scooby-Doo Necklace

It’s time to create his necklace to make him more realistic with a jewel.
Very simple for you in this task, you use two parallel curved lines around the neck that you drew and finish your mission here.
Step 4 – Draw The Scooby’s Chest

You continue to realize your drawing mission with his chest. Some curved lines from his head create it.
Beside his chest, you can draw his body and a part of the front legs of Scooby-Doo, as you see in our illustration, and you can go to the next step right now.
Step 5 – Finish Off Two Front Legs For Scooby-Doo

In this fifth step of your Scooby-Doo drawing, you must add details for two front legs. You will continue using the curved lines to finish the legs with some feet.
So, your character has two front legs, and you will draw tư hind legs in the sixth step.
Step 6 – Draw Two Back Legs For Scooby-Doo

If in step 5, you draw two front legs, in this step, you must draw two back legs.
We are drawing the Scooby-Doo sitting so that the front legs will cover part of the hind legs; you only have to draw the amount we can see.
Like drawing the front legs, you use curved lines for two back legs and finish this mission with the feet.
Step 7 – Finish Off Your Drawing Task

You will draw the tail for your character, Scooby-Doo, with two curved lines that are parallel and meet a point to get a pointed tail.
Then you continue your task of this guide on how to draw Scooby-Doo by adding some details decorations for him.
You can follow our reference image to complete the task in this step.
Step 8 – Color Your Scooby-Doo

That brings you to the final step of choosing the suitable colors for your drawing.
You can use your favorite color or the same one with us in this step.
We color our Scooby-Doo drawing brown. This is Scooby-Doo’s natural color; you can also alternate various colorings to express your creativity.
Your Scooby-Doo Drawing Is Complete!
You finish off your drawing and coloring mission on how to draw Scooby-Doo. It’s time to admire your product. I hope you can understand everything right now and love this drawing guide.
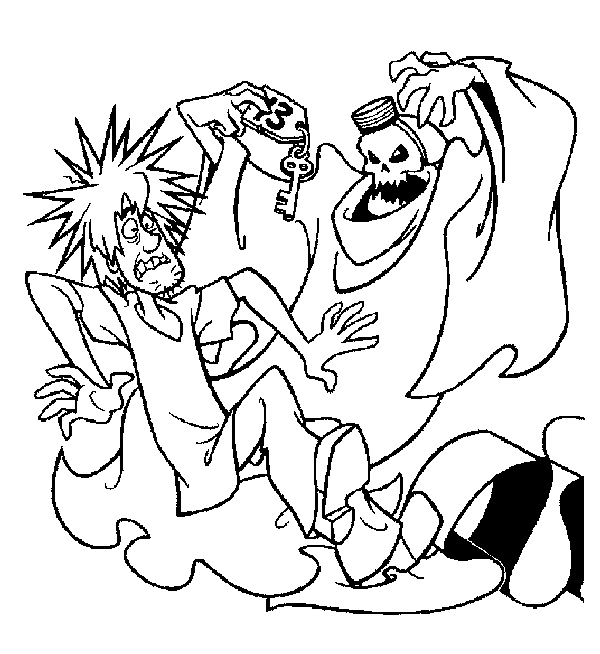
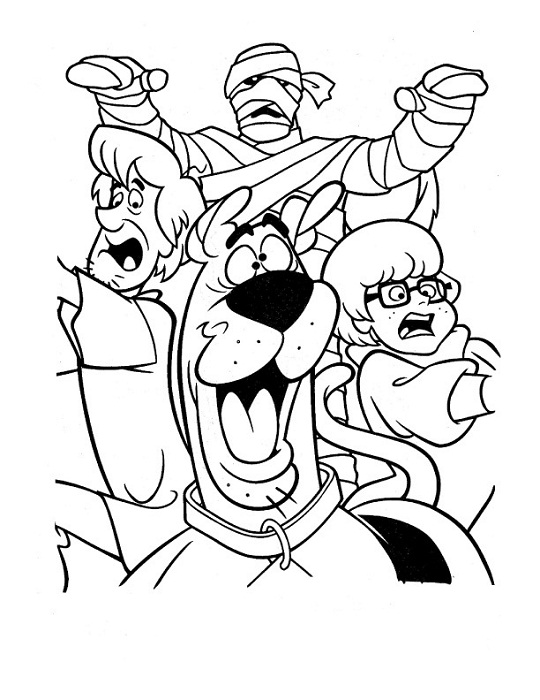
On our website Coloringcool.com, you refer to some similar drawing guides related dogs such as coyote drawing, dog drawing, dog pug drawing, wolf drawing,…
This drawing activity is suitable for your life, it can help you to balance, and it can help you to reduce your stress and worry.
If you are a parent, you can enjoy this activity with your kids; it can help them to avoid using some technical devices such as smartphones, tablets, and television,…they are they harm the eyes and growing kids.