12 Easy Steps To Create Rolly Drawing
Creating Rolly Drawing in 12 simple steps
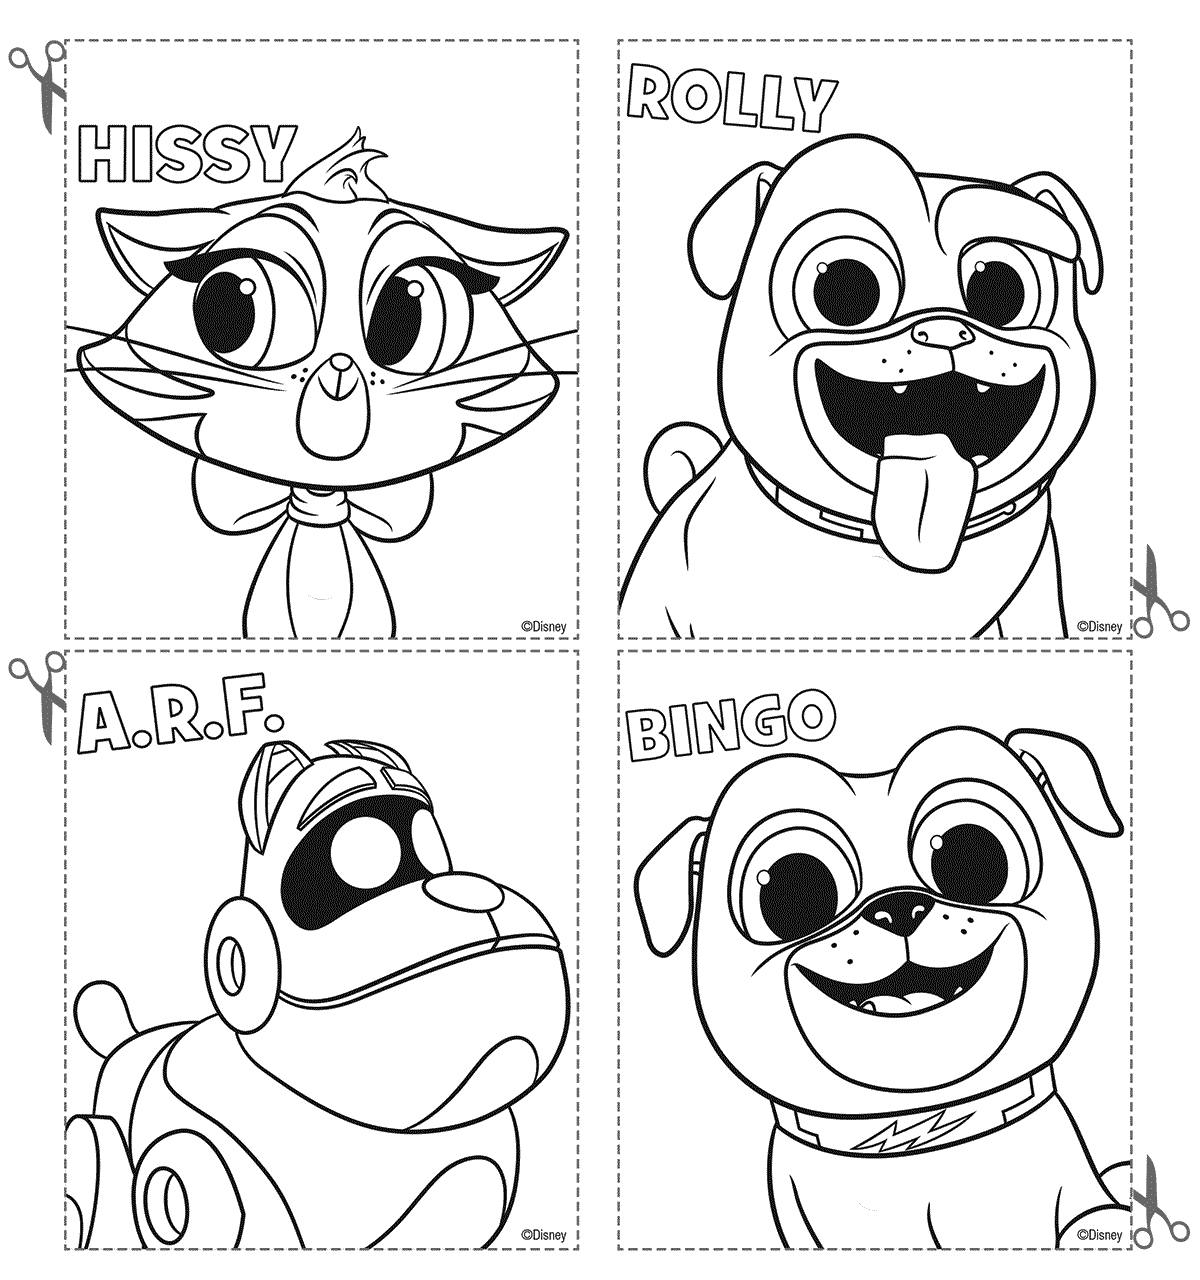
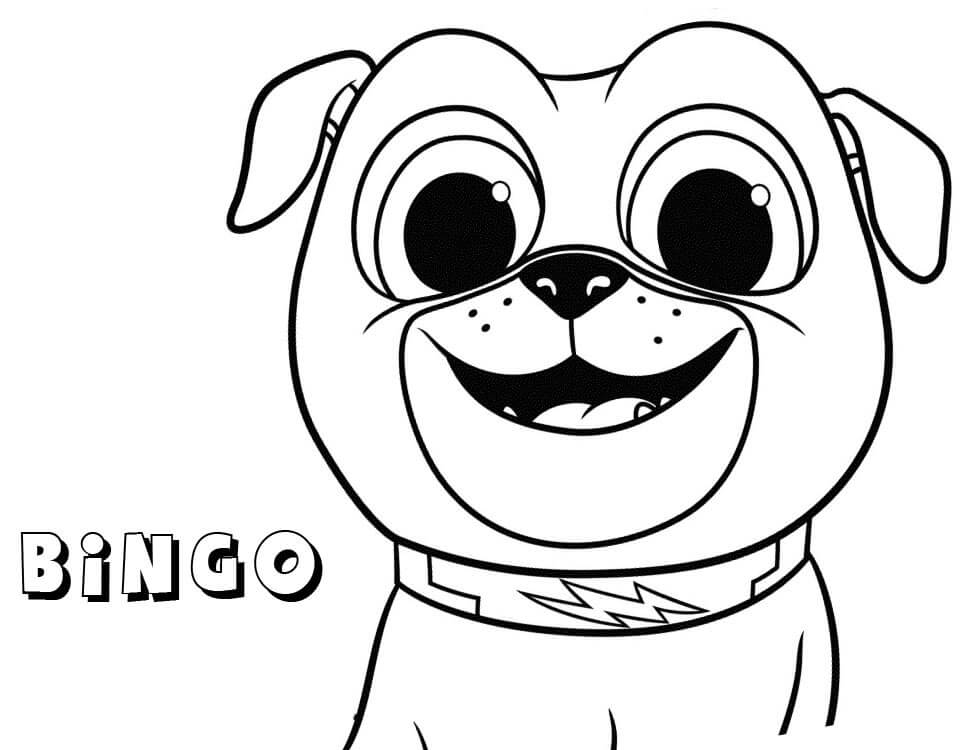
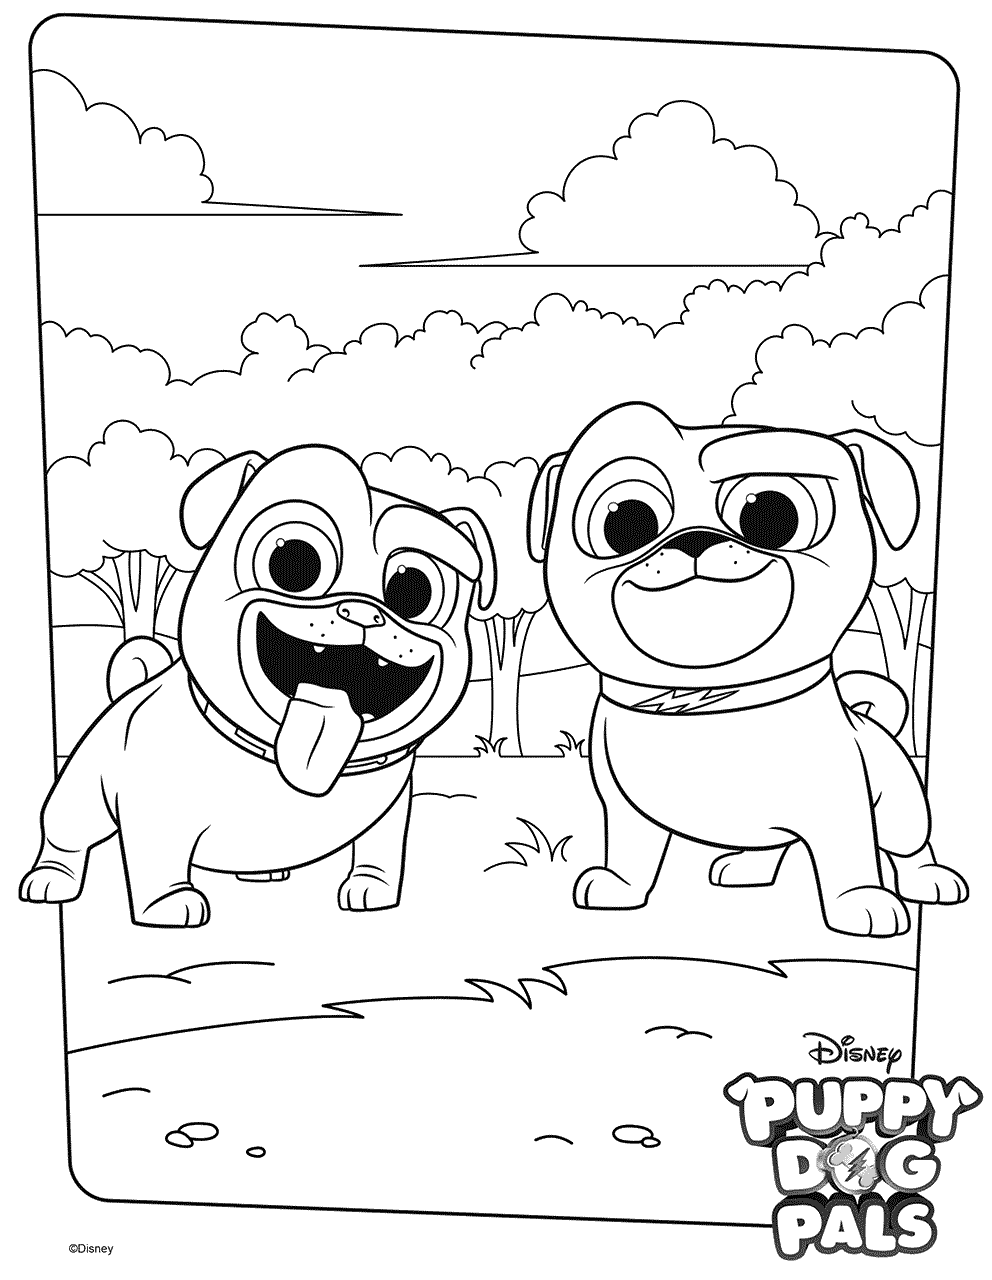
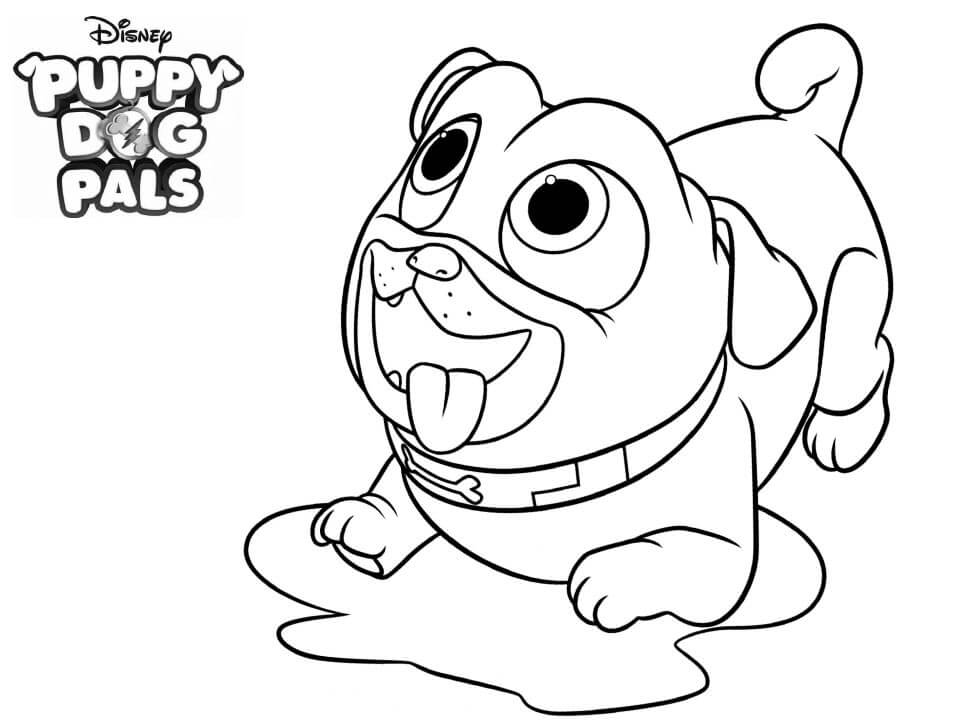
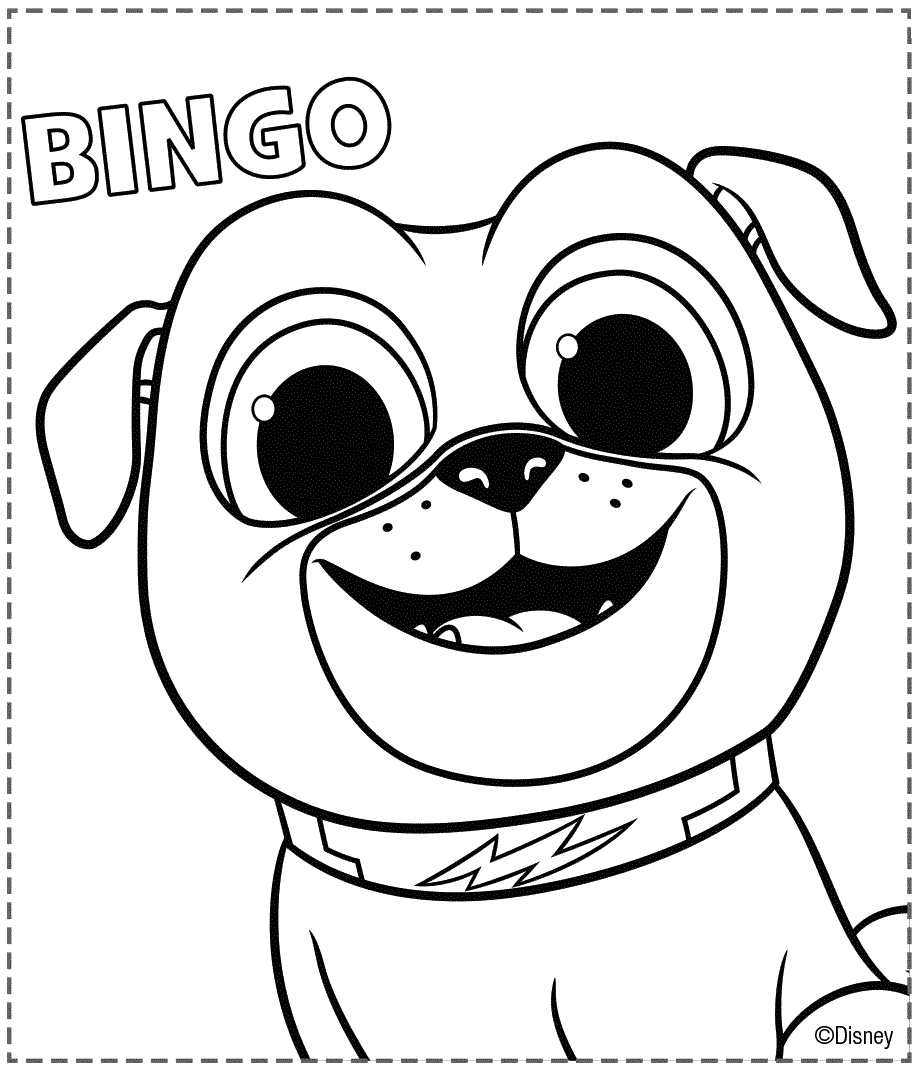
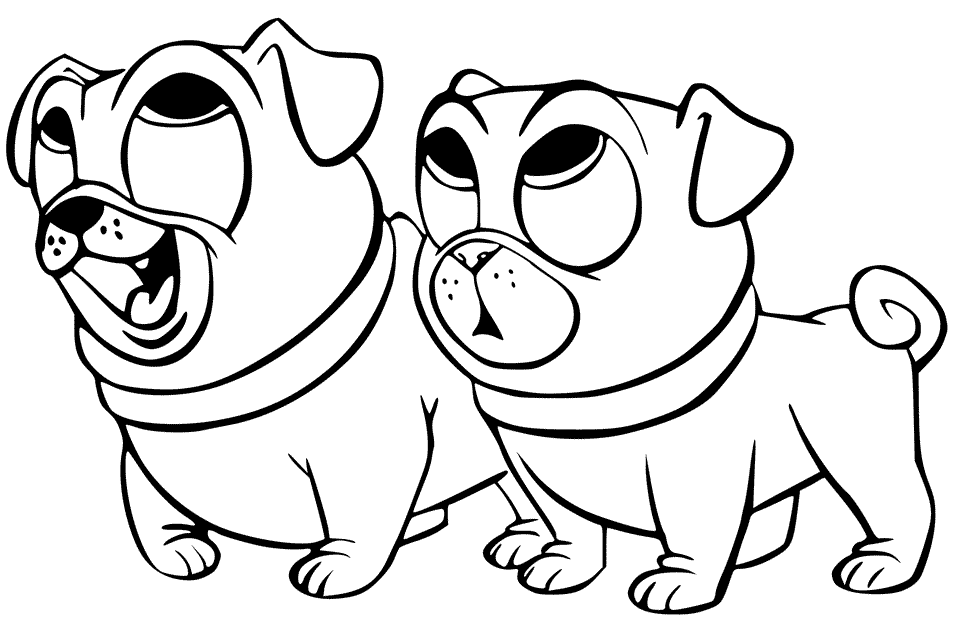
Puppy Dog Pals is a children’s television series; Rolly and Bingo are two dogs acting as the main characters. Today you will have a chance to make Rolly drawing with our tutorial.
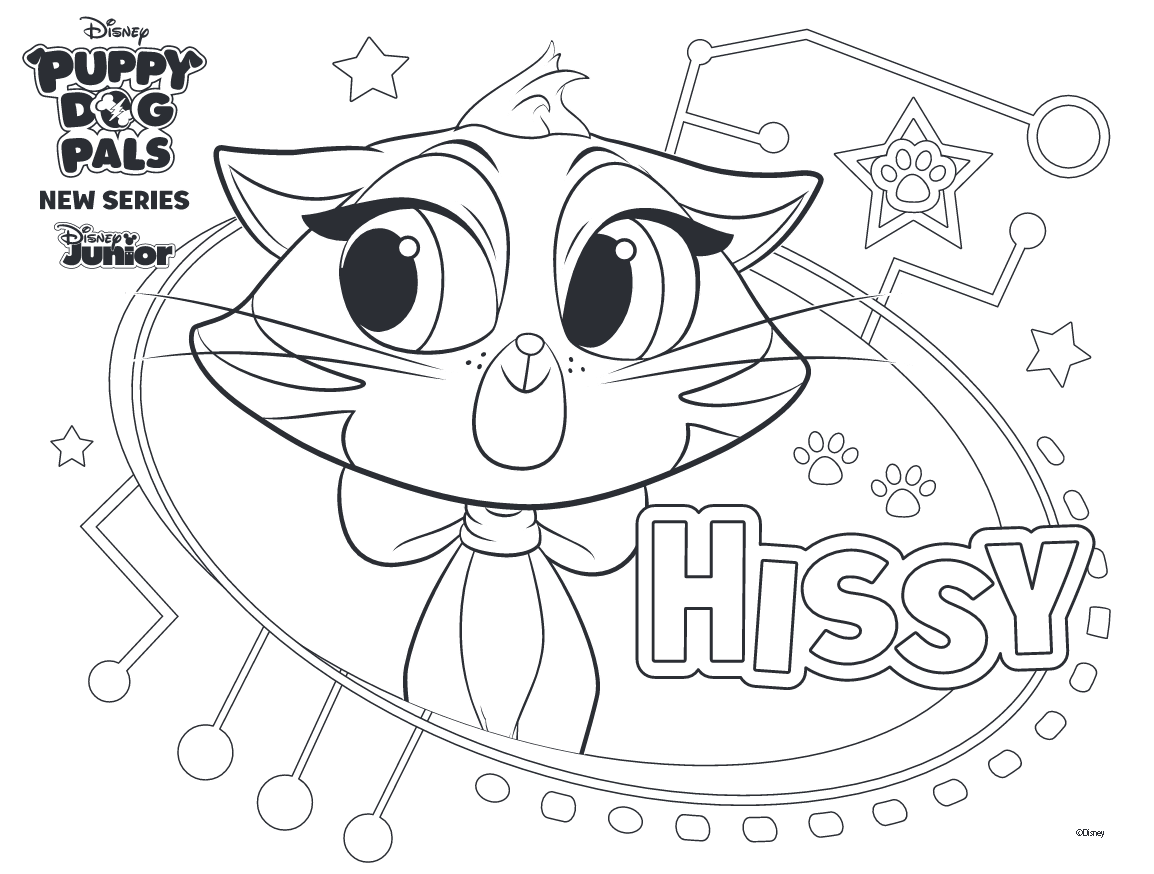
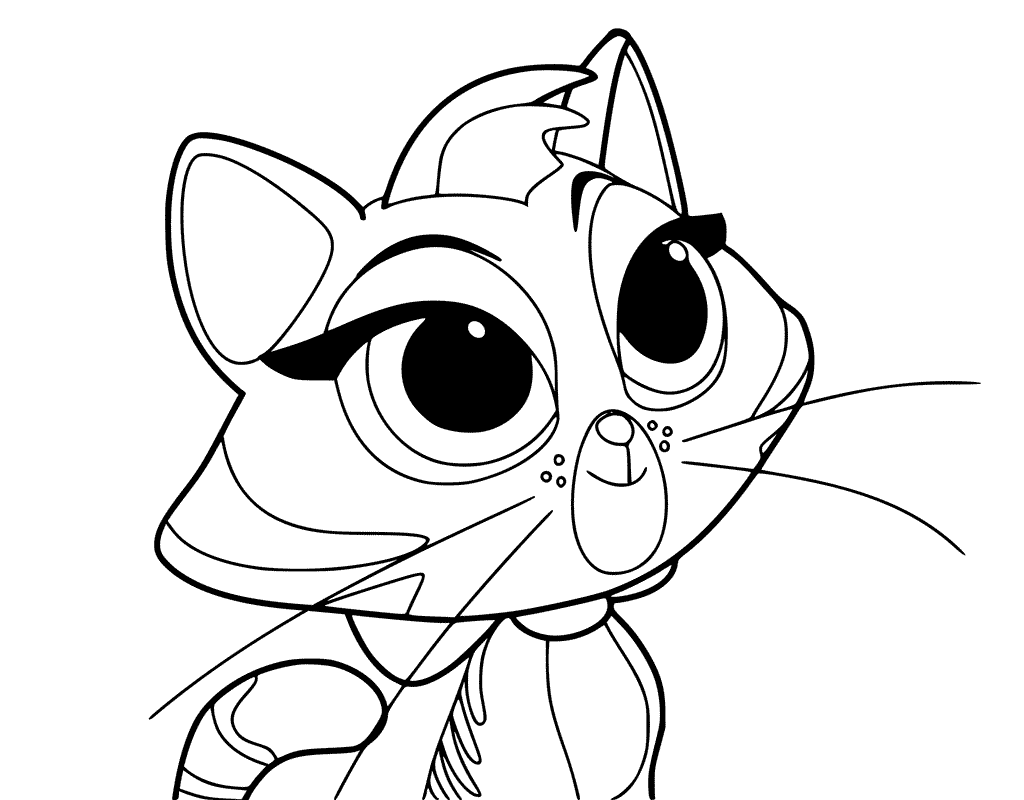
Roly and Bingo are two dogs who have an adventure with their kitty sister named Hissy when their boss Bob is away. The journey of the two dogs is exciting, with many stories revolving around them.
And in response to everyone’s love of the character in the Puppy Dog Pals film, we are pleased with the creation of the Rolly drawing for you to follow.
You will have to complete 12 tasks in 12 steps. Drawing Rolly is a difficult task, and we have tried to create the most straightforward Rolly drawing tutorial so that everyone can participate in this activity, whether you are a beginner or an expert in drawing.
You will have to prepare all supplies such as pen, pencil, paper, and colors, and remember you must have an eraser to erase your mistakes during the drawing process.
Although this is a complex task, if you focus and follow our steps, you will surely get perfect results.
Besides the drawing guides, you can come across pictures of rolly in Puppy Dog Pals coloring pages; you can practice your drawing and coloring skills. Regular practice will help you improve your artistic skills.
Right now, you go to 12 steps of our guide on how to draw Rolly with us!
How To Draw Rolly – Let’s get Started!

Step 1 – Draw The Rolly’s Mouth

Start drawing Rolly with his mouth and teeth for the dog. You can observe our drawing and follow along. Once your drawing is similar to our reference image, you can complete this task and move on to the next step.
Step 2 – Draw The Rolly’s Tongue

In this second step of our guide on how to draw Rolly, you will draw the tongue of the character, Rolly. You will use a simple curve from Rolly’s mouth to draw the tongue and complete the task in this step. You can now move to step 3.
Step 3 – Draw The Rolly’s Nose

It’s time to draw a nose for Rolly. There’s also a bit of complexity here. As seen in our reference image, you’ll draw the upper lip from the dog’s mouth and then his nose with two small nostrils.
Step 4 – Draw The Rolly’s Lower Lip

As you can see from our reference image, you will draw a lower lip for your dog in this step of our guide on how to draw Rolly. Use curved lines and straight lines for this task.
Step 5 – Draw Eyes And Head Outline For Rolly

You will draw two circles and two curved lines above to show his eyes. Also simple, isn’t it? Please draw this detail quickly.
Once you get Rolly’s eyes, you will draw a head outline with some lines around the details for the face.
Step 6 – Draw the First Ear For Rolly

You will use a curve that closely resembles the letter C, or you will draw a broken curve to draw the ears of Rolly, as you see in our illustration.
Step 7 – Draw The Second Ear For Rolly

Similar to step 6, in this seventh step, you will also use some curved lines; for this simple task, look at our drawing and follow.
Step 8 – Draw The Rolly’s Neck

You draw a neck for your dog, Rolly, in this step of our guide on how to draw Rolly. You will draw two parallel curves below Rolly’s face to create a necklace for him. So you have completed the task in this step, and move to step 9.
Step 9 – Draw Body And Legs For Rolly

In this step, you will draw a body for him with curved lines and straight lines. Then you will proceed to draw the front legs of the dog.
You have completed this task if you see your image is similar to ours.
Step 10 – Complete The Rolly’s Body

You will complete the body for your dog with some curved lines and straight lines; you can add a few lines to decorate your Rolly as our reference picture.
Step 11 – Draw The Rolly’s Tail

This is the last detail for your dog, Rolly. You use two parallel curves to form Tolly’s tail. You can also add a few details to make your product complete before moving to the last step of coloring.
Step 12 – Color Your Rolly

You are in the final step of coloring and finishing your drawing product. As seen in our reference images, you will choose the right color for your dog. We chose brown for our dog, dark brown for ears and mouth, and red for a necklace. You can use the same color as our drawing or use a different color, depending on your preference. There is no limit to creativity, so you can also change the colors and the coloring to make your product look your own.
Your Rolly Drawing Is Complete!
You have completed all the quests to get a perfect character, Rolly, in Puppy Dog Pals, in 12 steps. It’s great because our guide brought you a relaxing time. We hope you enjoy this Rolly drawing tutorial and easily complete the task. Our website provides continuous coloring pages and drawing for your entertainment channel. You can refer to puppy drawing, dog pug drawing or bulldog drawing. These are all related to dog drawing tutorials; I hope you enjoy them. Coloringcool updates new ones; you can visit our website regularly to avoid missing any products.