Olaf Drawing Is Complete In 13 Easy Steps
Olaf Drawing Is Complete In 13 Simple Steps
You will participate in drawing activities on our website with Olaf drawing. We created Olaf snowman drawing tutorial in 13 simple steps. You will follow our instructions to create an amazing piece of art.
Snowman is a fictional character and appears in the 53rd animated film Frozen, in which he was created by Princess Elsa and Anna when they were children as an inanimate character. Olaf’s appearance is when Princess leaves when she accidentally brings Arendelle into eternal winter, and Princess Anna tries to find Elsa and her boyfriend, Kristoff. Princess Anna also hopes to bring summer to Arendelle and dispel the ice and snow created by her sister Elsa’s power. Olaf helped Anna and Kristoff find Princess Elsa and return to the kingdom with them; Olaf became an integral part of Elsa and Anna’s life.
In the movie, the snowman character Olaf is loved by everyone because of many scenes of theft with many memorable songs. He is also a character loved by children. Children often collect pictures of Frozen and Olaf if they get the chance.
You will learn how to draw Olaf in 13 steps, equivalent to the 13 tasks you need to complete to create a perfect character, Olaf.
It would help if you had full supplies such as a pen, pencil, color, paper, and eraser before starting to draw. You proceed to learn to draw a snowman with paper and pencil. In the drawing, you can also erase your mistakes thanks to using blur to draw.
You will go step by step and follow our instructions for sure you will be satisfied with the final result.
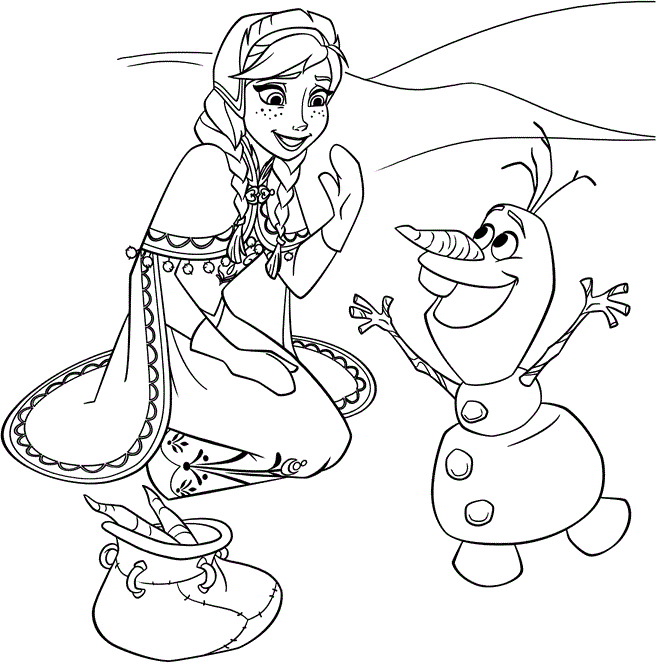
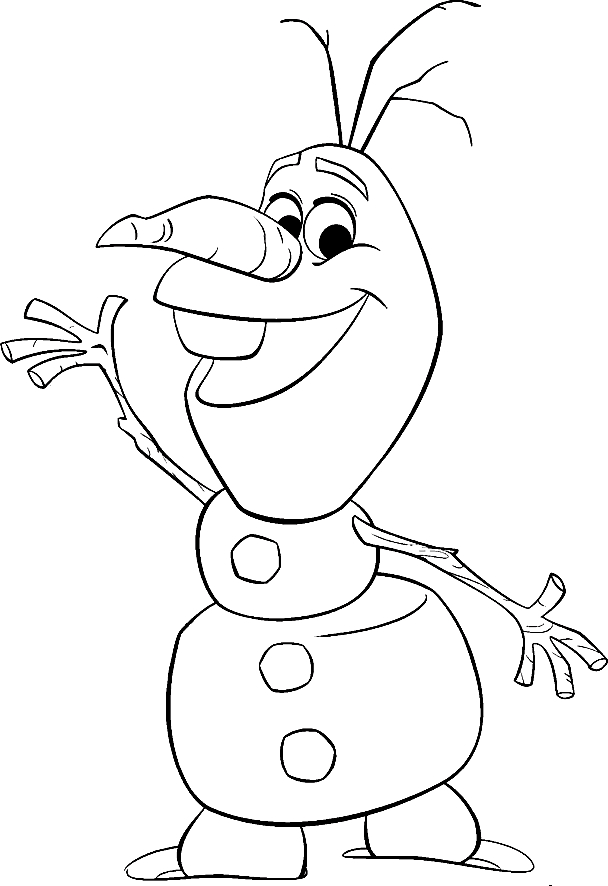
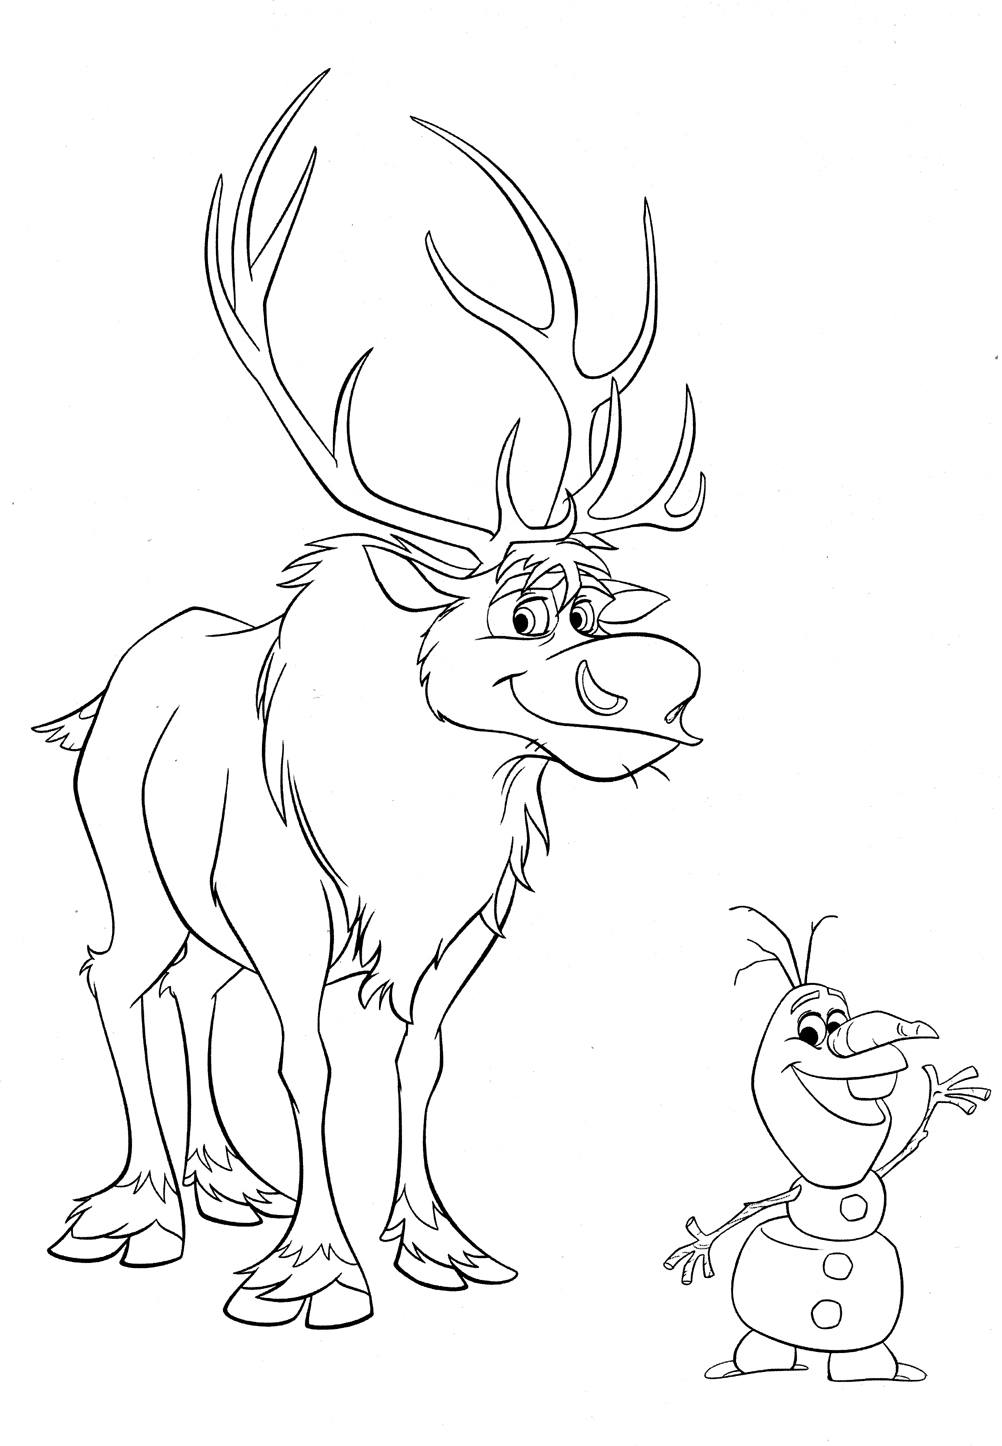
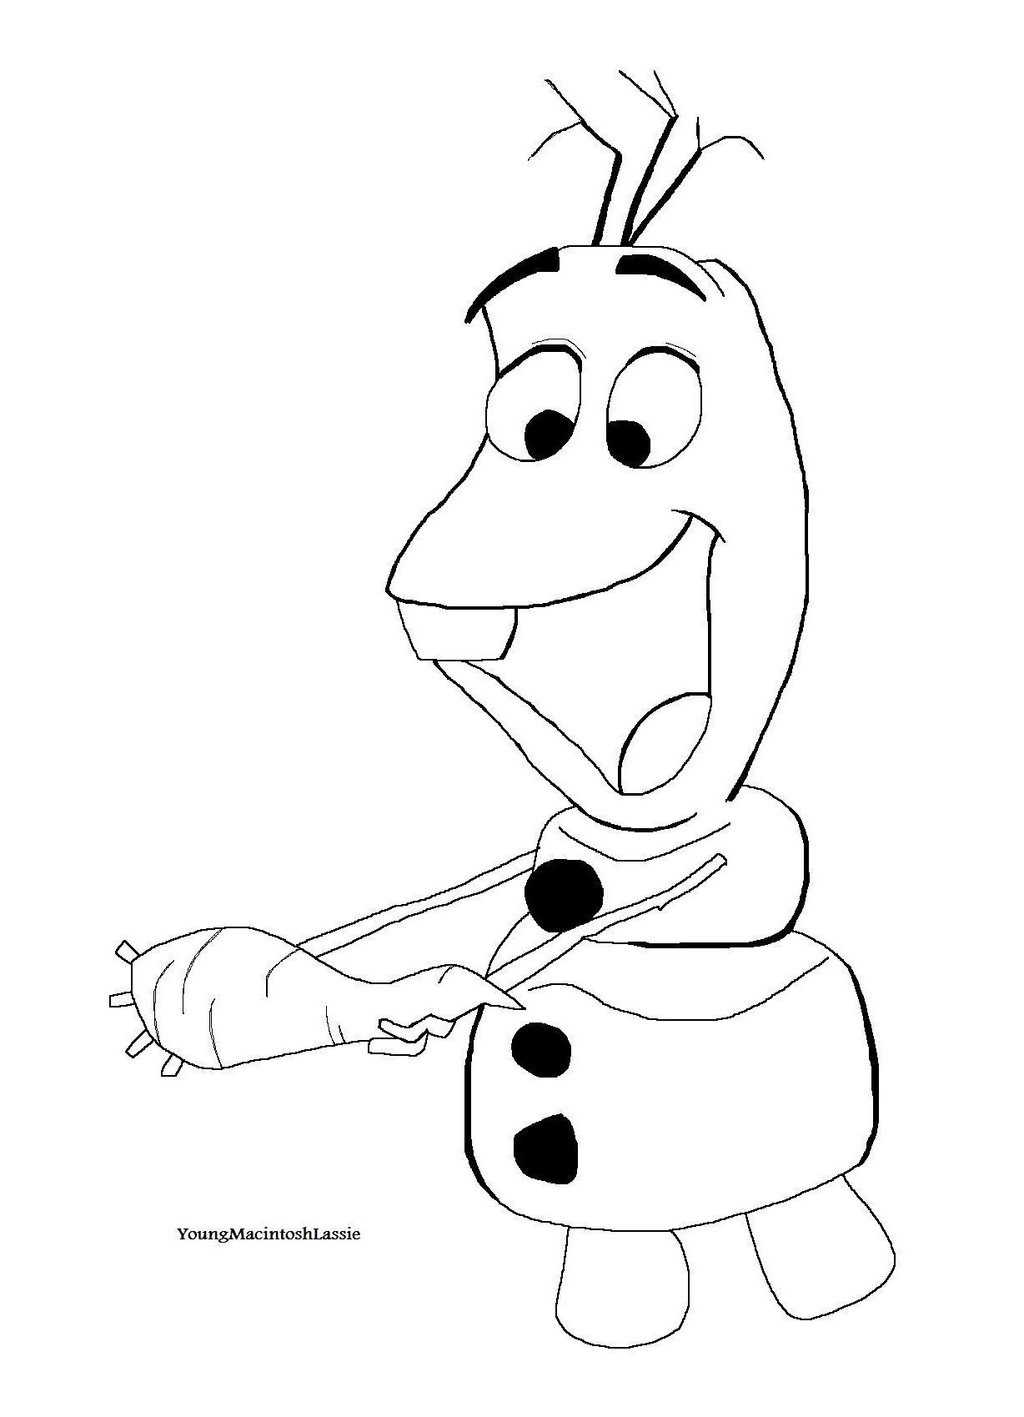
Along with the drawing guides, you can refer to Olaf coloring pages to practice your drawing and coloring skills.
Right now, you go to 13 steps of our guide on how to draw Olaf.
How To Draw Olaf – Let’s Get Started!

Step 1 – Draw An Eye And Olaf’s Carrot Nose

To start drawing Olaf, you draw a circle for Olaf’s eyes and a small black circle for the pupil. You will then draw a cylinder to show Olaf’s carrot nose.
It’s also quite simple; just follow our instructions, and when your image is the same as our reference image, you can move to the second step.
Step 2 – Add An Eye For Olaf

Your task in this step is to draw an eye for your snowman, Olaf. On his nose, draw a half circle to show the second eye, then draw a curved shape and fill it with black to create a pupil.
Step 3 – Start Drawing Olaf’s Mouth

In this third step of our guide on how to draw Olaf, you will draw a curved shape representing part of your character’s mouth. Very simple because just like that, you have completed the task in this step and are ready to move to the fourth step.
Step 4 – Complete Olaf’s Mouth

In this step, you will continue to draw curves to complete Olaf’s mouth with upper and lower lips with tongue.
Once you’re happy with your image, you can continue your drawing in the fifth step for your Olaf drawing.
Step 5 – Draw The Olaf’s Forehead

In this fifth step of our guide on how to draw Olaf, you will draw a curved line above the eyes, which is Olaf’s forehead.
Your simple task is now possible, and you can quickly move on to the next step.
Step 6 – Draw Olaf’s Head

You will use some lines around the detail of the face to form the head of the snowman. So you have completed the task in this step 6 and are ready to go to step 7.
Step 7 – Draw The Olaf’s Hairs

You will draw three lines like three branches; the middle branch can be a little longer, that is, the hair of Olaf. In this step, you also draw two short curves over the eyes representing the eyebrows for your character, snowman, and you can move on to the next step.
Step 8 – Complete Olaf’s Hairs

You will have to perfect hair for Olaf. Draw a few more short lines for his hair as our reference picture and move to the ninth step.
Step 9 – Draw Olaf’s Thoracic

You will draw a ribcage for the snowman Olaf. And your task in this step is to draw a cylinder representing Olaf’s ribcage, and you can move on to the next step to continue your drawing mission.
Step 10 – Continue Drawing Olaf’s Body

Below the chest, you will draw a large circle to continue drawing the body for Olaf, that is your task in this part, and if you are satisfied with your image, you can continue to realize your task in the next step.
Step 11 – Draw Olaf’s Legs

As you know, Olaf has two lovely round legs. So you will draw two circles below representing two legs for Olaf. In this step, you will also draw three small circles on his body, as you see in our reference image. And you will continue to complete the remaining details for your character in the next step.
Step 12 – Draw Olaf’s Arms

You will draw two skinny arms for your character in this step of our guide on how to draw Olaf. His hands look like tree branches. Don’t forget to draw four little fingers on each hand; you can watch our drawing and follow along to make sure you don’t go the wrong way,
Step 13 – Color Your Olaf

Now you will proceed to choose the color for your character, Olaf. Very simple, as you know, this is a snowman character; of course, you will choose white for the body, orange for his nose, and black at some places of his body, as you see in our illustration.
Your Olaf Drawing Is Complete!
You have completed all the tasks of drawing and coloring on how to draw Olaf. I hope you will be satisfied with our guide and easily do the above 13 tasks to get the perfect Olaf character. ColoringCool is constantly updating drawing guides and coloring pages. Please visit our site often to enjoy the. On Coloringcool.com, you can find more drawing guides similar to such as Snowman drawing, Princess Elsa drawing or Anna drawing. Once you are proficient with drawing Olaf, you can learn to draw other characters in the movie Frozen on our website. And if you like our products, please shear them on your Facebook and Pinterest for your friends to see. We are always grateful to you for that.