6 Easy Steps To Create Harry Potter Drawing – How To Draw Harry Potter –
Harry Potter Drawing is Complete In 6 Steps
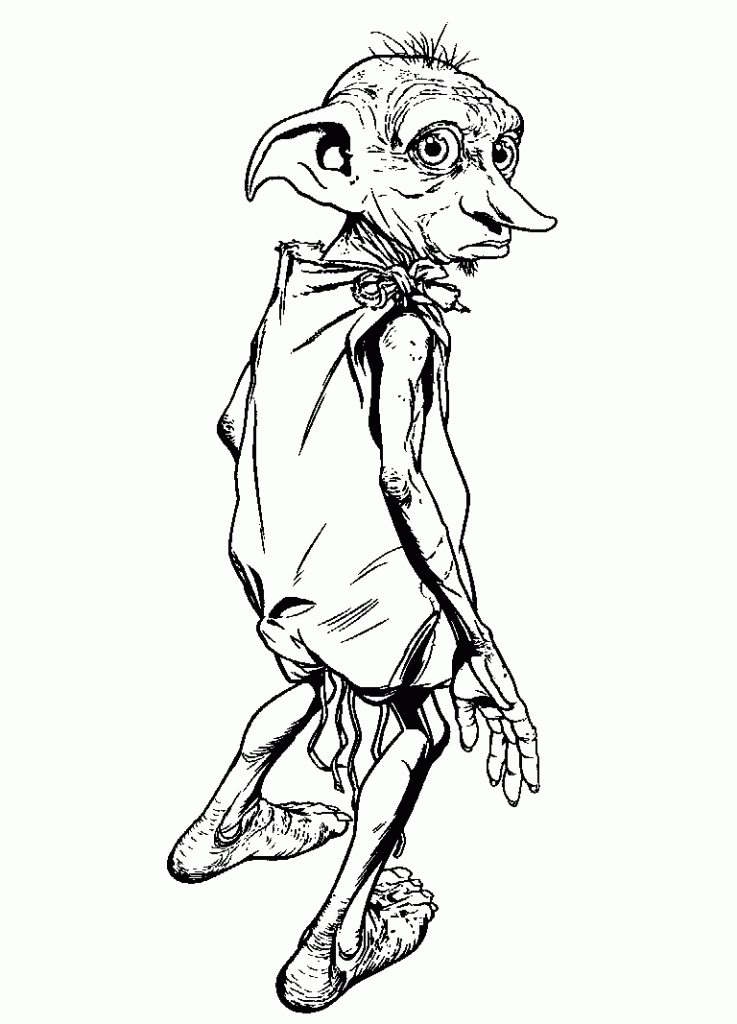
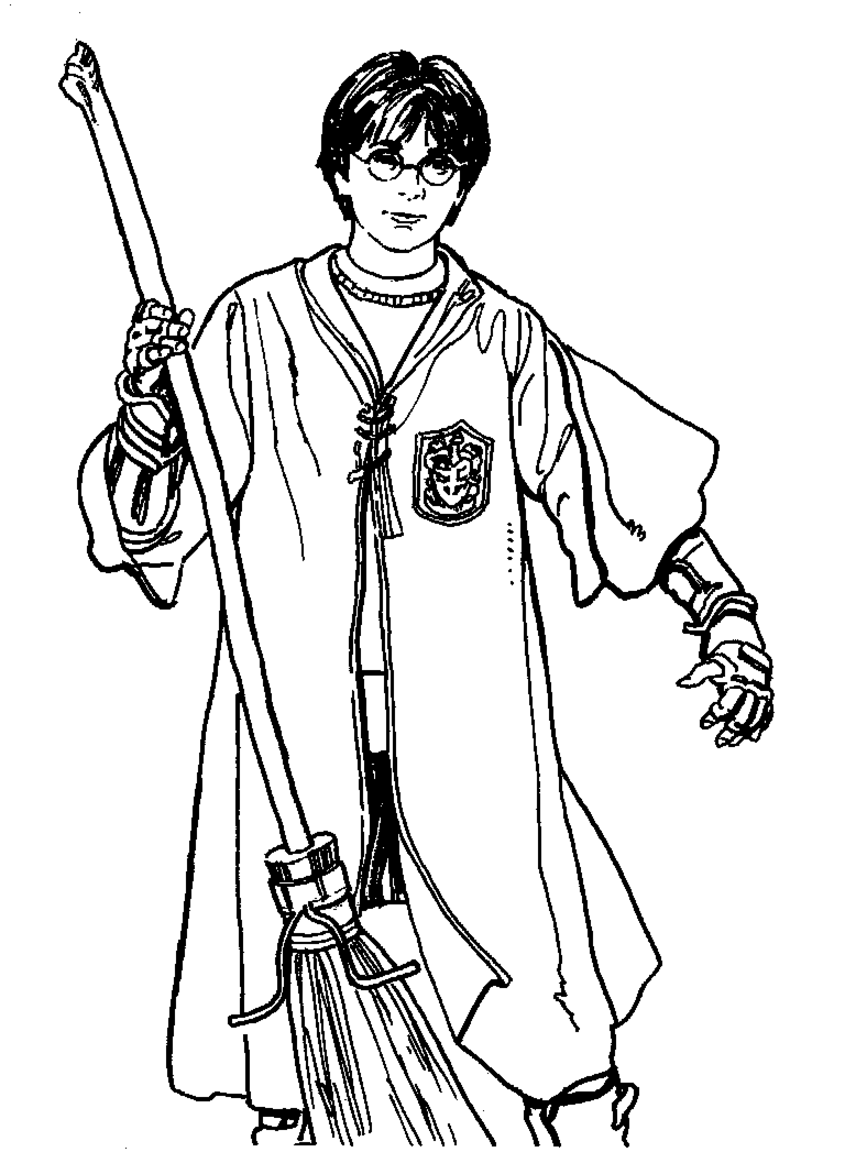
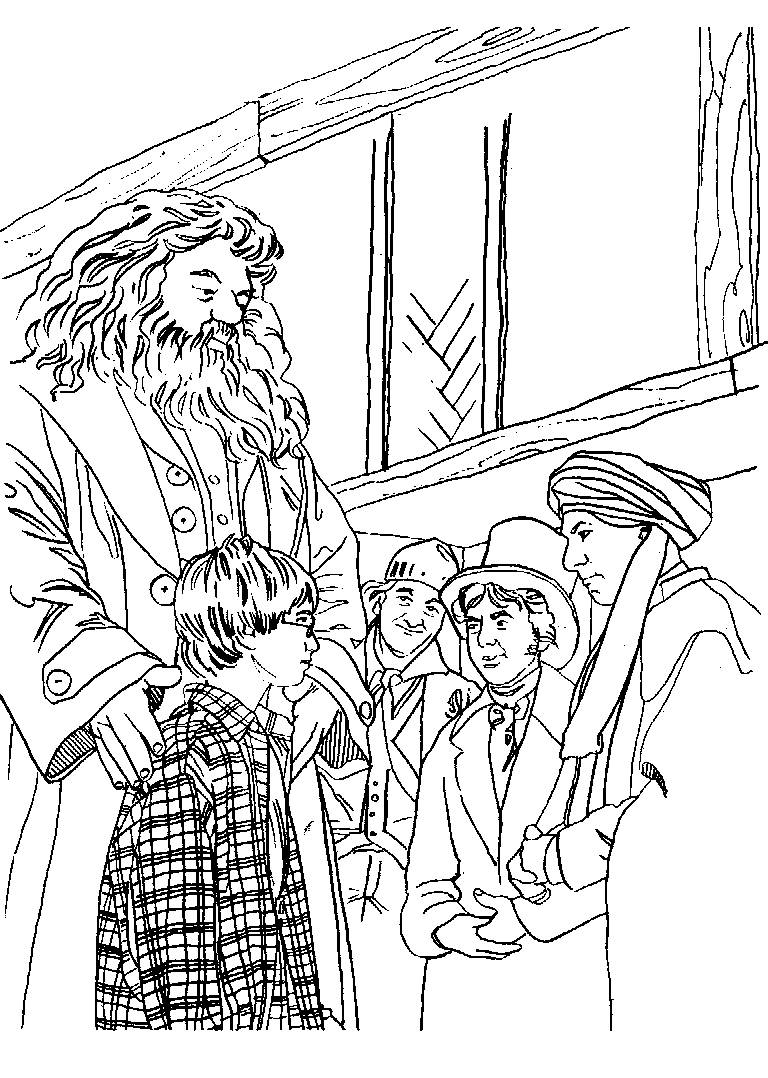
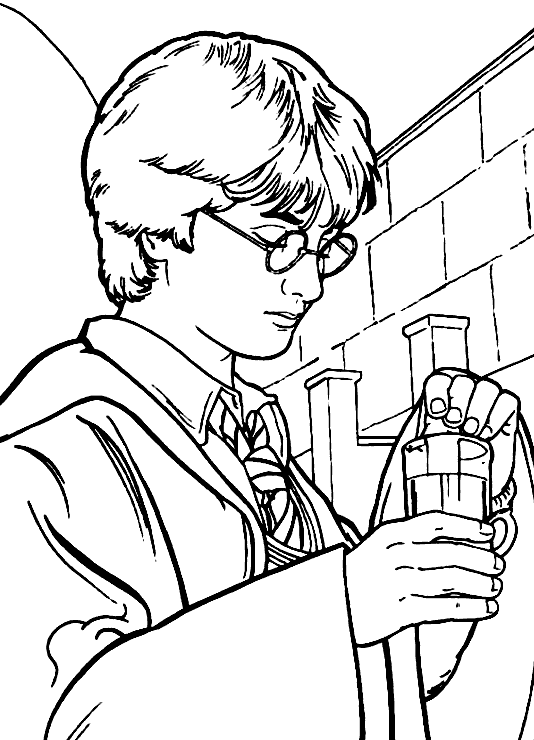
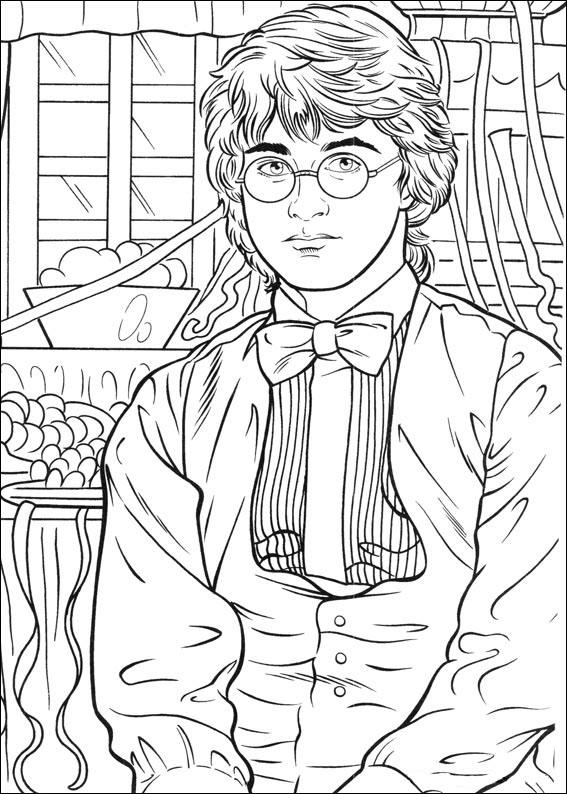
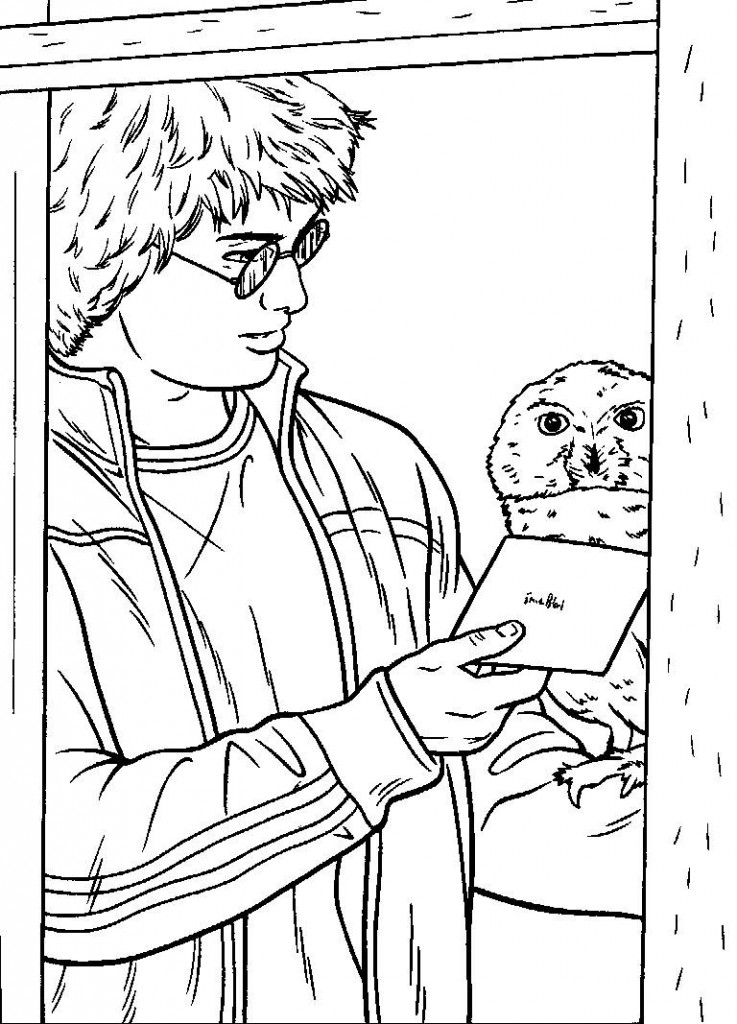
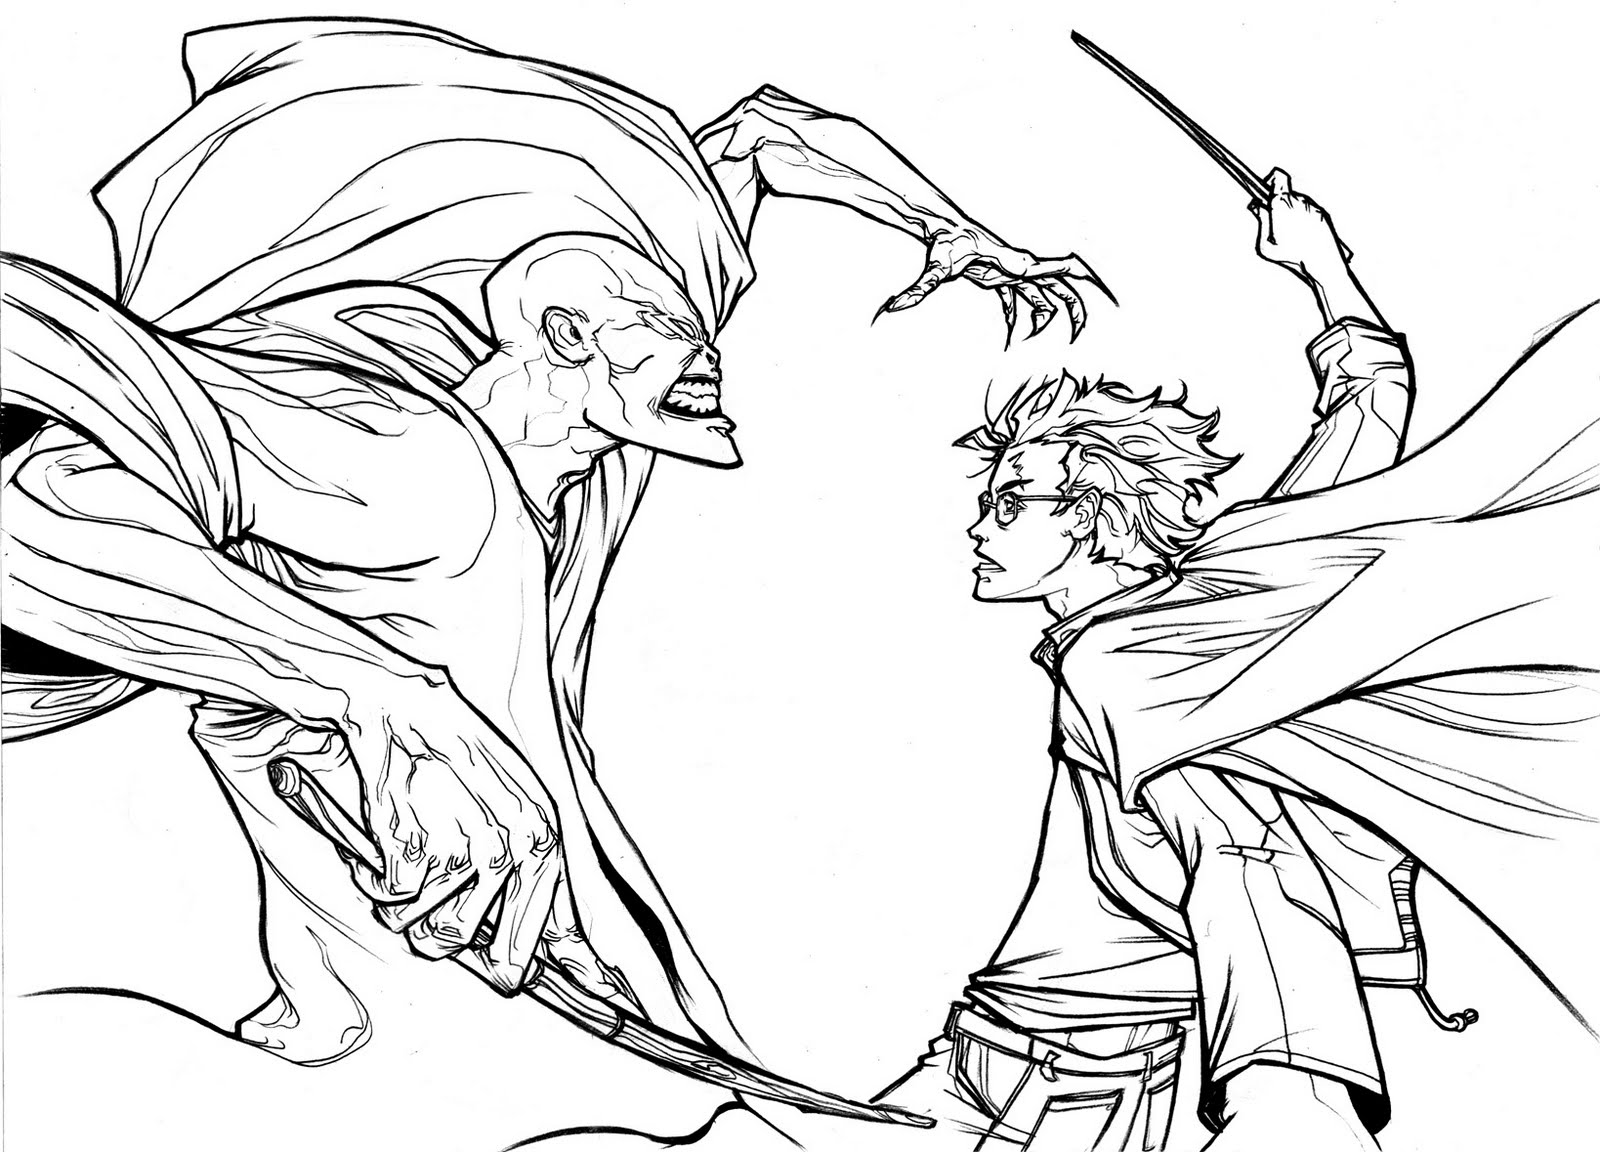
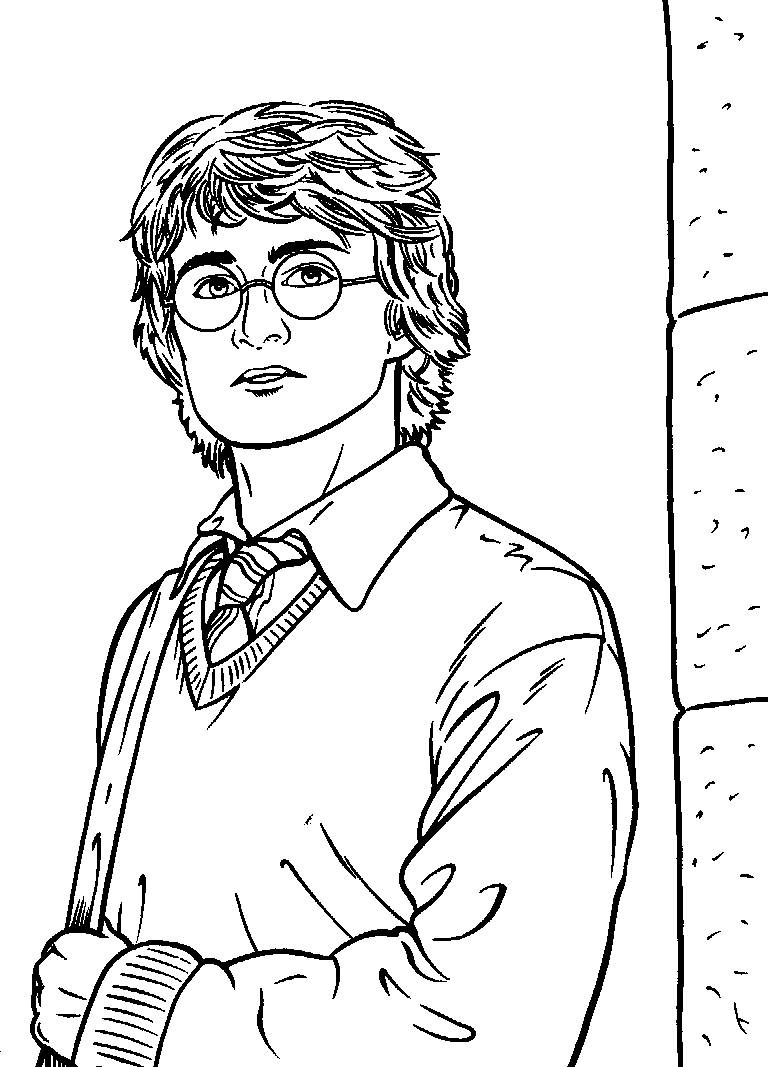
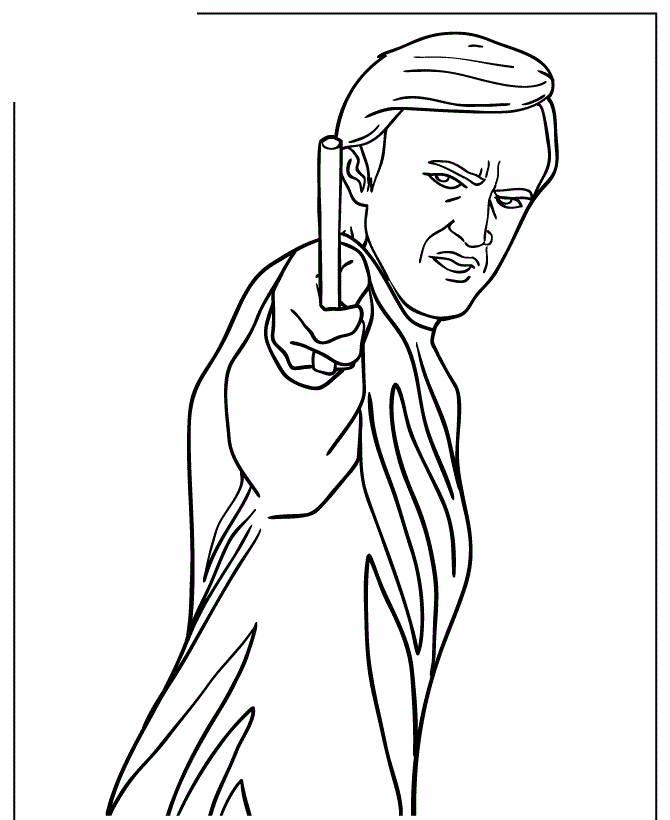
Get a chance to create Harry Potter Drawing with us in 12 simple steps. Following the Wikipedia.org site, Harry James Potter is a fictional character and the titular protagonist in J. K. Rowling’s series of eponymous novels. The majority of the book’s plot covers seven years in the life of the orphan Harry, who, on his eleventh birthday, learns he is a wizard. Thus, he attends Hogwarts School of Witchcraft and Wizardry to practice magic under the kindly headmaster Albus Dumbledore and other school professors, along with his best friends Ron Weasley and Hermione Granger. To understand this character, you can enjoy Harry Potter Coloring Pages at our site, where you collect many images related to Hary Potter. And today, you know how to draw Harry Potter with our instructions. I hope that it is a good entertainment channel for you and everyone.
How To Draw Harry Potter — Let’s Get Started!

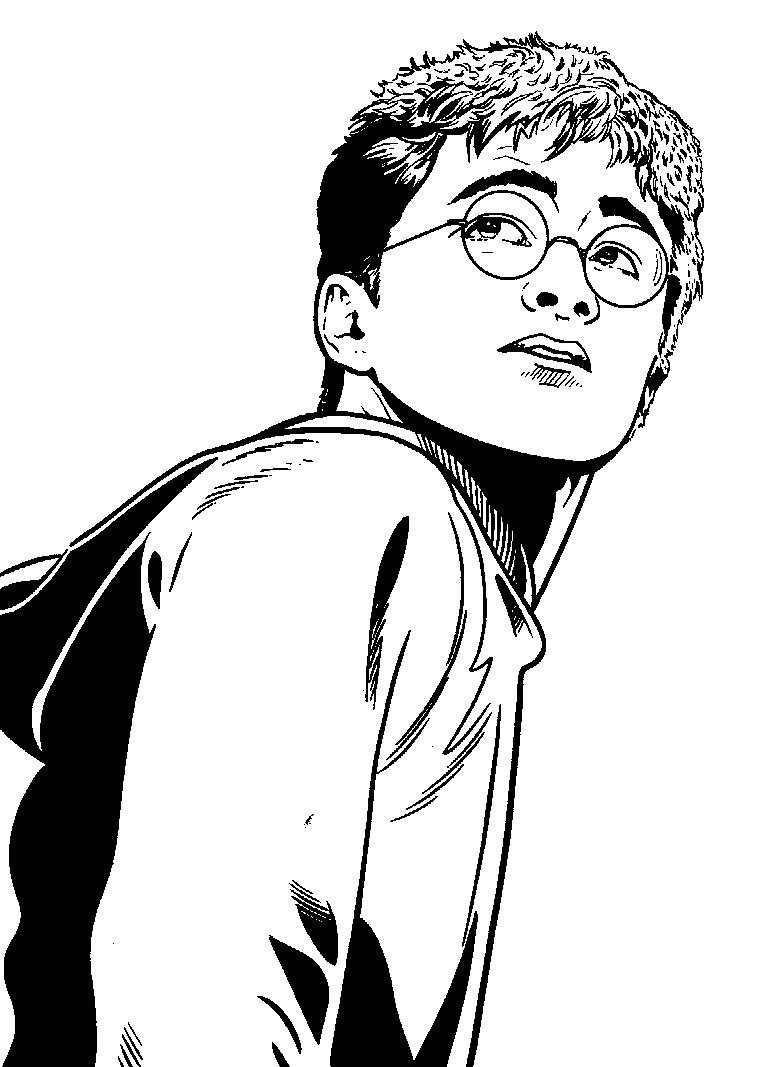
We have six instructions, and you will follow us to get a complete Harry Potter. All you need is a pencil or pen and a piece of paper. You may also want to color your finished picture with some colors. In each step, you also have illustrating images to help you draw easier. You will go to step by step to finish off your drawing mission. You can refer this character at Harry Potter Coloring Pages . After that, you will choose the suitable and make coloring for your product. All children love this character very much because Harry Potter is regarded as a fictional icon and has been described by many critics, readers, and audiences as one of the greatest literary and film characters of all time. He is portrayed by Daniel Radcliffe in all eight Harry Potter films, from Philosopher’s Stone (2001) to Deathly Hallows – Part 2 (2011). We will start to draw Harry Potter to know more about him.
Step 1 – Draw Harry Potte’s Face Outline

For the first task of the Harry Potter drawing, you will sketch Harry Potter’s face with an imperfect circle. Then, you will draw some short straight line on the forehead, that’s his hair. It is simple: you finish your task in step in some minutes and go to the next step.
Step 2 – Add Hair And Harry Potte’s Ears

You will add hairs for him by adding short straights around his head, and then, you will draw two curved lines on both sides of the face to form the ears. Your task in this step is also straightforward. It only takes you a few minutes to complete and move on to step 3.
Step 3 – Draw Harry Potter’s Eyes

Draw large circles for the eyes, with a curved line to indicate the eyebrows above each. Outlined in the lightning bolt-shaped scar on one eye. Within the glasses we have drawn in the previous step, draw an upright oval shape inside each glass lens to create the eyes. Afterward, shade the inside of the eyes while leaving out a tiny dot unshaded to create a “gleaming eyes” effect. Next from the face, you will draw his neck, and this neck is for the scarf, so you also use some small basic lines to show his neck.
Step 4 – Draw Harry Potter’s Coat

For the collar, enclose three irregular shapes just below the head. From the collar, extend two parallel lines downwards. Connect them at the bottom with a short line. Aso doesn’t forget to draw his belt with two parallel lines around Harry Potter’s body. That’s all there is to it for this step, so when you’re happy with the look of it, we shall continue adding to this duck in the fifth step.
Step 5 – Finish Off Your Drawing Mission

So just this step and you will finish drawing Harry Potter. Now, you will add the details rest of him. You will add detail for his scarf. Then you will draw a horizontal curve from the jacket to the scarf to indicate the bottom of the shirt. Then, attach these two triangles below to show the tail of the bra. Extend two sets of curves to form legs; Connect them at the bottom using curved lines. Detail the folds of the fabric using short lines. Finally, use curved lines to complete the outline of the coat. You will use curved lines to enclose the shape of the shoe. Note the lines parallel to the bottom of the shoe rather than just the sole. You draw his arms with curved lines. Detail the folds of the fabric, especially at the elbows, using short lines. Sketch the hand using curves and a “U” shape. Extend the two lines from the hand, allowing them to meet gently to form the wand. Draw large circles for the eyes, with a curved line to indicate the eyebrows above each. Outlined in the lightning bolt-shaped scar on one eye. Don’t forget to draw the charcoal wand in his hand. Draw short lines extending from the tip of the wand. Use curves to represent the “H” on his scarf.
Step 6 – Color Harry Potter’

The simple step in drawing Harry potter is this sixth step. You will take your favorite colors and make coloring for him. Very simple in this step. You can refer to our colors and use our colors or other colors if you like.
You Harry Potter Drawing Is Complete
Besides how to draw, we provide Harry Potter Coloring Pages for free for you. You can come here and choose the suitable colors to draw or color. Drawing and coloring are good activities that you can enjoy in your free time after hard-working hours. You will choose some images for you here or make coloring later. If your children are a fan of Harry Potter. Please don’t hesitate to give them how to draw Harry Potter. or pictures related to him, and I am sure that they like them and this is their good entertainment.