The Eiffel Tower Drawing Is Complete In 6 Easy Steps
Creating the super Eiffel Tower drawing in just 6 easy steps
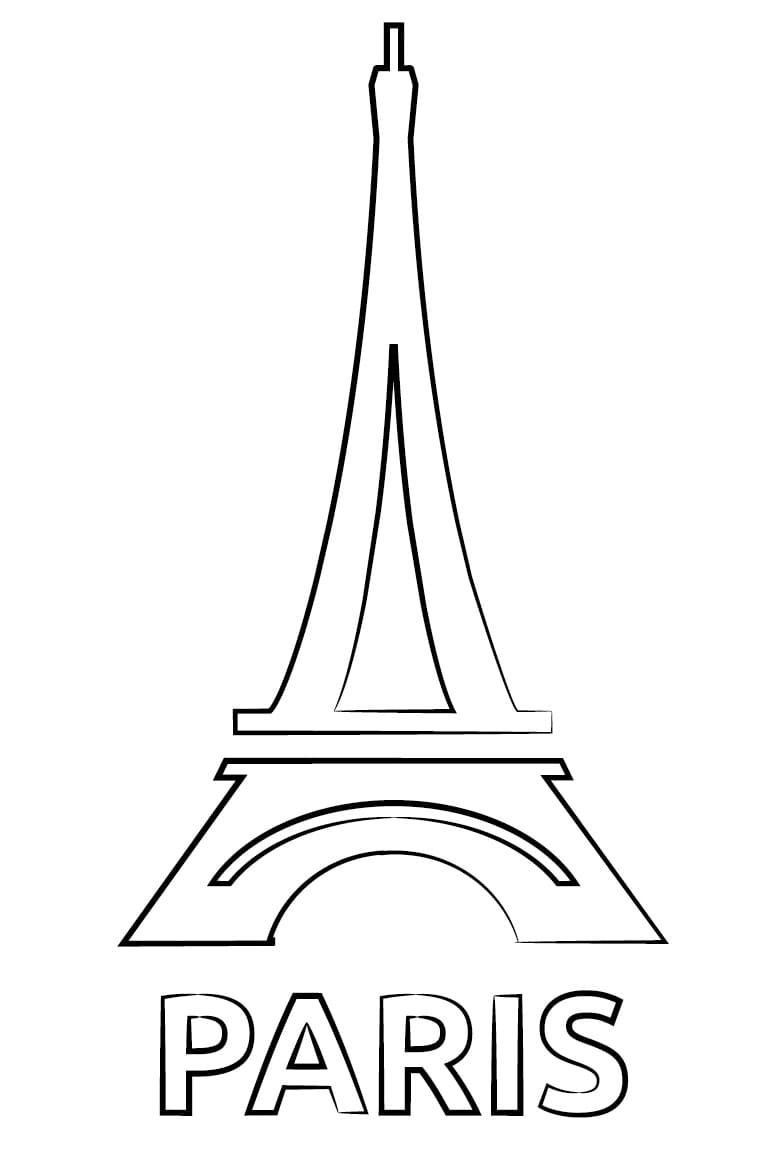
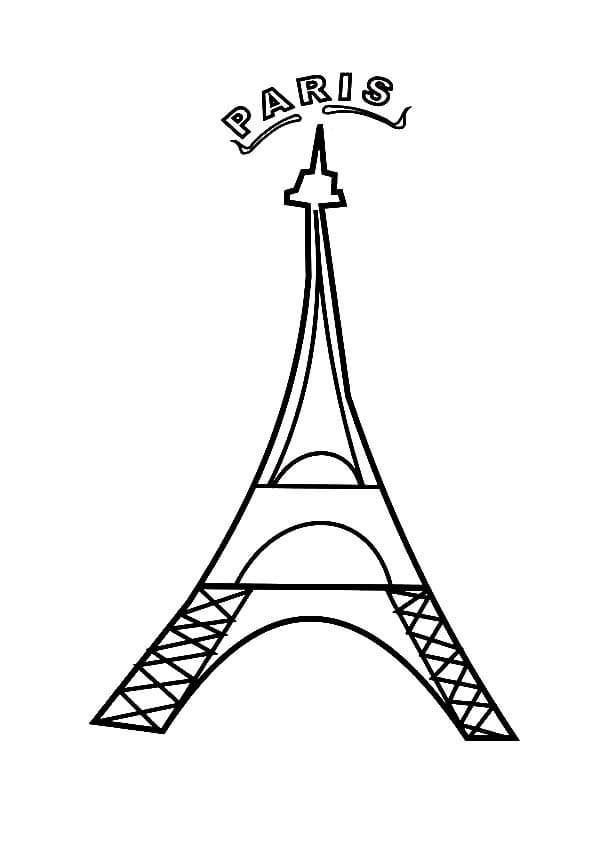
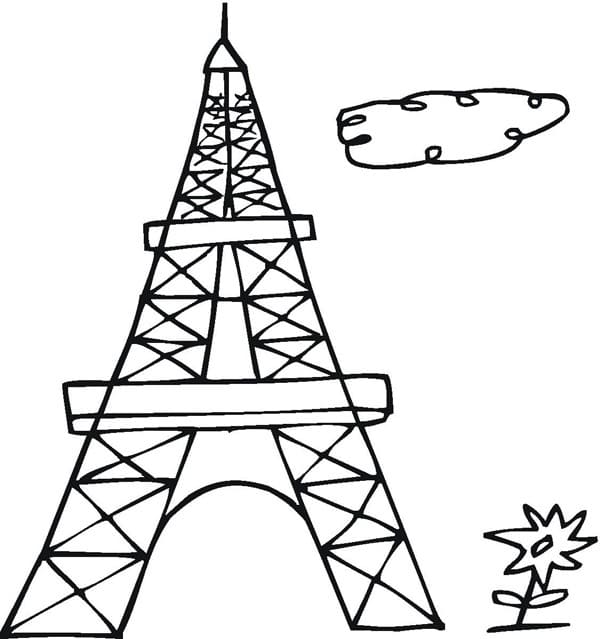
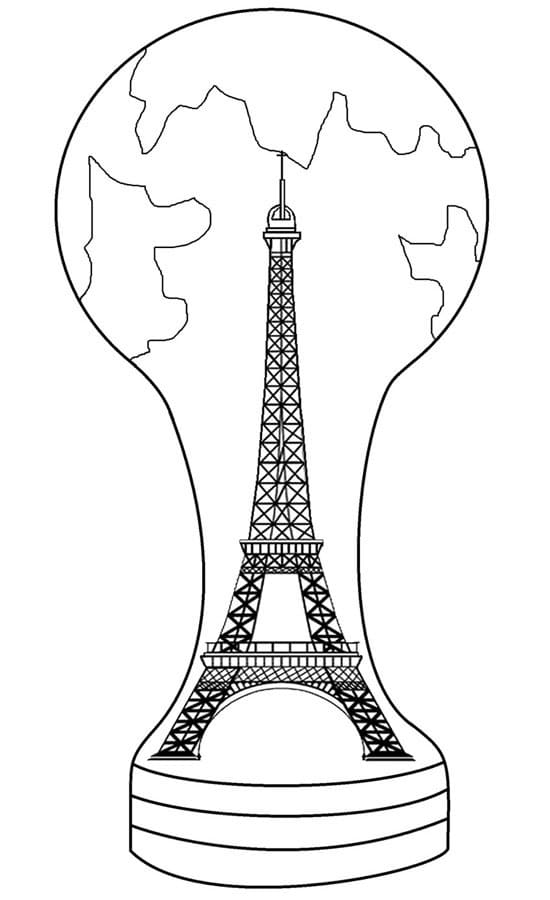
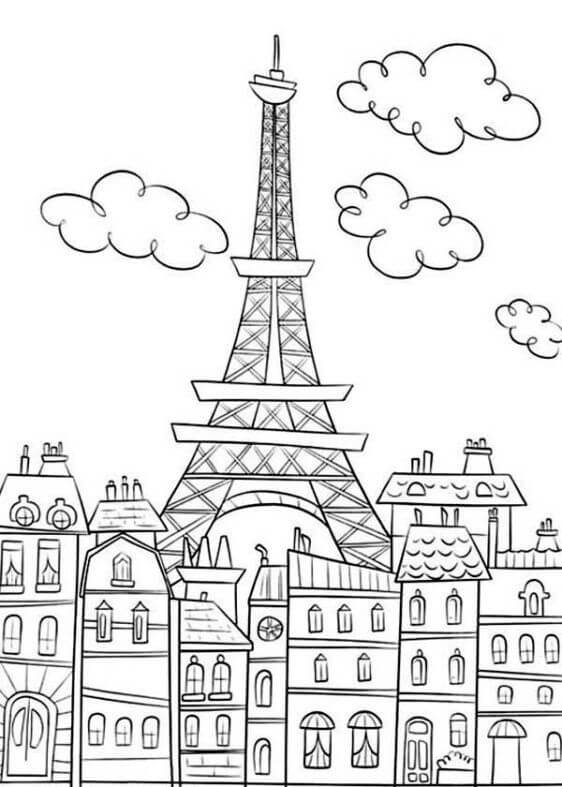
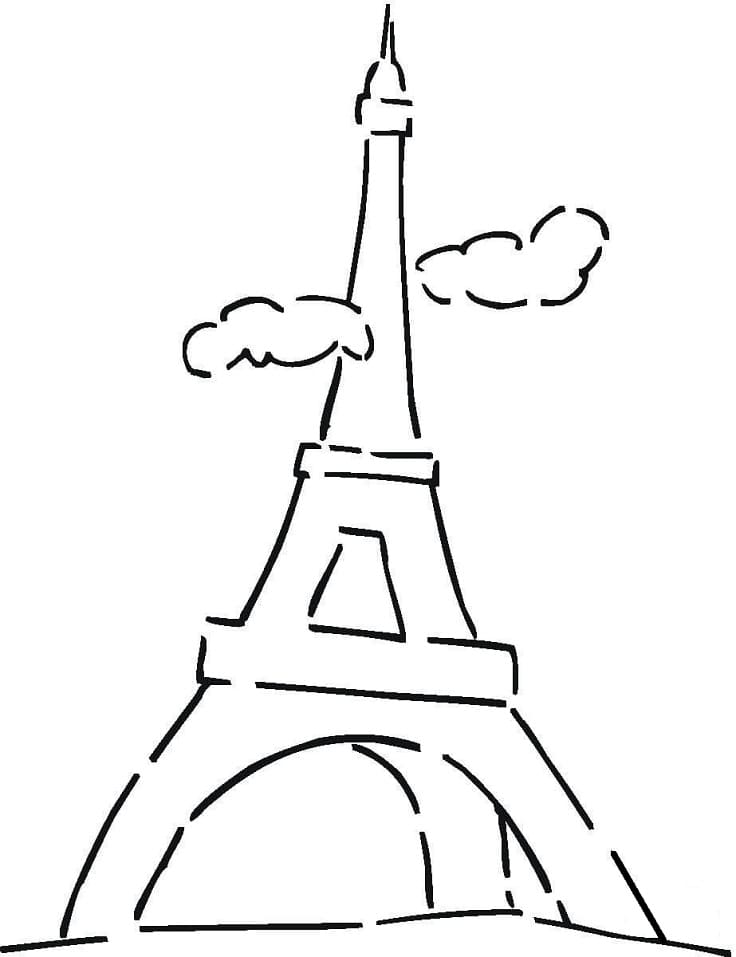
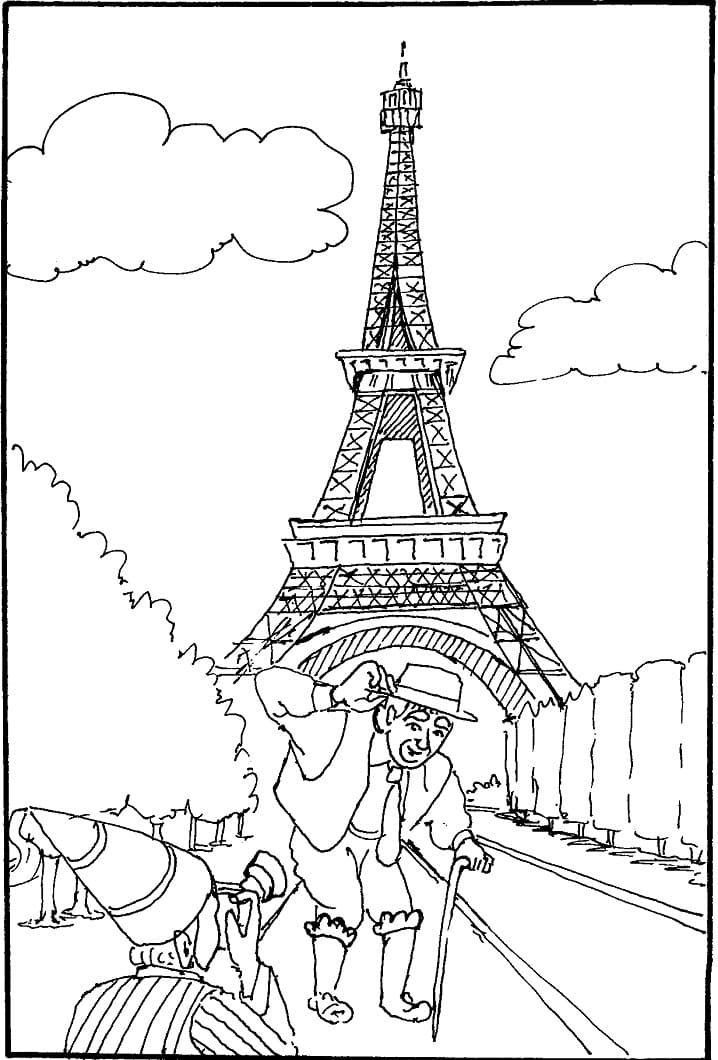
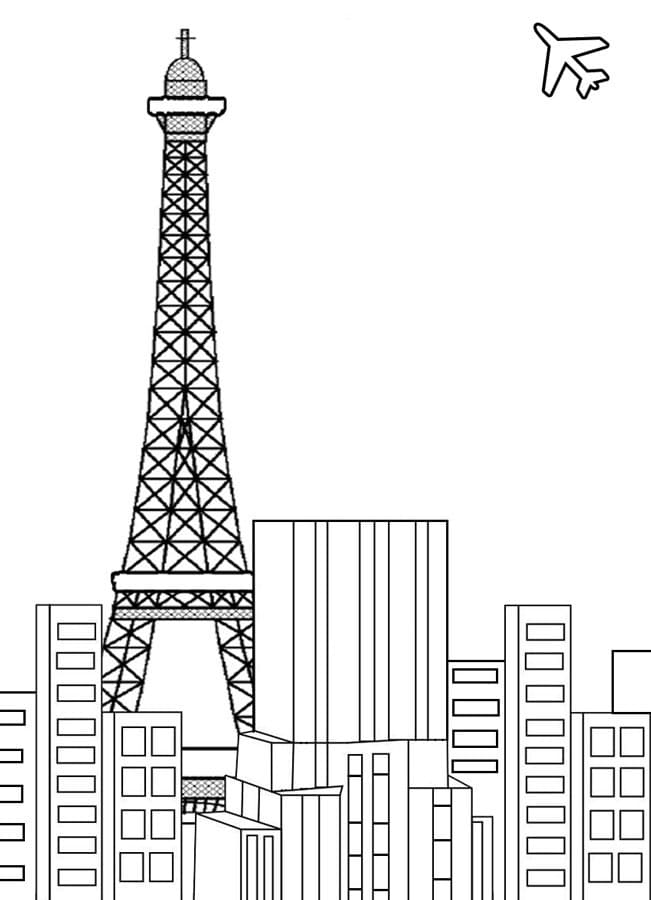
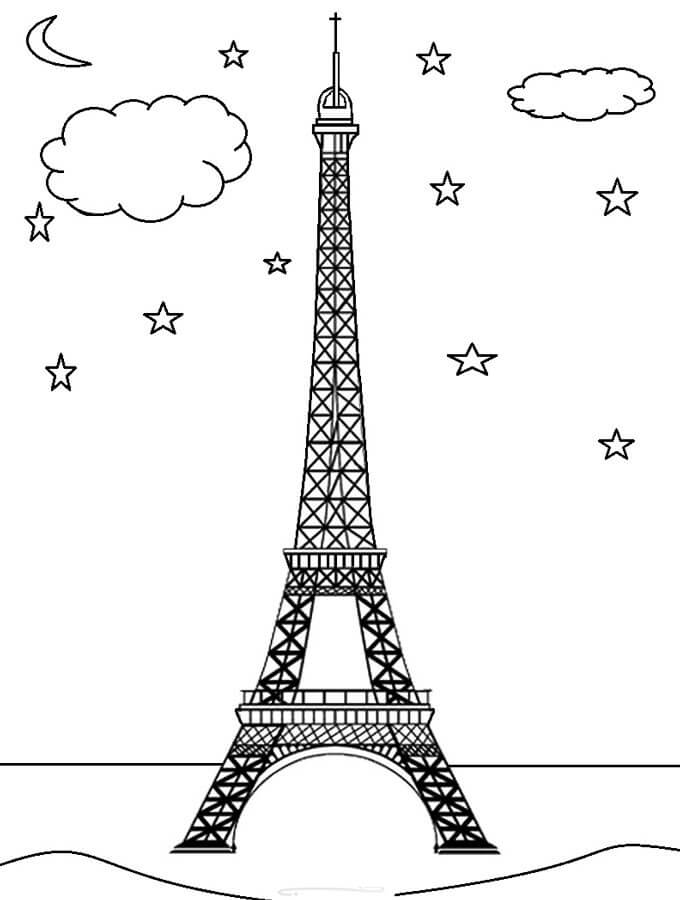
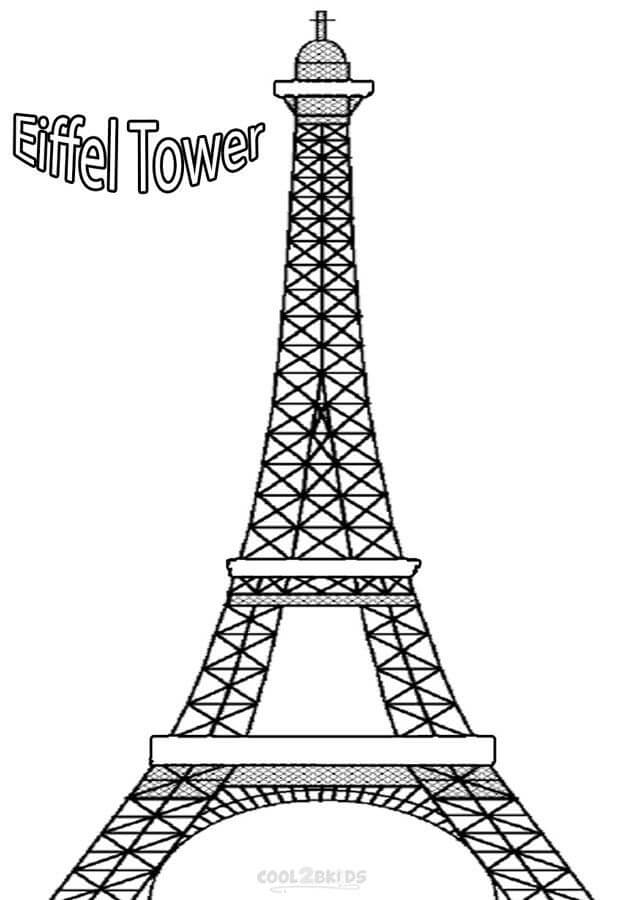
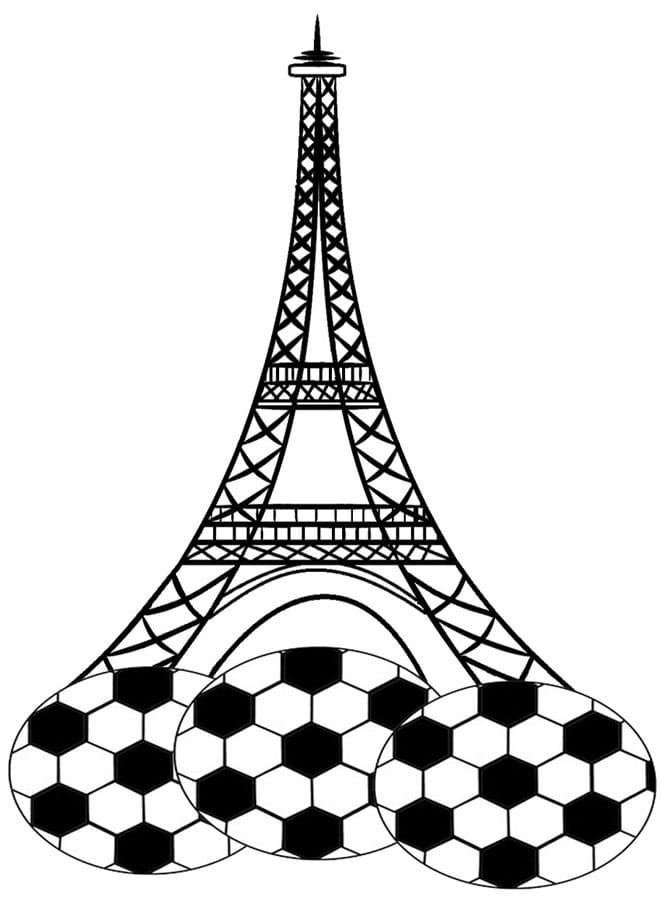
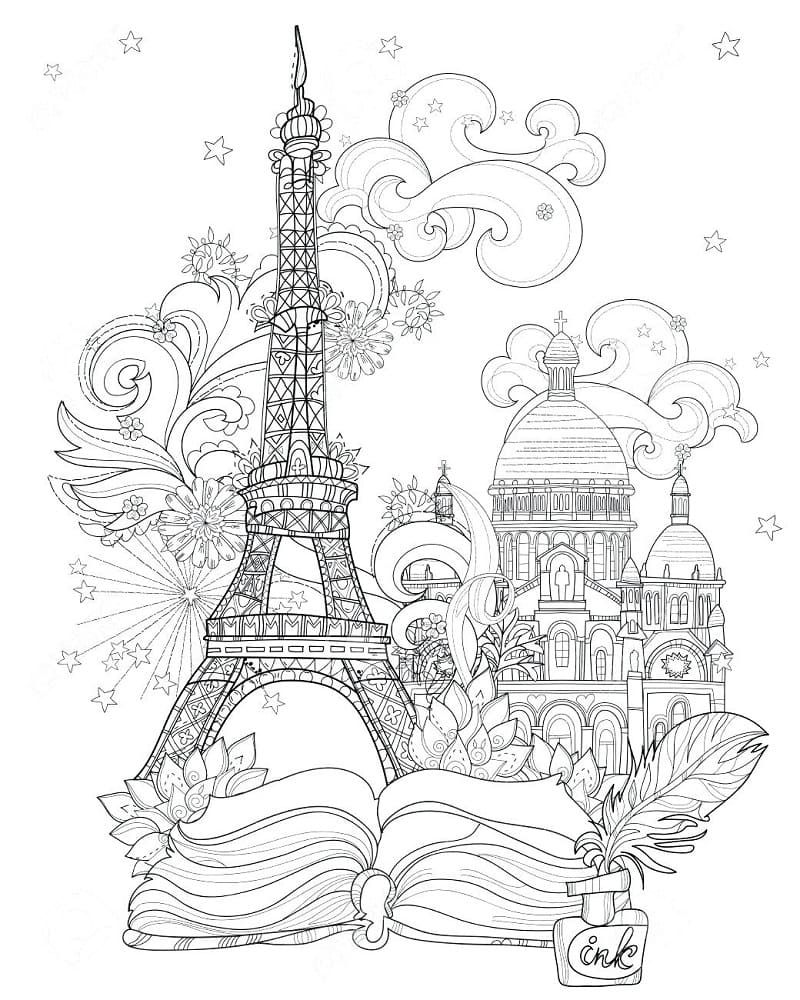
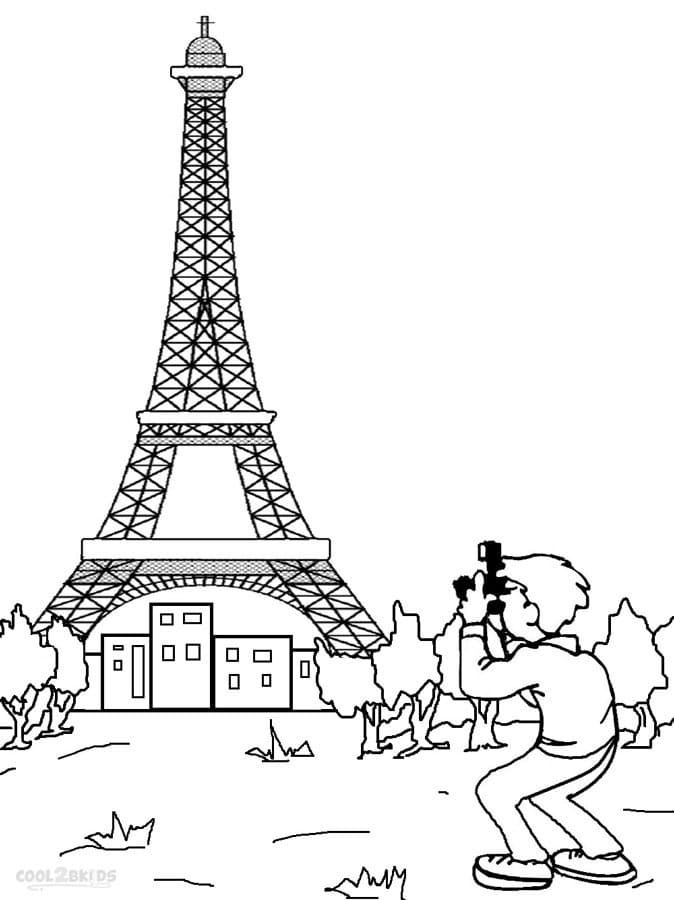
Learn how to draw the Eiffel Tower with our super easy-to-follow step-by-step the Eiffel Tower drawing tutorial. You will follow our instructions to create the complete Eiffel Tower with your skill. You will go step by step to realize your task until you finish your work. This is not a simple task but not too difficult for you; you must concentrate your mind, your passion, and your time to make a perfect product, Eiffel Tower. You can join in this activity with your friends and your kids. This activity can help reduce your stress and worries and improve your life. Especially for children can avoid using technical devices such as smartphones, tablets, and television, and they will focus better on studying after reasonable leisure time. After the hard-working hours you need the entertainment time, you can come here and enjoy it for free. You can use any device connecting to the internet. Here, we will give the guide detail by the levels, and you will go from easy to difficult. Along with the tutorial, we have also included a couple of free Eiffel Tower coloring pages that you can print off and give to your kids to color!
How To Draw Eiffel Tower – Let’s Get Started!

To your knowledge, the Eiffel Tower is one of the most recognizable landmarks in Paris, France. While it may seem like a complex piece of architecture to draw, you can easily sketch it out with some practice. Drawing the Eiffel Tower from a straight-on view will be the easiest. Whether you are a beginner or an expert in drawing, you can finish this task easily with us. You must prepare some necessary things such as paper, pencil, and colors before drawing. You will use a pencil to draw on paper, and you can erase your mistake, so don’t be afraid to draw. You draw in the most relaxed mood. Some steps will require you to erase lines drawn in previous steps. Our tutorial will help you to create the perfect Eiffel Tower. Now, let’s get started drawing the Eiffel Tower with us!
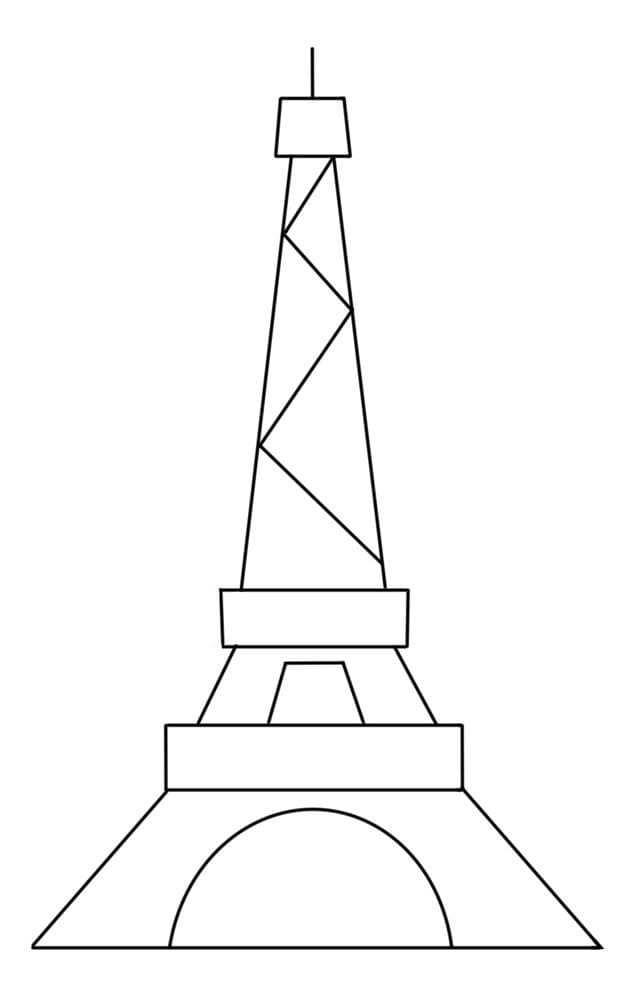
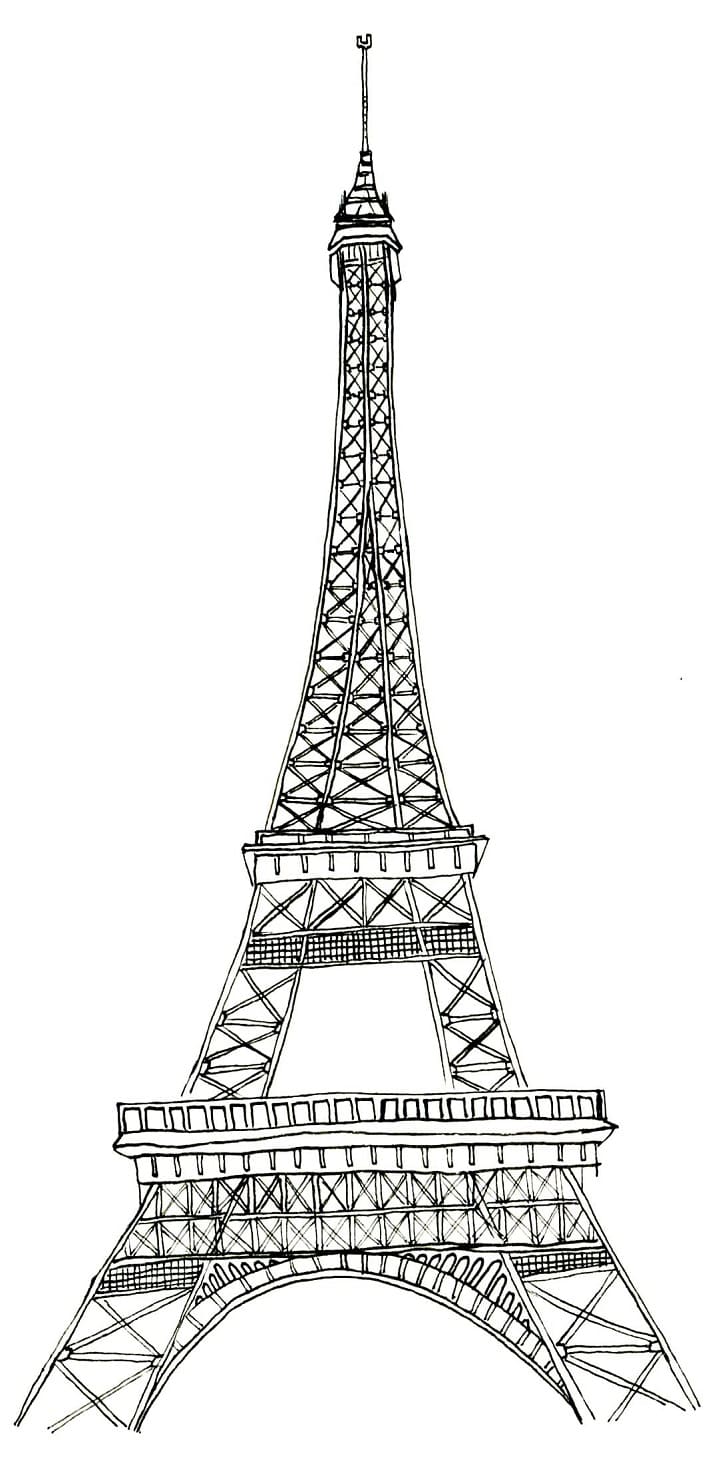
Step 1 – Draw The Eiffel Tower’s Top

On the paper, draw a pointed triangle with the tip pointing up, the bottom, and draw a cylinder for it with short lines that meet to form a rectangle, as you see in our illustration. Work lightly to erase your marks if you make a mistake easily. You can move to step 2 to continue your work of the Eiffel Tower drawing.
Step 2 – Draw The Eiffel Tower’s Body

Now, you must draw the Eiffel tower’s body. Your task in this step is to draw the shape of the unfinished Eiffel Tower in step 1; you will have parallel lines and curved lines below to form part of the Eiffel Tower. You finish the task in this step and next to the third step.
Step 3 – Continue With Eiffel Tower’s Body

In this step, you will continue drawing Eiffel Tower’s Body. From step 2, you draw two lines coming down and then connect them with the flat lines. You can look at our illustration and follow it. Once you’re happy with how it looks, then you’re ready for step 4.
Step 4 – Make The Body Of The Eiffel Tower Longer

You will make The Eiffel Tower’s body and draw four straight and curved lines below to form 2 pillars, as shown in the illustration. Note that you don’t extend the curved lines to the bottom of the page since the legs on the bottom of the Eiffel Tower are straighter.
Step 5 – Finish Your Drawing Mission

You will finish your drawing mission by adding the base of the Eiffel Tower. Remember, the Eiffel Tower is symmetrical, so the left and right sides should look the same once you’re finished. So, you draw the parallel lines and meet them in step 4. You finish the task of this step by adding an upside-down curve between the tower’s legs to connect them. You draw horizontal lines between the parallel curves to make the girders. Start from the tower’s tip and work your way down toward the legs to split them into equally sized rectangles. As you get closer to the bottom, allow a little more space between the horizontal lines to make them further apart.
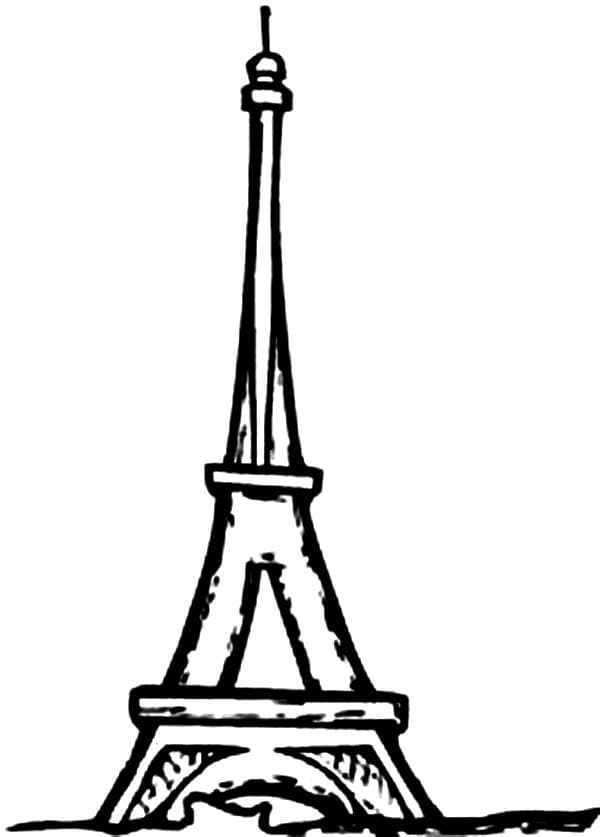
Step 6 – Color The Eiffel Tower

Finally, here is the most exciting part—filling in the colors for your awesome drawing! This is where you can show off your artistic skills and ability to mix and match various colors. As you see in our illustration, Eiffel Tower is colored in two colors yellow copper and black. Do you like this color, or will you choose other colors for your Eiffel Tower? This is the simplest step; you can make any color you like.
The Eiffel Tower Drawing Is Complete!
So, you finish your drawing and coloring mission for drawing of Eiffel Tower. I hope you like this tutorial and join in other activities on our site, such as coloring pages and blogs. You can refer to the Eiffel Tower coloring pages to practice your drawing skill. You can recommend your friends come here; we thank you for that.
Watch the ‘How to Draw The Eiffel Towe’ Video Tutorial to draw the Eiffel Towe easily. You follow our instructions, our illustration, and our video to practice drawing the Eiffel Towe: