Owl Drawing Is Created In 9 Easy Steps
Complete perfect owl drawing in just 9 Simple steps
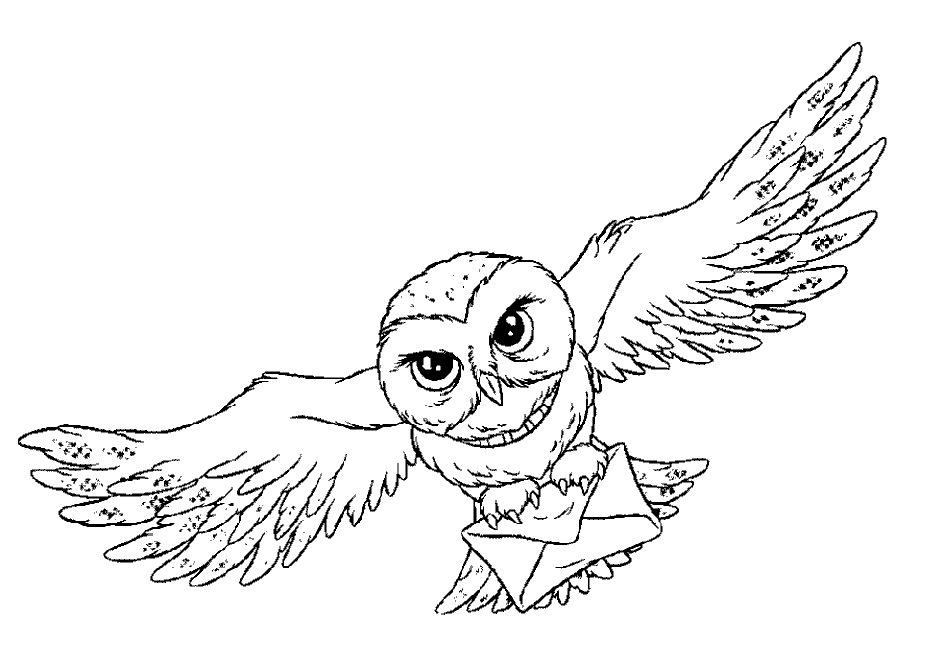
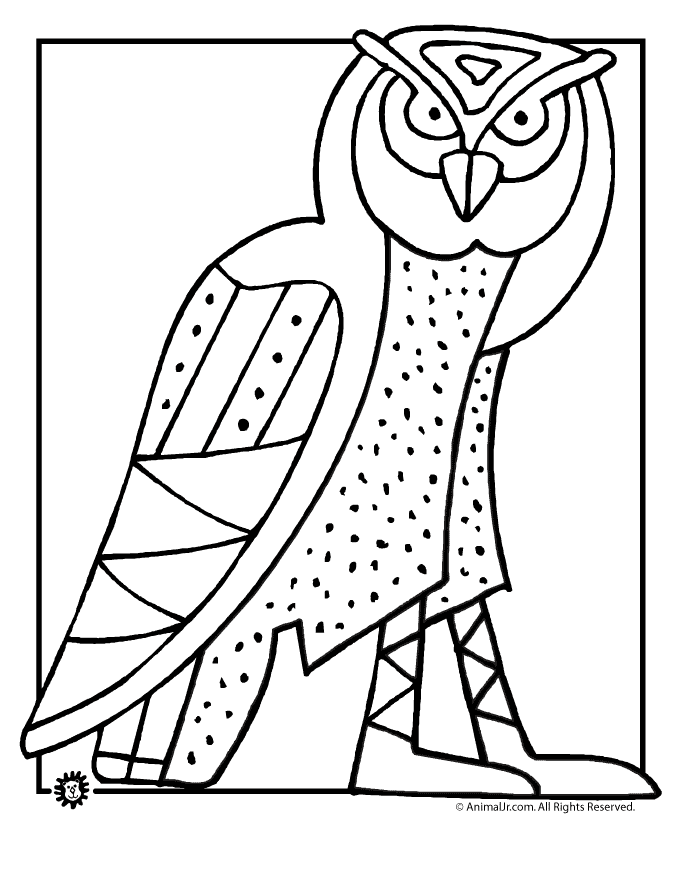
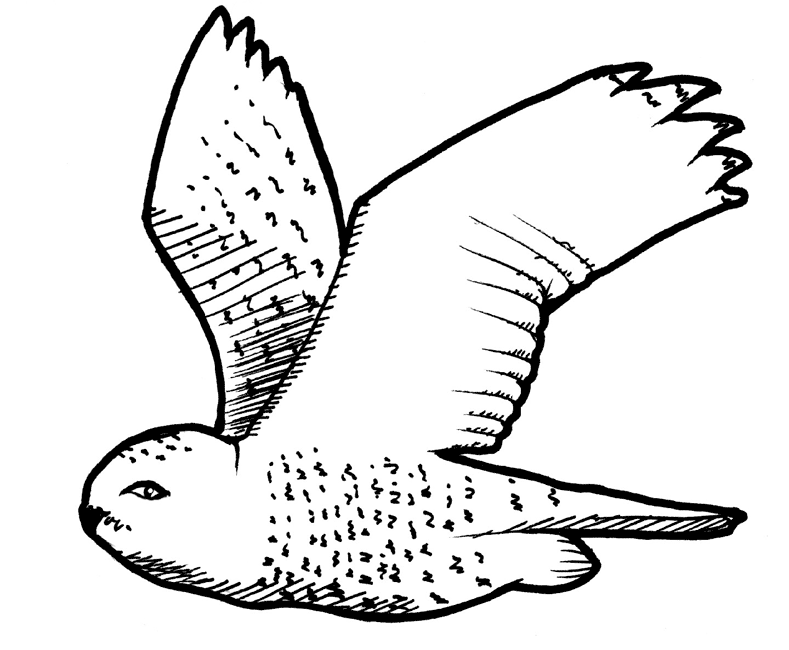
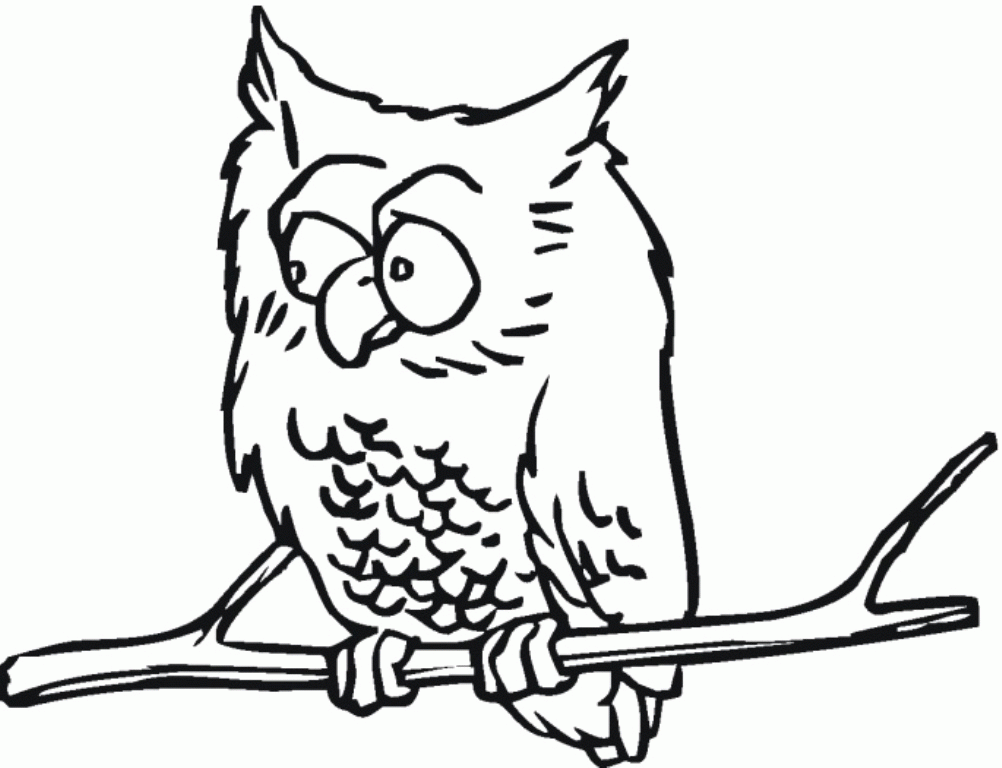
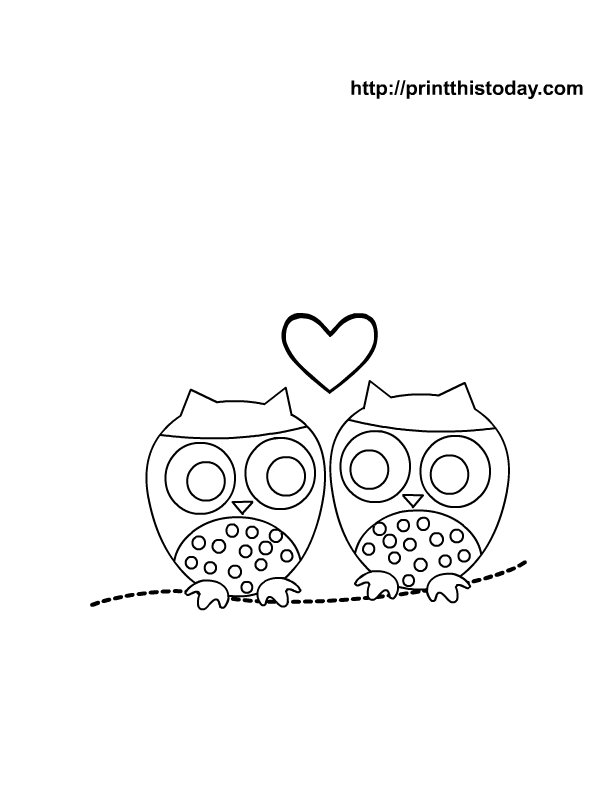
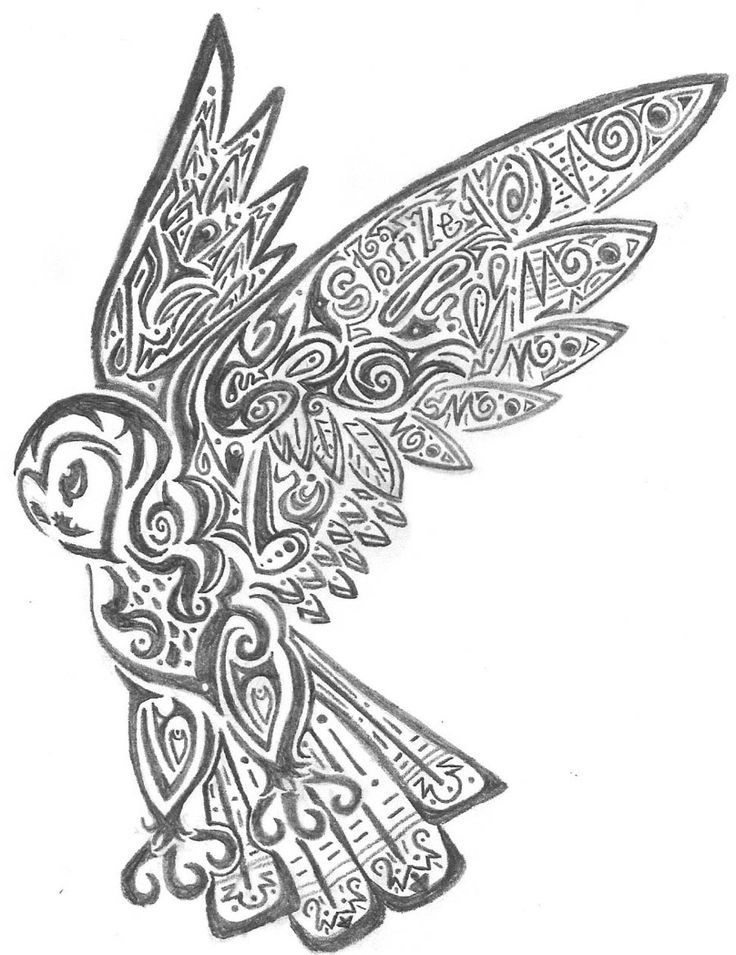
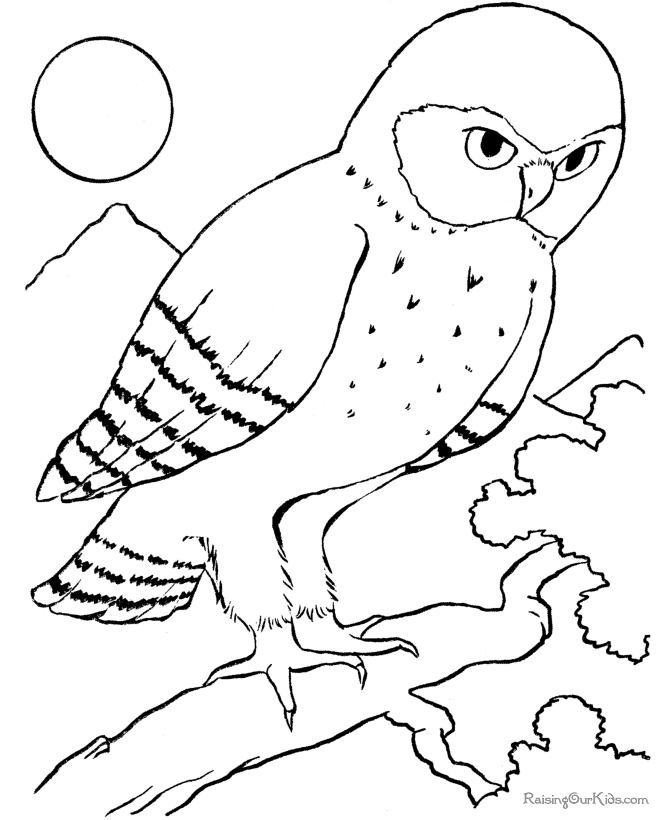
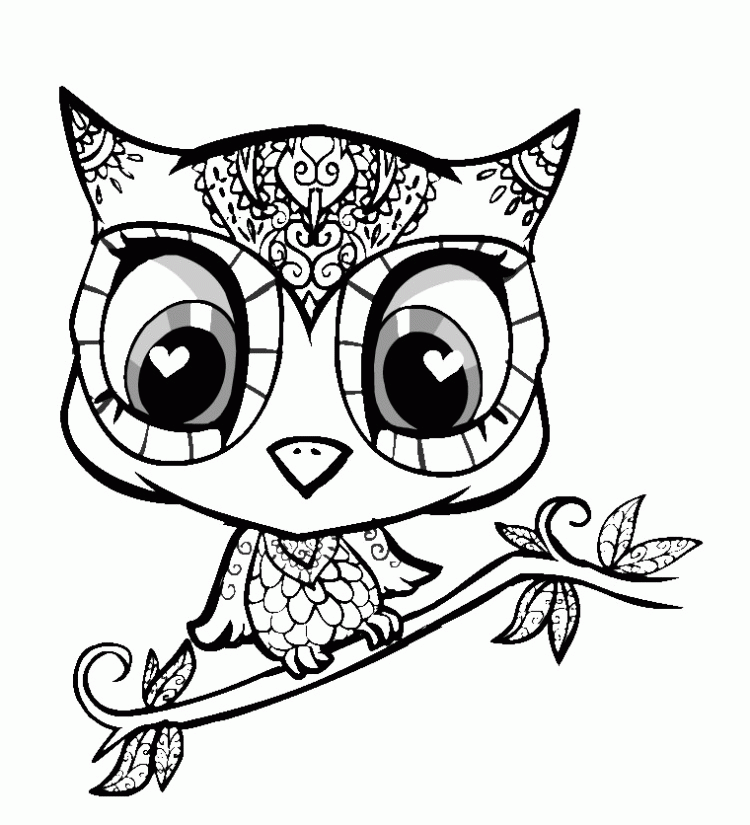
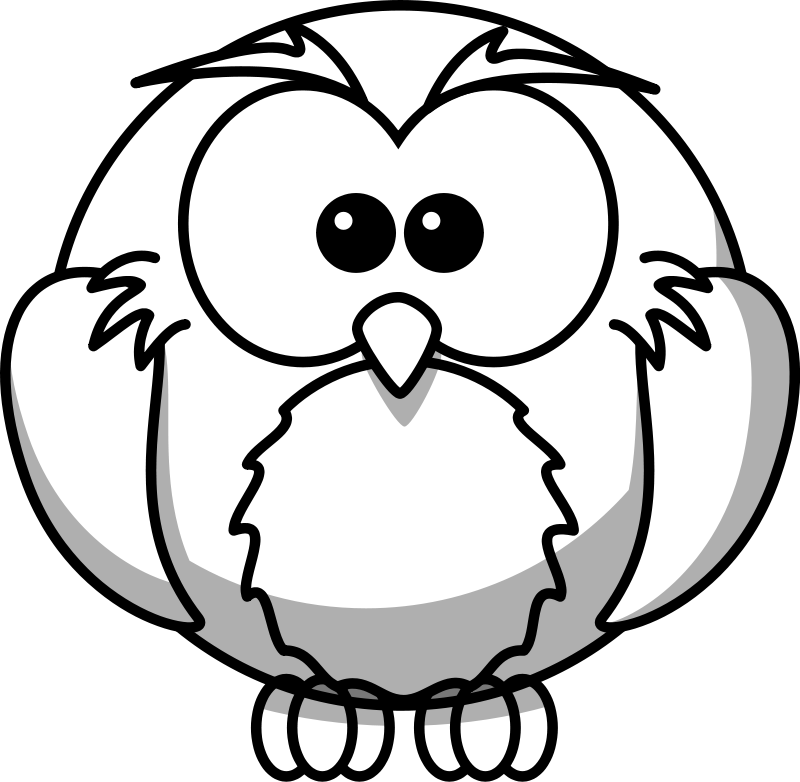
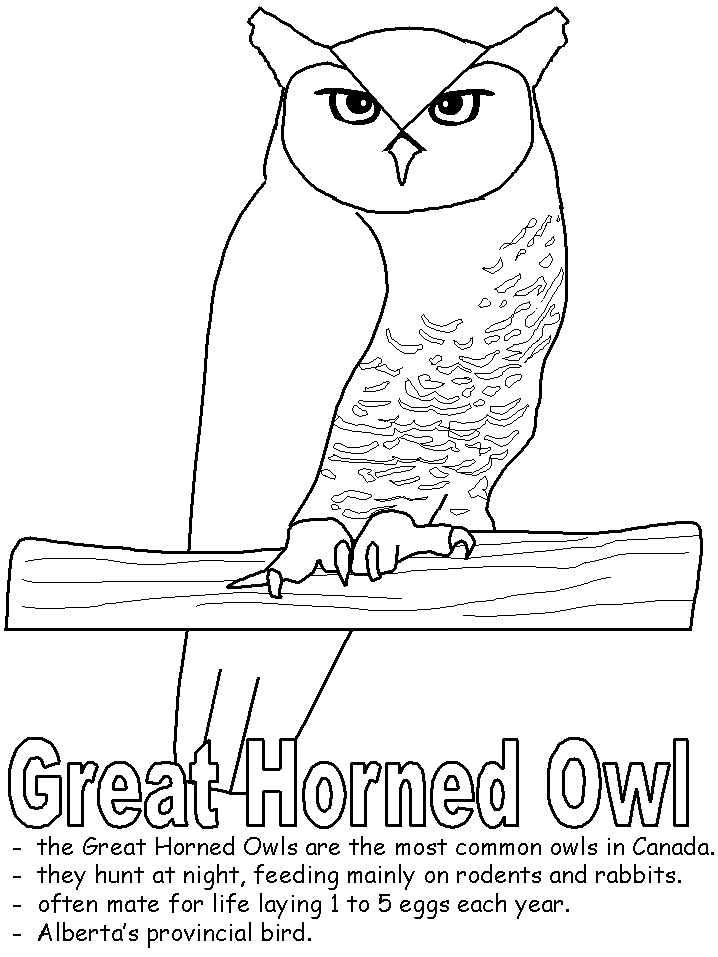
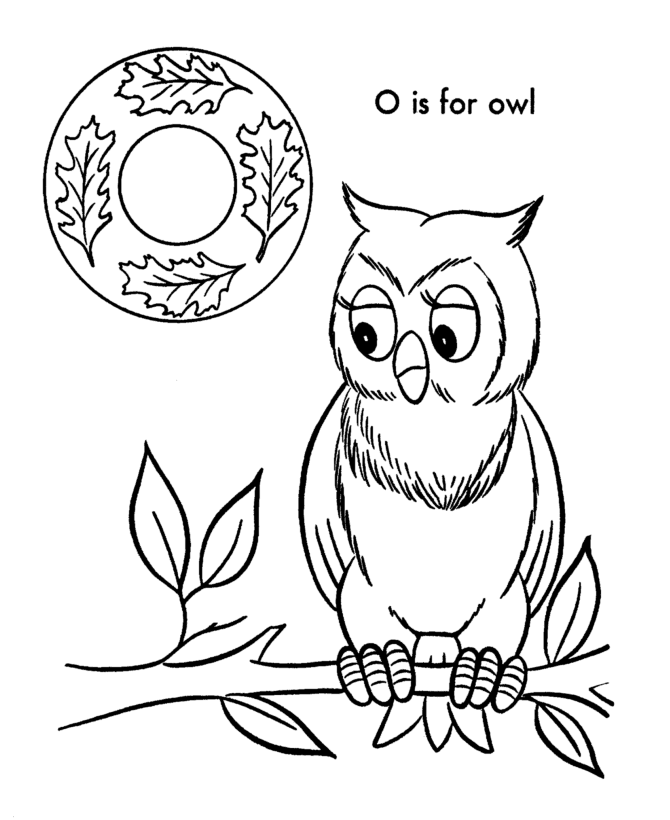
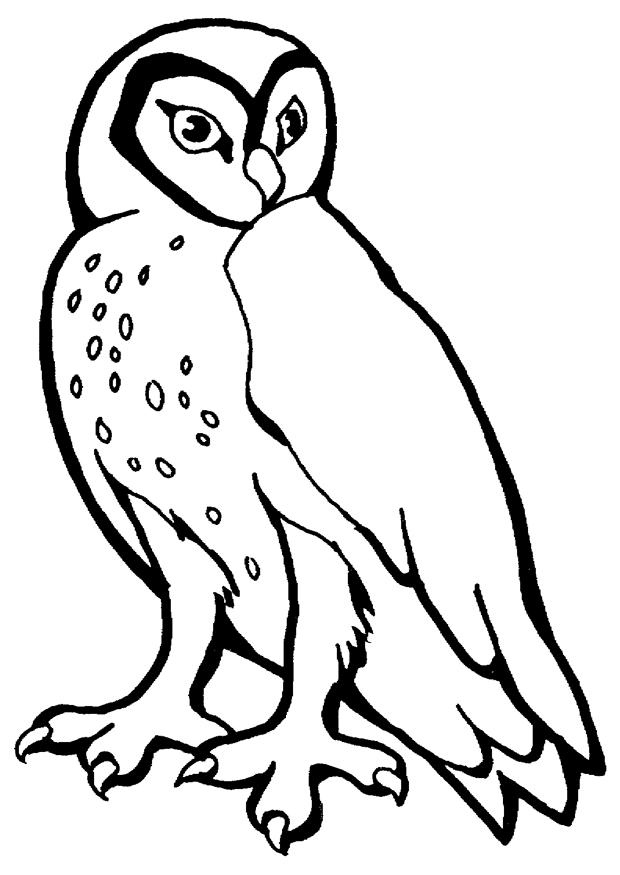
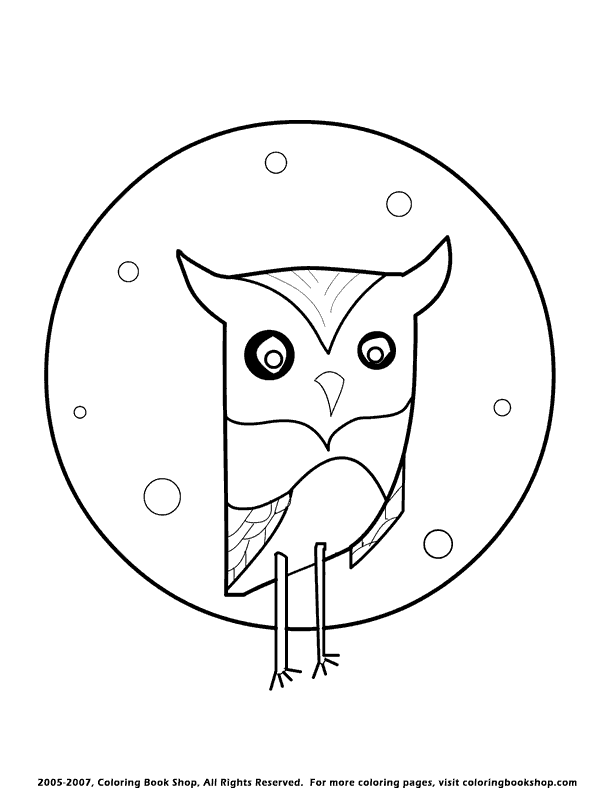
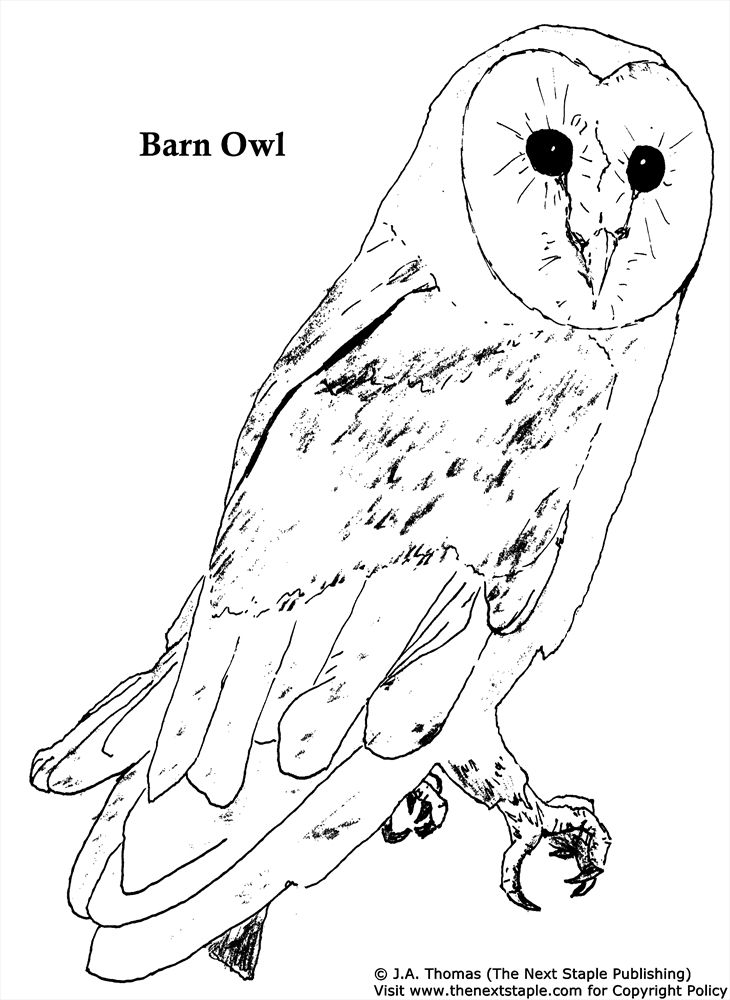
On our site, there are many instructions doe drawing, and now you will know how to draw an owl or owl drawing with us. We will give tutorials for drawing owls in nine steps. You will follow us and our illustration in each step to create a complete own that is owl is cute, colorful, and beaming with personality. In this step-by-step drawing lesson, we will show you how to make drawing an owl then you will choose the suitable colors and make coloring for your product. Now imagine that in front of you is an owl sitting on a tree branch with wide eyes and beautiful feathers. It’s great, and you also add many decorations to this owl. You can really have a lot of fun with this lesson on drawing and coloring. If you are a parent, you can learn to draw an owl with your kids. . Along with the tutorial, I have also included a couple of free owl coloring pages that you can print off and give to your kids to color! Children will practice many skills while learning to draw, such as pen skills, concentration skills, and calculation skills,…they are necessary for your development. More, drawing and coloring will help your children to avoid contacting technical equipment such as television, smartphone, and tablet, once you get your product.
How To Draw An Owl – Let’s Get Started!
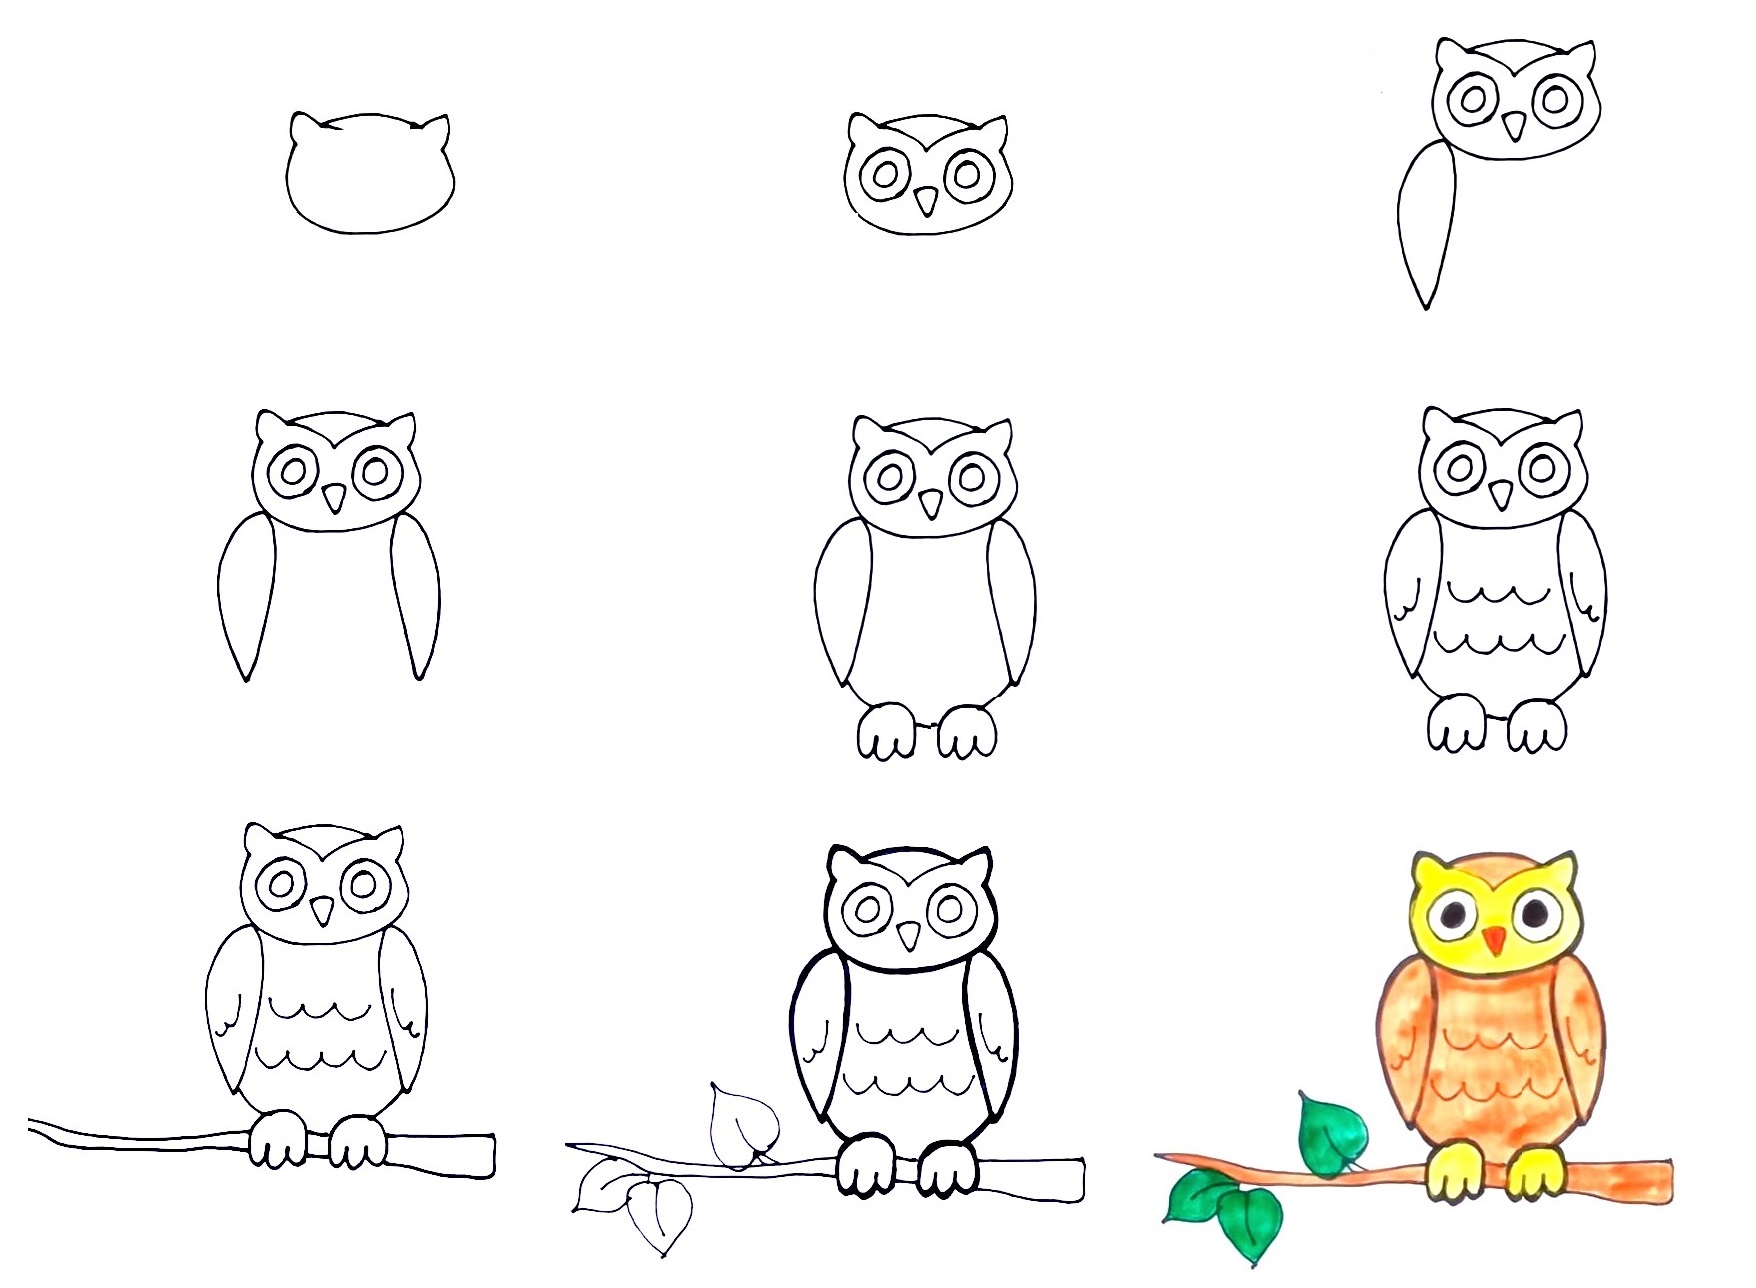
You must prepare a pencil, colored pencils, markers, crayons, pens, gel pens – whatever you have on hand. It’s best to use a pencil to draw because it’s easy to erase if you make mistakes! You can show your product on drawing paper, printer paper, cardstock, and colored paper. Here, we give the nine steps for instruction, and you have nine mission equivalent nice steps. You must concentrate on finishing the task in each step. Drawing an owl is not a simple task but is not too difficult. You need to use your patience and your little skill in drawing. Whether you are a beginner or an expert in drawing, you can finish a good task with our tutorials. now, let’s get started drawing an owl with us!
Step 1 – Draw Owl’s Face Outline

Lightly draw a small oval for the face and make the head too. On the two sides of the head, you draw two small triangles to make the ears for owls. Your task in this step is simple. You can finish the mission here and go to step 2.
Step 2 – Draw Owl’s Face Details

Now, you must add details for the owl’s face. Within the face, you draw two big circles, and you add small circles within to make the owl eyes. Below the eyes, you will draw a pointed triangle to make a beak of an owl. So, you get the owl’s face with full facial parts. Once you have these elements looking as they do in the reference image, you’re ready for step 3!
Step 3 – Draw Owl’s Wing
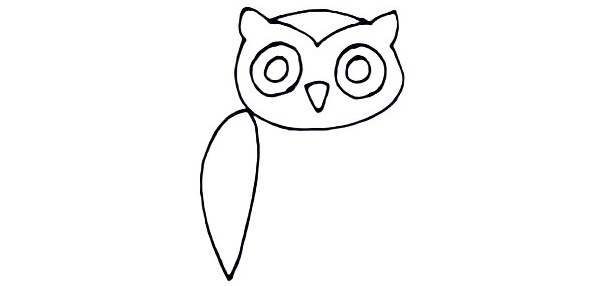
Now, you will start to draw the wing for the owl. You will use a curved line downwards, then you will put the ring pencil upwards again. So, you finish the task for this wing now and move to step 4 and continue your drawing.
Step 4 – Draw The Rest Of the Wings
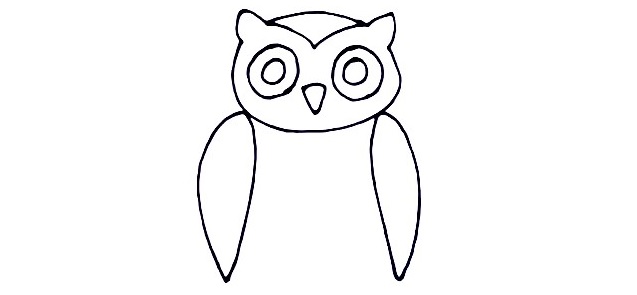
Right now, you can draw in the rest of the wings. Like the right-wing, you also use a curved line to draw this wing. So, your owl gets two wings now. You can go to the fifth step to continue drawing your owl.
Step 5 – Draw Body And Feet For Owl
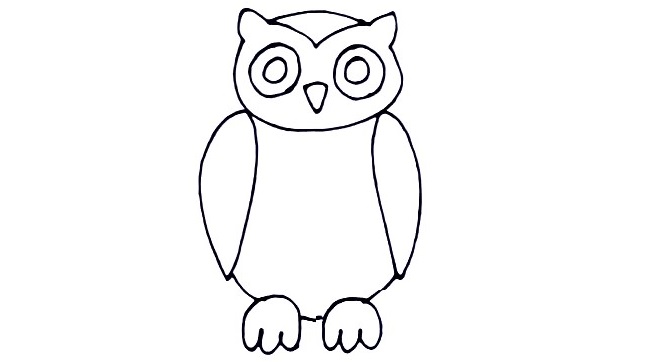
Draw a gently curving line for the body, kind of like a U-shape that tapers at the top. At the bottom of the body, you will draw curved lines to make the feet for owls. Each of your feet will draw three toes for the owl. That’s all there is to it for this step, so when you’re happy with the look of it, we shall continue adding to this owl in the sixth step.
Step 6 – Decorate Owl
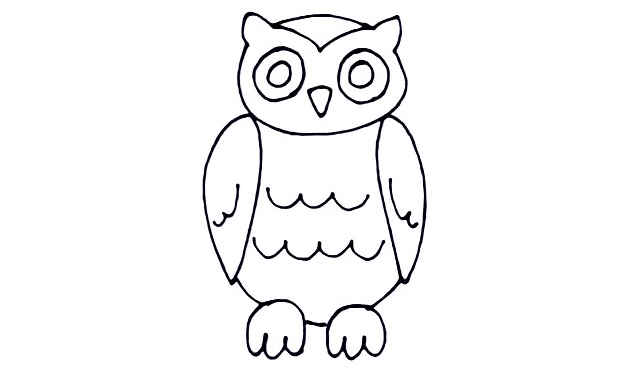
Now, you will add some detail to decorate the owl. You will add some curved lines for wings body to make your owl more excellent like our image. You can look at it and follow us.
Step 7 – Draw A Tree Branch
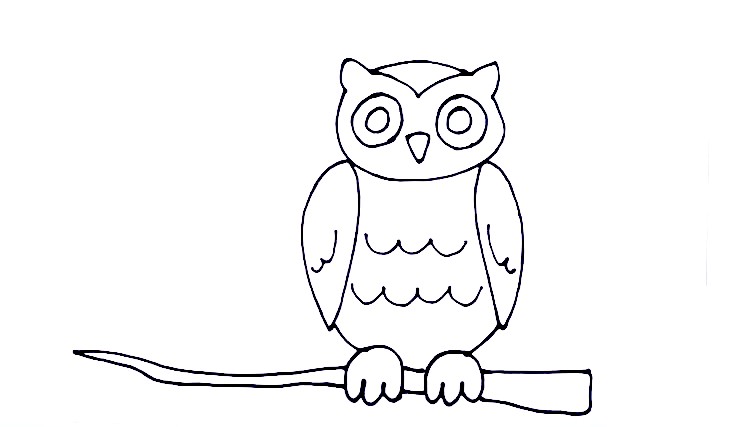
Now, you will draw a tree branch the owl is standing on. You will use two parallel straight lines to make this tree branch. You can draw one big end and one small end for this branch. You finish this task here and move to step 8 now.
Step 8 – Finish Your Drawing Mission
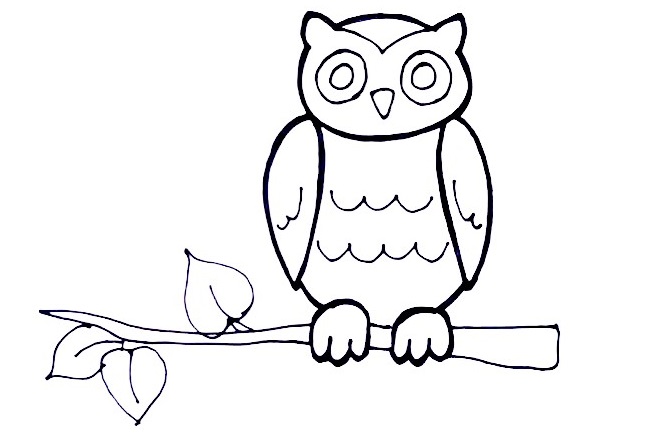
Here, you must finish your drawing mission. You will draw some leaves for a tree branch. At the tree branch, you will draw a triangle with a small line to make a petiole. You can add three or four leaves as you like. You finish your drawing and get more of the last coloring step now.
Step 9 – Color Your Owl
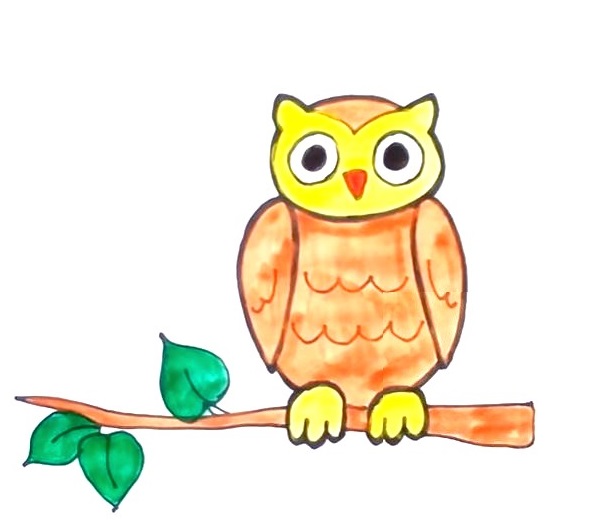
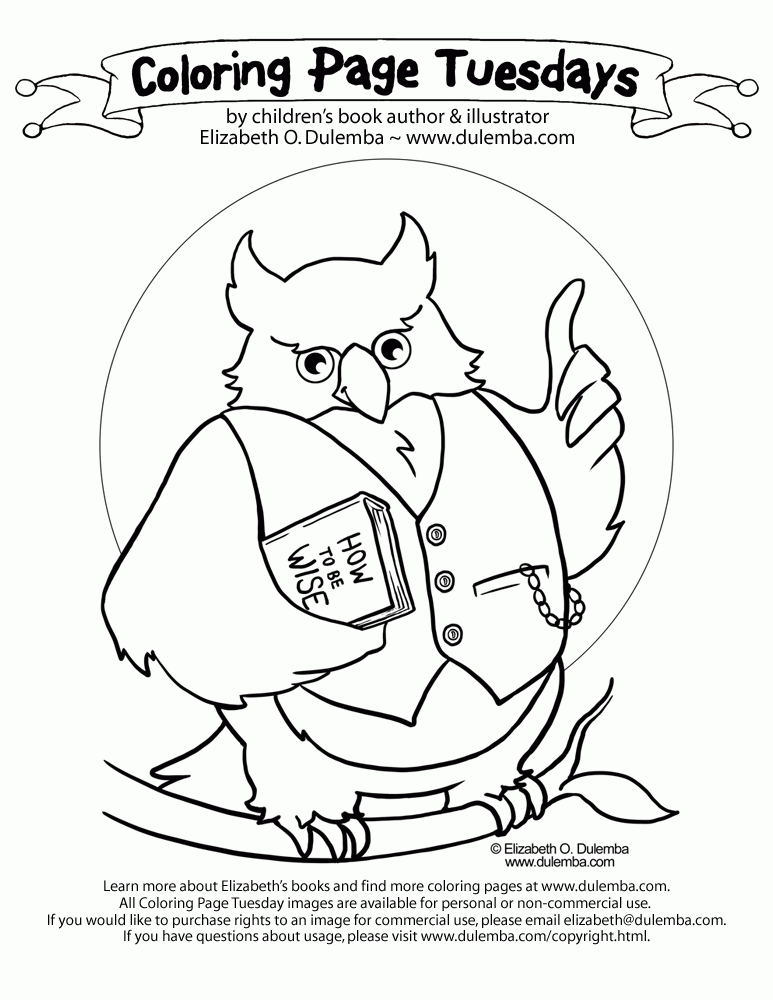
This is an important step for your product. You will choose suitable colors for your owl. There is no rule for choosing colors for products. We take green for leaves, yellow for the owl’s face and feet, and brown for the body and tree branch. You can use your favorite colors for your owl. So, you finish all drawing and coloring missions for your product owl. Besides owl, we have many other instructions for free on our site. If you like tutorials, don’t forget to give us a thumb up and recommend them to your friends! We also provide owl coloring pages for your reference. You can choose colors and make coloring for images related to owls. We update hundreds of pictures, and you can come here daily with your device connected to the internet. I hope you get a great time!


