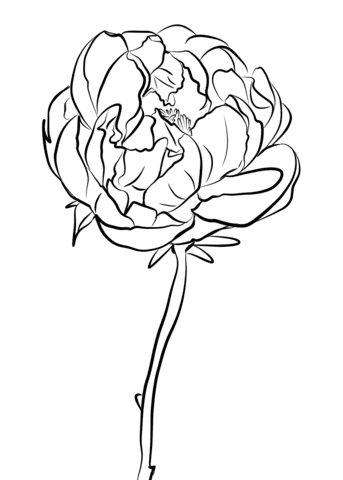
8 Simple Steps To Create A Nice Peony Drawing – How To Draw A Peony
Creating A Beautiful Peony Drawing In Eight Easy Steps
Today with our tutorial, you have a chance to know how to create a peony drawing; today, with our tutorial, you have an opportunity to learn how to create a peony drawing. You will have eight steps to do this task, equivalent to eight steps. This is a task that is not too easy but also not too difficult to do; you need to be patient and focused. You spend about 30 minutes on the task to complete it. Once you’ve mastered drawing peony, you can finish it sooner. Our guide here is entirely free and arranged from easy to difficult to help you quickly accomplish this task.
How To Draw A Peony – Let’s Get Started!

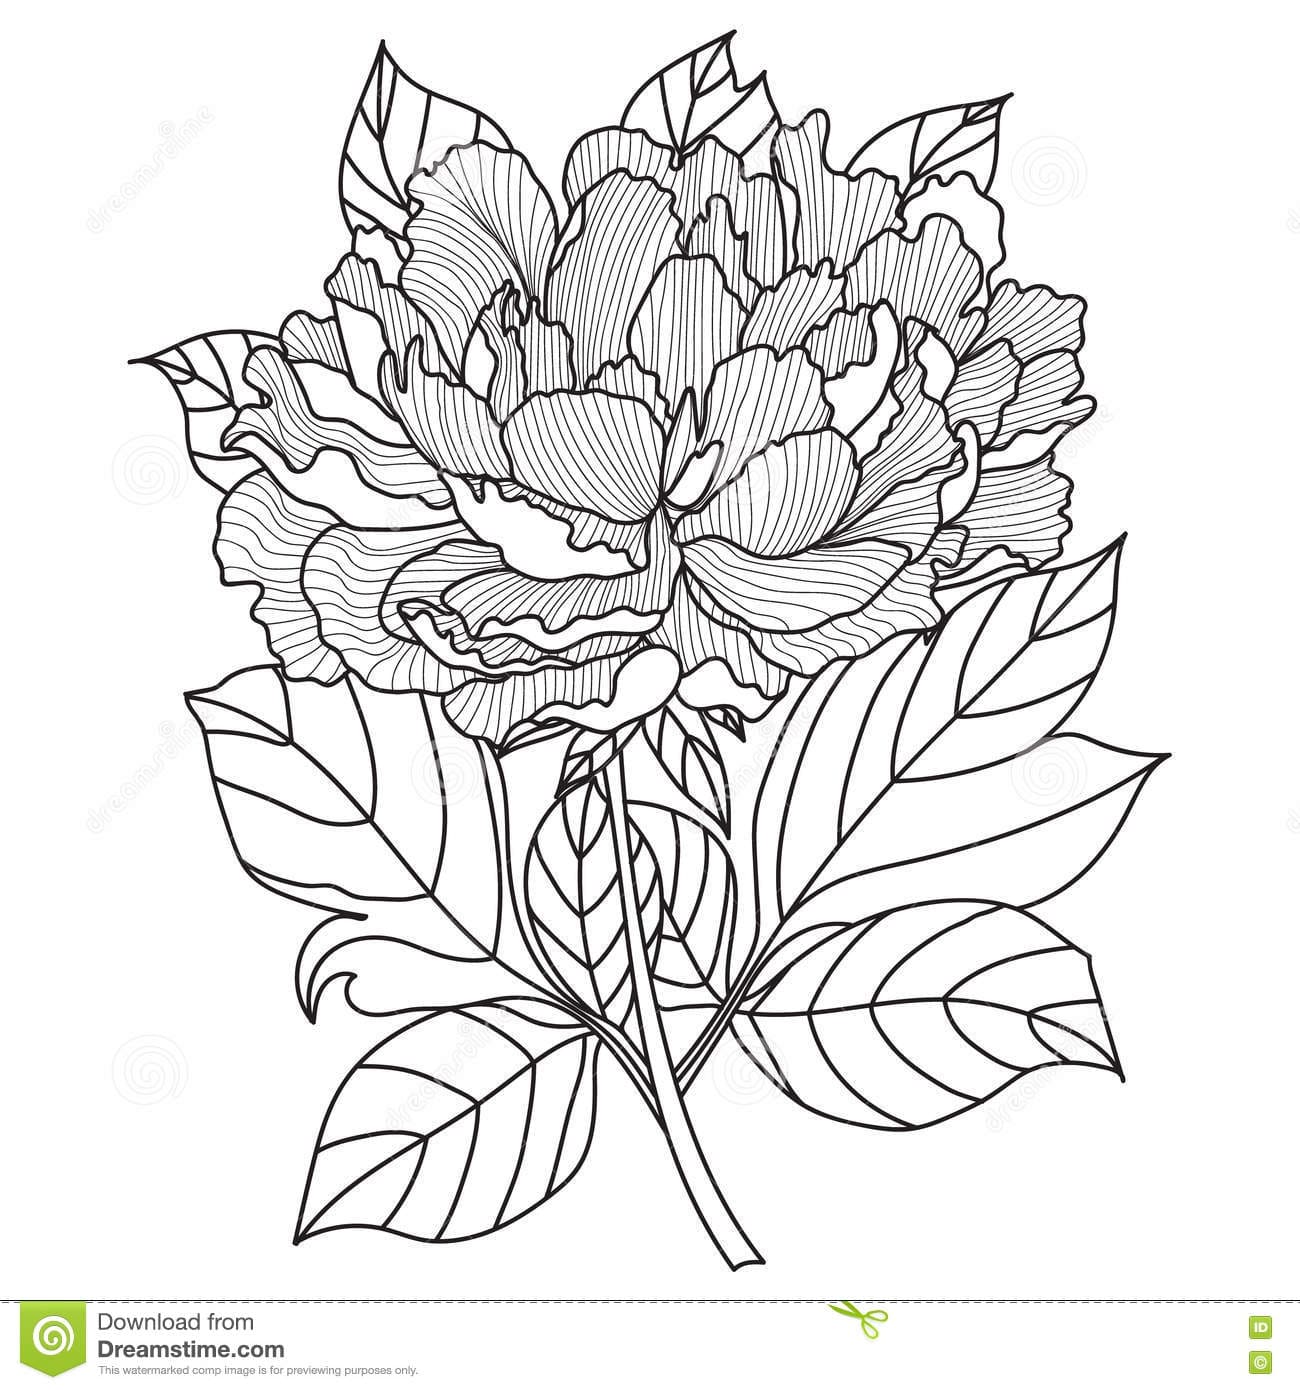
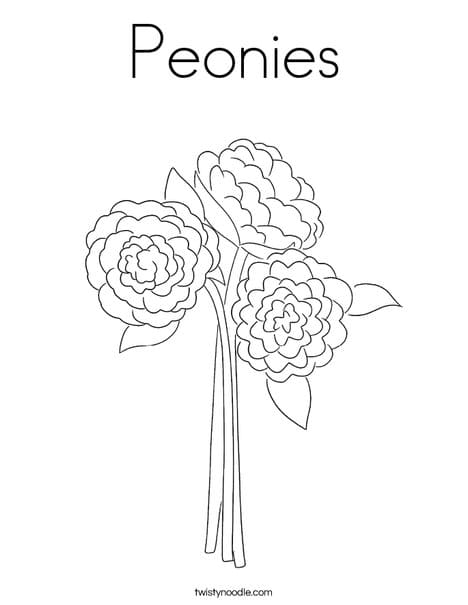
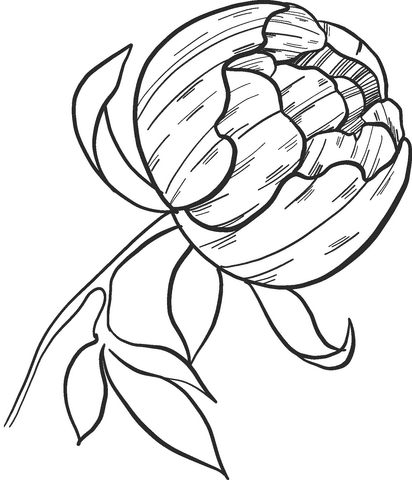
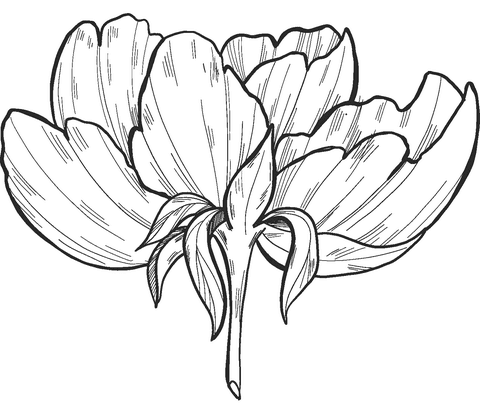
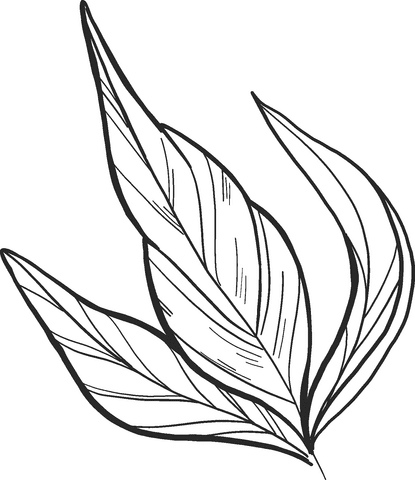
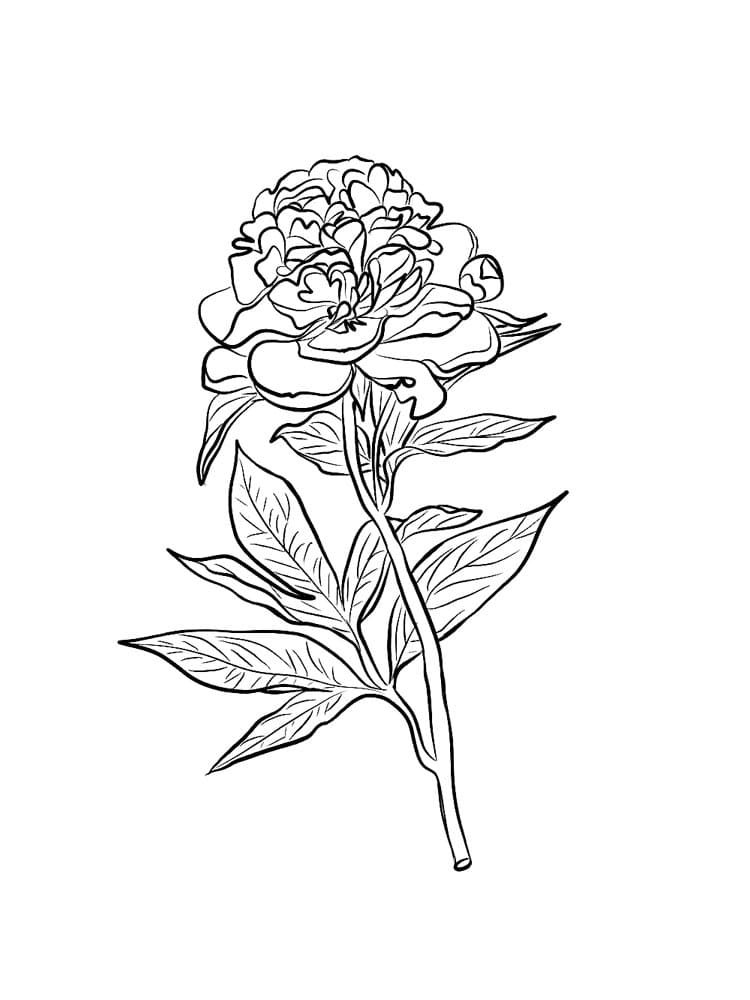
The peonies are known for their beautiful shape and color; they are said to represent wealth and honor. You can see many shades of peonies, such as pink, purple, orange, and white; peonies make the perfect spring and summer addition to any garden or vase. But first, you need to prepare a few tools like pencil, pen, eraser, and colors before you start drawing. You’ll draw with a pencil; then you’ll erase some of the wrong lines and redraw them right until you’ve finished the drawing. Finally, you will choose the right color for your peony drawing. Along with this drawing guide, you can enjoy peony coloring pages for free. You can use them to practice your drawing and coloring skill. You will have a great time with us by participating in this activity. I hope you also like this article and visit our website more often. If you stick with our tutorials and illustrations, you will surely be satisfied with the end result. Now let’s go a few eight steps to draw peony and get a fun time!
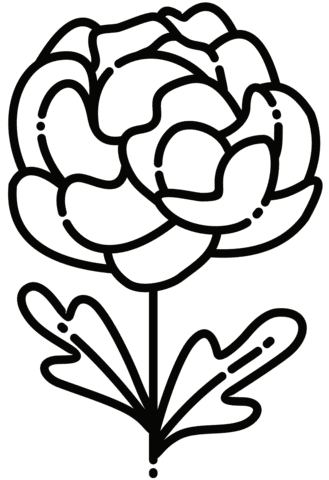
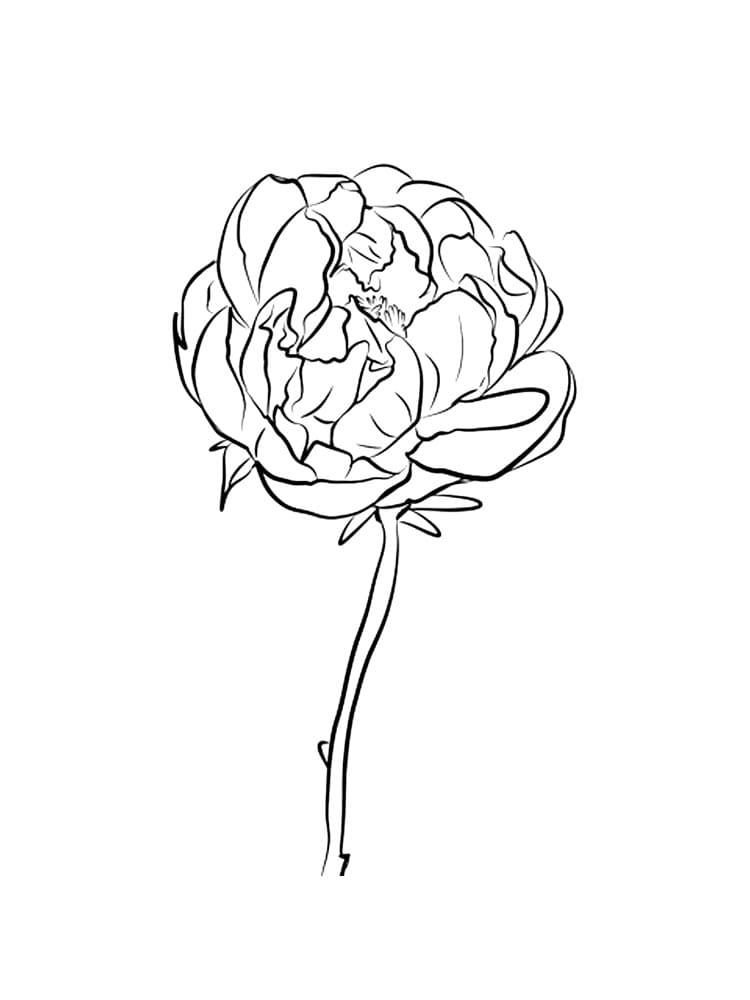
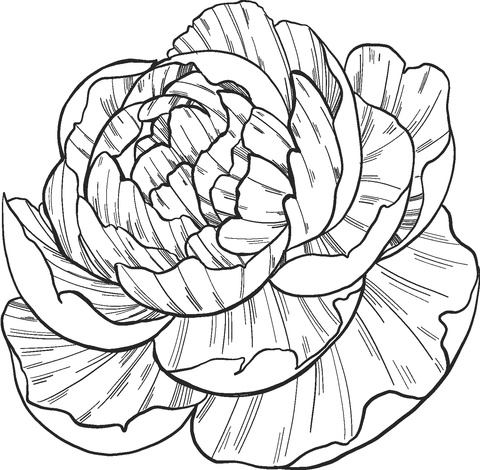
Step 1 – Draw The Middle Of Your Peony

To start your drawing, you have to locate the center of the peony; then, you will draw an oval and use many overlapping curves to form the center of the beautiful peony, as you see in our reference image. It’s not too difficult for you, our only advice for you is that you have to focus and follow our illustration, then you will know how to do it.
Step 2 – Continue To Draw The Layers Of The Peony

If in step 1 you drew the center of the flower, your task in this step of our guide on how to draw a peony you have to draw more petals to form a single flower with many petals. Because drawing a peony is quite complex, we give many steps, and there is a specific task in each step. You can look at our illustration and follow it.
Step 3 – Finish Off Your Peony

It’s time to draw the outer petals and the inner petals. The more you draw peonies, the more attractive you feel. Similar to step 2, in this third step of your peony drawing, you continue to add the petals for your flower. Once you are happy with this, you can move to the next step.
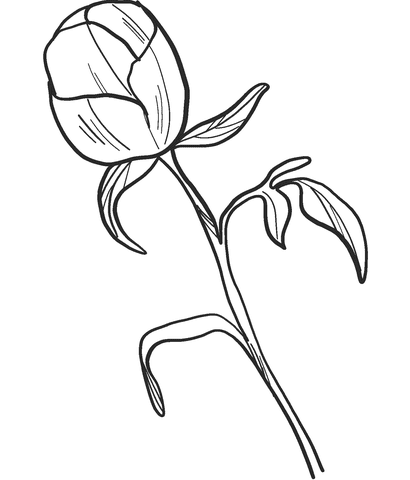
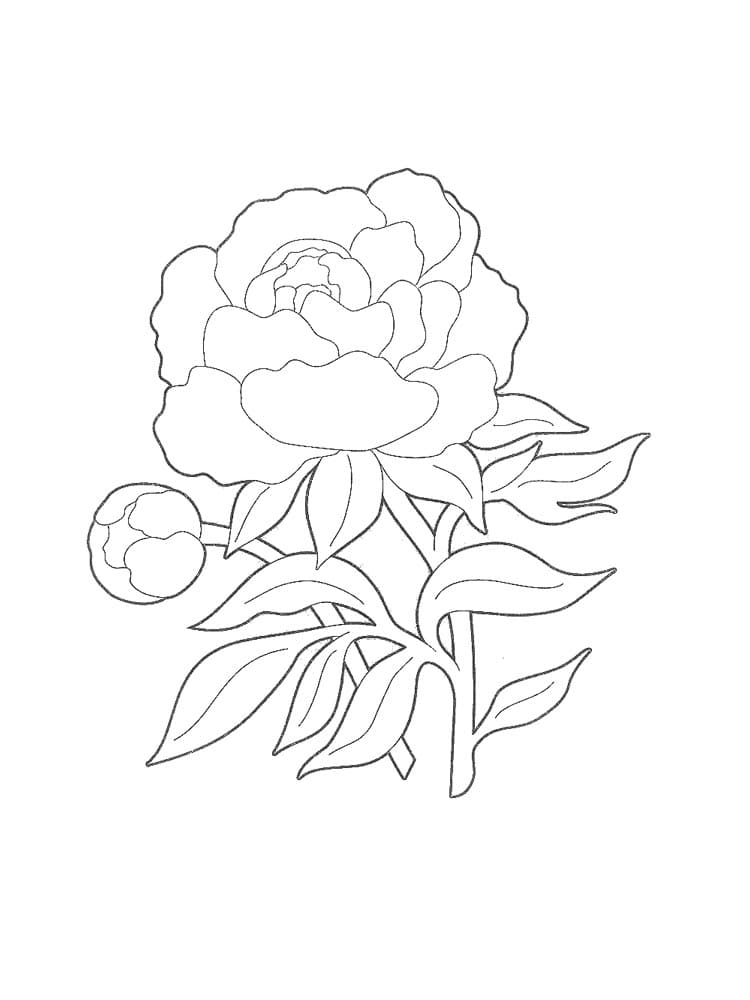
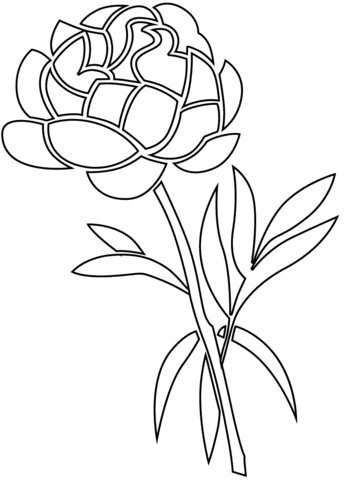
Step 4 – Draw The Leaves of Your Peony

You will draw the first leaves branch for your peony flower. From the flower, you use a curved line; then, you draw some leaves on this branch. Awesome, you drew the peony with some of its leaves too. And now you can continue your work on our instruction on drawing a peony.
Step 5 – Draw More A Leaves Branch

Similar to step 4, in step 5, you continue to draw leaves and branches for your peony. Also simple for you, use a curve from the flower, then draw more leaves on that branch, making your flower more beautiful. This branch will be located symmetrically with the branch you just drew in the previous step.
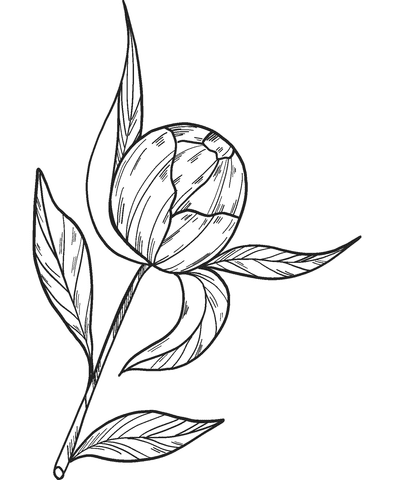
Step 6 – Draw The Third Leaves Branch

You continue to draw a peony with the third leaf for your flower. You will draw this leaves branch for the peony under your peony. Because you already have experience drawing branches and leaves, you can observe our illustration and follow it to get the result.
Step 7 – Finish Off Your Drawing Mission

You are the step to add the final detail for your peony flower. You will draw the last leaves branch. So, your flower has four leaves braches now. Simple isn’t it, the reference picture will show you what it should look like, and once you’re happy with it we can move on to the last step of coloring!
Step 8 – Color Your Peony

It’s time to choose the suitable colors for your peony drawing. Very simple for you because you will choose any color for your flower in this step. We take red for peony flowers and green for leaves and branches. Your peony is perfect right now.
Your Peony Drawing Is Complete!
You finish off your drawing and coloring mission with our guide on how to draw a peony. You get a great time with us. It is great to relax; if you are a parent, you can recommend this drawing tutorial for your kids. By joining in this activity, your kids can avoid using technical devices such as television, smartphones, tablets, etc. They are not good for their eyes and evolution. Drawing activities will help your child develop comprehensively, such as gaining more skills such as pen skills, concentration skills, and color recognition skills. Overall, drawing and coloring are good for everyone. On our website Coloringcool.com, you can enjoy many flowers drawing guides as pansy drawing, magnolia drawing, lotus drawing, dahlia drawing, etc. These are flower drawing tutorials that you can refer to and enrich your drawing collection. We hope that you enjoyed our tutorial on peonies art, and that you will join us again for more easy and exciting drawing guides!