7 Steps Creating A Nice Bendy Drawing – How To Draw Bendy
Creating a scary Bendy drawing in just 7 easy steps
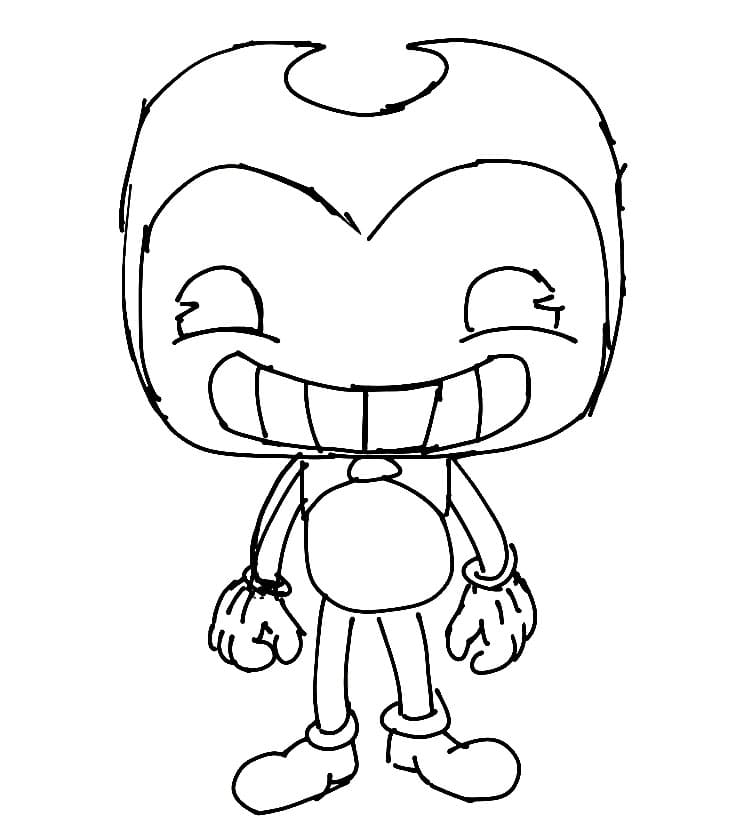
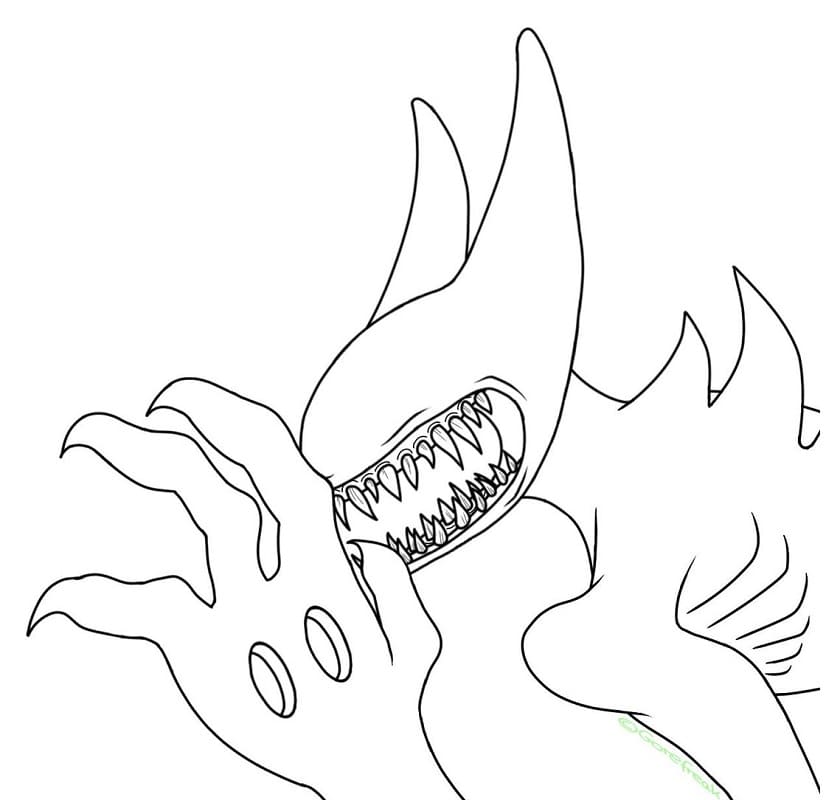
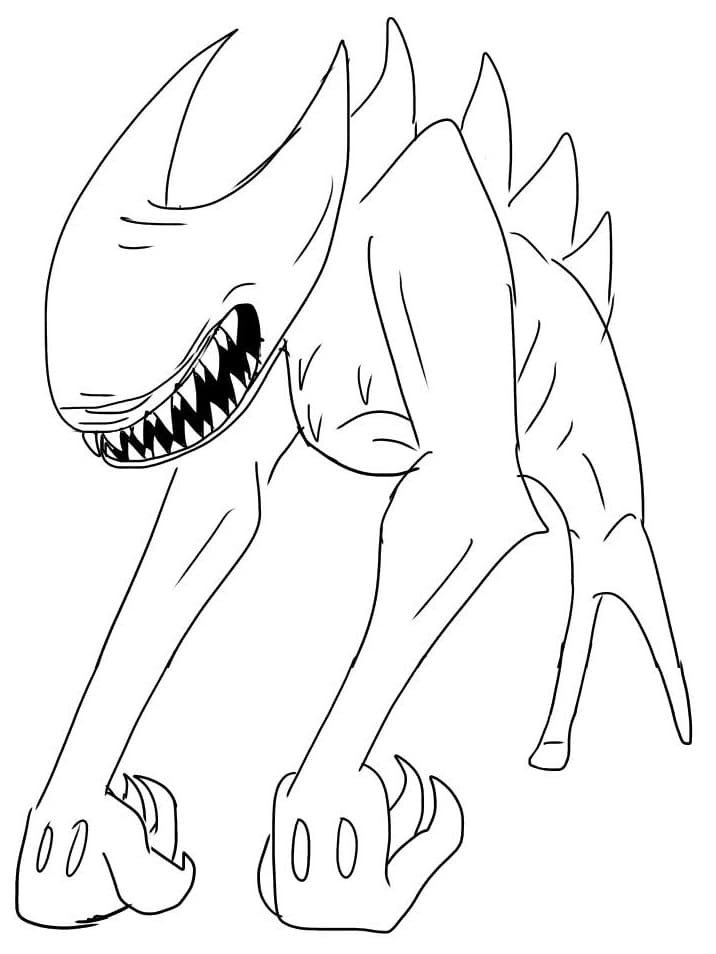
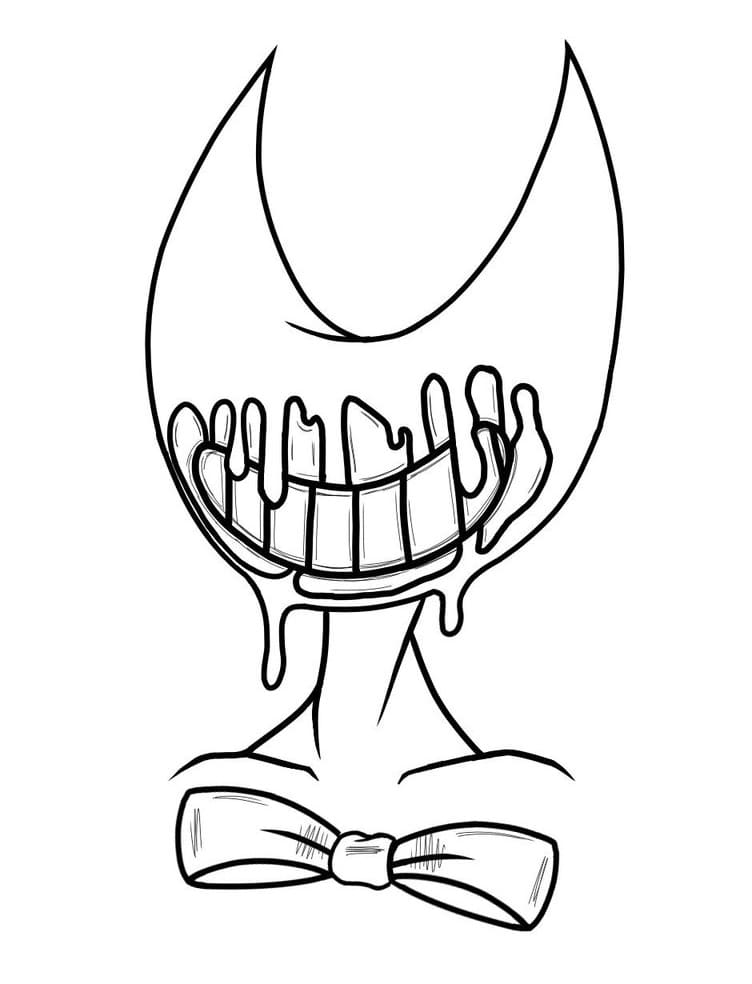
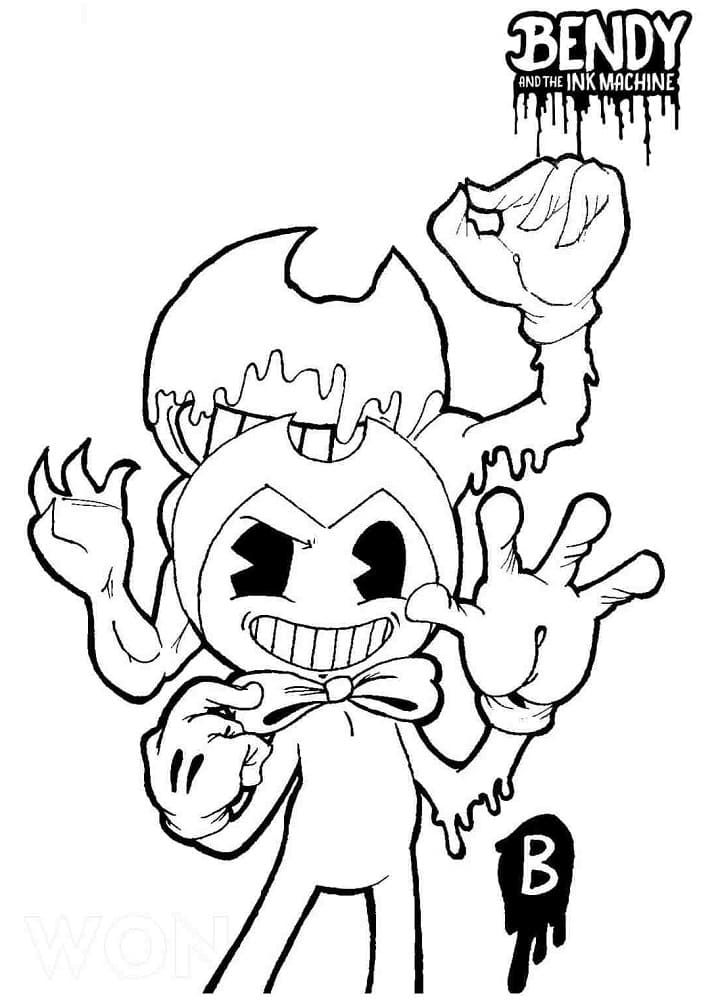
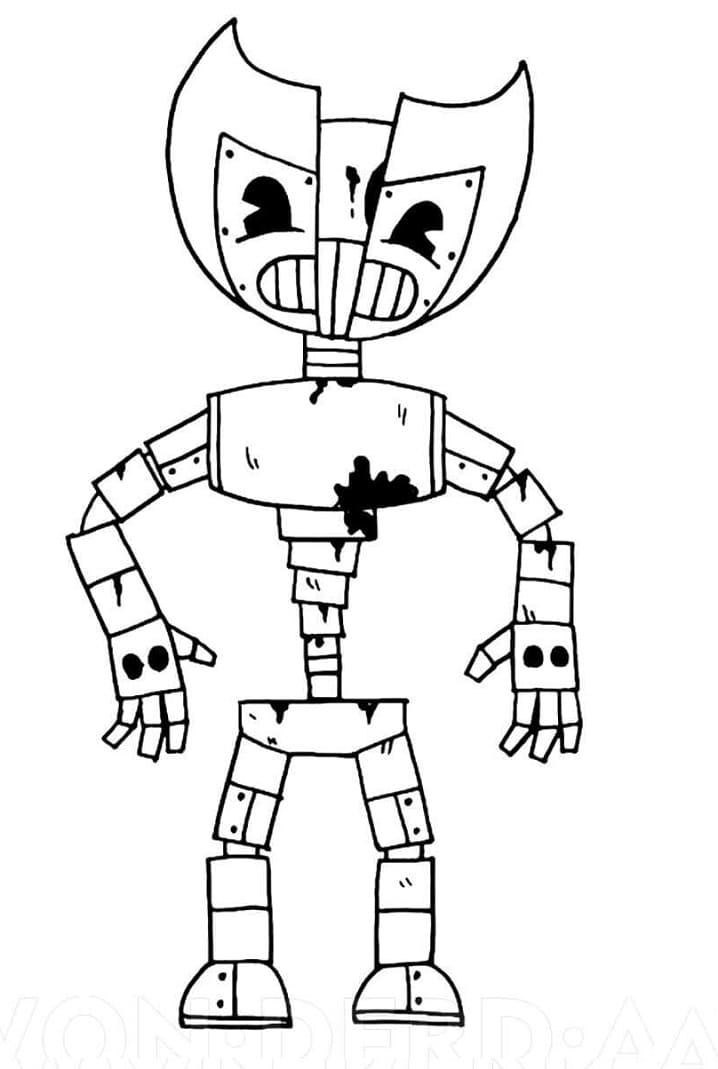
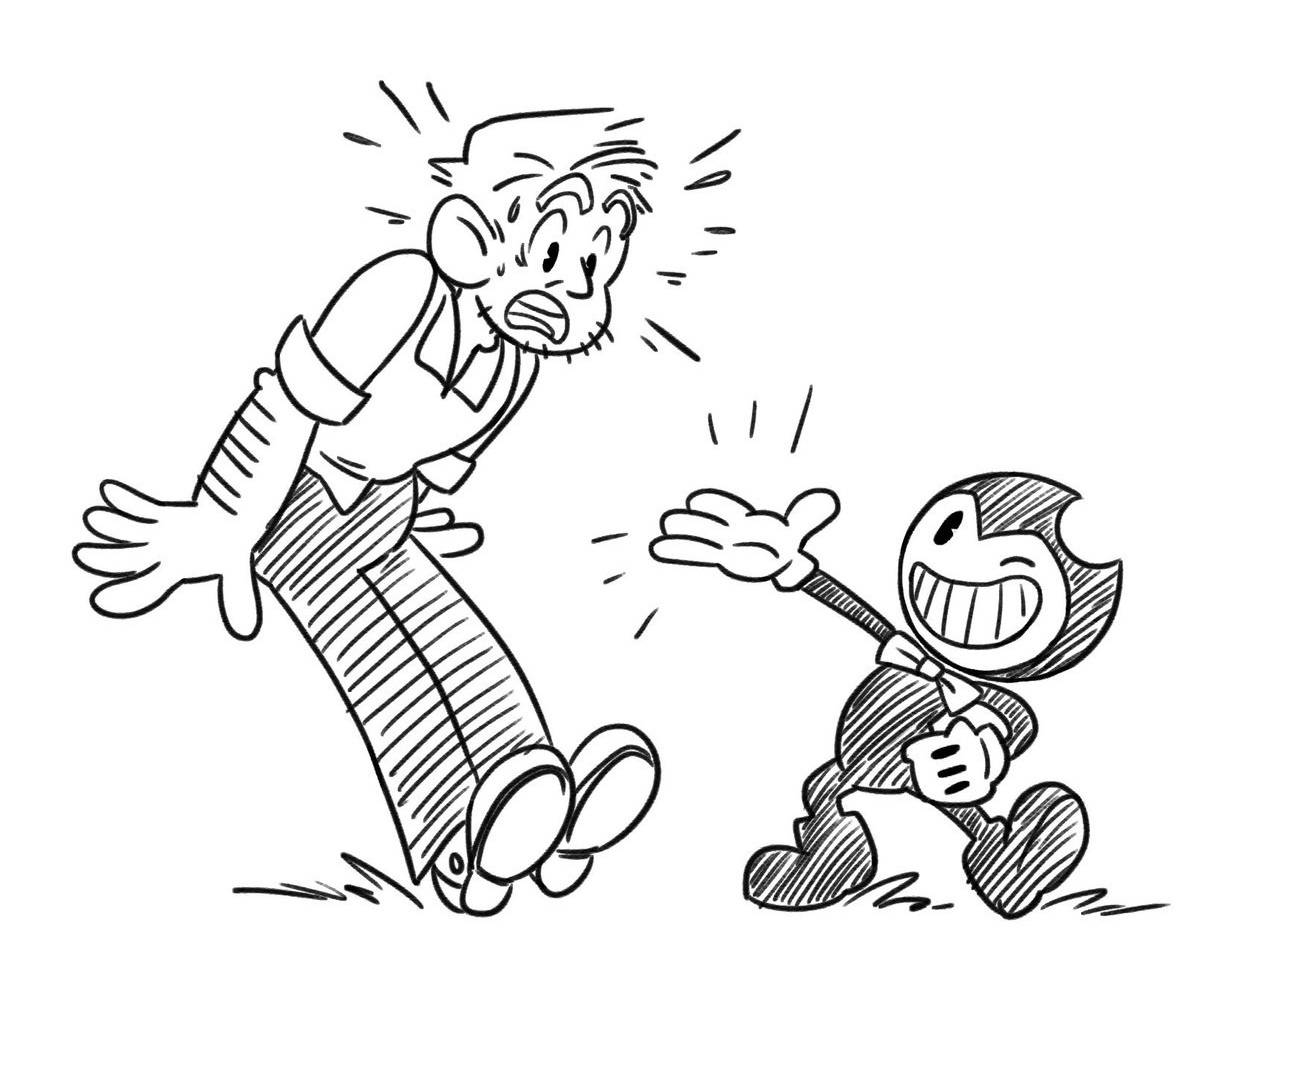
You learn how to draw Bendy with our super easy to follow step by step Bendy drawing tutorial. This drawing tutorial will show and tell you how to draw Bendy from an episodic game called Bendy and the Ink Machine. There are seven you have 7 steps equivalent to 7 tasks that you have to complete to create Bendy for you. You will go to step by step in our instructions. Very interesting, you will realize your task from easy to difficult to make Bendy. You know that this character is a dancing cartoon demon whose image appears on posters and life-sized cutouts throughout the studio. A monstrous, more humanoid version of him haunts the studio and covers the walls in black ink whenever he appears. Not too difficult, you will concentrate your mind passion, and time to finish tasks here. Along with the tutorial, we have also included a couple of free Bendy coloring pages that you can print off and give to your kids to color!
How To Draw Bendy – Let’s Get Started!

It would help if you prepared a pencil, eraser, colored pencils, drawing paper…before drawing. Our advice to you is to use a pencil to draw on the paper because you will easily erase the mistake. So don’t be afraid to draw, draw in the most comfortable way so you can get your favorite character to the fullest. With this character, there will be many intricate details so you need to concentrate to complete your task in the best way. You get a great time relaxing with us. If you are a parent, you can give this tutorial to your kids, they get a chance to understand this character. This is very useful for children to stimulate learning in children, children have the opportunity to practice many skills such as concentration skills, pen skills, painting skills, concentration skills,…More, your kids can avoid using technical devices as smartphones, tablets, and television, they are not good for their eyes and their evolution. Now let’s get started drawing Bendy with us!
Step 1 – Draw Bendy’s Face Outline

On the upper portion of your paper, draw the arc as a semi-oval to create an outline of the Bendy’’s face, also the head of the Bendy. To make that your character will be drawn in the center, create reference lines by drawing intersecting horizontal and vertical lines across your paper. You have to draw in the center of the paper and make sure that there is enough space to draw the whole body of the character.
Step 2 – Add Some Details For Bendy’s Face

You will use zigzag lines to decorate Bendy’s face, it’s not too difficult you can look at our drawing and follow it. You will finish your task here in some minutes and move to the third step and continue your task.
Step 3 – Draw Bendy’s Teeth

From the face, you will draw 2 parallel curves to form long teeth, then use short straight lines to draw consecutive teeth. Afterward, you use some small details for Bendy’s Face. That’s all there is to it for this step, so when you’re happy with the look of it we shall continue adding to this duck in the fourth step.
Step 4 – Draw Bendy’s Arm

Now, draw parallel angled lines to create the left arm, which should be directly connected to the torso. Next, you will draw small, long fingers on the arm to complete the branch and hand for Bendy. You continue to repeat the previous step on the right side to complete the upper body and the pair of arms. Under the neck, you add a bow to make decoration for Bendy, very interesting here.
Step 5 – Draw Bendy’s Legs

Right underneath the upper body, you draw two parallel curved lines forming the right leg. Please make sure that the lines are slightly curved outwards to make the structure of the leg appear natural and realistic. Repeat the task but draw to the left side to form the left leg for bendy. You finish the task here with the foot for Bendy as the curved lines.
Step 6 – Finish Your Drawing Mission

You finish your drawing task here, going back to your character’s upper body, drawing an upward curved line below its the decoration for Bendy’s body. And there you have it—your character is now a full part of the character’s body. Once you have these elements looking as they do in the reference image, you’re ready for the last step of coloring.
Step 7 – Color Bendy

Finally, here is the most exciting part—filling in the colors for your awesome drawing! This is the part where you can show off your artistic skills and your ability to mix and match various colors. You can use your favorite colors for your product, Bendy. You can take the same colors with us. We choose black and yellow for this character, you can add more colors to make your character richer. We hope you learned how to draw Bendy with the help of this step-by-step tutorial. We’re sure you can incorporate what you have learned in your future drawings.
Your Bendy Drawing Is Complete
Once you’ve finished drawing and coloring your artwork, don’t forget to show it off by sharing it on our Facebook page and on Pinterest. You also can move to Bendy coloring pages to enjoy images related to Bendy, we update the hundred of coloring pages for free here. If you like our products don’t forget to give us a thumb up and recommend them to your friends!