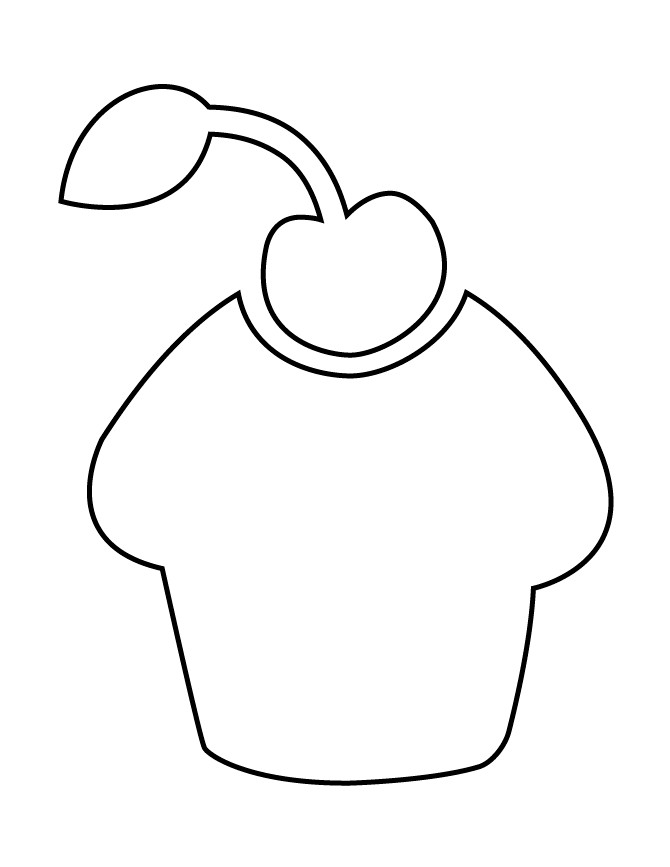
Cupcake Drawing Is Created In 9 Easy Steps
Creating a cute cupcake drawing in just 9 easy steps
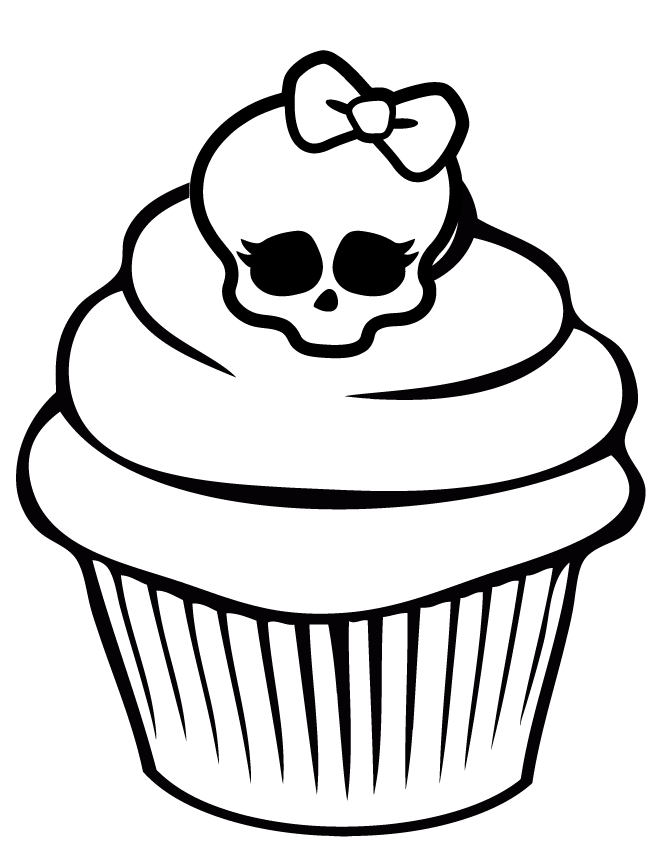
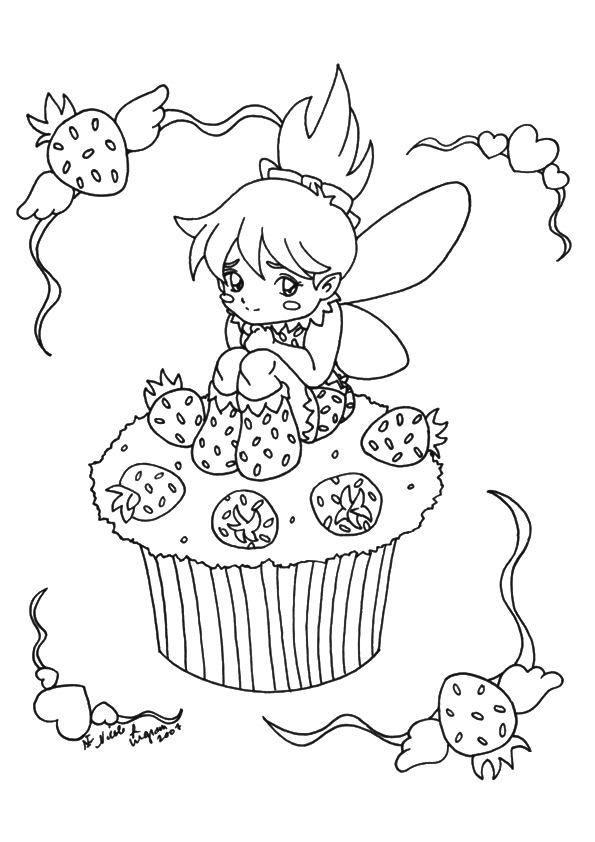
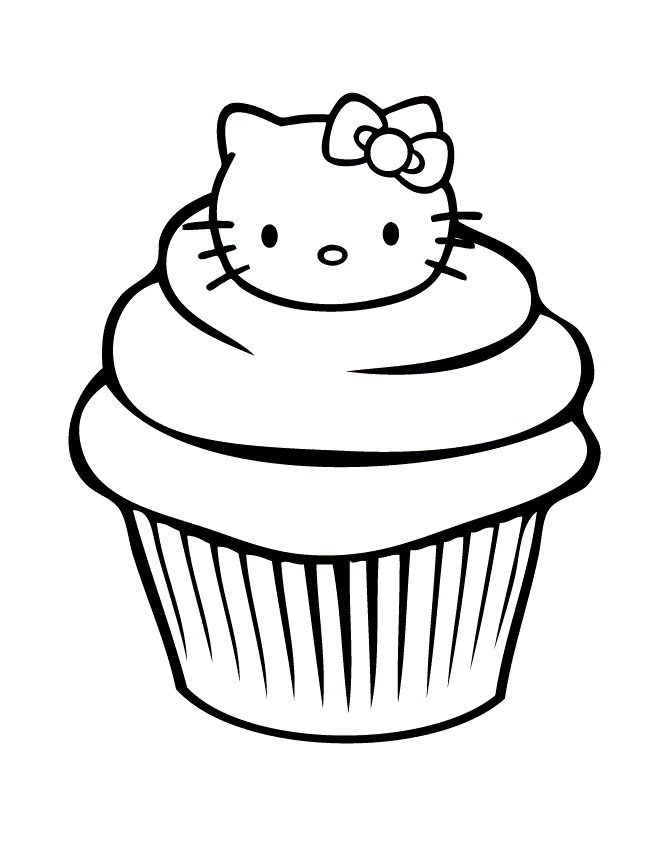
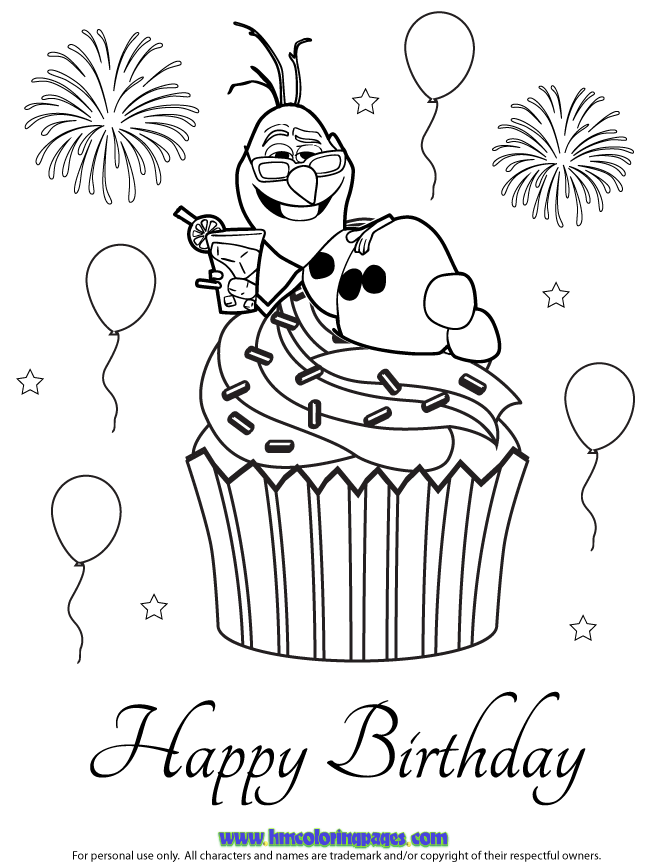
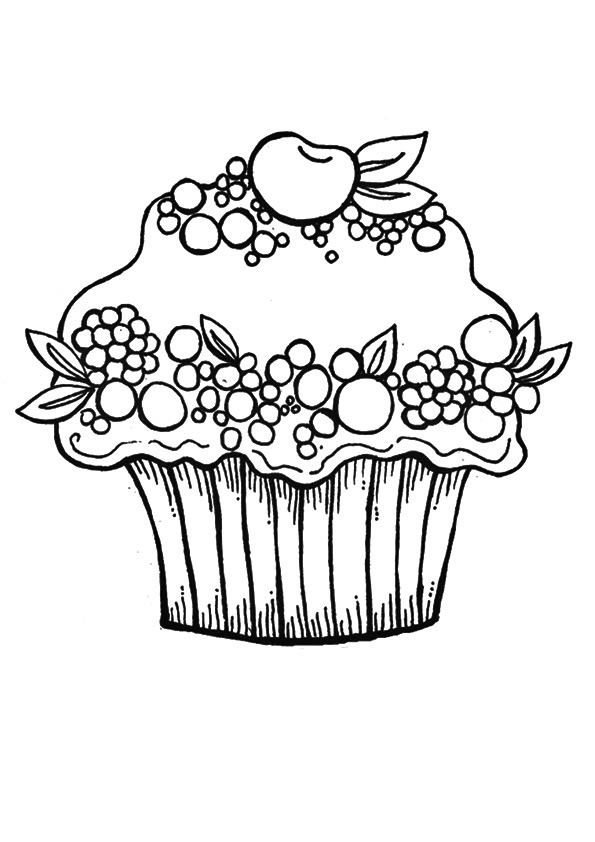
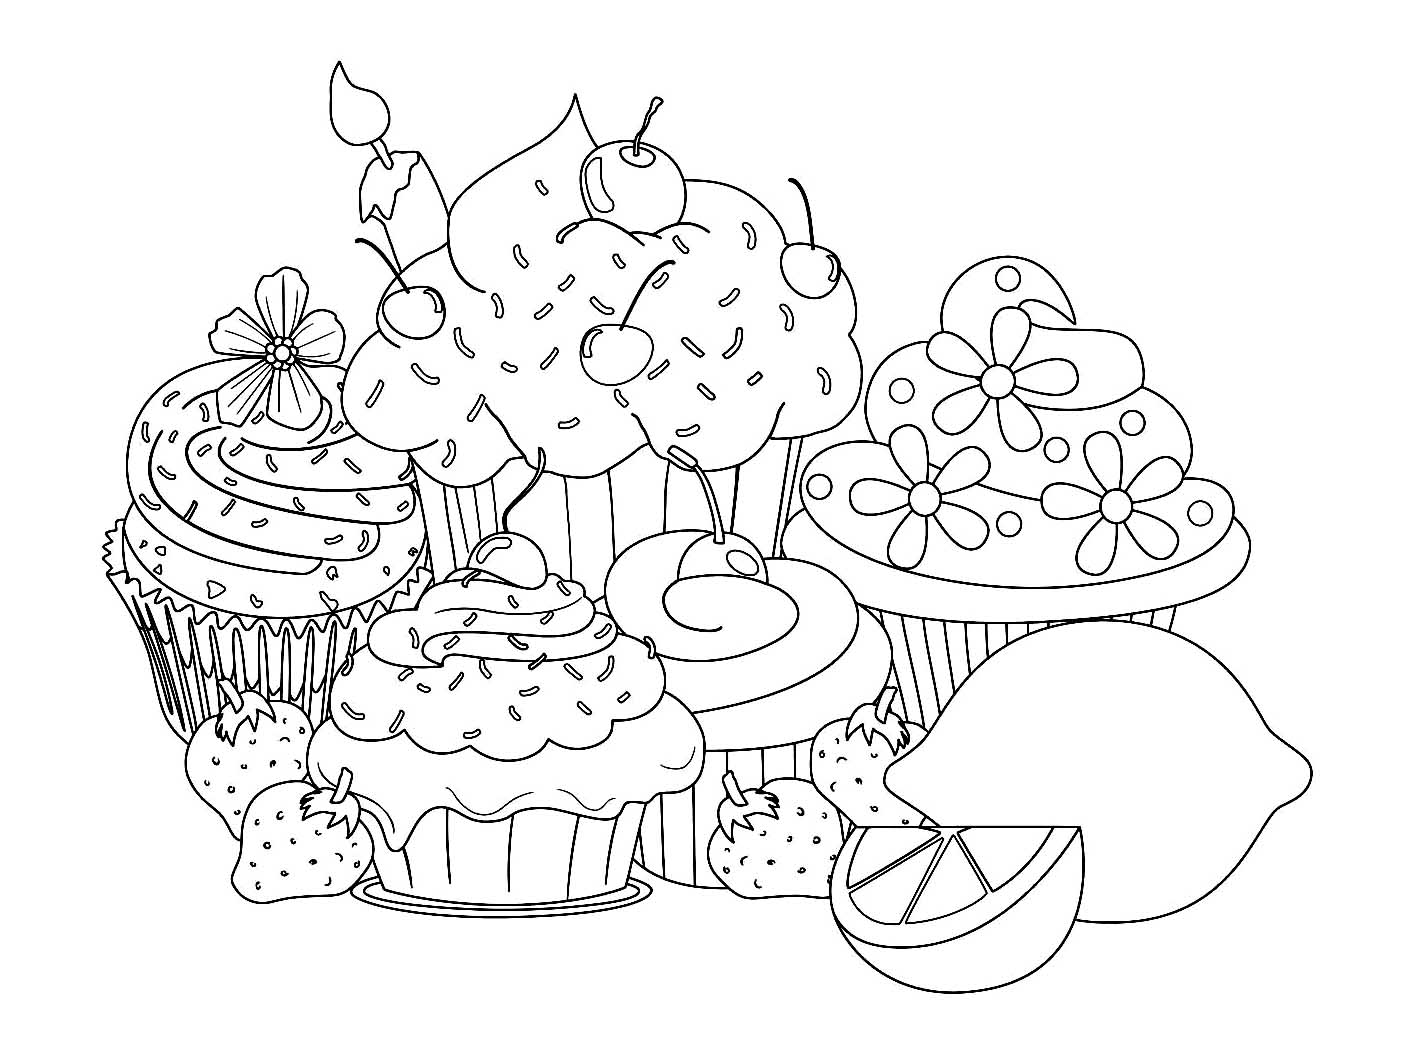
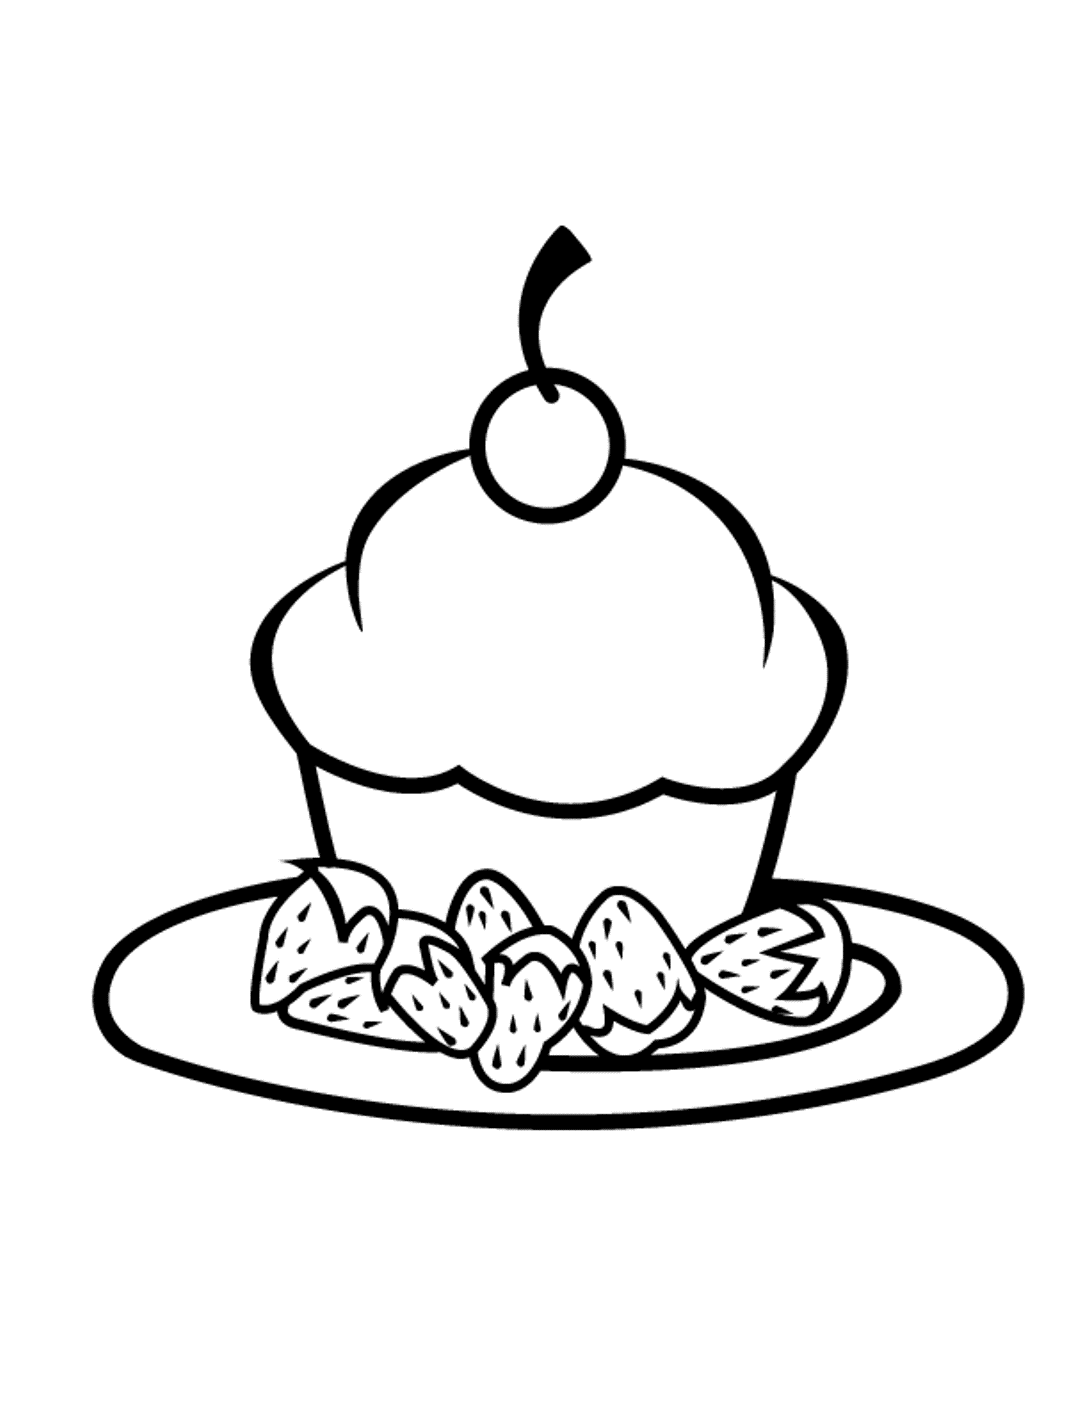
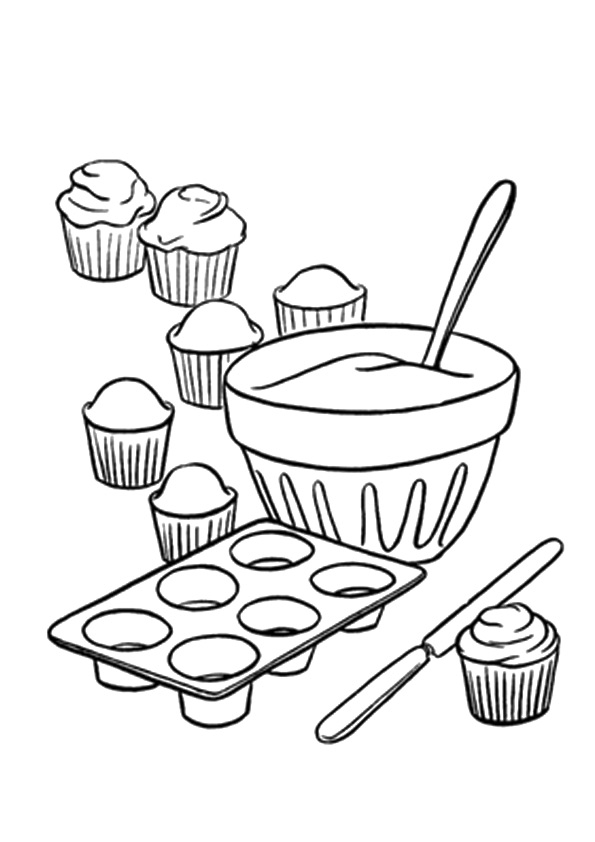
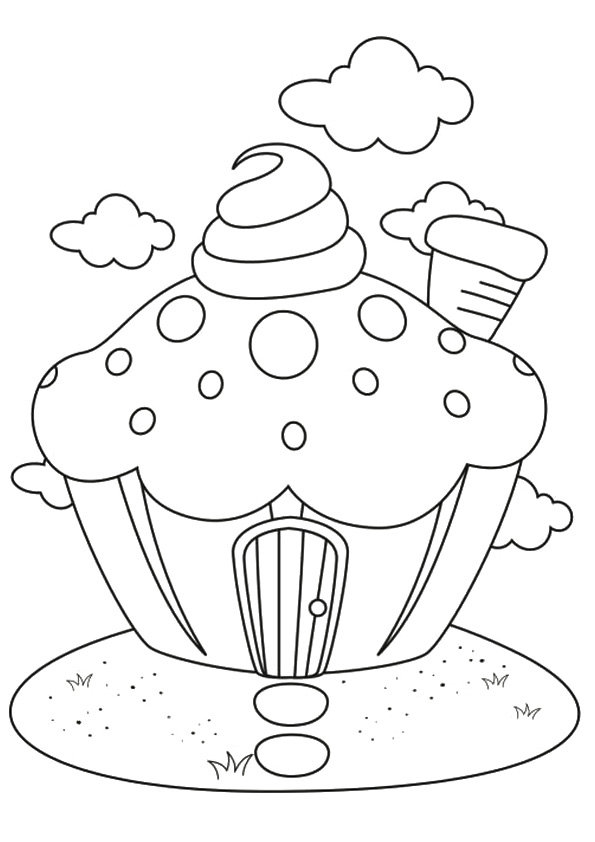
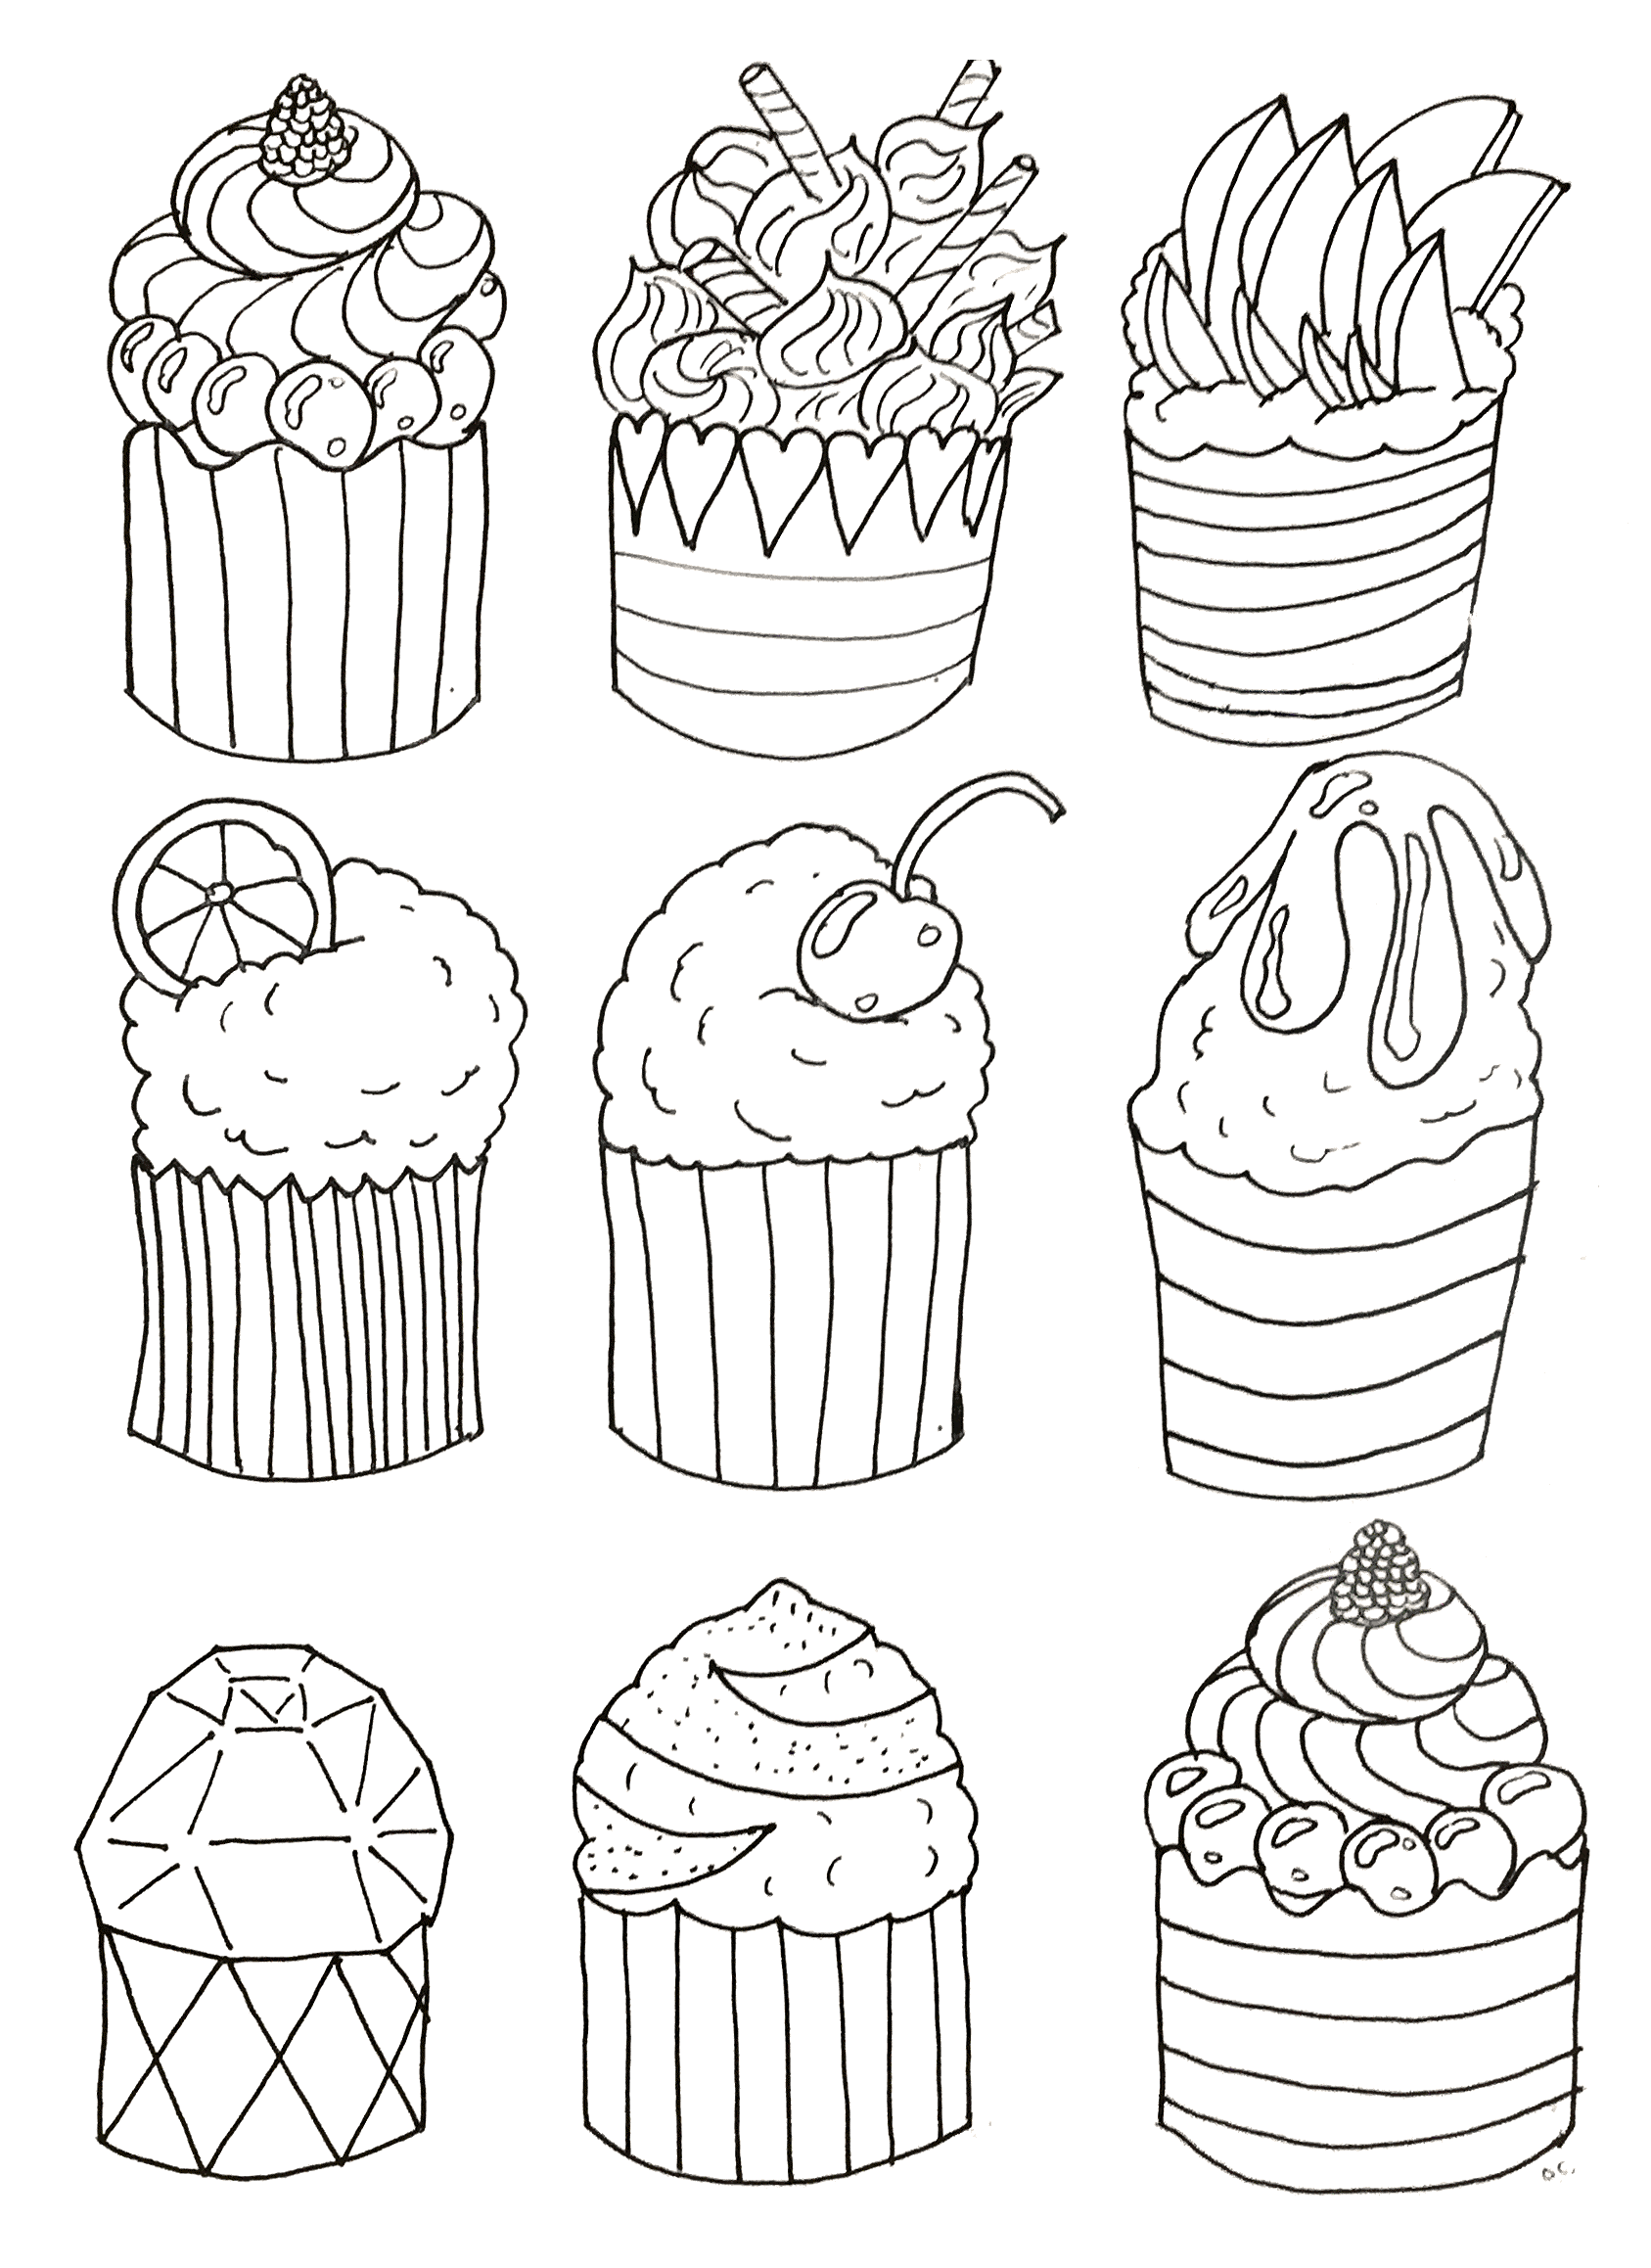
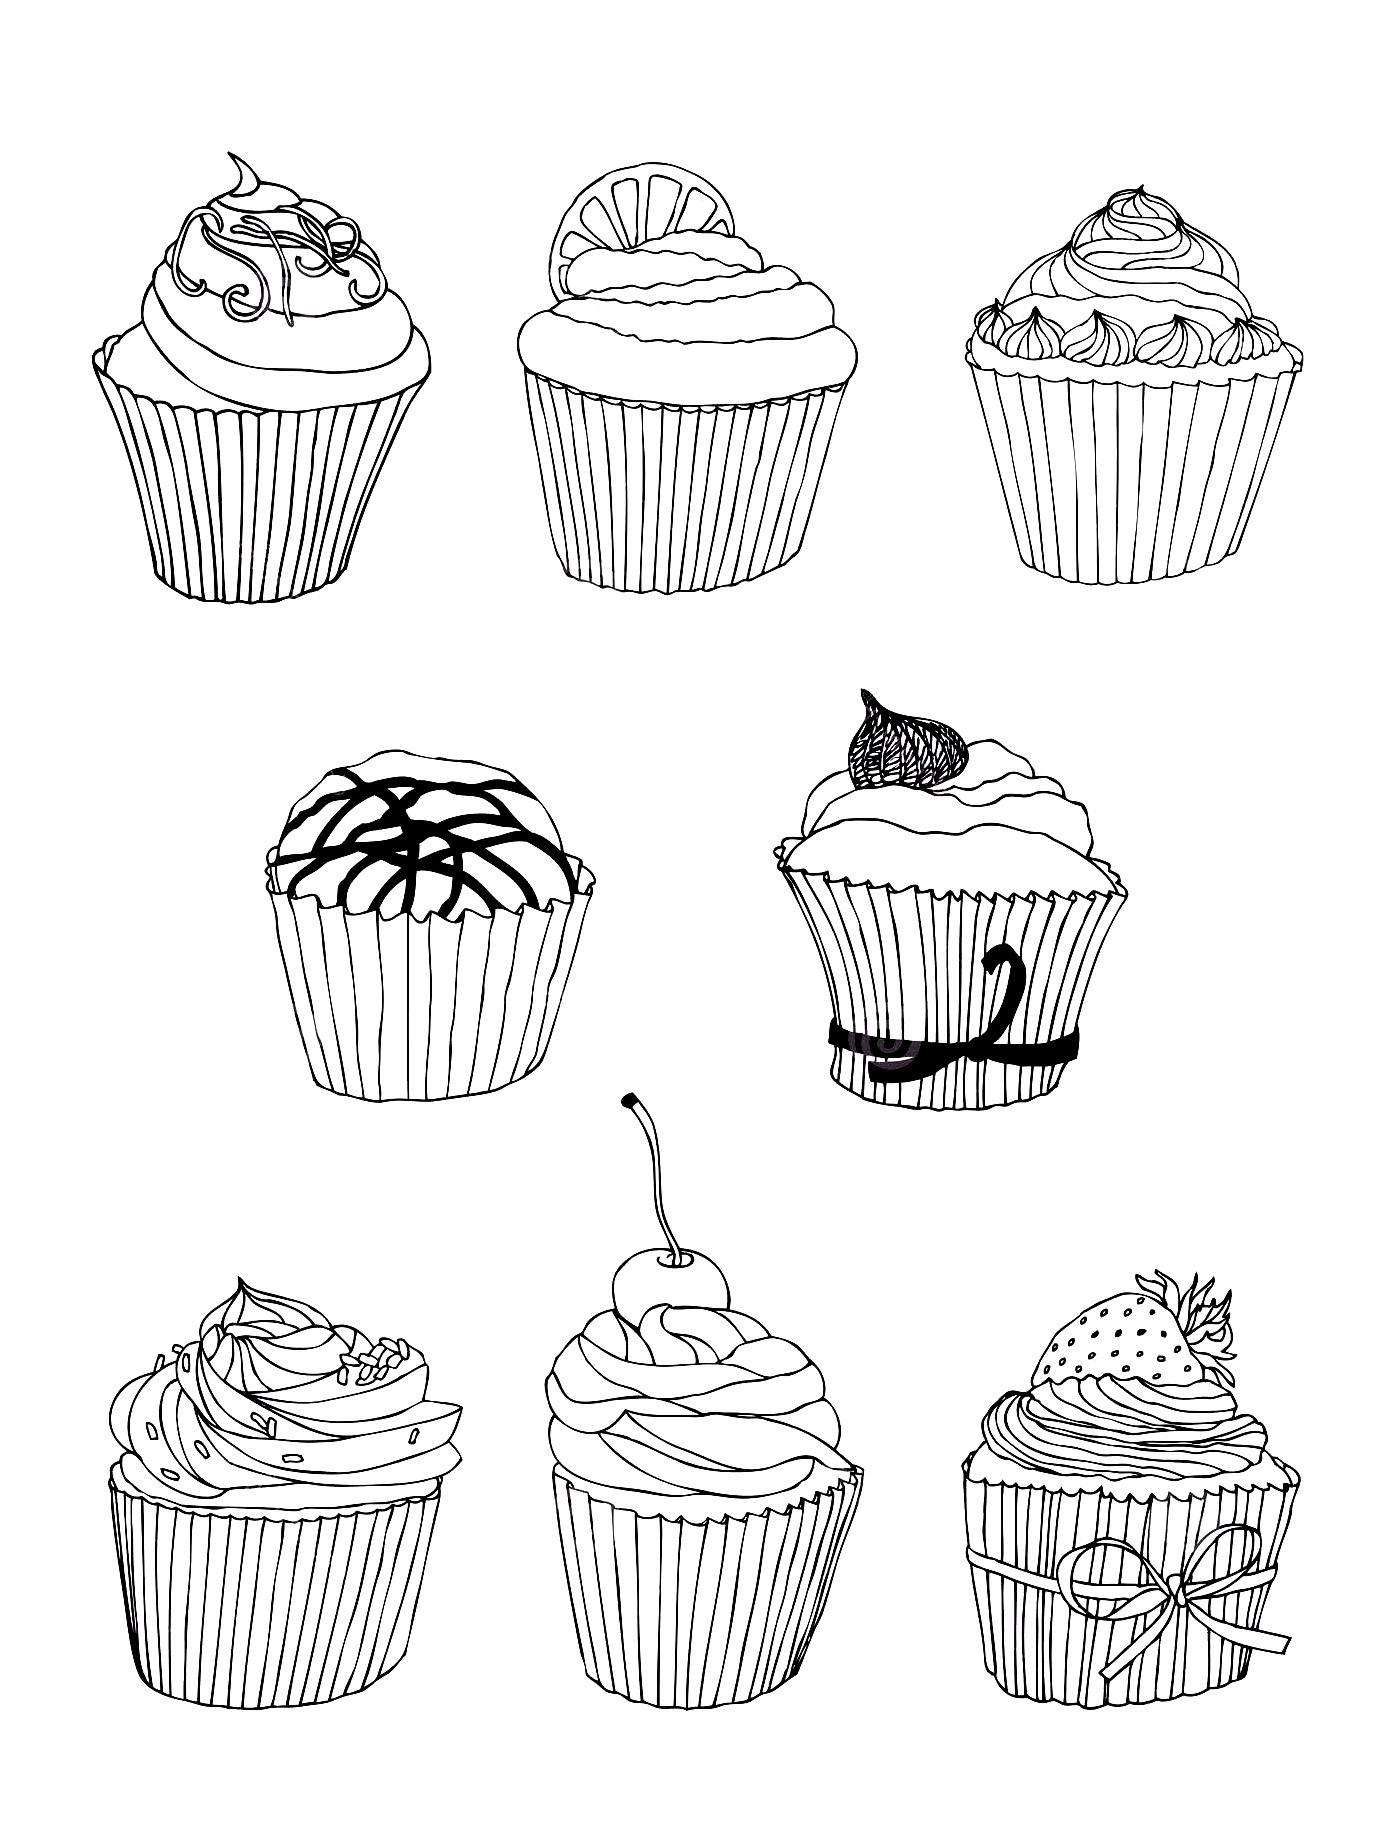
This is a tutorial that teaches you how to create a cupcake drawing. You can use cupcakes as a subject on your practice sketches to learn the basics of drawing. Everyone loves cupcakes, especially children, but making a cupcake is not easy and now sketching it with a drawing is not easy. Today we will show you how to draw a cupcake, summarized in 9 easy and simple steps. You will follow our instructions and go step by step and create a complete cupcake with your drawing skill. By learning how to draw cupcakes, you have the opportunity to learn more cupcake recipes. We give detailed drawing instructions and arrange them from easy to difficult, so it is suitable for everyone and whether you are a novice or an expert in drawing, we’re sure you can follow these steps effortlessly. Along with the tutorial, we have also included a couple of free cupcake coloring pages that you can print off and give to your kids to color!
How To Draw A Cupcake – Let’s Get Started!

You will create a cupcake with our guide. This is not a simple task, but it is not too difficult. You need to concentrate your mind, passion, and time to realize your task until you finish it. You will complete nine missions, equivalent to nine steps, and try to finish as soon as possible. This is an interesting task, and you can enjoy it in your free time. Like other drawing tutorials, you must prepare the necessary tools, such as pens, paper, pencils, erasers, and colors, before starting to draw. You can give this lesson to your kids and learn with them. This is a chance to help you understand your kids because you have time with them. More, they can avoid using technical equipment such as television, smartphones, and tablets,…they are not good for their eyes and evolution. Now, let’s get started drawing a cupcake with us!
Step 1 – Draw The Cupcake’s Shape

Starting at the upper portion of your drawing space, you draw a trapezoid shape for the base of the cupcake cup. Of course, you use a pencil to draw on paper because some steps will require you to erase lines drawn in previous steps. Using a pencil to draw will help you erase your mistakes easily. You can finish your task and move to step 2 now.
Step 2 – Add Outline For Cupcake’s Shape

For the second step of drawing the cupcakes, we add an outline for the cupcake’s shape. You use the zig-zag of curved lines to show that. You will add the outline for the cupcake’s shape. This is simple for you here; you can spend some minutes on this task and next to the third step to continue drawing your cupcake.
Step 3 – Draw The Outline For The Icing On The Top Of the Cupcakes

You use more curved lines to add two sides and make the top of the cupcake. It also is simple for you in this step. You can look at our illustration and follow it. The cupcake is attractive thanks to the above, so in the next steps, you will continue to draw the top of the cupcake. You finish this task and move to the fourth step.
Step 4 – Draw A Horn For Cupcake

Because we are learning to draw a cute cupcake unicorn, we must add a nice horn to the cupcake. You will use two lines and meet at a point to form a sharp horn for the cupcake in this step, as you see in our sketch image.
Step 5 – Finish The Topmost Part of the Frosting

You use the curved to finish the rest of the drawing cupcake. Draw a curved line on either side of the frosting’s tip to create one layer of frosting. Make sure that both ends of the line are close to each other. Drawing cupcakes is not difficult, the important thing that you have to remember is to draw slowly, not be too hasty, or your drawing will be damaged.
Step 6 – Draw The Cupcake’s Eyes

You draw to circle and dots inside it. Then you use black to color the eyes and make the pupil. You let some white space to make the real and lively eyes. Now, your cupcake is cute with eyes, and you continue your work in the next step.
Step 7 – Draw The Cupcake’s Mouth

If you drew eyes in the previous step, in this step you will draw a mouth for the cupcake. This is also a simple task for you. what you need to do here is draw a small triangle in which you will fill it with black so that the white space will be the tongue for the mouth so you can finish the task of this step.
Step 8 – Finish Your Drawing Task

You will finish the drawing task here with all the decorations in the cupcake. You add eyebrows and eyeshades for your cupcake. On the eyes, you use two short curved lines for eyebrows then you use some parallel lines to make decoration for the horn. You can add some cute shapes or point to decorate your product. So, you finish a complete cupcake with drawing. Before you move on to coloring cupcakes, you should look back and consider if you need more decoration for your cupcakes and perfect your drawing.
Step 9 – Color Cupcake

The choice of color for your product, a cupcake, completely depends on your ability to paint and your preferences. We choose purple for the cupcake’s shape and horn and black and white for the eyes and mouth. Some pink for decorations. Right now, you have a complete cupcake with your talent. As you see on our site, we update many drawing and coloring pages for free; if you like our products, don’t forget to give us a thumb up and recommend them to your friends!
Cupcake Drawing Is Complete!
You can move to the cupcake coloring pages and enjoy images related to cupcakes that we update daily. With this posting, you know how to draw a cupcake; an interesting lesson, and I hope I hope you find these tutorials helpful. Please enjoy and happy drawing!