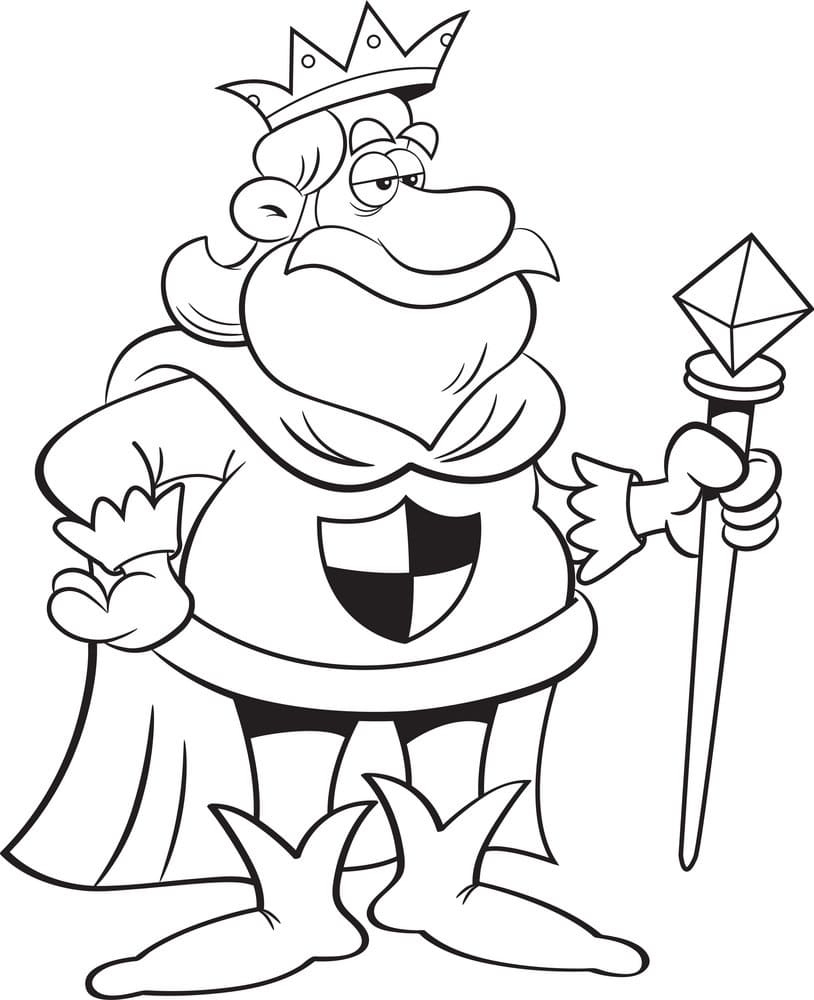
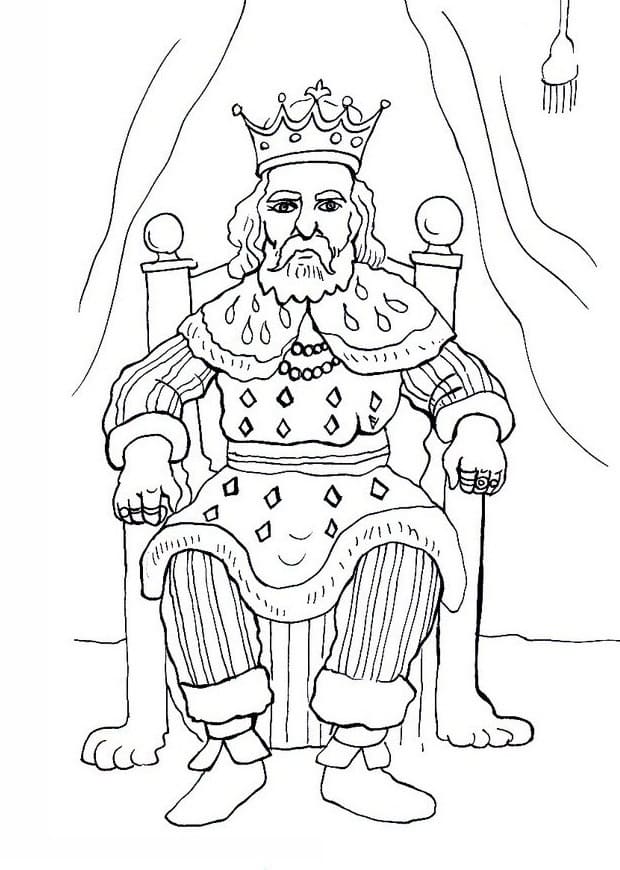
King Drawing Is Complete In 9 Easy teps
Complete perfect King drawing in just 9 easy steps
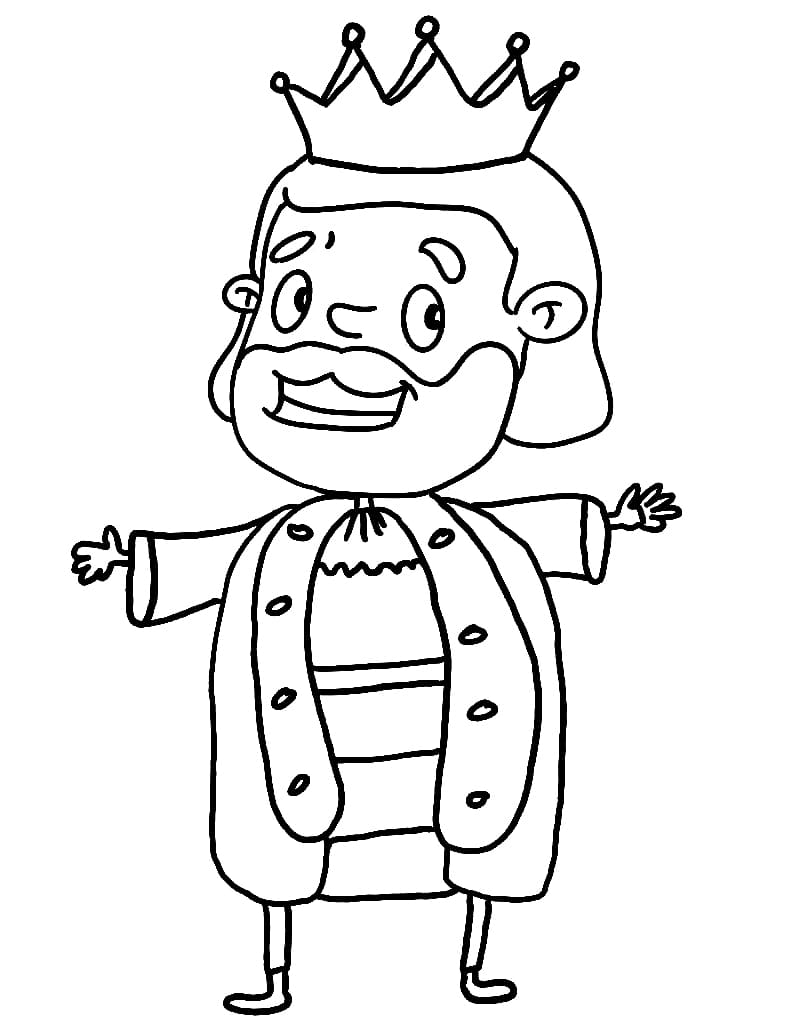
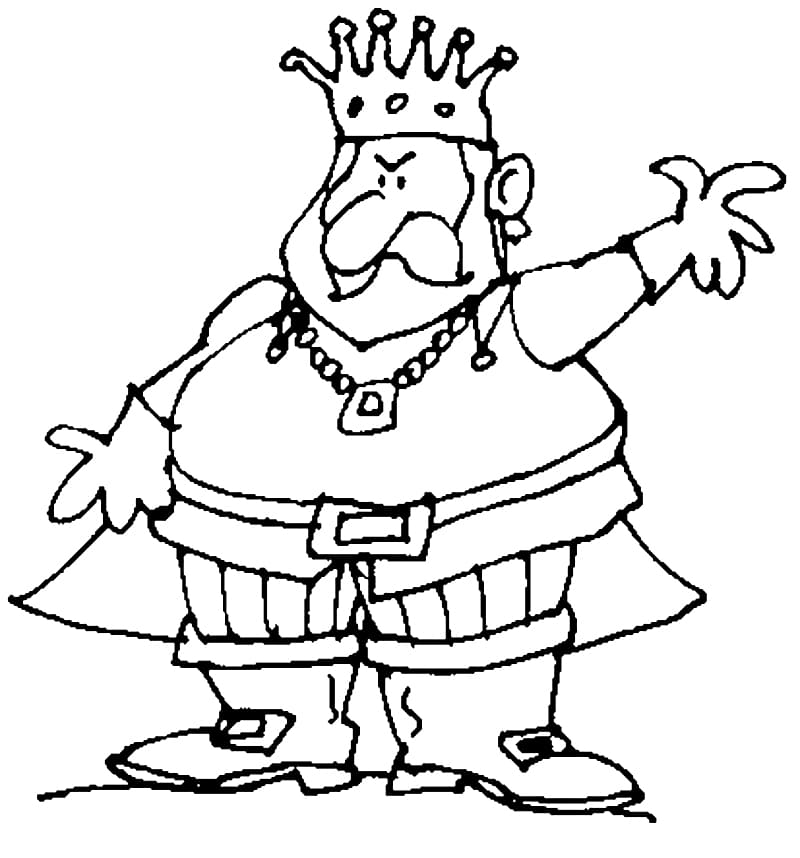
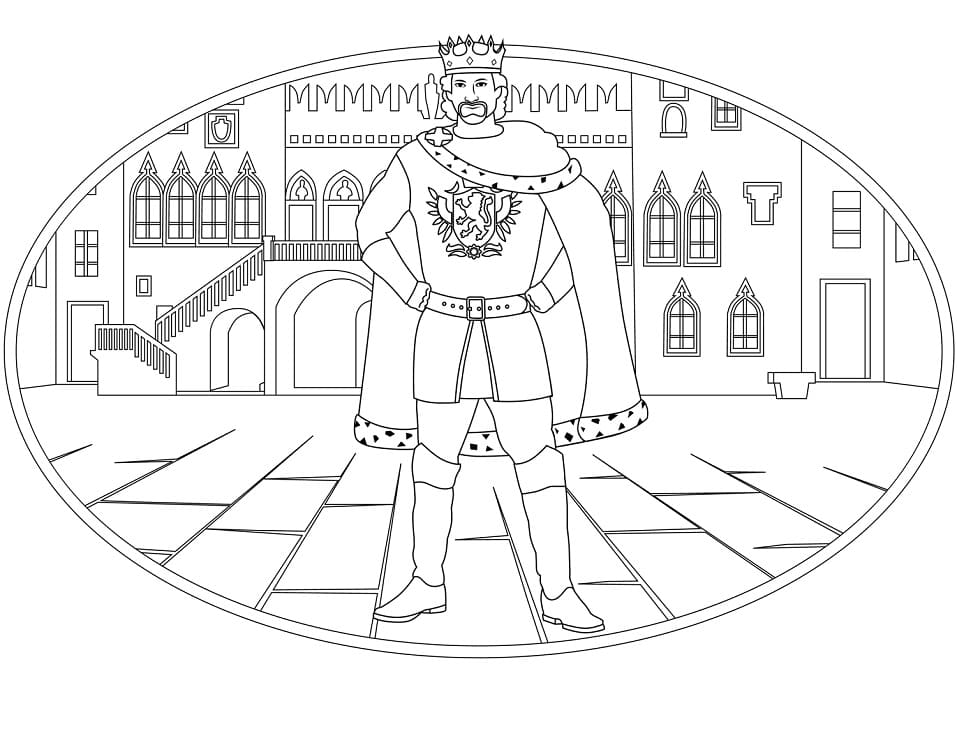
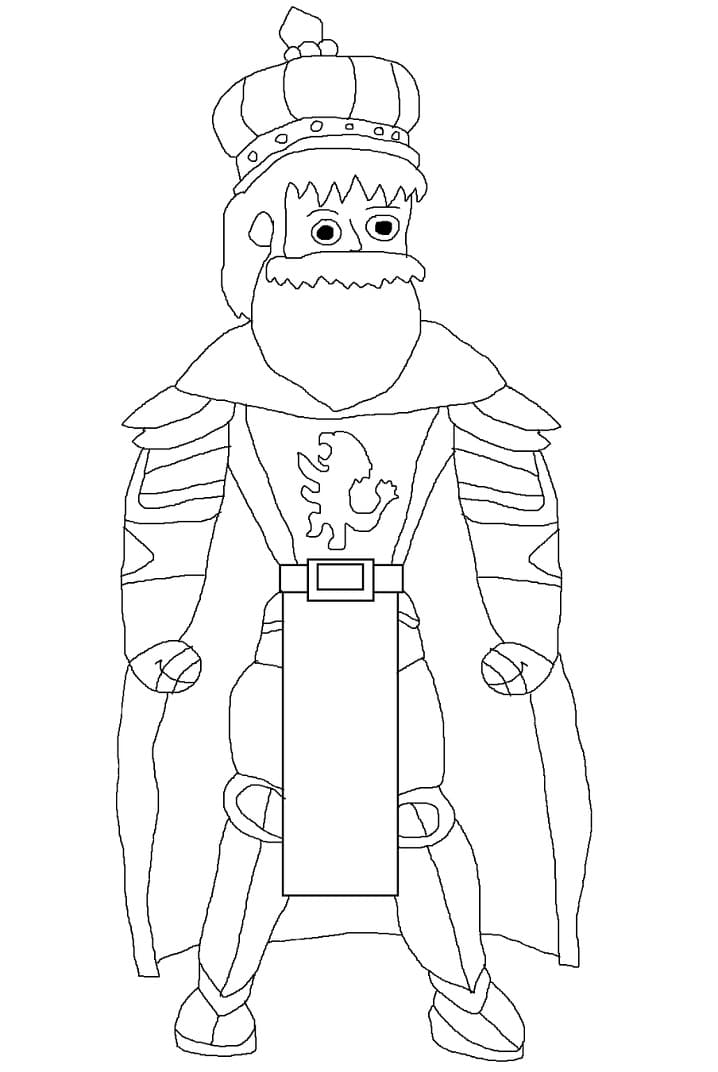
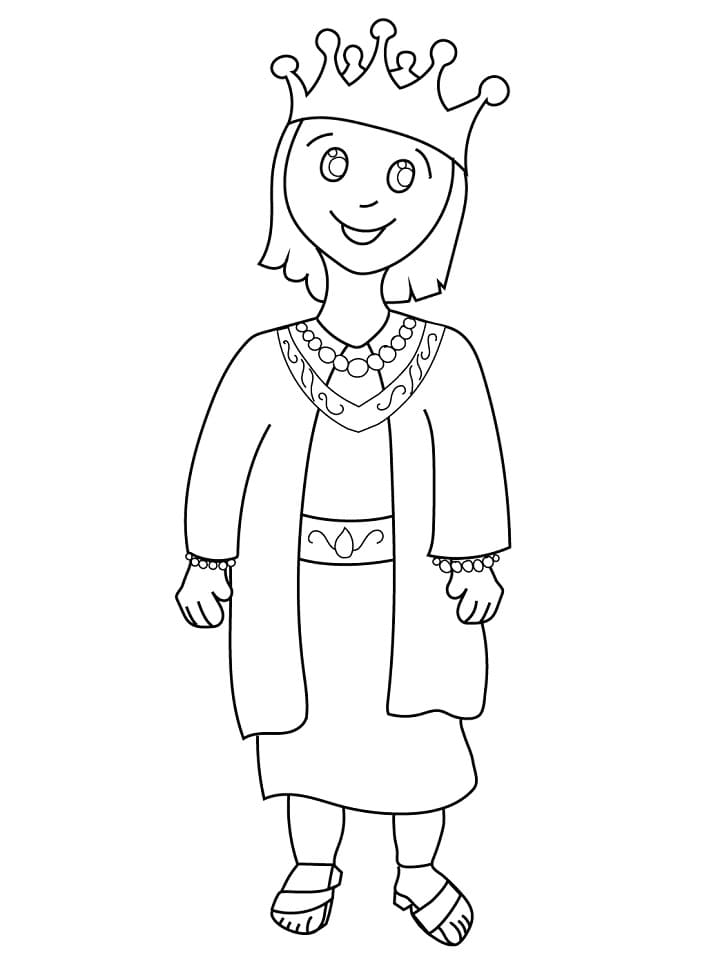
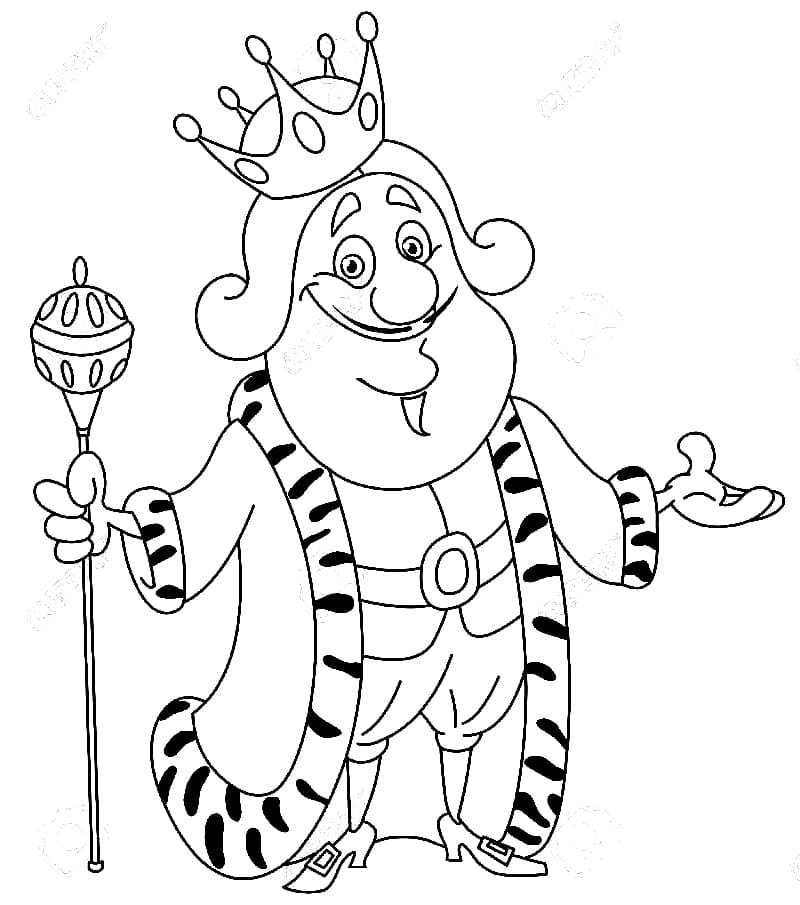
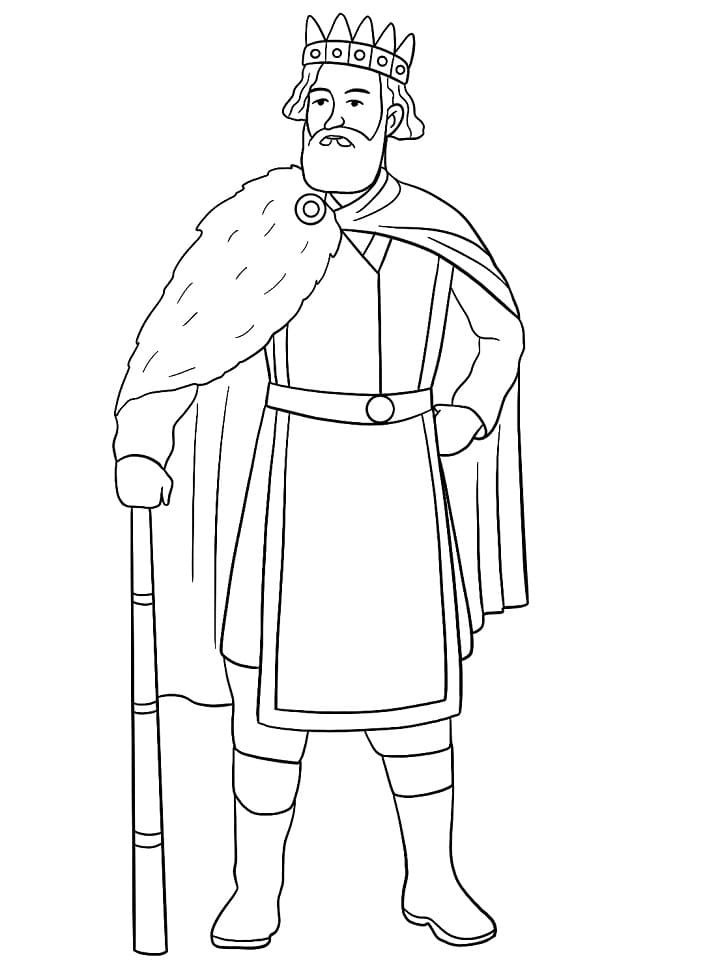
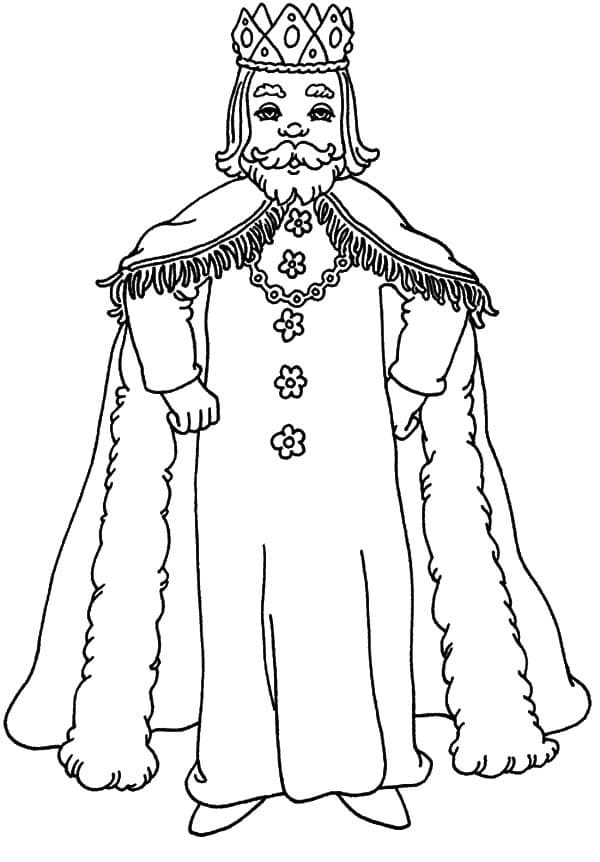
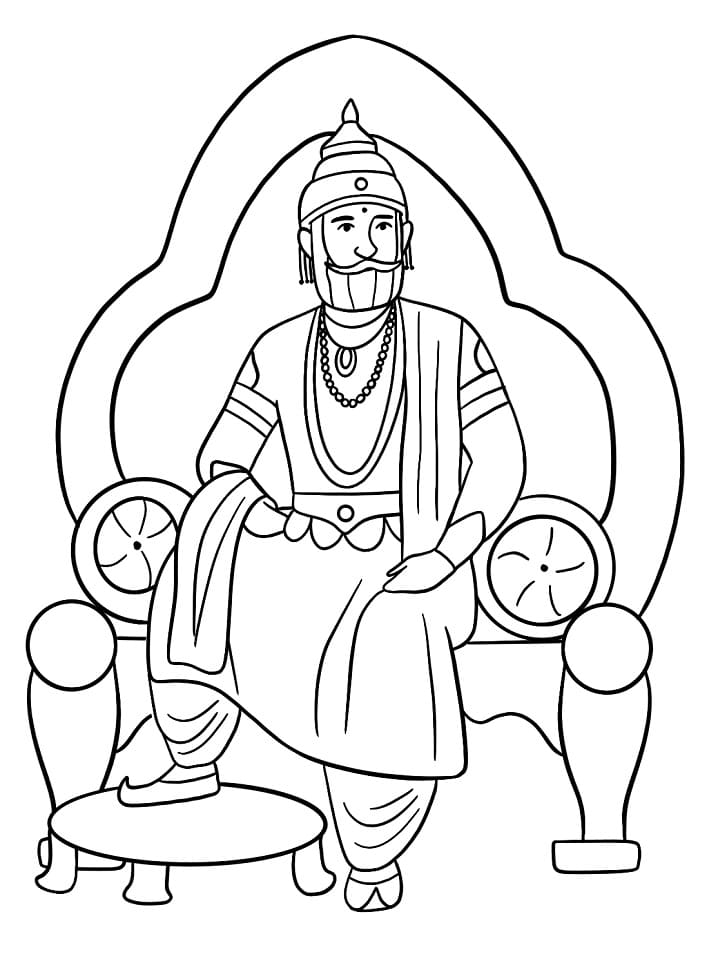
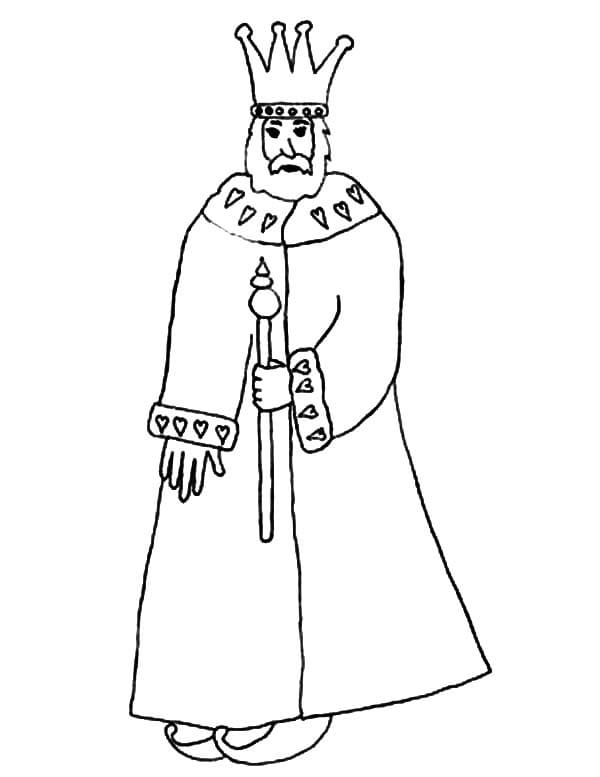
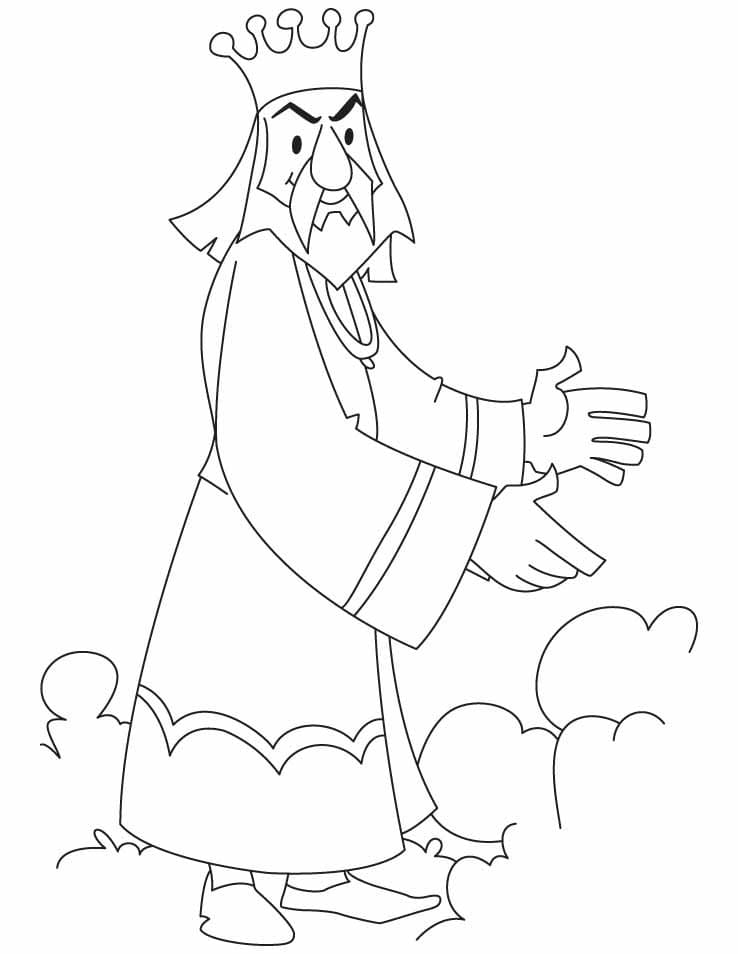
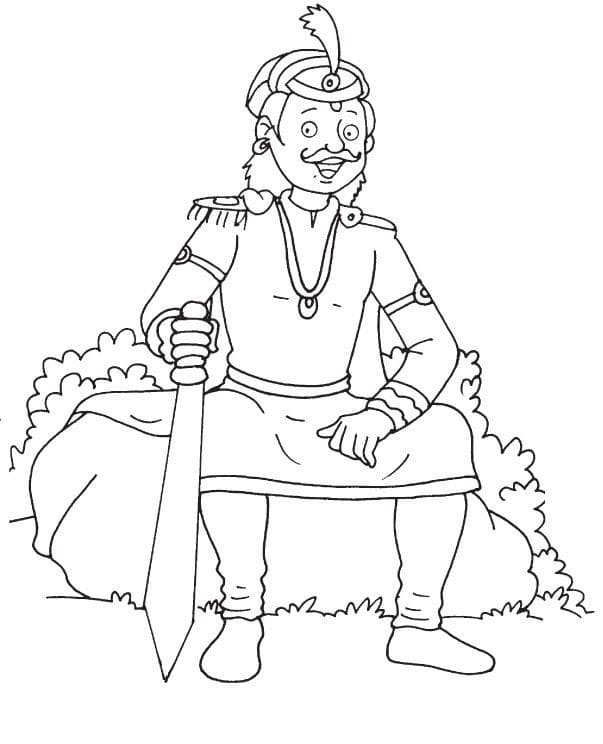
Right now, learn how to create a King drawing. A step-by-step, simple way to draw a King in a robe, with a crown and royal regalia. If you are a beginner in drawing; you want to learn to draw a King with your kids, come to our site. We give the details of the instructions, and you will follow us and our illustration because in each step, we update the image for your following. And If you want to learn how to draw King, follow these simple-to-follow steps. We will guide you through drawing a King with us. Along with the tutorial, I have also included a couple of free King coloring pages that you can print off and give to your kids to color! Drawing and coloring are good activities that help reduce stress and worries and improve life.
How To Draw A King – Let’s Get Started!

You will follow us and our image in each step here. It would help if you prepared some things like a pencil, eraser, colored pencils, and drawing paper, then you will use a pencil to draw on paper. You can erase if you make mistakes. You can freely draw without worrying about making mistakes because it can be easily erased. All kids love the king very much because he has the highest authority in the palace. Every child considers the King as their idol. If you are a parent, you can give this instruction to your kids; you can enjoy this activity in your free time. The King is the main personality of the kingdom in which the monarchy is established as a form of government. The title of King is usually inherited, and this order has been established in different states since ancient times. The wife of the King is called the queen, and the daughters and sons are called princes and princesses. The King wears a special royal mantle and crown. Now, let’s get started drawing a King with us!
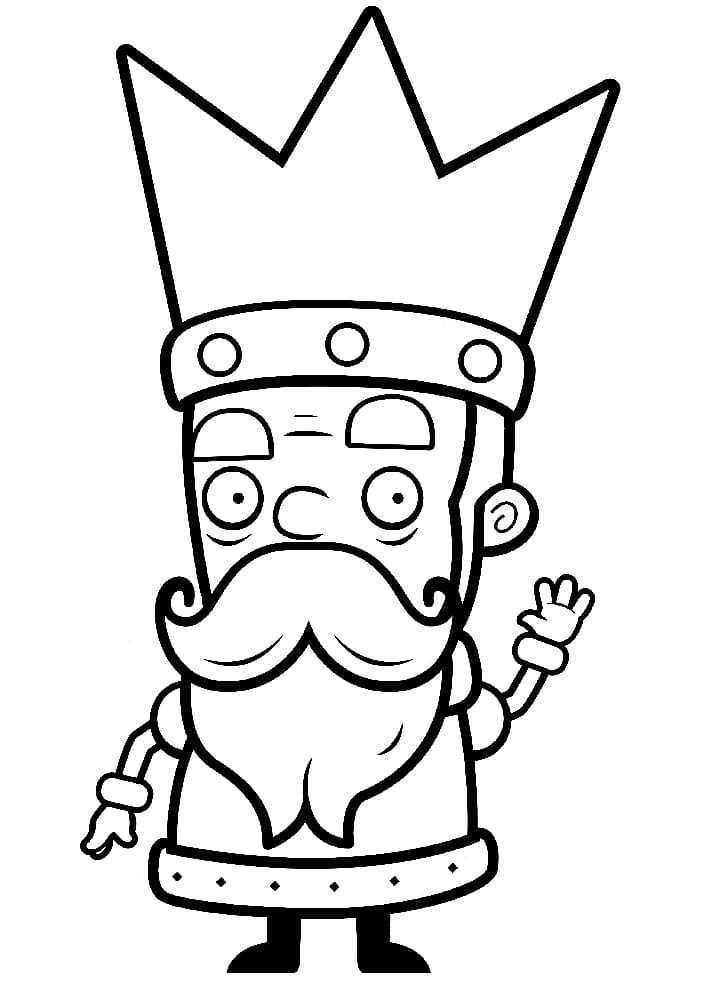
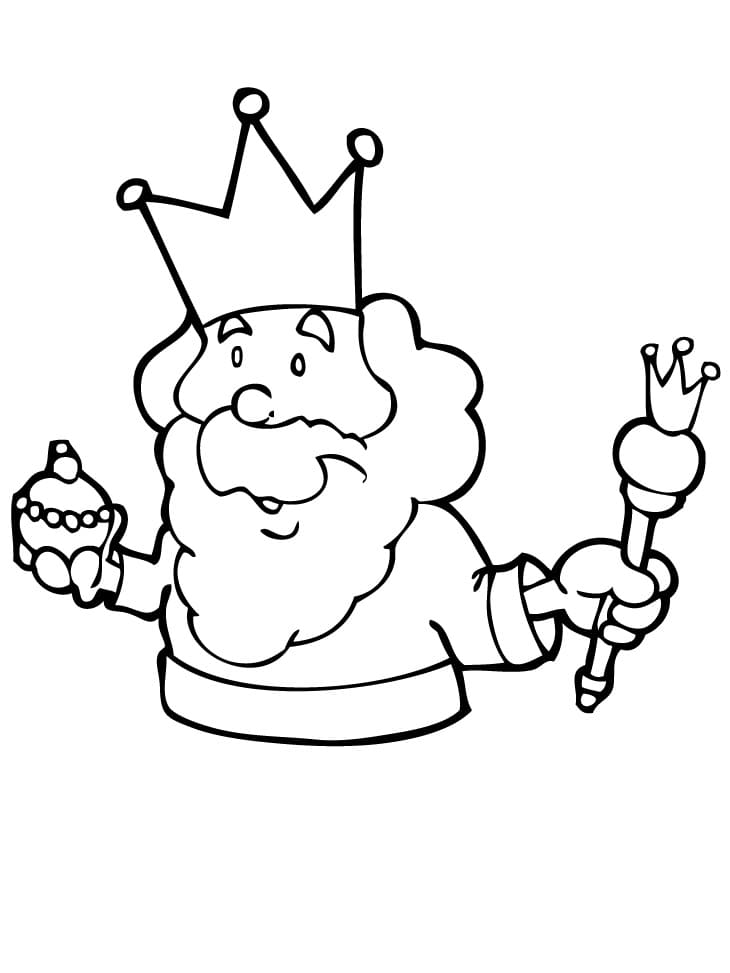
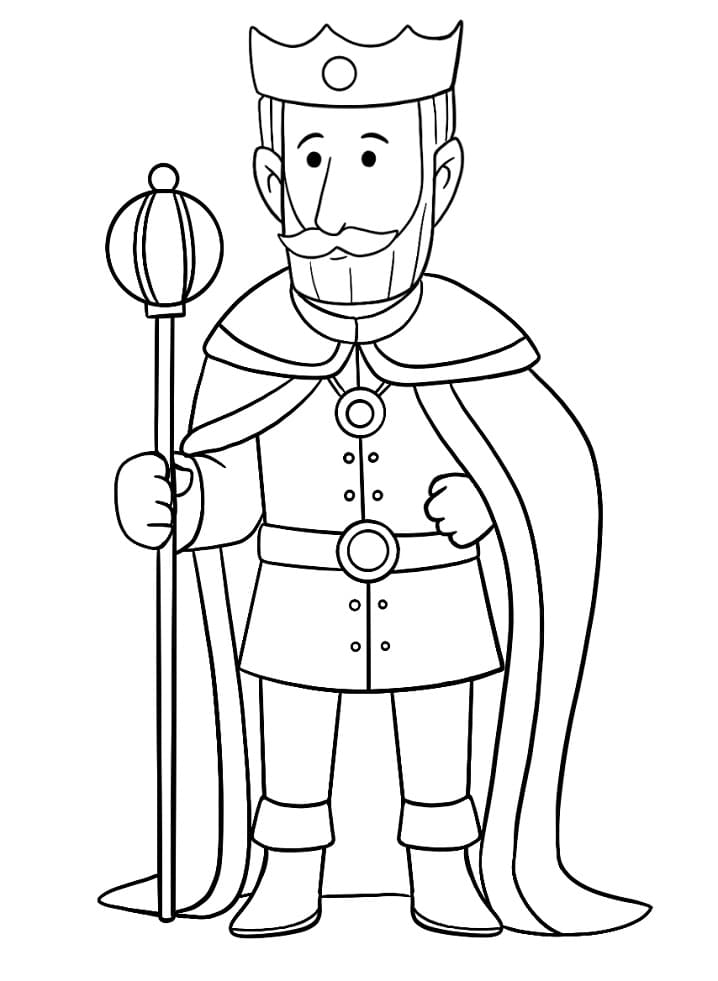
Step 1 – Draw King’s Crow

Draw a crown above the king’s head with pointed tops. You will use the short curved to make the crow for King, and it is simple. You can look at our image and follow it.
Step 2 – Draw King’s Face Outline

In this step, you will sketch the shape of the face and head as shown. You will use the curved lines to draw around the king’s face. The two sides of your head will use two small curved lines to draw two ears for the king. Now, you can finish your task and go to step 3.
Step 3 – Finish King’s Face

You will finish all detail for King’s Face in this step. You must draw eyes, eyebrows, nose, and mouth for the king now. You will draw two dots for the king’s eyes; after that, you will use two small lines to make the short lines. Then, you will use lines to continue drawing the mouth and beard. Now, you will next to step 4.
Step 4 – Draw A String Of Pearls In The Neck

You will draw a line around his neck; then you will use the small dots to male the string of pearls on the neck. Now you have the king’s face with full details on his face and continue to draw King at step 5.
Step 5 – Draw King’s Body

You will start drawing King’s body with the cape. You split the shoulder cover with two lines to make an opening. You will use straight lines and curved lines for them. Not too difficult for the task of this step. You can look at our image and follow it.
Step 6 – Draw The First Arm

Now, you will draw the first arm for King. From his neck, you will find a line and make length, then you will make his sleeve. You will use the zig zac for his clothes as well. You draw the long cape sides going down to the floor: two lines on either side of the shoulder cover split, close together at the top, widening out as they go down to the floor – this will be the ermine lining. Close the sides together at the bottom with a curved line. That’s all there is to it for this step, so when you’re happy with the look of it we shall continue adding to King in the seventh step.
Step 7- Draw The Rest Of Arm

Now we can draw in the rest of his arms which also happen to be King’s hands. Cover the hands in honey, then add a chin line to King’s face. It’s not too difficult, and it only takes a few minutes to complete the task for this step and move to step 8.
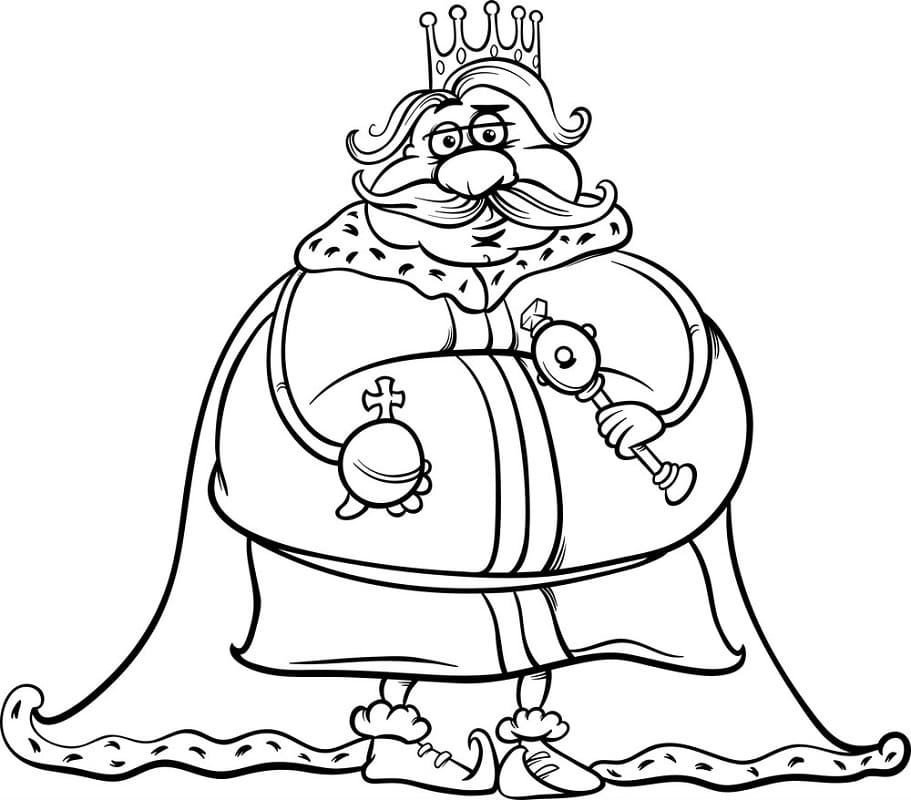
Step 8 – Finish Your Drawing Mission

You must realize the rest of the work in this step. You know that King will be holding a globus cruciger and scepter. You will draw a simple circle in the king’s hand and the scepter as a rod in the king’s other hand, with a rectangle to indicate the hand holding it. So, you finish your drawing task and create a complete King. You have more than the last step to color King.
Step 9 – Color Your King

You will choose the suitable colors and make coloring for your King. You can keep a simple color scheme. We take yellow for a part of the clothes, the scepter, the globe, and the crown. We choose dark red for his velvet coat. We take green for a part of our clothes. Mustache, eyes, and eyebrows are, of course, black. Drawing and coloring can help you to reduce stress and worries to make your life better. On our site, we update many instructions for anything, and you can choose some things to practice. You can color King coloring pages on our site. If you like our tutorial, don’t forget to give us a thumbs up and recommend them to your friends! I hope you get a great time. Have fun!