Rowlet Drawing Is Made In 11 Simple Steps
Rowlet Drawing Is Complete In 11 Simple Steps
Today you will come to a new challenge called Rowlet drawing in 11 easy steps with us. Here is a new challenge for you; go step by step and complete the task well to get a perfect Rowlet and get a fun time.
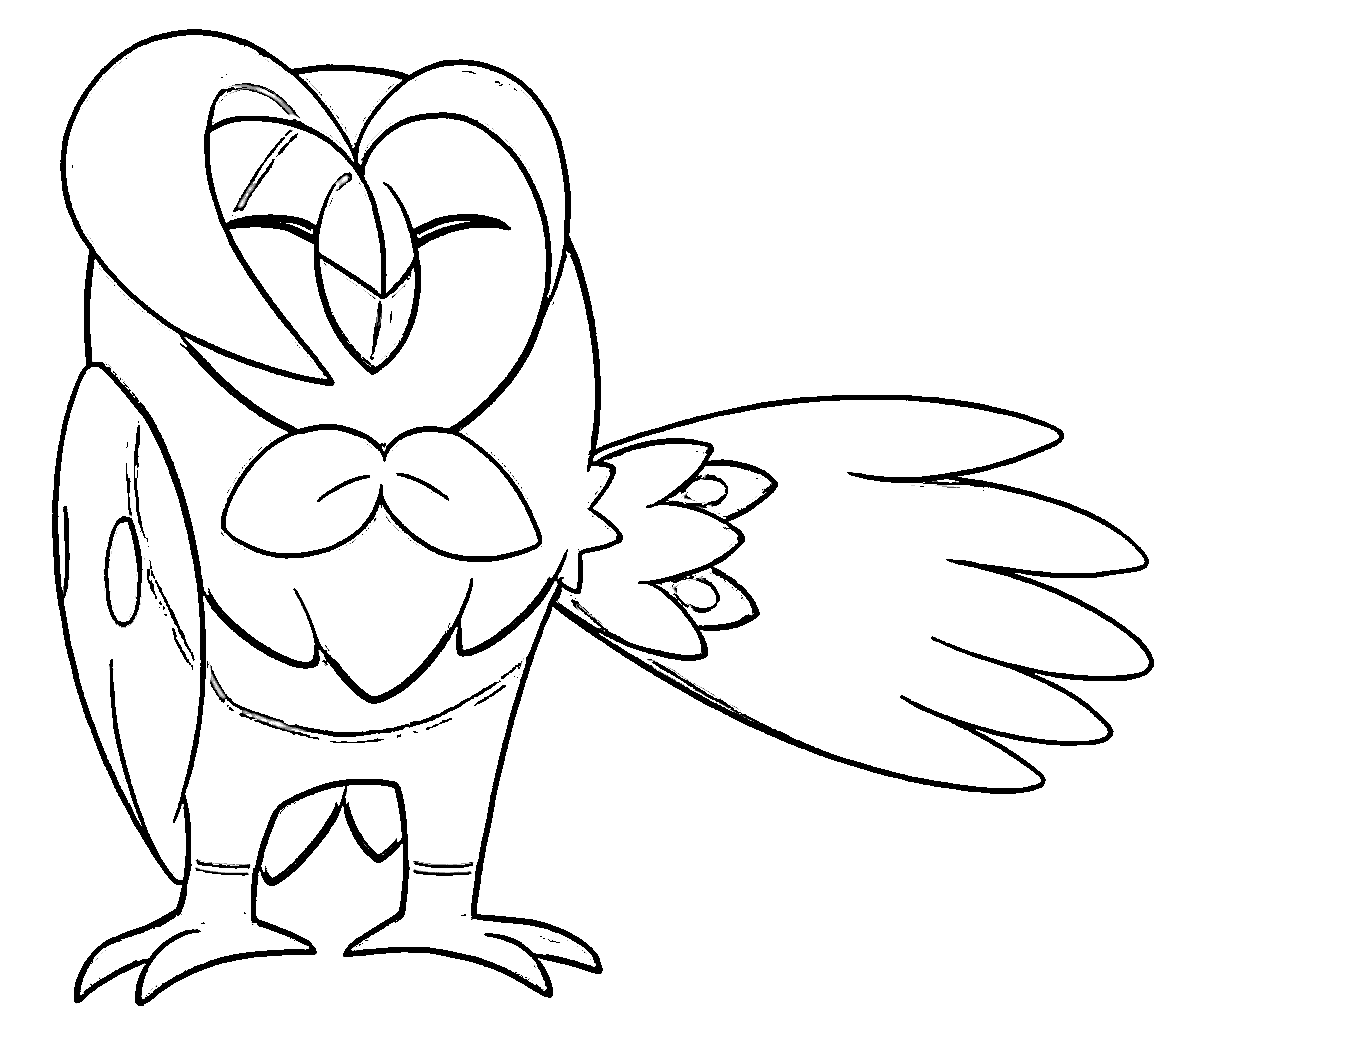
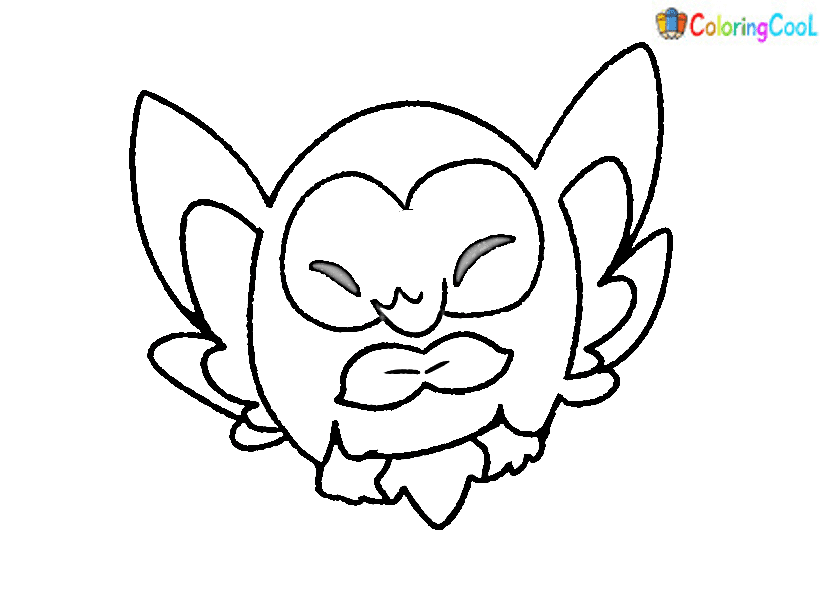
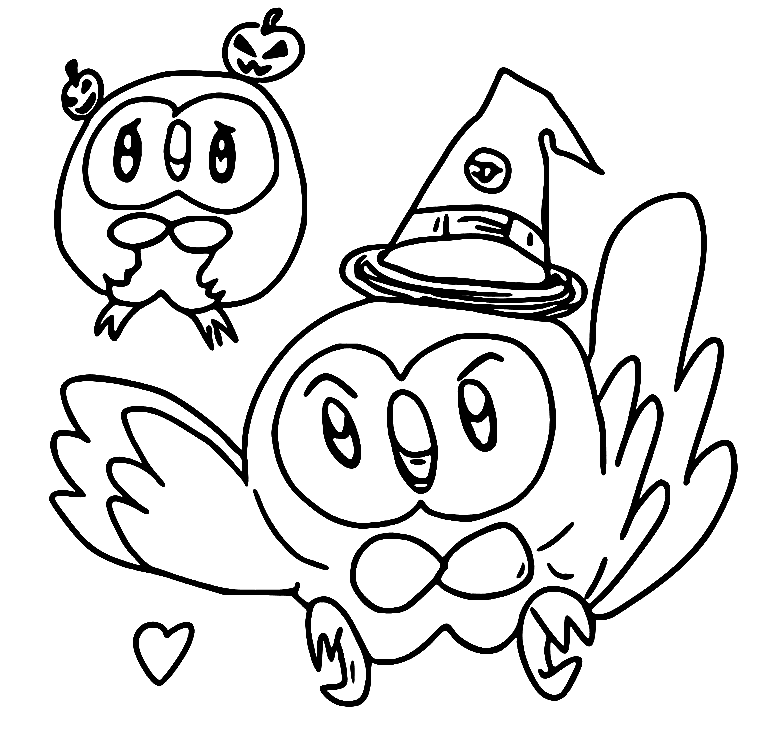
A pure grass/flying pokemon introduced in the 7th generation of Pokemon, Rowlet is known as the Grass Quill Pokémon. Rowlet can attack opponents with powerful kicks or from a distance with its sharp knife feathers. Rowlet’s neck can be rotated 180 degrees to see directly behind. By learning to draw Rowlet, you will have the opportunity to understand more about this Pokemon.
To draw this Rowlet, you must prepare supplies such as paper, pencil, pen, color, and eraser. Then you will draw Rowlet with pencil and paper; you can also easily erase your mistakes if you use a pencil to draw. So start with light strokes that are easy to erase.
It will take 25 minutes to complete the Rowlet image, and we have also arranged this tutorial from easy to difficult to make it easy for you to accomplish any task in drawing this Pokemon.
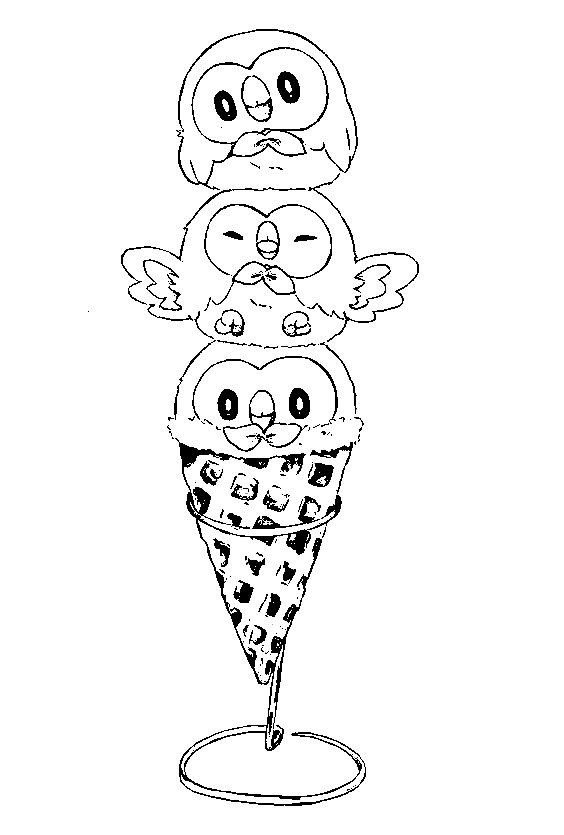
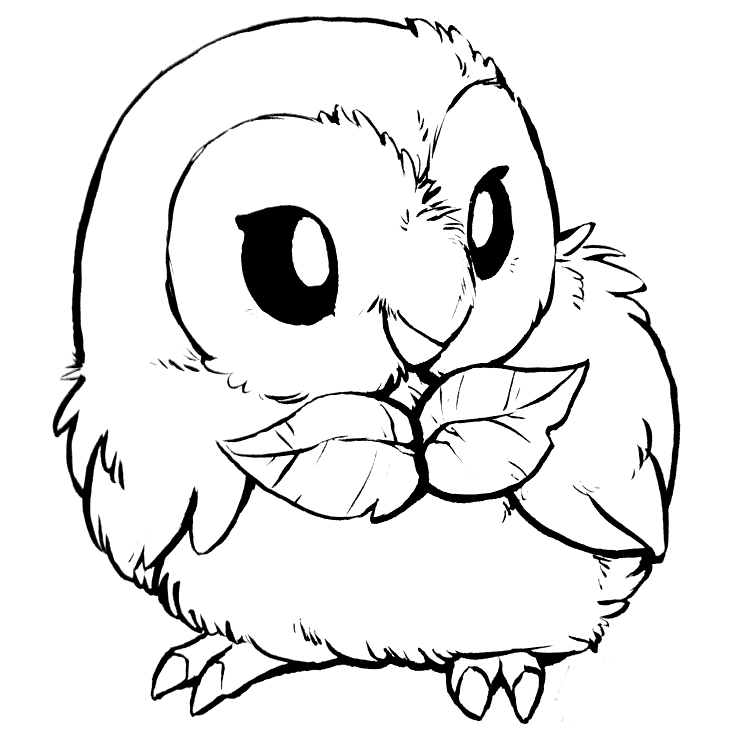
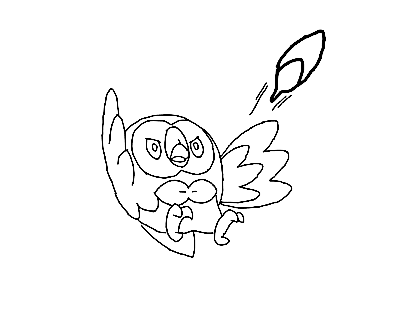
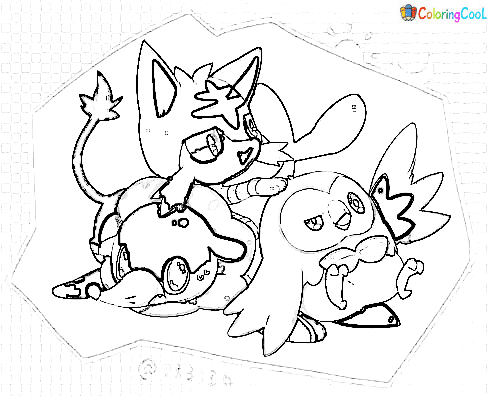
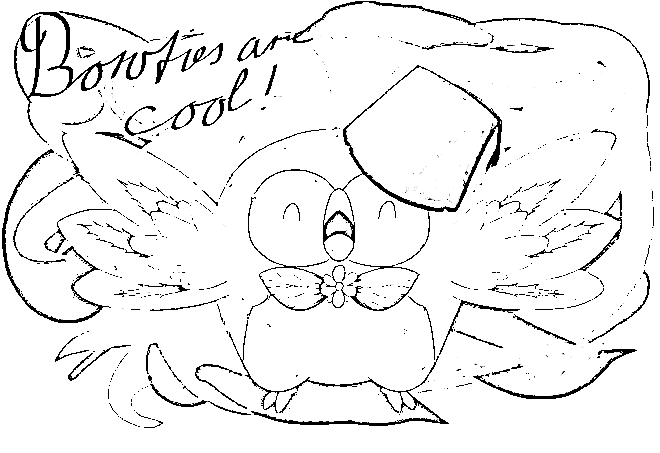
Besides the drawing guide, you can enjoy Rowlet coloring pages free on our website to practice your drawing and coloring. Regular practice will help you improve your drawing and coloring skills.
Right now, we are going to 11 steps of our guide on drawing Rowlet with us!
How To Draw Rowlet – Let’s Get Started!

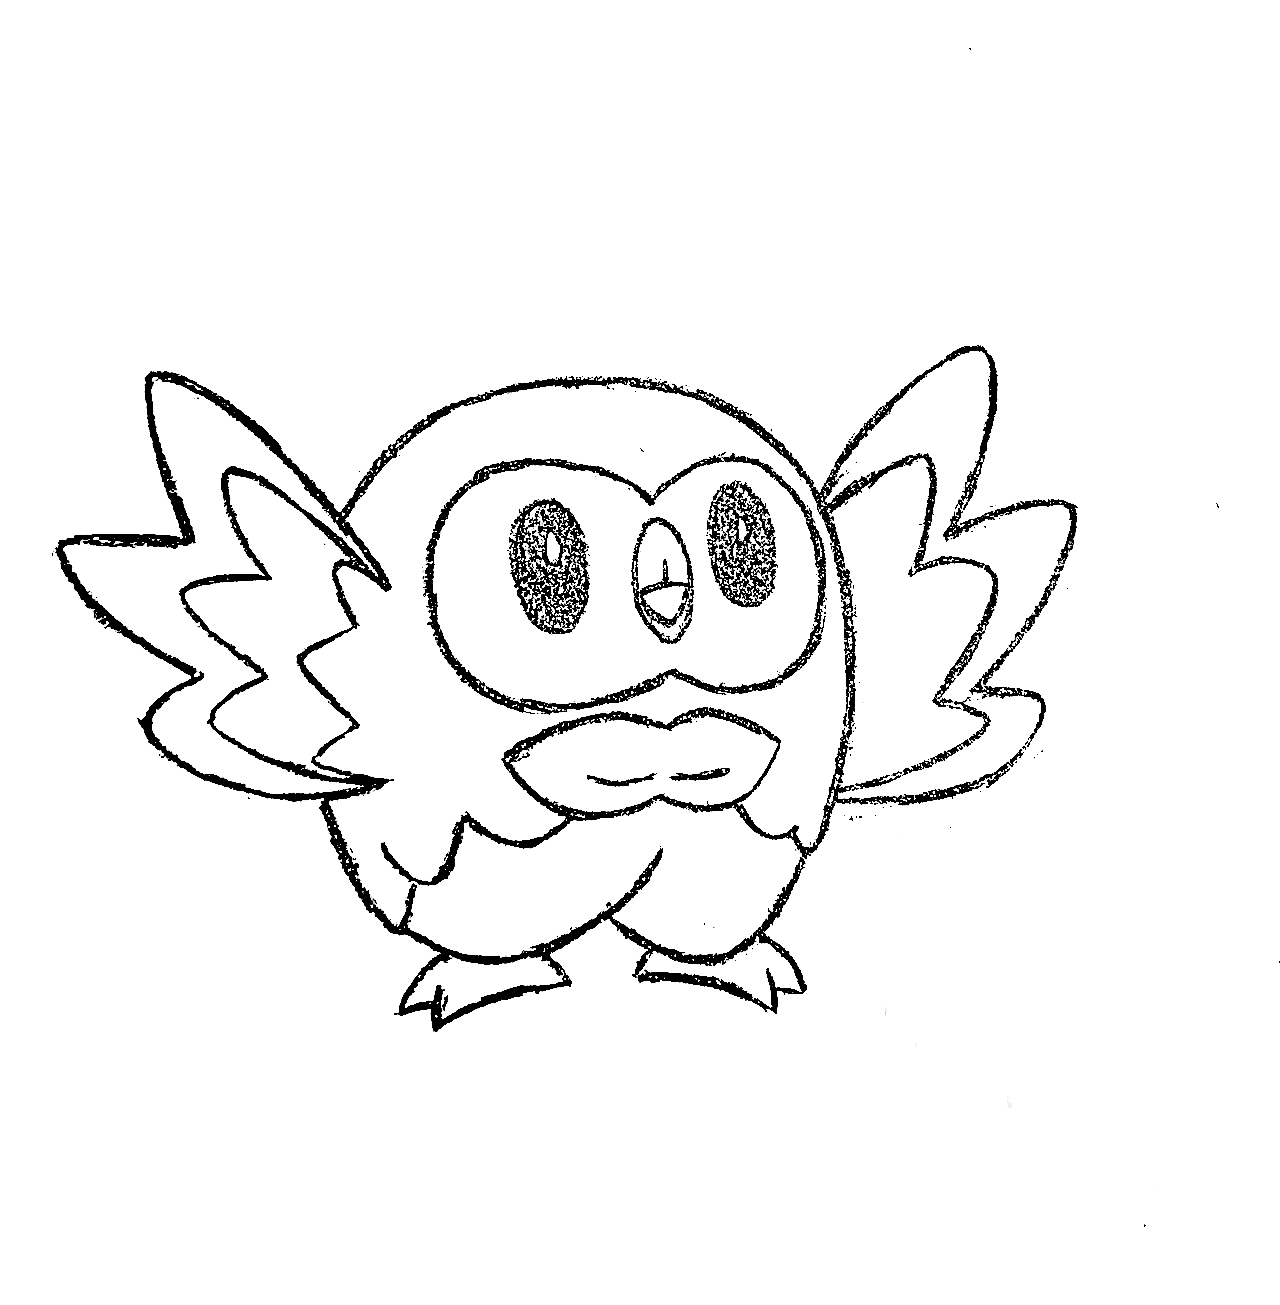
Step 1 – Draw The Rowlet’s Beak

Starting the task to draw Rowlet, you draw an oval in the middle term around. You use some curved lines for this task.
Once satisfied with your image, you can go to the second step.
Step 2 – Start Draw Rowlet’s eyes

You will draw a small oval on the left which will be an eye for your Pokemon. Very simple for you in this step of our guide on how to draw Rowlet. This oval is precisely like the oval of the beak but smaller, as you see in our reference picture.
Now, you can move to the third step to continue your drawing mission.
Step 3 ¬ Continue To Draw Rowlet’s eyes Outline

Similar to step 2, in this step of our guide on how to draw Rowlet, you will draw an oval to the right side; this will be the right eye of the Rowlet.
Once you are satisfied with your drawing, you can move on to the fourth step and draw details for the eyes of Rowlet.
Step 4 – Complete Rowlet’s Eyes

You draw a circle in each eye to form the pupil, as you see in our reference image. Once you have finished drawing these two circles, you can move on to the next step.
Step 5 – Draw A Circle That Comes Around Break And Eyes

You will draw a shape around the eyes and beak of Rowlet to make the Rowlet more realistic. You will draw two shapes on the sides of the eyes that are similar to circles and have a meeting point in the middle, as you see in our illustration.
Step 6 – Draw A Bow For Rowlet

You will draw a nice bow in this step of our guide on how to draw Rowlet. This bow is drawn under its beak; you can observe our drawing and follow along to ensure you are on the right track.
Step 7 – Add Detail For The Rowlet’s Face

You use a curved line around come down. Your task in this step is as simple as that, and you only need a few minutes to complete this task before moving on to the next step.
Step 8 – Add A Line For The For Rowlet’s Face

If in step 7, you will draw a curved line for the left side, in this step 8, you will draw a curved line on the right side. This task is similar to step 7, and you can move on to the next step.
Step 9 – Complete The Rowlet’s Face

You will have to complete the face for your Pokemon in this step. Take this point and just curve in the inside of the wing so the left side is going to curve in the opposite direction and go up on the right side will do the same thing now; from here, we can draw in the bottom of the legs, so in the center.
If you find it difficult, please observe our drawing and follow through to complete it before moving on to the next step.
Step 10 – Draw The Final Details

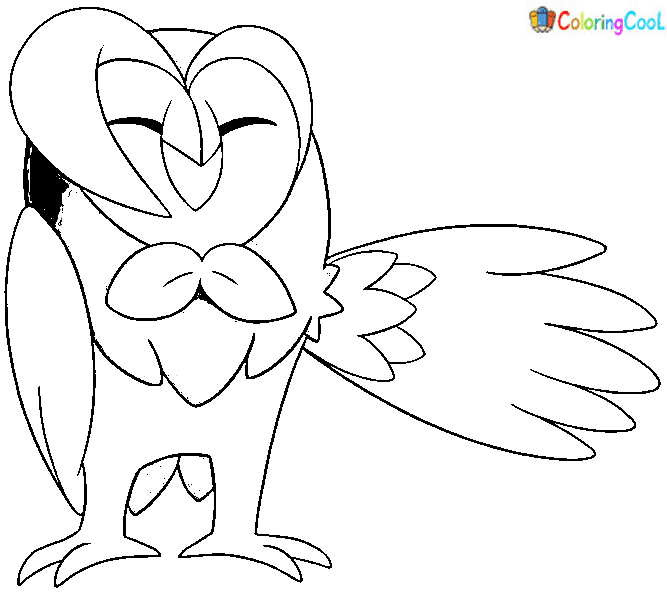
You will draw Rowlet’s legs as the final details of your Pokemon. You would use some lines for this task. As seen in our reference picture, we will draw simple legs with two toes for each foot.
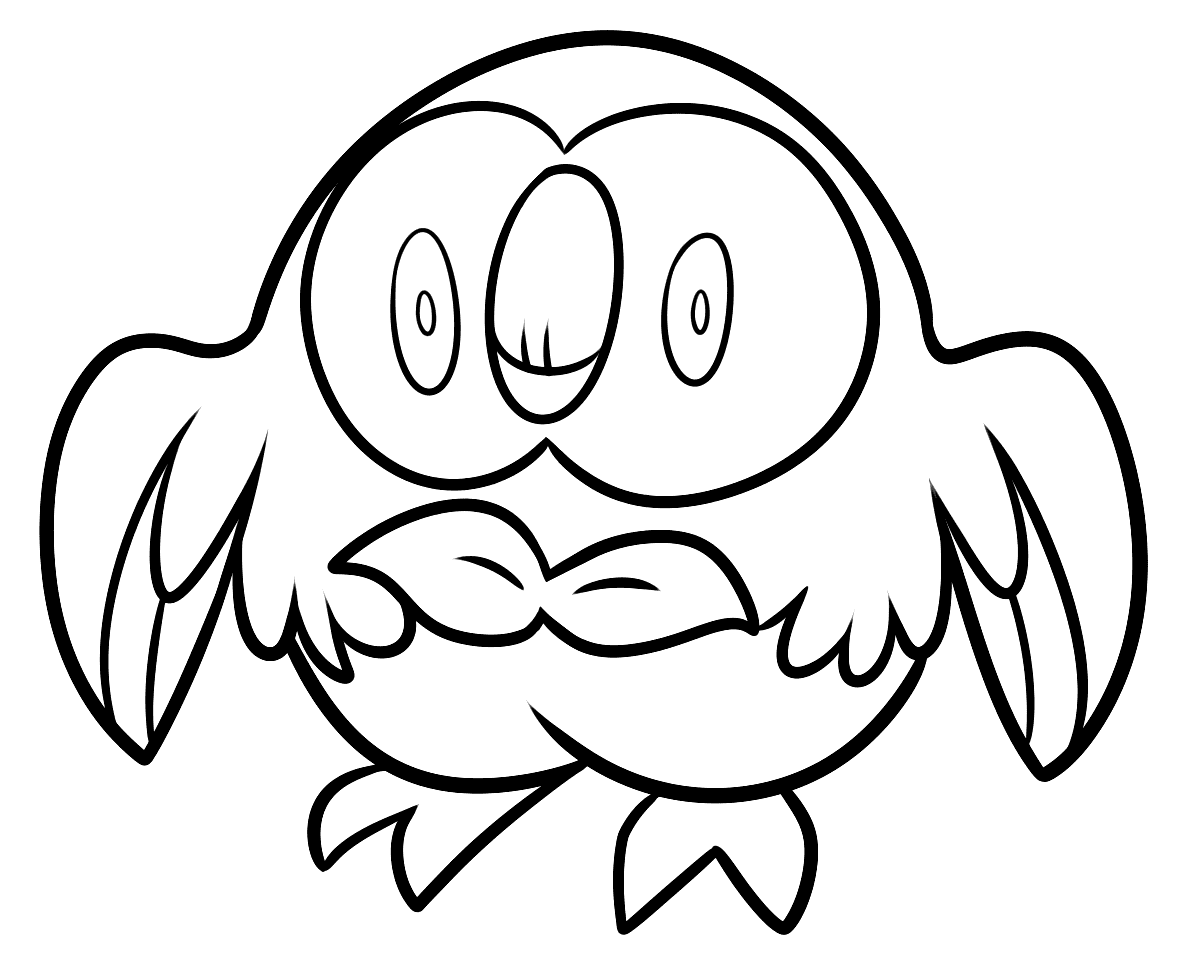
Step 11 – Color Your Rowlet

It is time to choose colors for your Pokemon, Rowlet. It has quite rich colors; you can choose orange and pink for the body, green for the bow, black for the eyes, and white in some places. Alternatively, you can also create different colors for your Pokemon. There is no limit to creativity, so you can create freely with many colors.
Your Rowlet Drawing Is Complete!
You have finished drawing Rowlet from Pokemon; ColoringCool hopes you enjoyed this lesson; please make sure you check out our website Coloringcool.com drawing guides list; we add two new characters every day. You can refer to drawing guide of other Pokemons such as charizard drawing, Charmander drawing or Wooper drawing. You can use them as a collection for learning how to draw Pokemon characters. I also hope you enjoyed our drawing tutorial and had a great time!