Pusheen Drawing Is Complete In 6 Easy Steps
Creating a cute pusheen drawing in just 6 easy steps.
Right now, you let an opportunity to learn how to draw Pusheen. Just follow these easy instructions, and before you know it, you’ll be Pusheen drawing master. So prepare some things like a pencil, pen, color, and paper and prepare to follow along! Do you love cats and especially Pusheen? Pusheen is a comic cat character developed by Claire Belton and Andrew Duff for the webcomic “Everyday Cute.” The following instructions will guide you through each stage of developing her features until you’ve drawn the whole cat. You will go to step by step instructions to realize your task. In the drawing of Pusheen, you can understand more about this character. If you are a parent, you can give this instruction to your children and join in this activity with them; you will understand your child better and have a better method of educating them. Along with the tutorial, we have also included a couple of free pusheen coloring pages that you can print off and give to your kids to color!
How To Draw Pusheen– Let’s Get Started!

Pusheen is a favorite character of all audiences, from adults to children. However, not everyone has the ability to draw pushen, so with our tutorial, you will learn to draw pushed from easy to difficult until you create the complete Pusheen. This is not a simple task, but it is not too difficult. You will concentrate your mind, passion, and time here. Why not? It is free, and you can come here anytime and anywhere with your device connected to the internet. You can enjoy this activity after the hard-working hours, and it can help your life to balance and make your life better; you work more efficiently. Your kids will avoid using technical devices such as smartphones, tablets, and television. They are not good for their eyes and their evolution. You use a pencil to draw on paper; you can erase your mistake easily, don’t be afraid to draw; please draw in a comfortable way. Now, let’s get started drawing Pusheen with us!
Step 1 – Draw Pusheen’s Eyes And Mouth

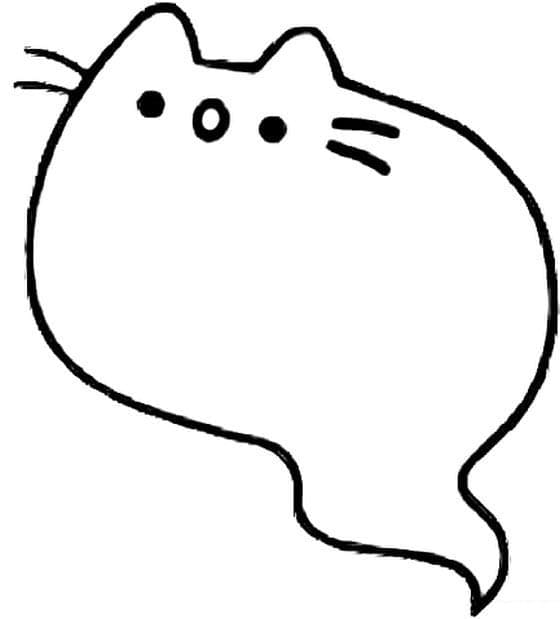
In this guide on how to draw Pusheen, we will be drawing her with a cute mouth and eyes. We will begin with her mouth and eyes in this first step before we draw Pusheen herself. You will draw to small circle for two eyes, which is very simple. Then, between the eyes, you can use two small, curved lines for the top of her smiling mouth. Finally, there will be one more small, curved line beneath this for the bottom of her mouth. You will draw two parallel curved lines at the body end to make her tail. Now, you can move to the second step to continue your drawing.
Step 2 – Draw Pusheen’s Body

You have many tasks in this step in the drawing Pusheen. In the first, you draw three semicircles on the line that connects the ear. You know that Her body is around the chubby oval, and you can use a curved line to draw it coming down from the head. All are your task in this step, and move to the third step.
Step 3 – Draw Pusheen’s Paws

Now, at the base of her body, you can draw two small curved lines for her little paws as our reference image. Your task in this step also is simple. You finish the task here and move to the fourth step to continue your drawing.
Step 4 – Draw Pusheen’s Whiskers

The next step of our guide on how to draw Pusheen should be a simple one for you to do! First, use two curved lines on each side of her face for the whiskers coming from it. Before you move on, please add a heart on the head of pusheen. You finish the task in this step for Pusheen and move to step 5.
Step 5 – Finish Your Drawing Mission

At this step, you create the complete Pushen by adding the spots for Pusheen. you can also draw two small half of circle shapes on the left-hand side of her body for some spots on her body. Back to the pusher’s tail, you will add dashes to her tail to make her tail look more real and attractive. You finish your task for drawing and have the last step for coloring.
Step 6 – Color Your Pusheen

Finally, here is the most exciting part—filling in the colors for your awesome drawing! This is the part where you can show off your artistic skills and your ability to mix and match various colors. As you see in our reference, Pusheen has quite a muted color scheme, as she usually appears with a more muted grey color scheme. We use dark grey for places such as tails, whiskers, and eyes to make pusheen more interesting. More, we choose pink for the heart on her head. You can choose any color you like or choose the same colors as us. Once you know what colors you want, you can bring them to life with your favorite art mediums and tools.
Your Pusheen Drawing Is Complete!
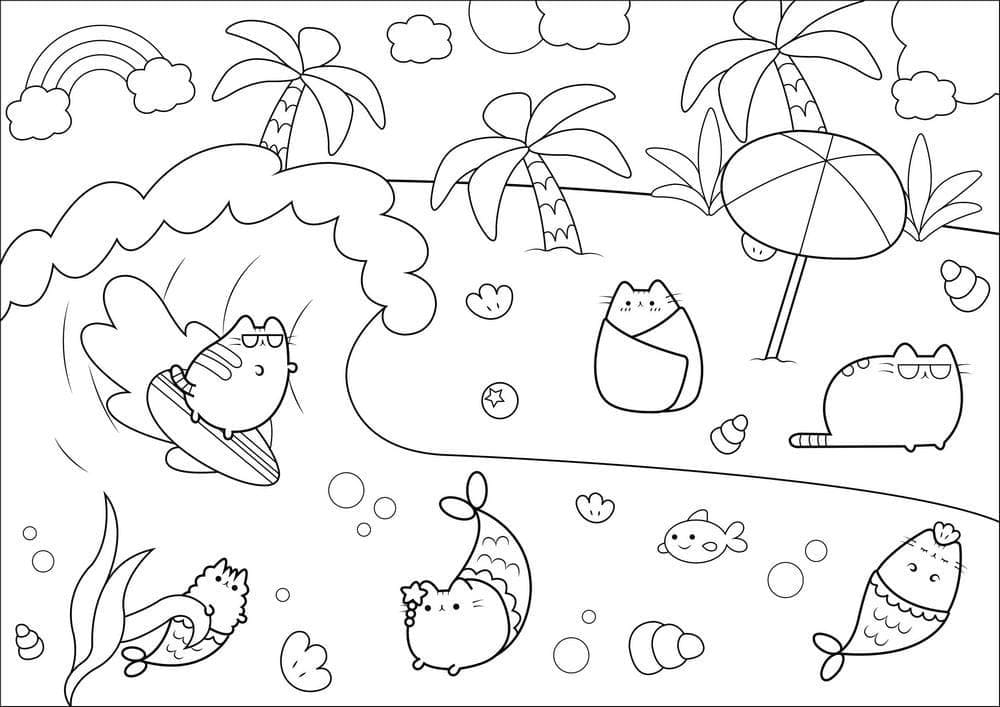
So, you get the Pushen with your drawing and coloring skills. You can move to pusheen coloring pages to enjoy the images related to pusheen. I hope this post will help you draw pusheen easily and that you like it. Have a great time!
Use the video and step-by-step drawing instructions below to learn how to draw pusheen. Thanks for visiting! Subscribe to the How To Draw YouTube Channel for our new tutorial.