9 Simple Steps To Create Charmander Drawing – How To Draw Charmander
Make Charmander Drawing in Nine Simple Steps
You will create Charmander drawing in nine steps with us. You will follow our instructions to make this Pokemon.
There are nine steps equivalent to nine missions that you must perform to get the final result.
We also illustrate each step to help you finish the task quickly.
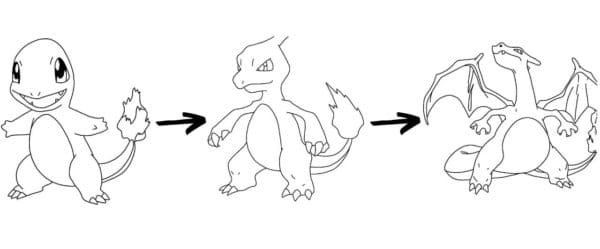
There are hundreds of different Pokemon in the series, and everyone is sure to love one or more Pokemon.
The character Charmander is present from the beginning and has captivated audiences with many games with its power and cuteness.
This is a unique character, and I love it; learn how to draw Charmander with us. You will get a lot of fun in this lesson.
Drawing Pokemon has never been easy, and you must stay focused during the learning process. Our advice for you is to go step by step and draw slowly; you will be satisfied with your final image.
It would help if you prepared some necessary supplies like a pen, pencil, eraser, A4 paper, and colors before starting to draw. Then, you will draw Charmander with a pencil and paper, draw with a pencil so you can erase your mistakes quickly, and redraw that line until you feel satisfied.
Once you get the complete Charmander, you will choose the suitable colors for your character.
By learning to draw Charmander, you will gain more knowledge about this Pokemon character, which will be very interesting.
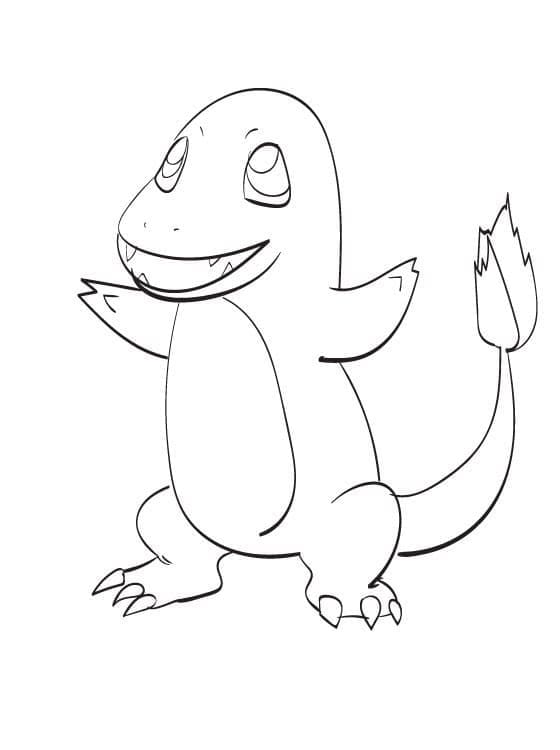
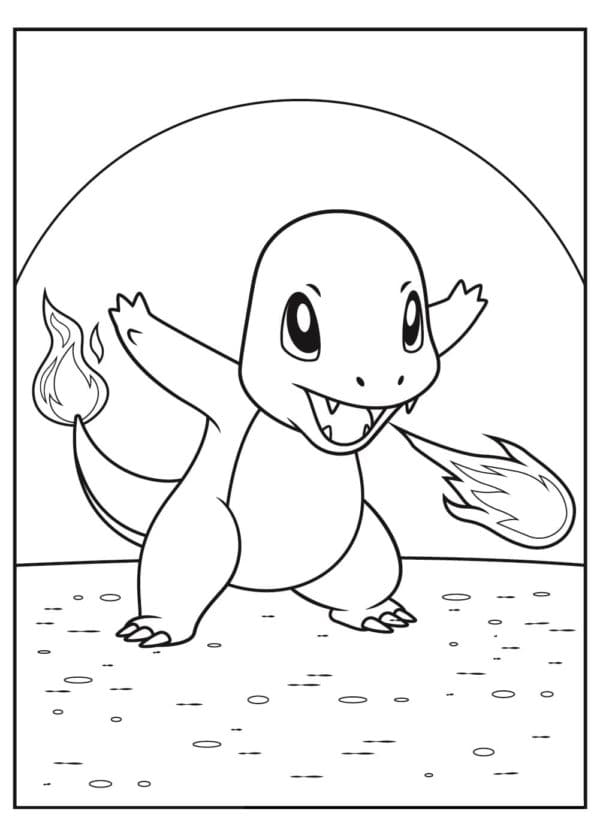
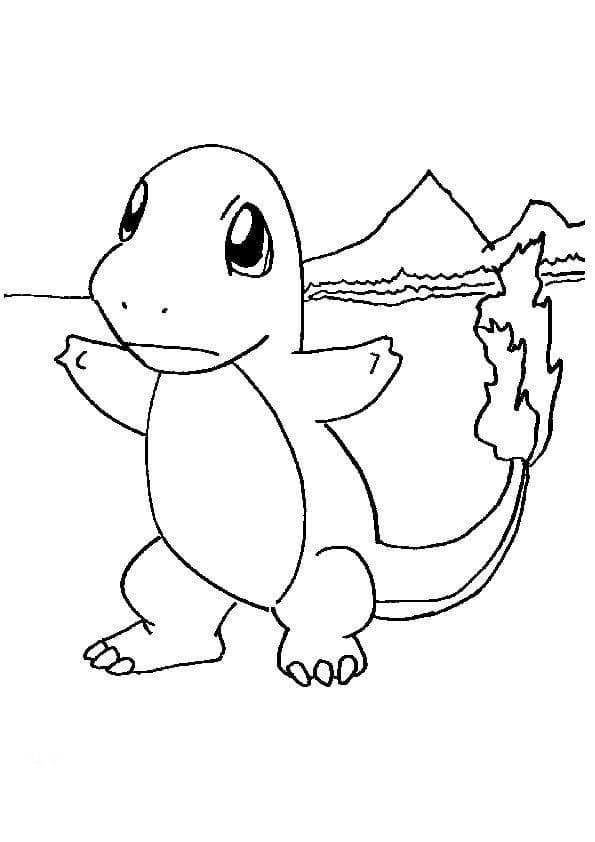
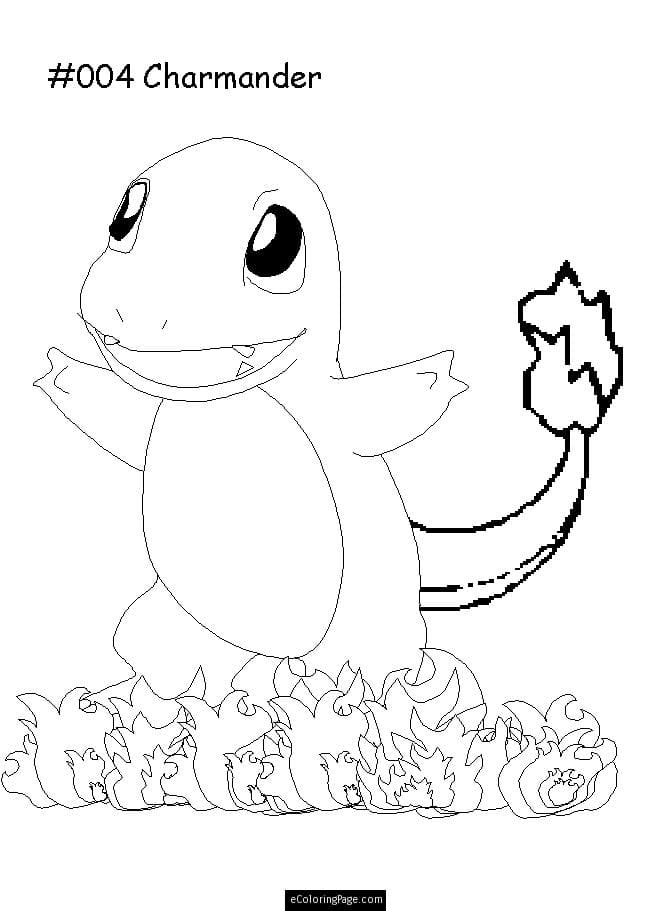
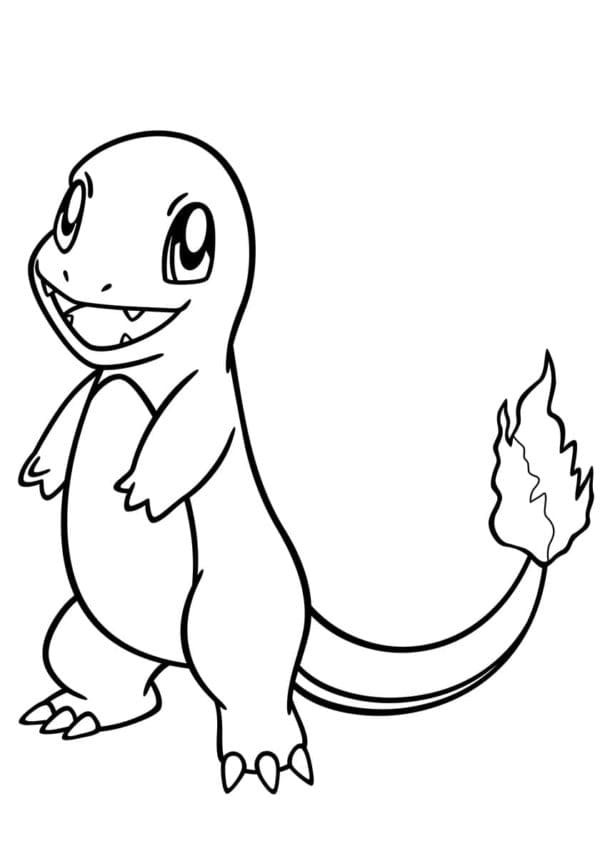
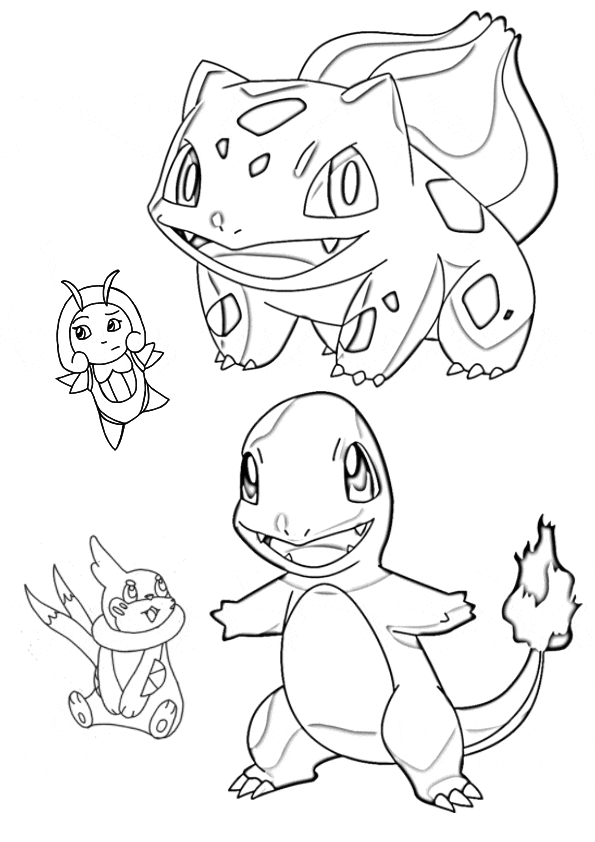
Along with this tutorial, you can refer to Charmander coloring pages to practice your drawing and coloring skill. If you regularly perform drawing and coloring, your drawing skills will be improved.
Let’s go to nine steps on how to draw Charmander with us!
How To Draw Charmander – Let’s Get Started!

Step 1 – Draw Charmander Face Outline

For the first step of our guide on how to draw Charmander, you must begin with the Charmander face outline.
You draw an imperfect oval for the face outline; then, you draw two ovals for two eyes of your character.
You draw two more curves to form the character’s eyebrows.
You use black for its pupils and are ready to move to the second step.
Step 2 – Draw Mouth And Chin For Charmander

Your task in this step of your Charmander drawing is to draw the mouth and chin. You use curved lines for the mouth, as seen in our reference image.
So you have completed the details for the character’s face, Charmander.
Step 3 – Draw The First Arm For Charmander

Your task in this step of our guide on how to draw Charmander is to draw the first arm for your Charmander with two parallel lines and some curved lines to create the fingers at the hand.
This task is simple for you. Spend some minutes to finish off it before moving to the fourth step.
Step 4 – Draw The First Leg For Charmander

Right now, it’s time to draw the legs for your Pokemon, but in this step, you must draw the first leg for your character.
From the character’s arm, you use a straight line to draw its back, then you draw a cute leg with slightly chubby thighs, short shins, and slightly pointed toes, as you see in our illustration.
Step 5 – Draw Charmander’s Belly

In this step of your Charmander drawing, you use a curved line to create the character’s belly.
Charmander has a significant and cute belly, so you will use curves to draw it; look at our reference and follow along; did you succeed in this step?
That’s all you need to do at this step, and be ready to go to the next step to continue the work for your Charmander drawing.
Step 6 – Draw Charmander’s Tail

As you know, Charmander has a unique tail with a flame at the end. Its tail is thick at the base and thinner at the end, and your task in this part is to draw its tail while the flame is created in the next step.
You also add another curved line to create a perfect belly for your character.
Step 7 – Add The Second Arm For Charmander

If in step 3, you draw the first arm, in this seventh step, you must add the second arm for your character, Charmander.
You also use two almost parallel lines and some curved lines at the end to draw your character’s fingers.
So, complete your mission in this step of our guide on drawing Charmander and continue your work in the eighth step.
Step 8 – Finish Off Your Drawing Task

Right now, you must add details for the second leg and flame at the end of the tail for your character.
You use the curved lines for this task and complete the leg and the tail for your Charmander drawing.
Before moving to the last step for coloring your character, you can add some details for your Charmander’s decoration if you like.
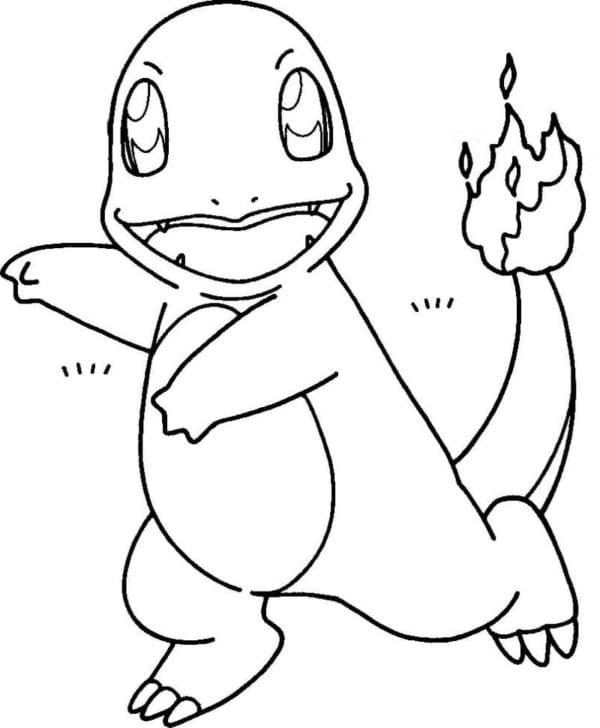
Step 9 – Color Your Charmander

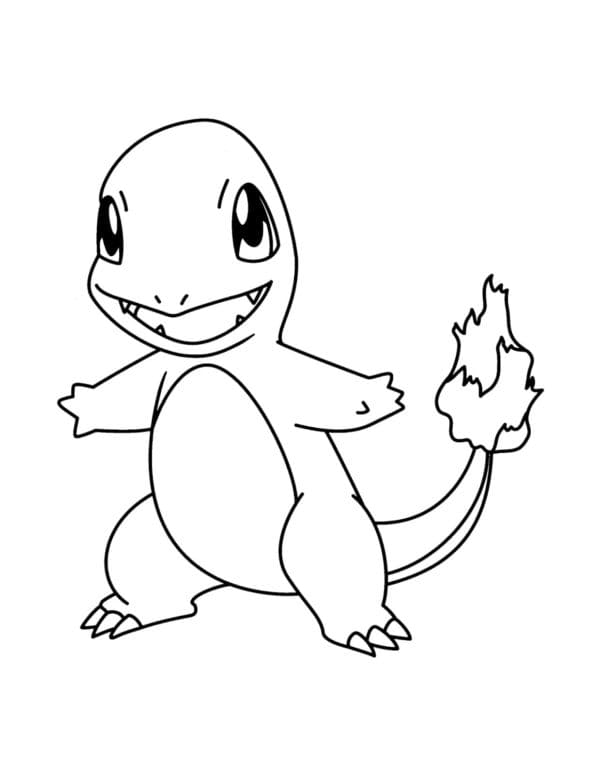
Charmander is a fiery character that comes in red, orange, and yellow. As you can see in the reference image, we have chosen his natural color correctly. But you can choose the color according to your preference for your drawing.
So, your Charmander drawing is done, and you can share it on your Facebook and Pinterest pages for us to see.
Your Charmander Drawing Is Complete
You finish off all tasks of our guide on how to draw Charmander. I hope you have understood everything now. On our website
Coloringcool.com, there are many educational products that you can enjoy in your free time, such as drawing guides or coloring pages. We upload them daily, and you can come here each day to enjoy them for free.
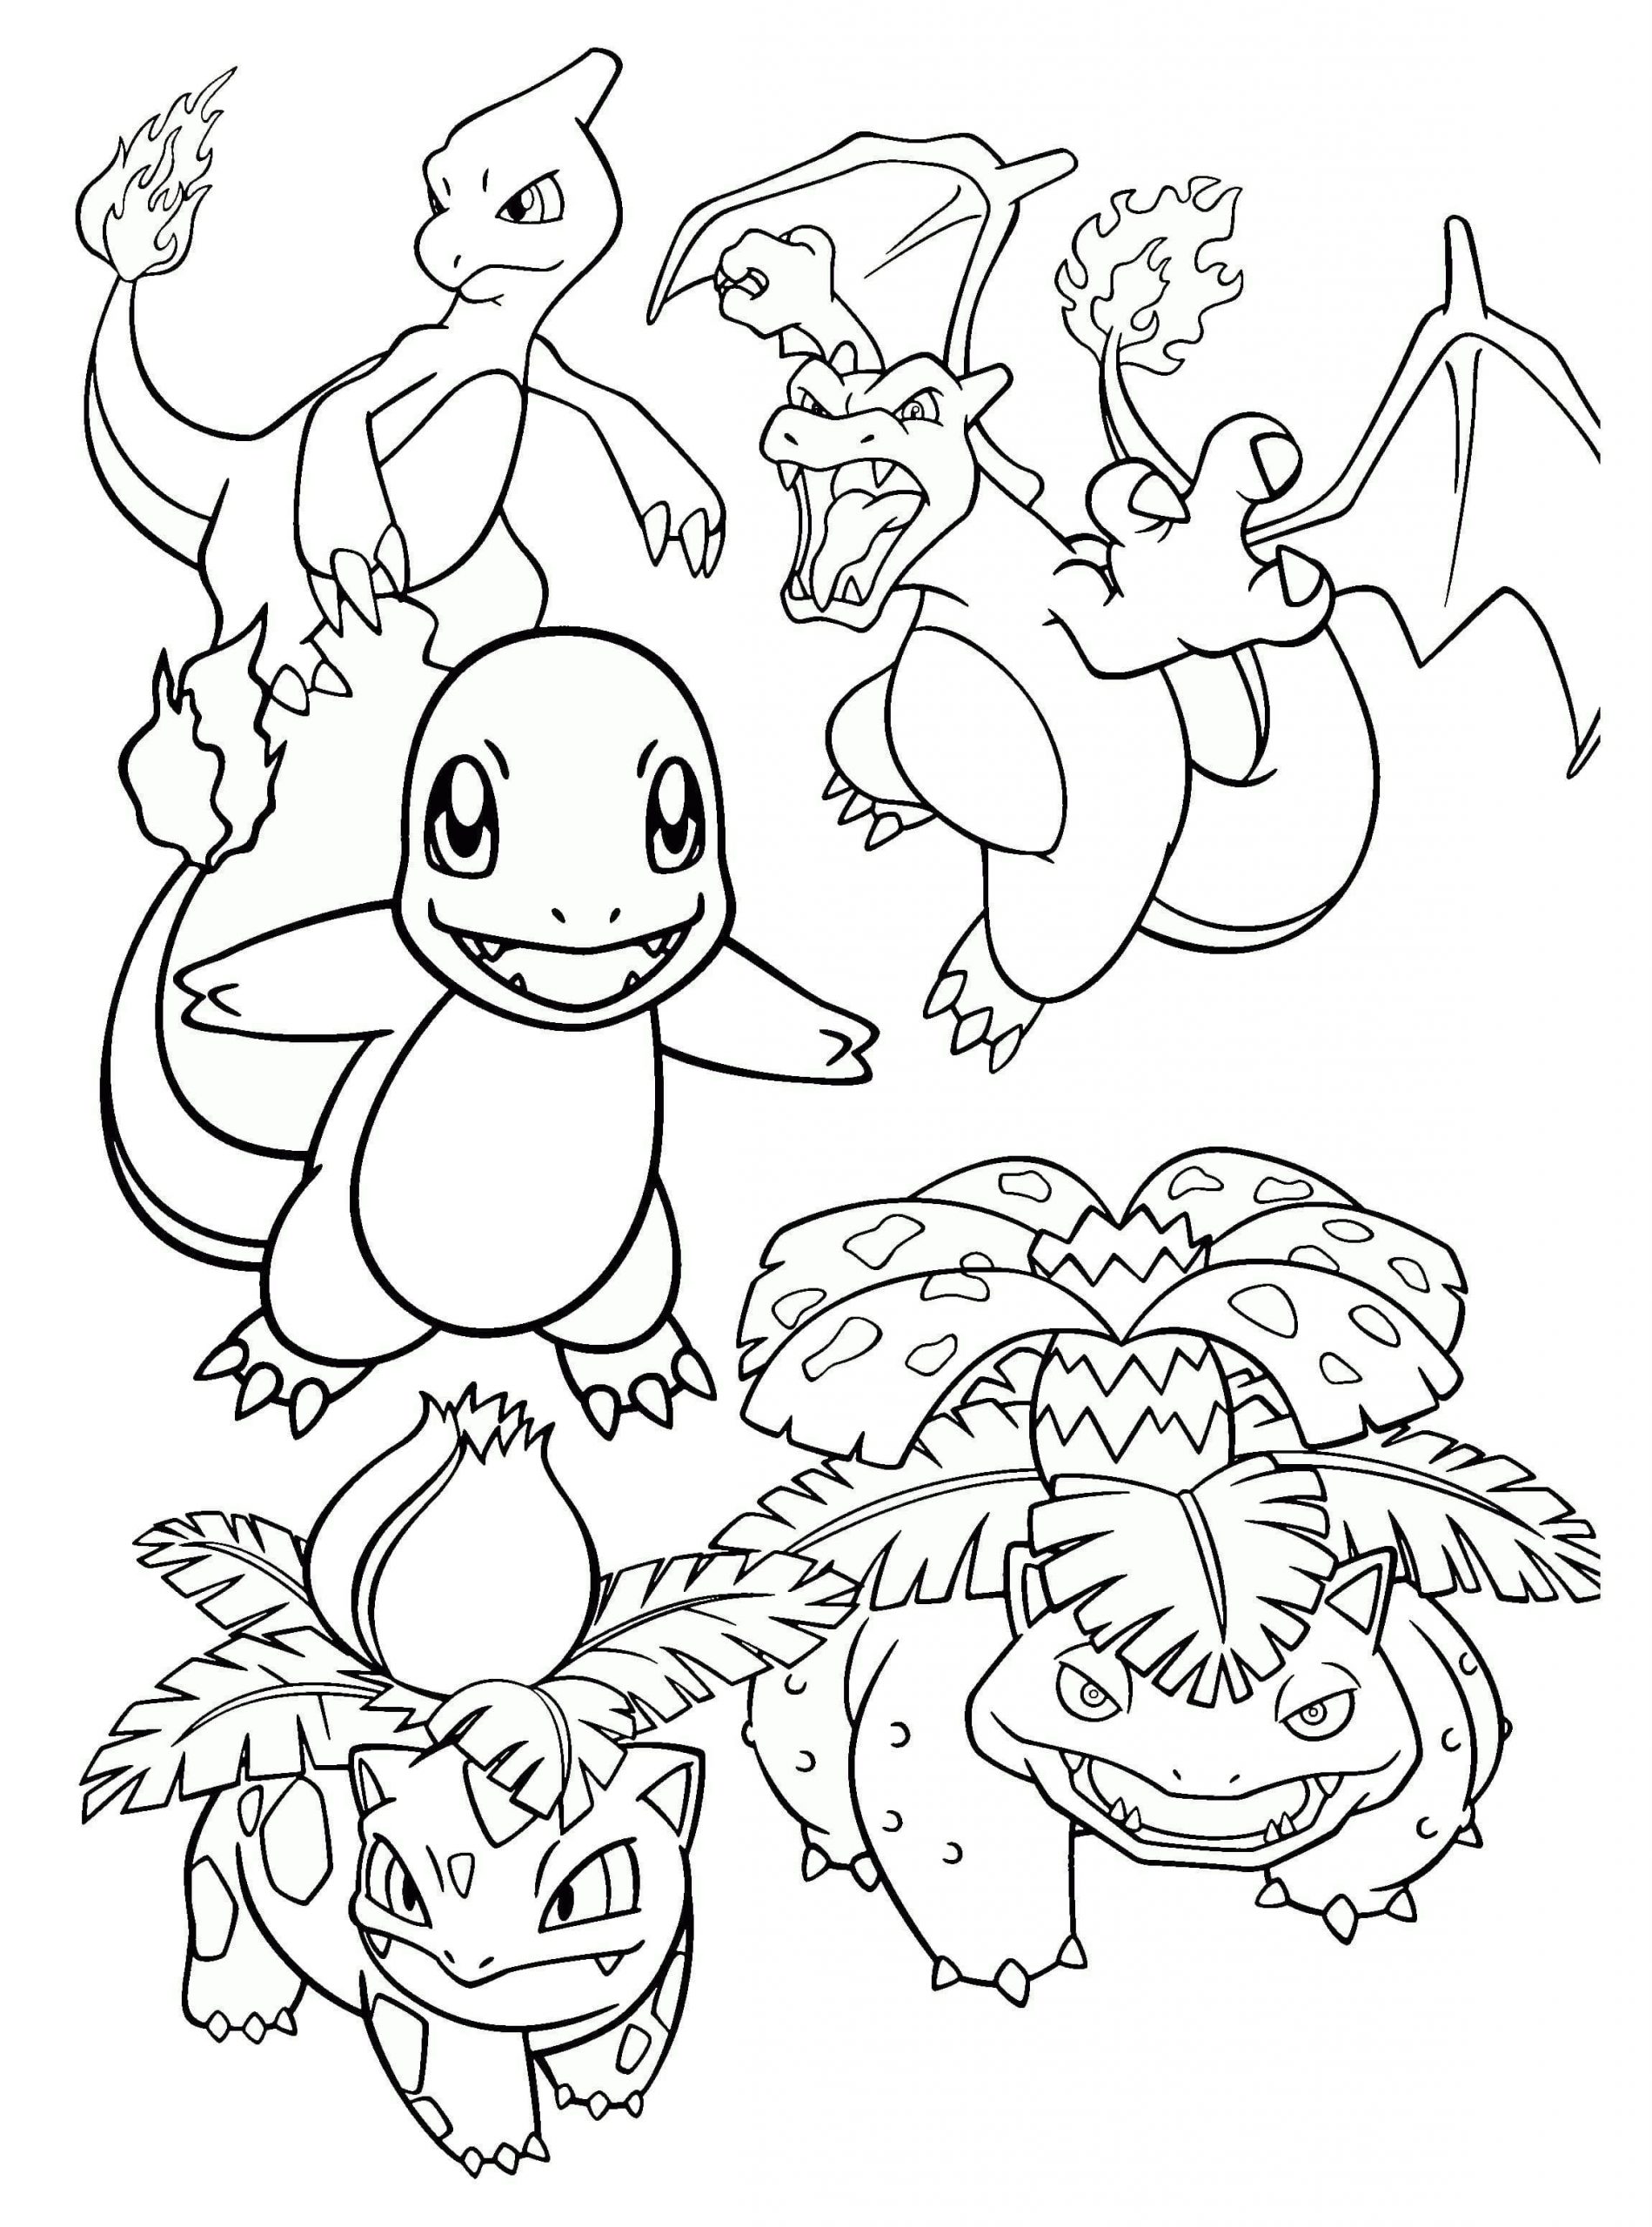
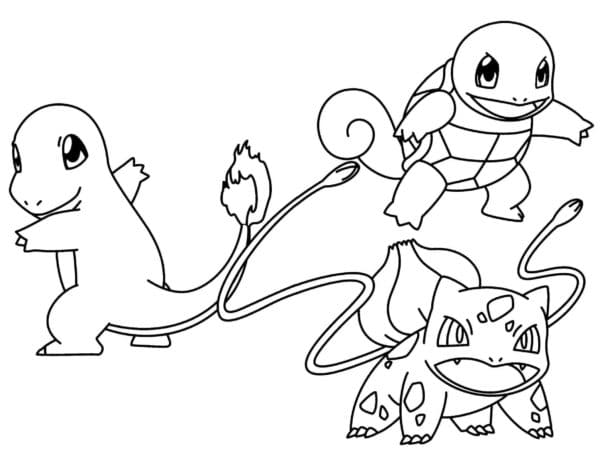
You can also find drawing instructions similar to Charmander drawing such as wooper drawing, Eevee drawing, or chrismas Pikachu drawing. These are exciting Pokemon drawing tutorials. You can refer to draw Charmander to be more beautiful.