Piano Drawing Is Created In 6 Easy Steps
Creating a cute piano drawing in just 6 easy steps
With this fun and straightforward method of learning to make a piano drawing, you and your kids will become real artists! Here, we explain in six steps how to draw a lovely piano!Why not? We provide the instruction for free to help you get a fun time. This is a familiar and loved musical instrument that many people, even children, can learn music with this instrument. Fortunately, today you have the opportunity to learn to draw this musical instrument and can understand more about it. If you are a parent, you can learn to draw with your kids, which helps you to understand what your kids will like surely it. More, your kids can avoid using technical devices such as tablets, smartphones, television, etc. They are not suitable for their eyes and evolution. Good entertainment will help children absorb new lessons and information effectively. With how to draw a piano, you can find piano coloring pages to enjoy coloring and refer to images to practice your drawing skill.
How To Draw A Piano – Let’s Get Started!

You will follow our instructions and illustration to create a complete piano with your skill. This is not a simple mission, but it is not too difficult. You need to concentrate your mind, passion, and time here until you finish your task. Drawing will help you to feel comfortable and work more efficiently. It would help if you prepared a pencil, eraser, colored pencils, and drawing paper before drawing. You will use a pencil to draw on paper, and you can erase your mistakes easily, so please don’t be afraid to sketch; draw in the way you feel most comfortable. Some steps will require you to erase lines drawn in previous actions. You will go step by step in the guide until you finish your task here. Drawing is a good activity for everyone, from kids to adults. No matter who you are, whatever you do, you also need to have leisure time to rest your mind, so choosing a suitable entertainment channel after stressful working hours and learning to draw is not the wrong solution for you. With our simple guide, you can finish your mission efficiently. Now, let’s get started drawing a piano with us!
Step 1 – Draw The Piano Outline

To get this guide on drawing a piano started, we will begin with the piano outline. You use two straight lines and curved lines to sketch the shape of the piano. The effortless task for this step. You can see our illustration and follow it. Once you’ve replicated our reference image, then you’re ready for step 2.
Step 2 – Start Drawing The Interior Of The Piano

You use a single line parallel to the previously drawn line to form the piano’s interior. It is too simple, and whether you are a beginner or an expert in drawing, you can finish your task efficiently. You are ready to next to the third step now.
Step 3 – Add More To The Interior Of The Piano

Add three-dimensional depth to the interior of the piano. Use straight and curved lines to draw a slightly smaller shape parallel to the first. Then, draw lines parallel to two sides of this shape. It is not tricky within this step, and you spend some minutes finishing this task and go to the fourth step.
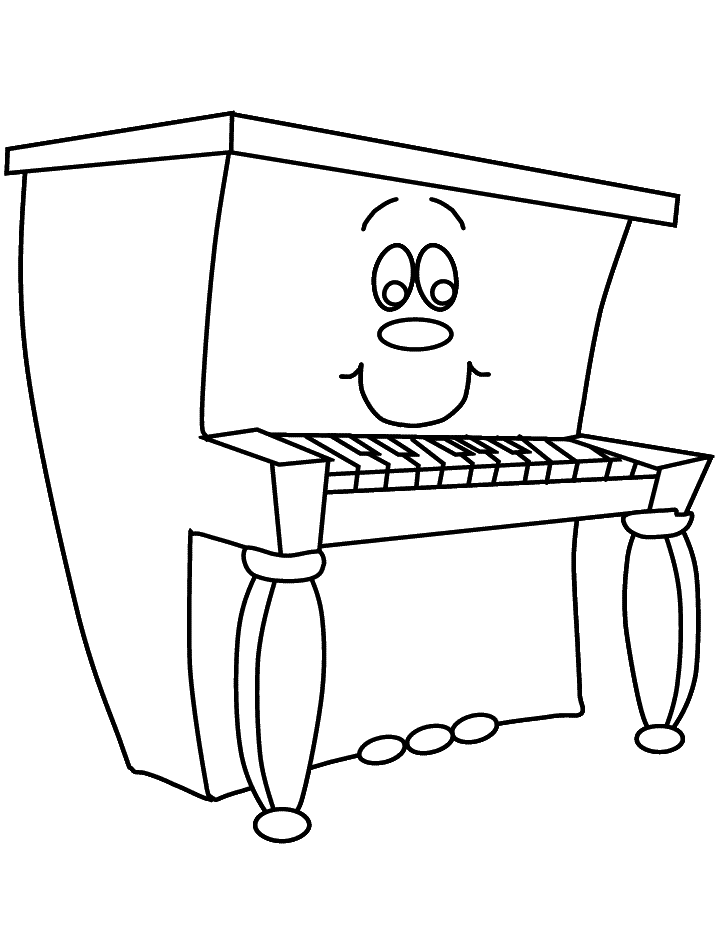
Step 4 – Draw Smiley Face For Piano

You will draw eyes and mouths for the piano in this step. In our illustration, we use two simple curve lines for two eyes for the piano. After that, at the center of the two eyes, you draw a curved one with a short line to create a cute mouth for the Piano. We also make a tongue inside the mouth so you can look at our image and follow it.
Step 5 – Finish Your Drawing Mission

It’s time for you to complete your drawing task. Please complete the remaining details so that your piano is complete before moving on to coloring the piano. Draw straight lines across the keyboard. Angle the lines and continue them vertically on the narrow front of the keyboard. You continue drawing the black keys. Enclose little rectangles on top of the existing keys. Once you finish all tasks for drawing, you will move to step 6 for coloring the piano.
Step 6 – Color Piano

In this step, finish off your piano drawing with some color. Choosing a color for the piano ultimately depends on your aesthetic ability. You can take any color you like for your product, the piano. So, you know how to draw a piano with our instruction, an exciting mission for you. You can come here to enjoy piano coloring pages because we update hundreds of images related to piano for free, and you come here to choose coloring for them. We update them daily, and you can reach her every day anytime and anywhere with your devices connecting to the internet, such as tablets, smartphones, and computers. You can recommend your friends come here to get their counterparts. Have a great time!