9 Easy Steps To Get A Tiger Drawing
Complete perfect Tiger drawing in just 9 Simple steps
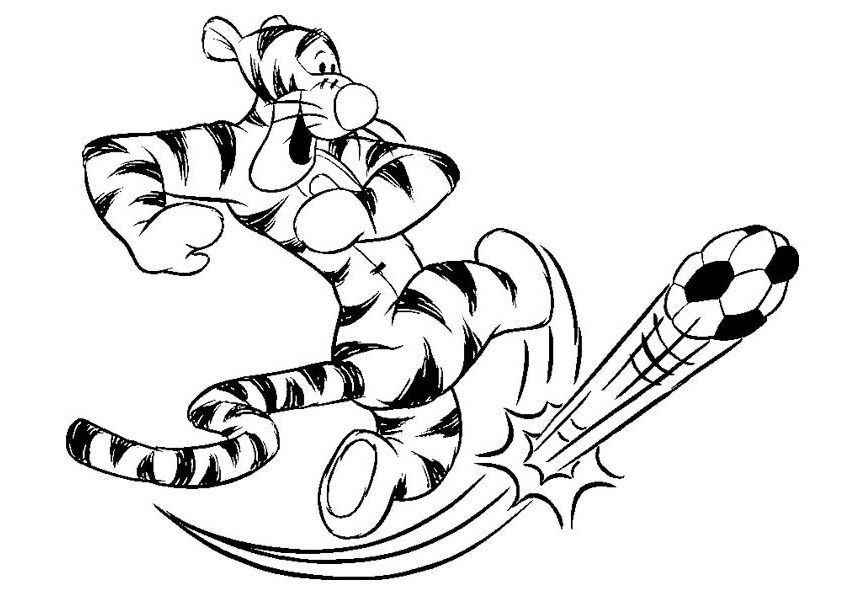
This drawing guide will show you how to create Tiger drawing. Tiger is similar Tigger. He is one of the best friends of Winnie the Pooh and a beloved character by many viewers, especially children. If you are a parent, please don’t hesitate to give this article to them, or you can learn to draw a Tiger with your kids. This activity is suitable for people of all ages. After the hard-working hours, you can come back home and enjoy drawing with your kids. This activity allows you to get closer and understand your child better. Through this, you have a better orientation to educate children. You know that the character Tiger is one of Pooh’s best friends, and he is a happy, bubbly and optimistic character with a ton of energy. For this reason, he is known by everyone, and kids love him very much. You will draw Tiger in nine steps with us. Once you finish your drawing task, you can move to Tiger coloring pages and enjoy images related to this character. You can practice drawing the different Tigers for free because we have updated many pictures related to him.
How To Draw A Tiger – Let’s Get Started!

It would help if you prepared some necessary things such as paper, pencil, and colors before drawing Tiger. Tiger is the king of the forest, associated with strength. But the girls love stripy stuffed tigers, so they can enjoy drawing Tiger as well. Drawing and coloring will help your kids get comfortable time, and you and your kids will be able to relax and work more efficiently. Our step-by-step guide on drawing Tiger in nine steps will show you how to recreate this classic character. Not too difficult for you, whether you are a beginner or an expert in drawing, you can finish your drawing work efficiently if you are patient and follow our instructions. In each step, we illustrate to help you realize your task easier. You will use a pencil to draw on paper, and you can erase if you make mistakes. No matter who you are, whatever you do, leisure is essential. It can help you reduce stress and worries from life and balance your life. Now, let’s get started drawing Tiger.
Step 1 – Draw Eyes And Nose For Tiger

To start drawing Tiger, you must show his eyes and his nose. He has a pretty funny appearance. He has a large, rounded nose and small eyes. You will draw a dot, then within it, you will draw a small circle and use black to color the pupil. You will draw the other eye the same. After that, you will attract the nose under the eyes with a triangle and some black dots. You can finish your task here and move to step 2.
Step 2 – Draw Tiger’s Face Outline And His Mouth

You will use two short curved lines at two sides to outline the face. You can use some short, broken strokes to show the hair on Tiger’s face. And from the nose, you draw some curved lines to make his cute mouth. Once you have these elements looking as they do in the reference image, you’re ready for step 3!
Step 3 – Finish Tiger’s Face

Now, you will draw his head outline with his little round ears on it as well. From the head, you draw two curved lines for the ears. Here you draw two ears that are the same and have little feathers that are contoured you created with a pencil. Now, you can move to step 4.
Step 4 – Draw A Part Of Body For Tiger

Now, add his neck and then draw a part of his body. It is very easy in this step. You use two parallel straight lines downwards. You need seconds to finish the task here and move to step 5.
Step 5 – Draw Tiger’s Arm

From two parallel straight lines at step 4, you will continue downwards and finish at hand. It is not difficult, and you can look at our image and follow it. That’s all there is to it for this step, so when you’re happy with the look of it, we shall continue adding to this character in the sixth step.
Step 6 – Draw Tiger’s Legs

You will draw his legs, and they will be fairly short. We are drawing the Tiger sitting, so part of the leg will be covered by the arm, so you just need to draw the places of the leg that we can see. Now, you continue your drawing mission in the seventh step.
Step 7 – Draw Tiger’s Tail

Now, you use two parallel curved lines to make the tail. You can add some more stripes on his face to make the decorations for Tiger. The outline will also have little small lines drawn on it to show where it is stitched on. You can go to step 8 now.
Step 8 – Finish Your Drawing Mission

In this step, you will finish all your drawing mission. You will add some more curved lines on his face around this belly section for his chest and back. Those details make the decoration. In this step, we sketch out the outlines of the black stripes on the body of our tiger. Once you finish the task here, you can move to the last coloring step.
Step 9 – Color Tiger

This is an important part of your drawing, and you will choose suitable colors. In this step, your task is simple; you can make any color you like or take colors that are similar to our colors. Here, we take yellow for the skin and hairs of the tiger and back for stripes. You can add white in place of Tiger. So, you create a complete Tiger with our instructions. You can enjoy Tiger coloring pages on our site as well. Here, we update many images related to Tiger. Drawing and coloring are suitable activities and help you to relax in your free time. They are free on our site, and we have updated many instructions for you here. If you like our tutorial, don’t forget to give us a thumb up and recommend them to your friends! I hope you get a great time. Have fun!