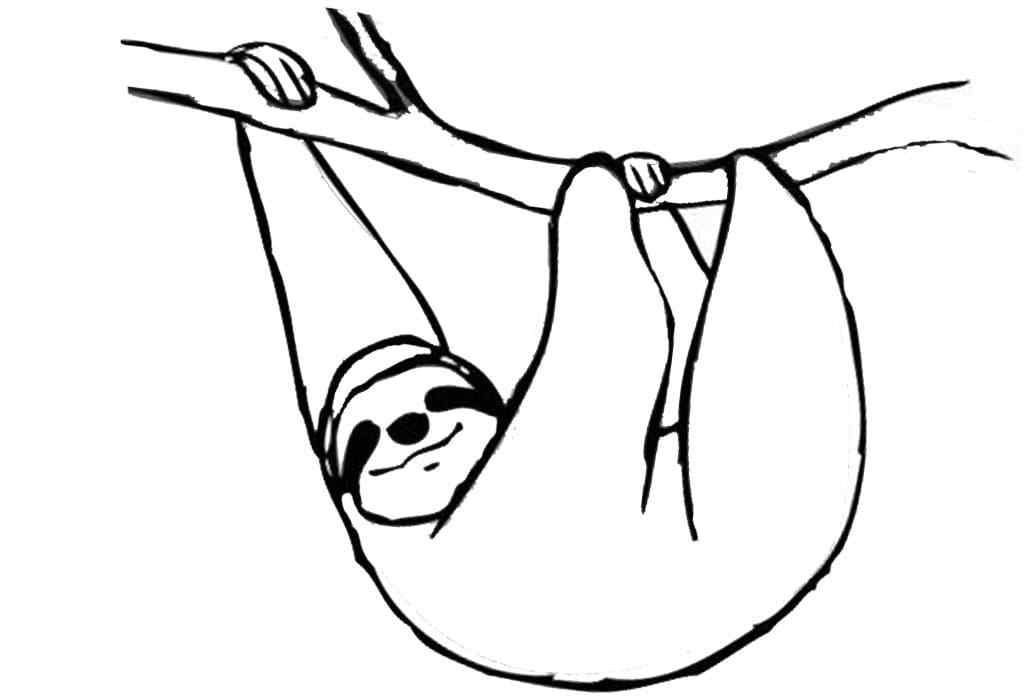
Sloth Drawing Is Complete In 6 Easy Steps
Sloth Drawing Is Complete In 6 Simple Steps
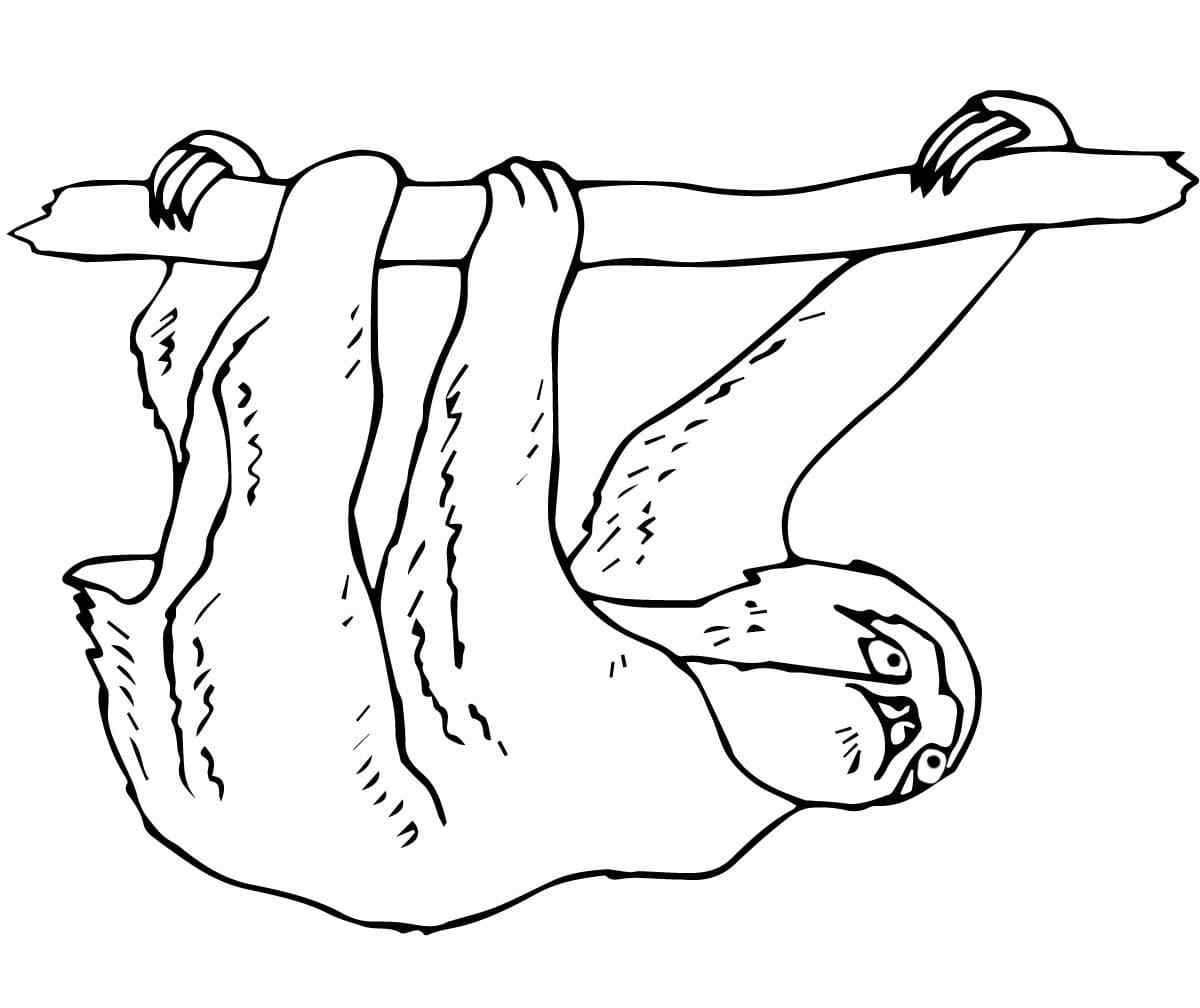
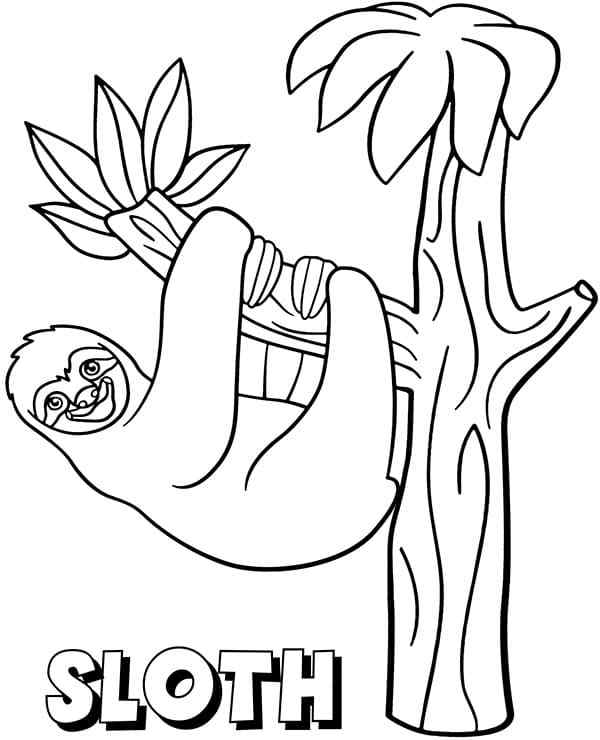
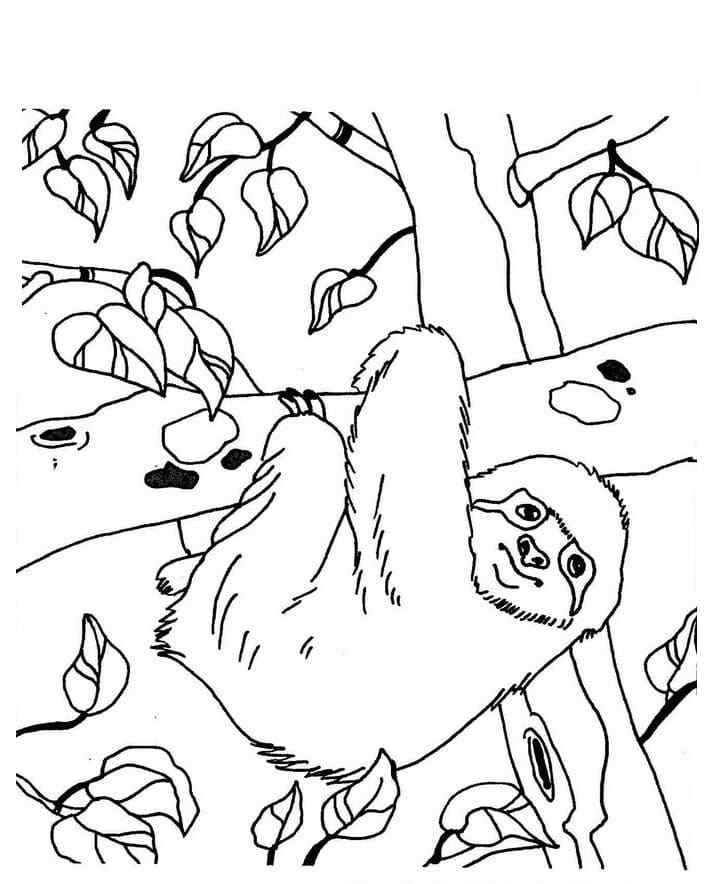
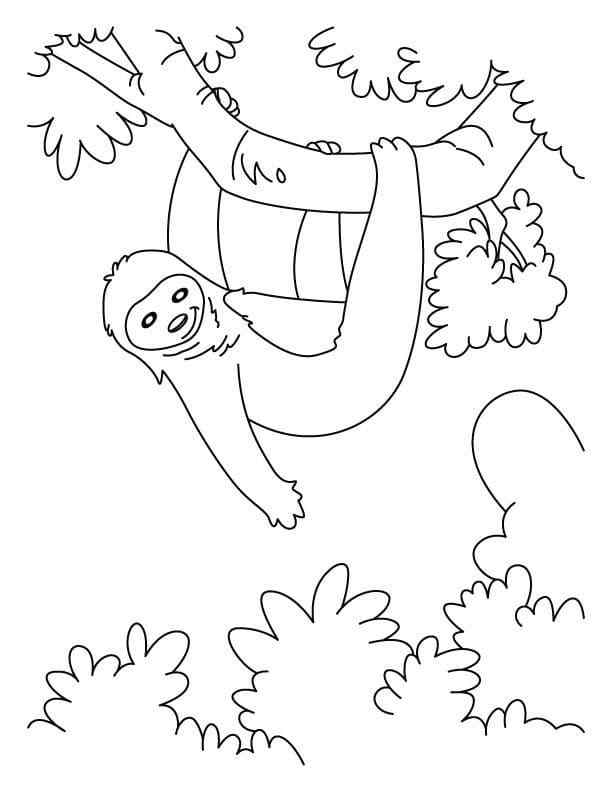
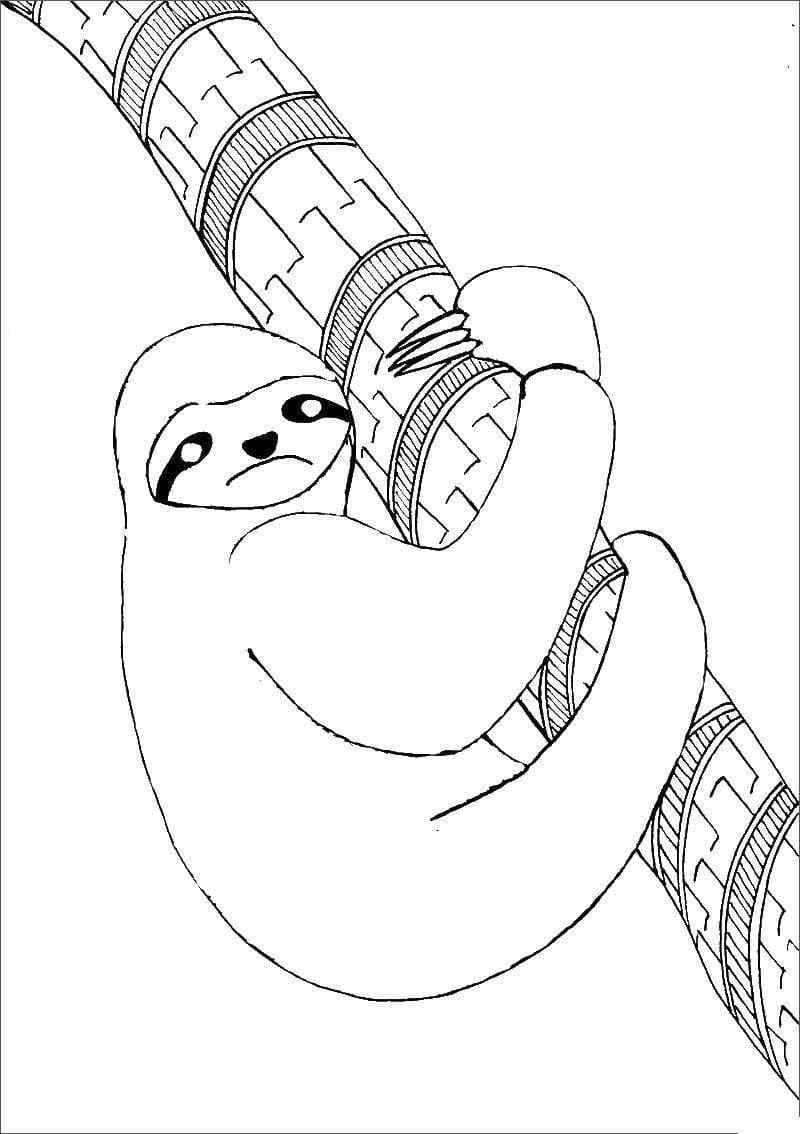
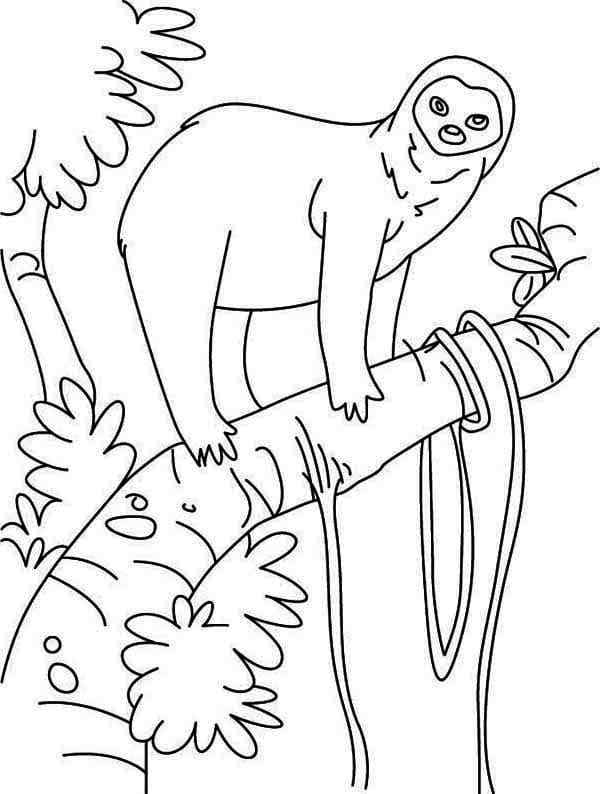
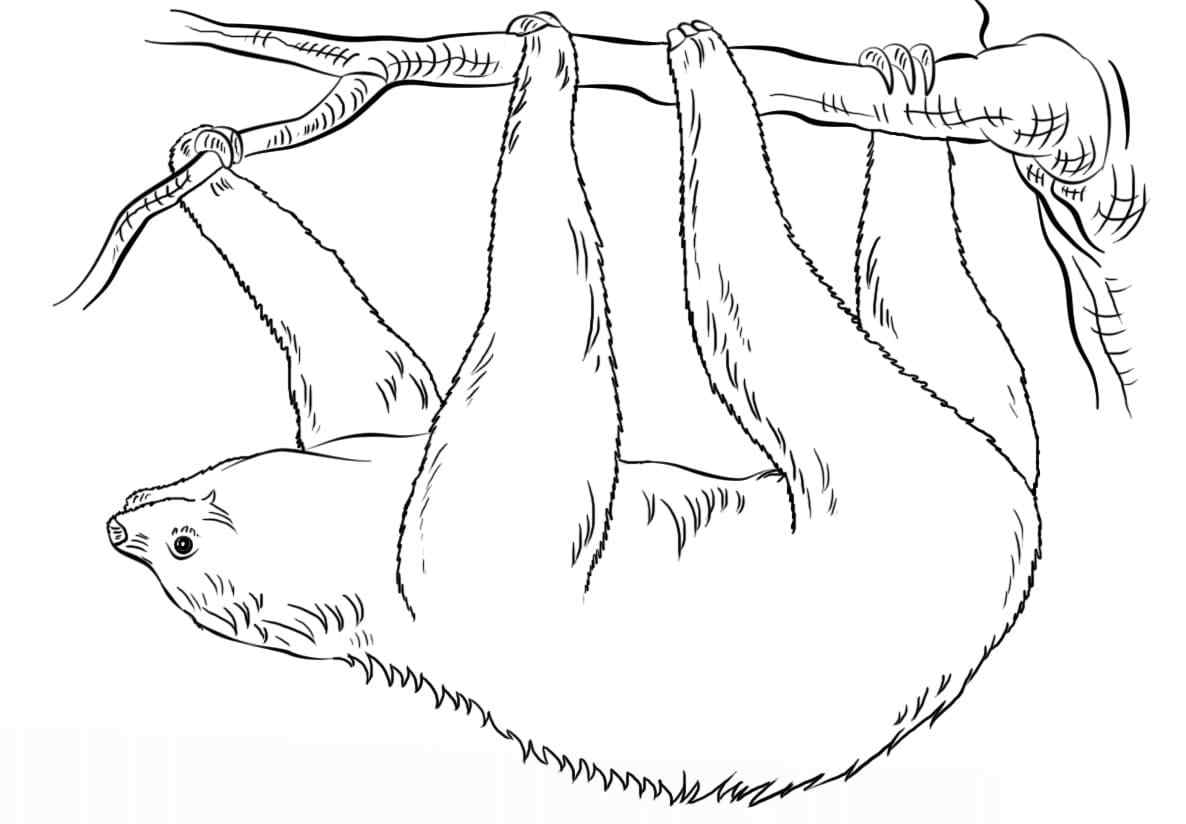
You will get a sloth drawing with us here. By following the information on the internet, Sloths are an animal type that resembles monkeys, but they are related to armadillos and anteaters. They live in the tropic. al forests of Central and South America. They can be 2 to 2.5 feet (0.6 to 0.8 meters) long and, depending on species, weigh from 8 to 17 pounds (3.6 to 7.7 kilograms). They are characterized by roundish heads, sad-looking eyes, tiny ears, and stubby tails. Another special feature of them has two extra neck vertebrae that allow them to turn their heads almost all the way around. Because sloths developed their slow-motion lifestyle so they would be less noticeable to predators such as hawks and cats, If they are caught by a predator, sloths turn from sluggish to sluggers, biting fiercely, hissing, slashing with their claws, and shrieking. Today, you get an opportunity to learn more about this animal with how to draw a sloth article. You will follow our instructions and create a complete sloth. Once you get your product, you can enjoy Sloth coloring pages on our site.
How To Draw A Sloth – Let’s Get Started!

we have six instruction steps; you will use paper, pencil, and colors to realize your task. It is not too difficult but not simple. This work requires you to focus on the course of drawing. You can erase if you make mistakes, so don’t worry about your errors. Even if you are a beginner or drawing expect, you can finish your task easily. If your kids are fans of sloths, you can learn to draw the Sloth with them. Children will learn how to draw a cute sloth with our easy-to-follow step-by-step how-to-draw-a-sloth tutorial. Here, we give the instructions with simple lines, and you and your kids can follow us and our illustrating images in each step. To draw Sloth, you need to focus on the face as this is the hardest part of the drawing. The rest you can finish easily. You will follow step by step and finish your task with a Sloth. Once you get your product, you can move to Sloth coloring pages. There are hundreds of images related to a sloth that we provide for free. Now, let’s get started drawing a sloth!
Step 1 – Draw Eyes, Noses, and Mouth For Sloth

To simplify the Sloth’s beginnings, you will draw dots, which are Sloth’s eyes. You use black to color your eyes after drawing. Within the eyes, you let some spaces with white to make the Sloth’s eyes. Below the eyes, you draw a dot and make a black color for it. This is the nose for Sloth. You continue to draw the mouth of the Sloth with a line below the nose. So, you finish all your task in step 1 and move to step 2.
Step 2 – Draw Sloth’s Face

You may prefer to draw Sloth’s face as an oval. Here, you must draw two ovals. On oval shows, Sloth’s face and others make a head for Sloth. It is simple for the task; you will draw an oval to the semi-forehead and draw some lines up and down with that oval showing little hair for Sloth. Outside the oval of your face, draw another oval, and on the top of your head also, draw some short lines representing Sloth’s hair. So, Sloth looks real now; once you have these elements looking as they do in the reference image, you’re ready for step 3!
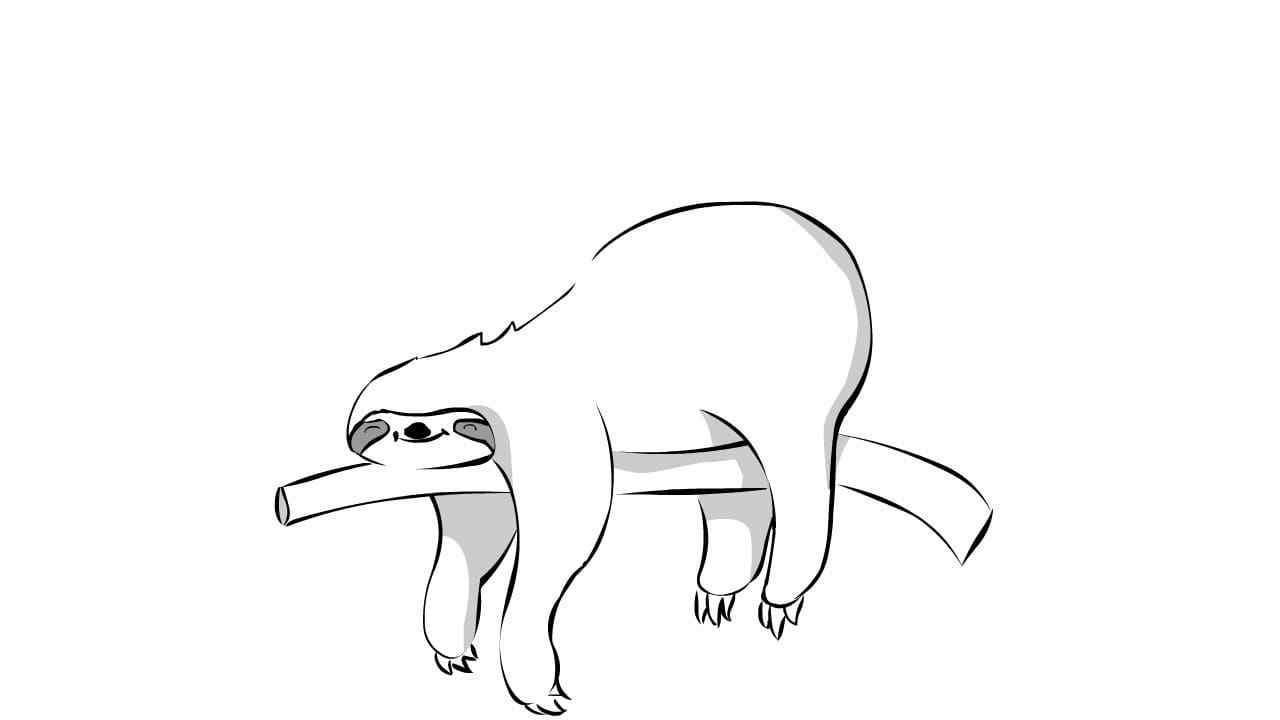
Step 3 – Draw Body And A Leg For a Sloth

Now, you continue to draw a sloth with a body and an upside-down leg on a tree branch, and we’ll show it off in the next drawing. From the face, you will draw a line, and you turn right to show your leg for Sloth. You will draw another line that is parallel to this line to make a body and an upside-down leg on a tree. The task in this step is also quite simple and cannot be difficult for you. The Sloth now has a face, a back, and its first back leg. Now, we continue drawing a sloth in the fourth step.
Step 4 – Draw A Front Leg For the Sloth

You will draw a second rounded leg a short distance from the first and just before the bottom of the Sloth’s face. this leg will fall to the ground, and you draw some toes for Sloth in this step. Your task in this step is very simple, and you go to step 5 now.
Step 5 – Finish Your Drawing Mission

Right now, you must finish your drawing task. You will draw a wavy line from the edge of the page to the other, ensuring the line connects the two legs and falls just under the Sloth’s head. We wish to add an extended curve to their wavy line as they pass the Sloth’s head – this line begins a tree branch. You draw a tree branch with two parallel lines. There is quite a bit of work and a bit of complexity in this step, so you need to focus and observe our drawing to complete the task.
Step 6 – Color Your Sloth

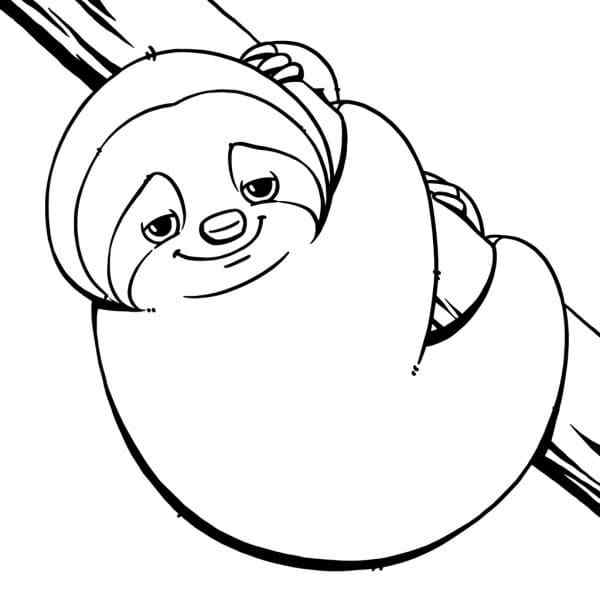
Now, you must choose suitable colors for your Sloth. This is the simplest task for you. We choose light brown for Sloth and dark brown for a tree branch. In this step, you can add more leaves to trees and make green for them. So, you finish your task to make a complete sloth. Whether you give it to Mom, teacher, or friend, or hang it on the wall, we ‘dove for you to share and tag us on social media, and let us know if you enjoyed exploring How to Draw a Sloth with our latest flow drawing guide. W update the instructions daily, be sure to keep checking our site to ensure you never miss out! You can enjoy images related to Sloth at Sloth coloring pages because there are many free coloring pages for you in this section. We are ready to answer all your questions about services. You can come here after the hard-working hours. I hope you get a great time. Ha, e fun!