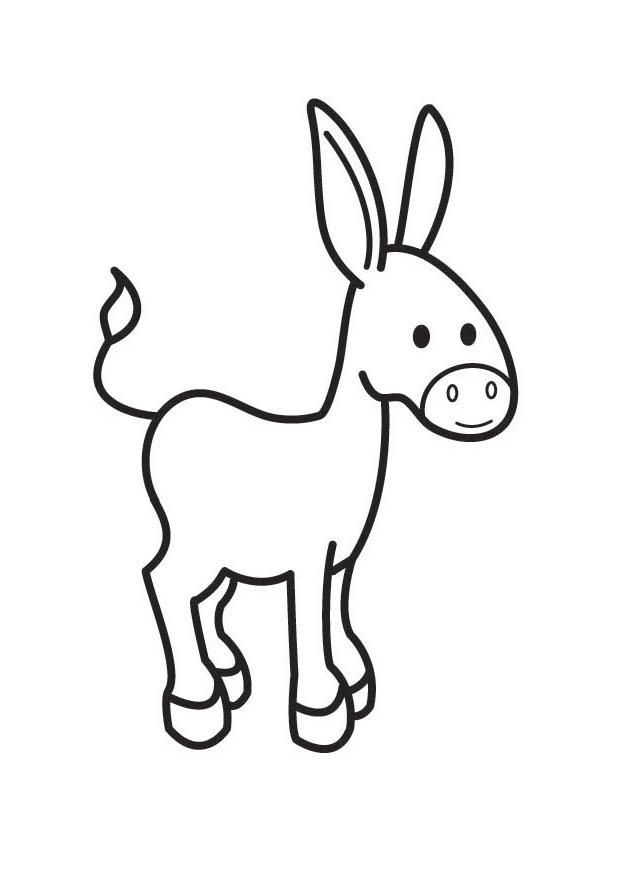
Donkey Drawing Is Made In 8 Easy Steps
Creating a cute donkey drawing in just 8 easy steps
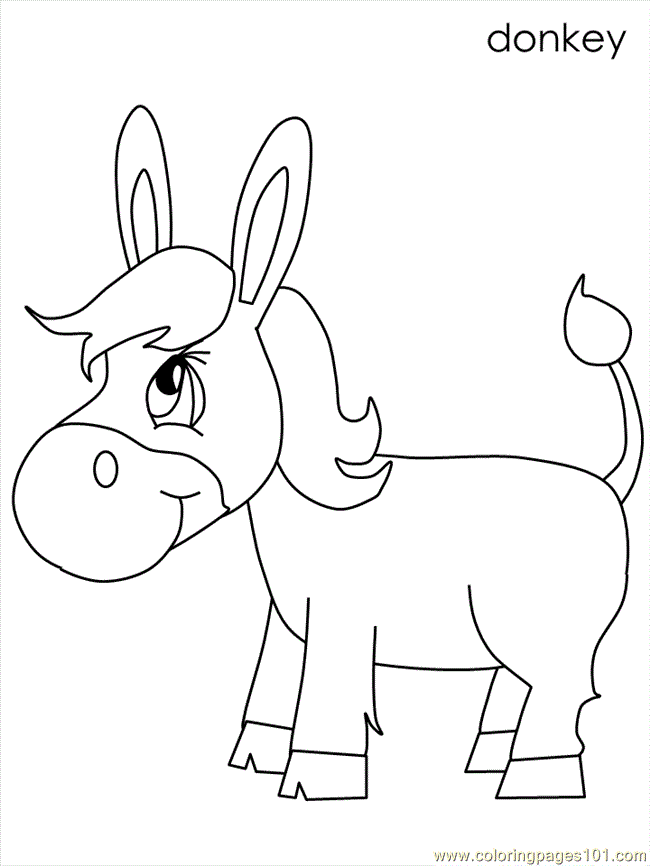
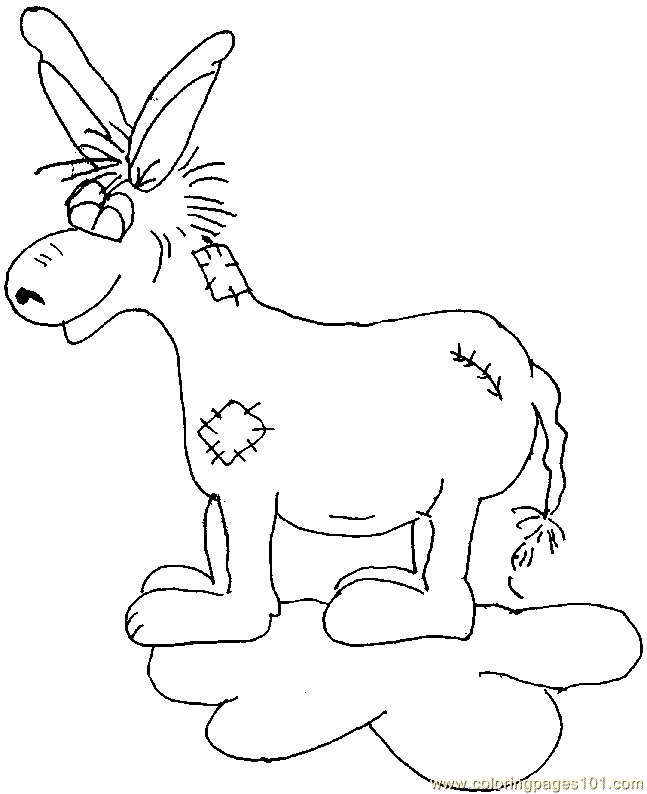
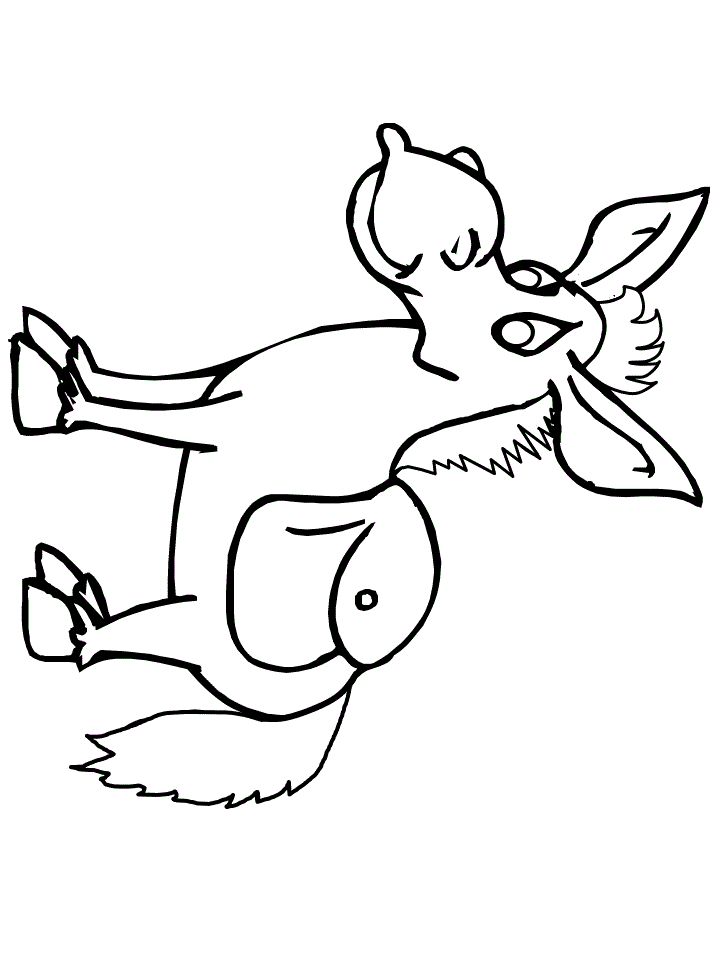
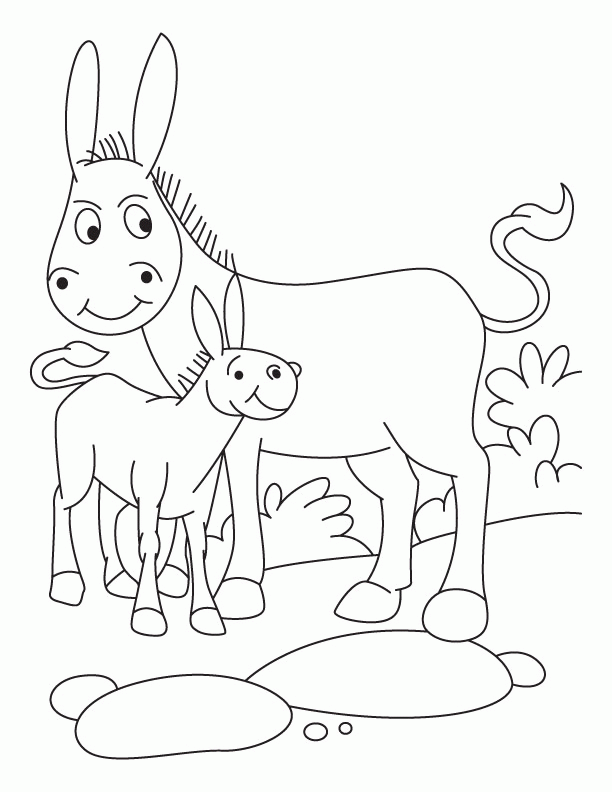
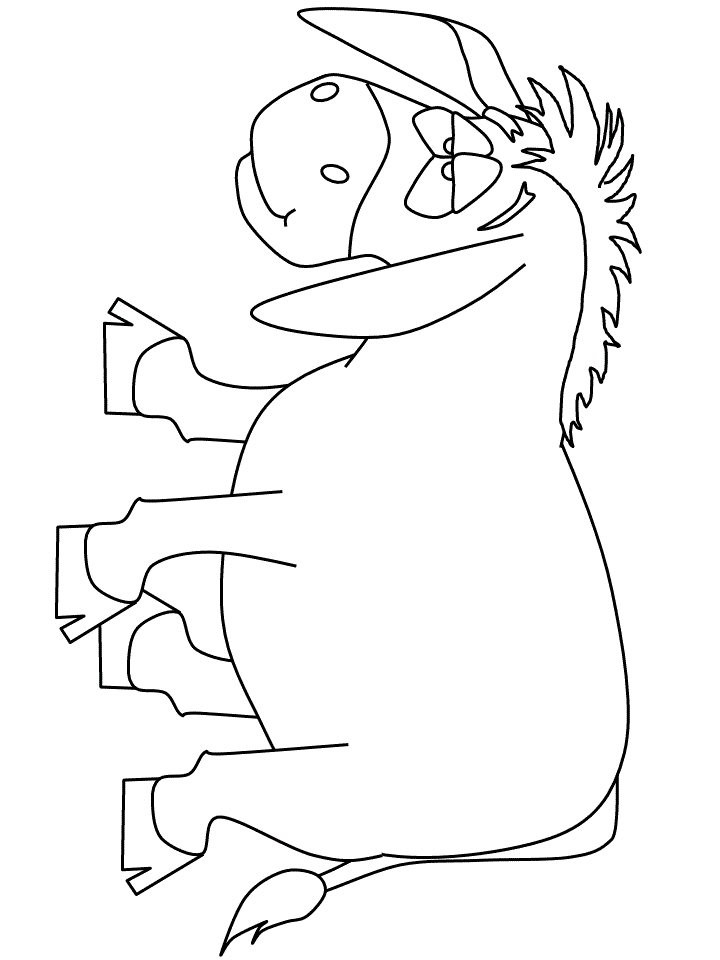
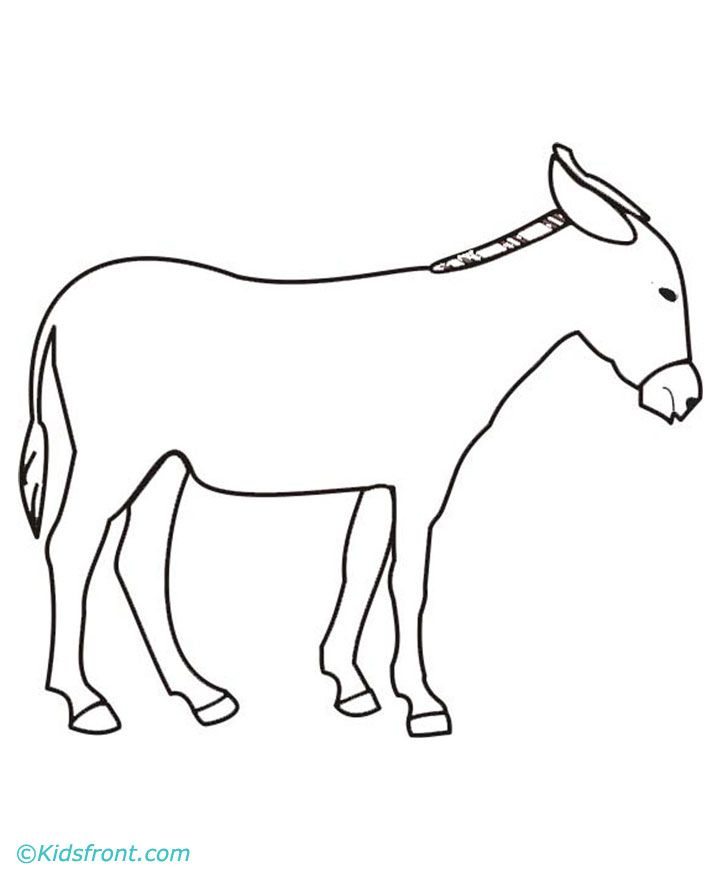
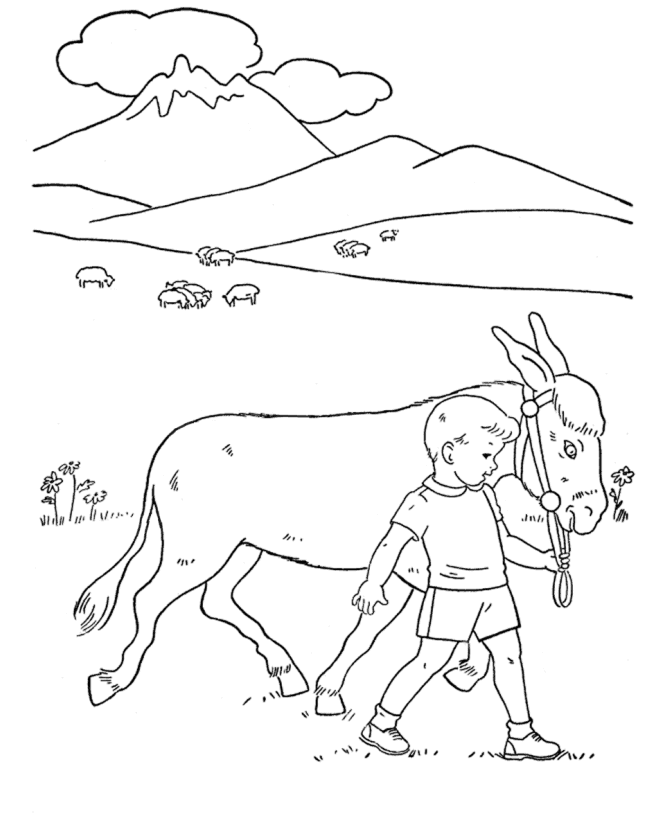
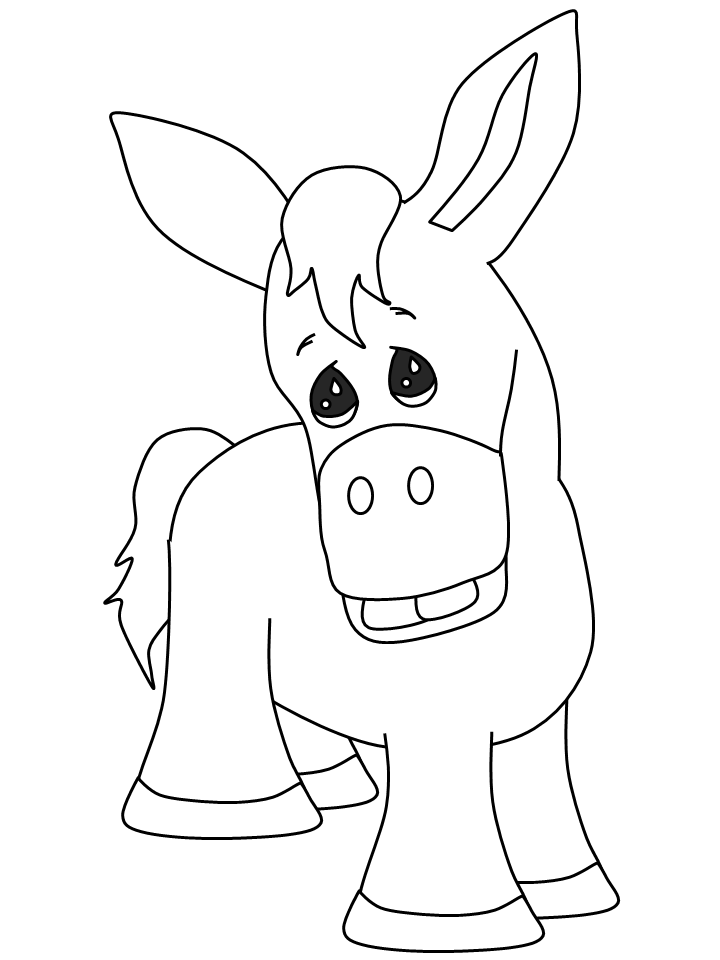
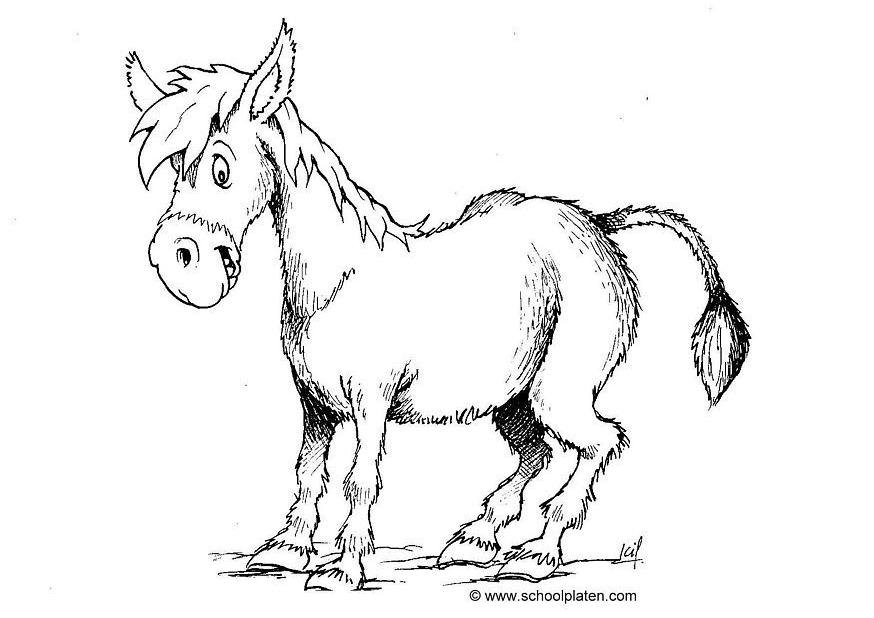
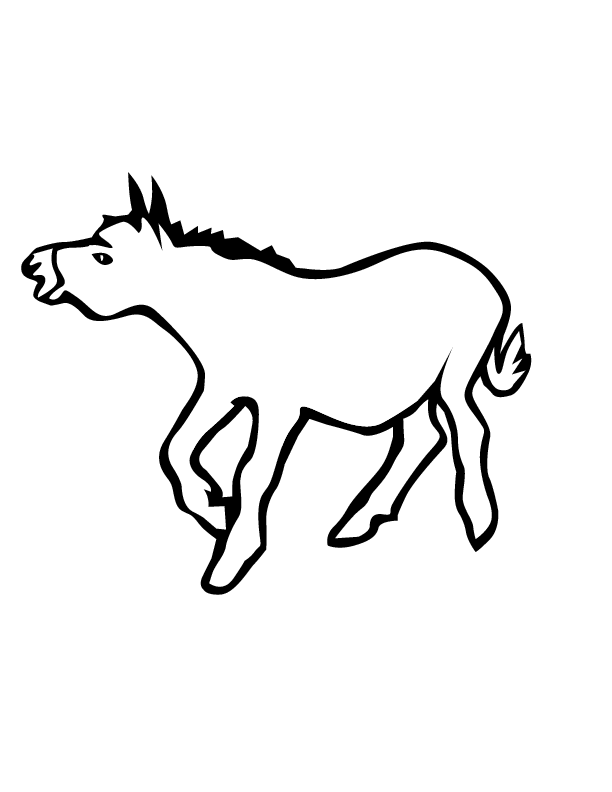
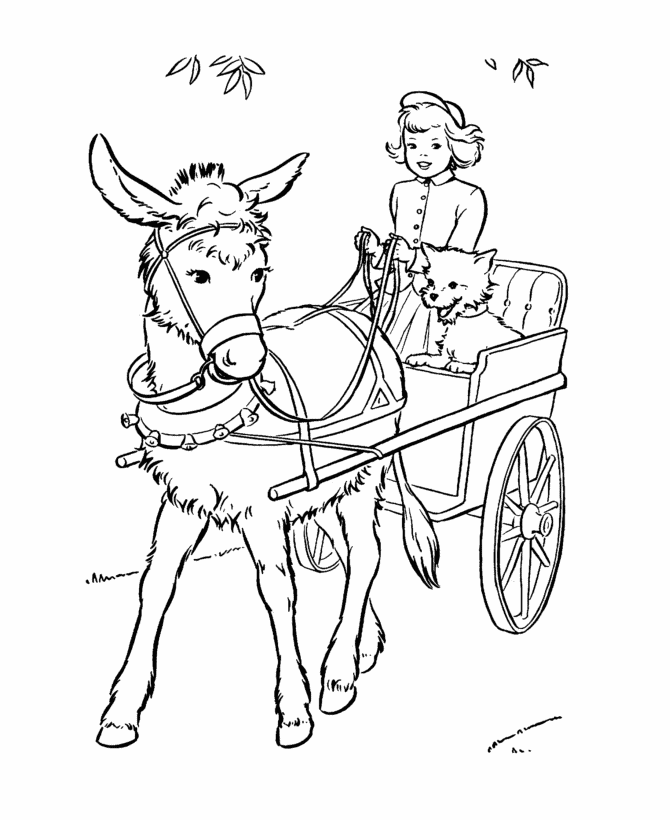
You learn how to draw a donkey with our super easy-to-follow step-by-step donkey drawing tutorial. In this easy-to-follow guided tutorial, we take you through all the steps necessary to create a realistic donkey drawing. We guide you through the whole process. If you are ready to get going, gather your drawing supplies, get comfortable, and let go step by step. You must prepare some things before drawing such as paper, pencil, colors,…then you will follow our instructions and our illustrations. Along with the tutorial, we have also included a couple of free donkey coloring pages that you can print off and give to your kids to color! You can come here after the hard-working hours to relax and get a great time.
How To Draw Donkey – Let’s Get Started!

You will follow our instructions to create a complete donkey with your skill. This is not difficult and requires your patience and your skill. It would help if you prepared a pencil, eraser, colored pencils, and drawing paper before drawing; our device is to use a pencil to draw on paper because you can erase your mistakes easily. Please don’t be afraid to draw, and you can draw in your comfortable way. You get fun and have a great time in the course of drawing. You must be patient and concentrate on finishing your task as soon as possible. we give easy to difficult tutorials to help you draw Donkeys easily. Each step is provided with illustrations to help you make drawings easier. Whether a beginner or an expert in drawing, you can create a complete donkey with us. Drawing and coloring activities will help you forget life’s stress and worries. You will love this life more if you balance work and leisure time. You work more efficiently, and your life is better. Now, let’s get started drawing a donkey with us!
Step 1 – Draw Donkey’s Eyes

Starting to draw a donkey with eyes. You will draw two dots for the donkey’s eyes. Then you use black to color the eyes and let some white space to make the real eyes for the donkey. Very simple to realize this task; you can finish it in some minutes and move to step 2 now.
Step 2 – Draw Nose And Mouth For Donkey

You will continue to draw the donkey’s face detail with the nose and mouth. Under the eyes, you must draw two small dots for the nostril. After that, you will use curved lines for the mouth; please don’t forget to add a curved line for the tongue within the mouth. That’s all there is to it for this step, so when you’re happy with the look of it we shall continue adding to this donkey in the third step.
Step 3 – Draw Face Outline And Ears For Donkey

We began to draw a donkey’s face outline by using construction shapes and curved lines to create the foundation of our donkey drawing. For the ears of your donkey sketch, you are going to draw two different-sized carrot shapes that hover just above the head construction circle. Between the ears, you use some curves to represent the donkey’s hair.
Step 4 – Draw Body And A Back Leg Outline For Donkey

The largest part of the donkey’s body is the main torso, so we will start construction here. For the main body, you are going to use a long and narrow horizontal oval to create the base shape. You use some curved lines to make a back leg for the donkey. Once you have these elements looking as they do in the reference image, you’re ready for step 5!
Step 5 – Add More Back Leg And Tal For Donkey

You will add more back legs and tails for the donkey now. From a leg in the fourth step, you add short lines to make the rest of the back leg. Then you use a long curved line for the tail. At the end of the tail, you must draw a triangle for the tail end. There is a little bit of complexity for you at this step. You can look at our drawing and follow it. And you can continue drawing your donkey.
Step 6 – Draw A Front Leg For Donkey

You continue your drawing with a front leg. From the donkey’s face, you add a more curved line for the body then you will add a front leg in a lying donkey pose with the front legs bent. You can finish your task with your feet. You add two short lines for the feet of a donkey. You can stop your work here and move to step 7 now.
Step 7 – Finish Your Drawing Mission

You will use some details for the donkey now. you draw 1 more front leg to circle the leg in step 7, and then you add a curved line to form the donkey’s belly, as you see in our illustration. So, you can finish your drawing work here and move to the last step for coloring.
Step 8 – Color Your Donkey

To get a realistic coat color, it is best to build up the shades and textures in different layers. We are beginning the coloring process by using a medium shade of brown and grey as the base coat for the entirety of the donkey’s body. You can now also use the same white shade to add highlight patches throughout the rest of the donkey’s body, including down the top of the neck, on the rump, on the legs, around the eyes and ears, and in any other places where the light would naturally hit. Very simple in this step, you can choose colors that are similar cour the colors, or you can choose your favorite colors for your products. You can move to donkey coloring pages to enjoy many images related to donkeys. We provide all services here for free; you can come back here with your kids and your friends after the hard-working hours. I hope you get a great time!
You can use the video and step-by-step drawing instructions below to learn how to draw donkeys. A new drawing tutorial is uploaded every day, so come here! Thanks for visiting! Please subscribe to the How To Draw YouTube Channel for a new tutorial!