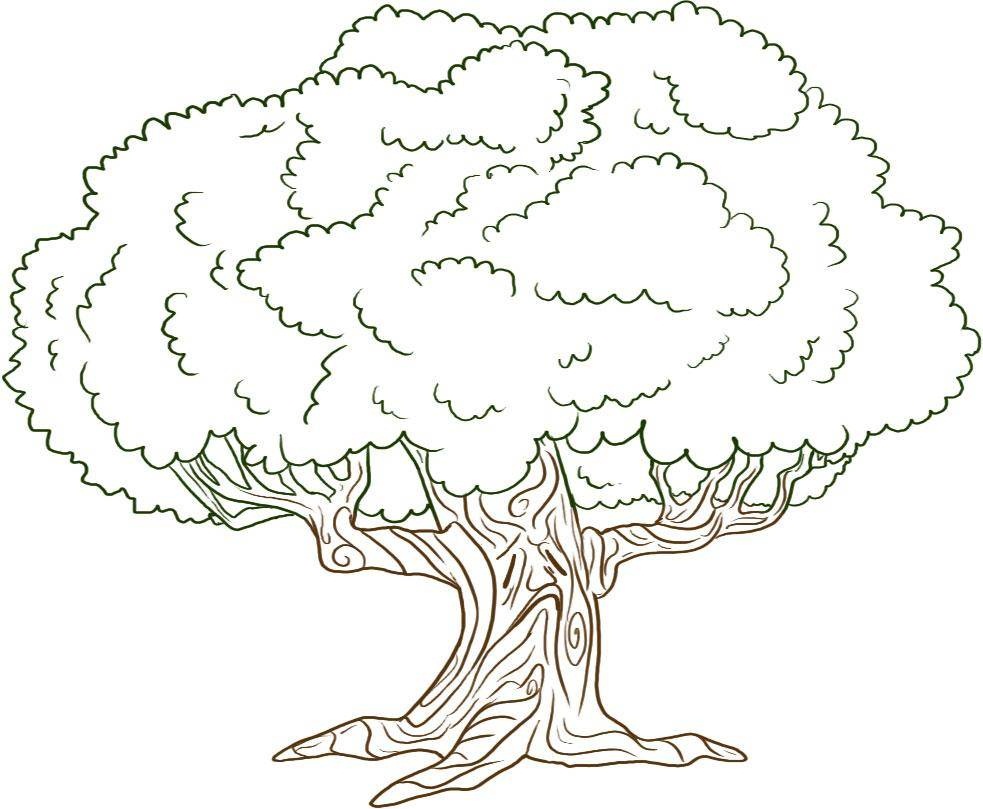
6 Easy Steps Creating A Tree Drawing
Creating a green tree drawing in just 6 easy steps
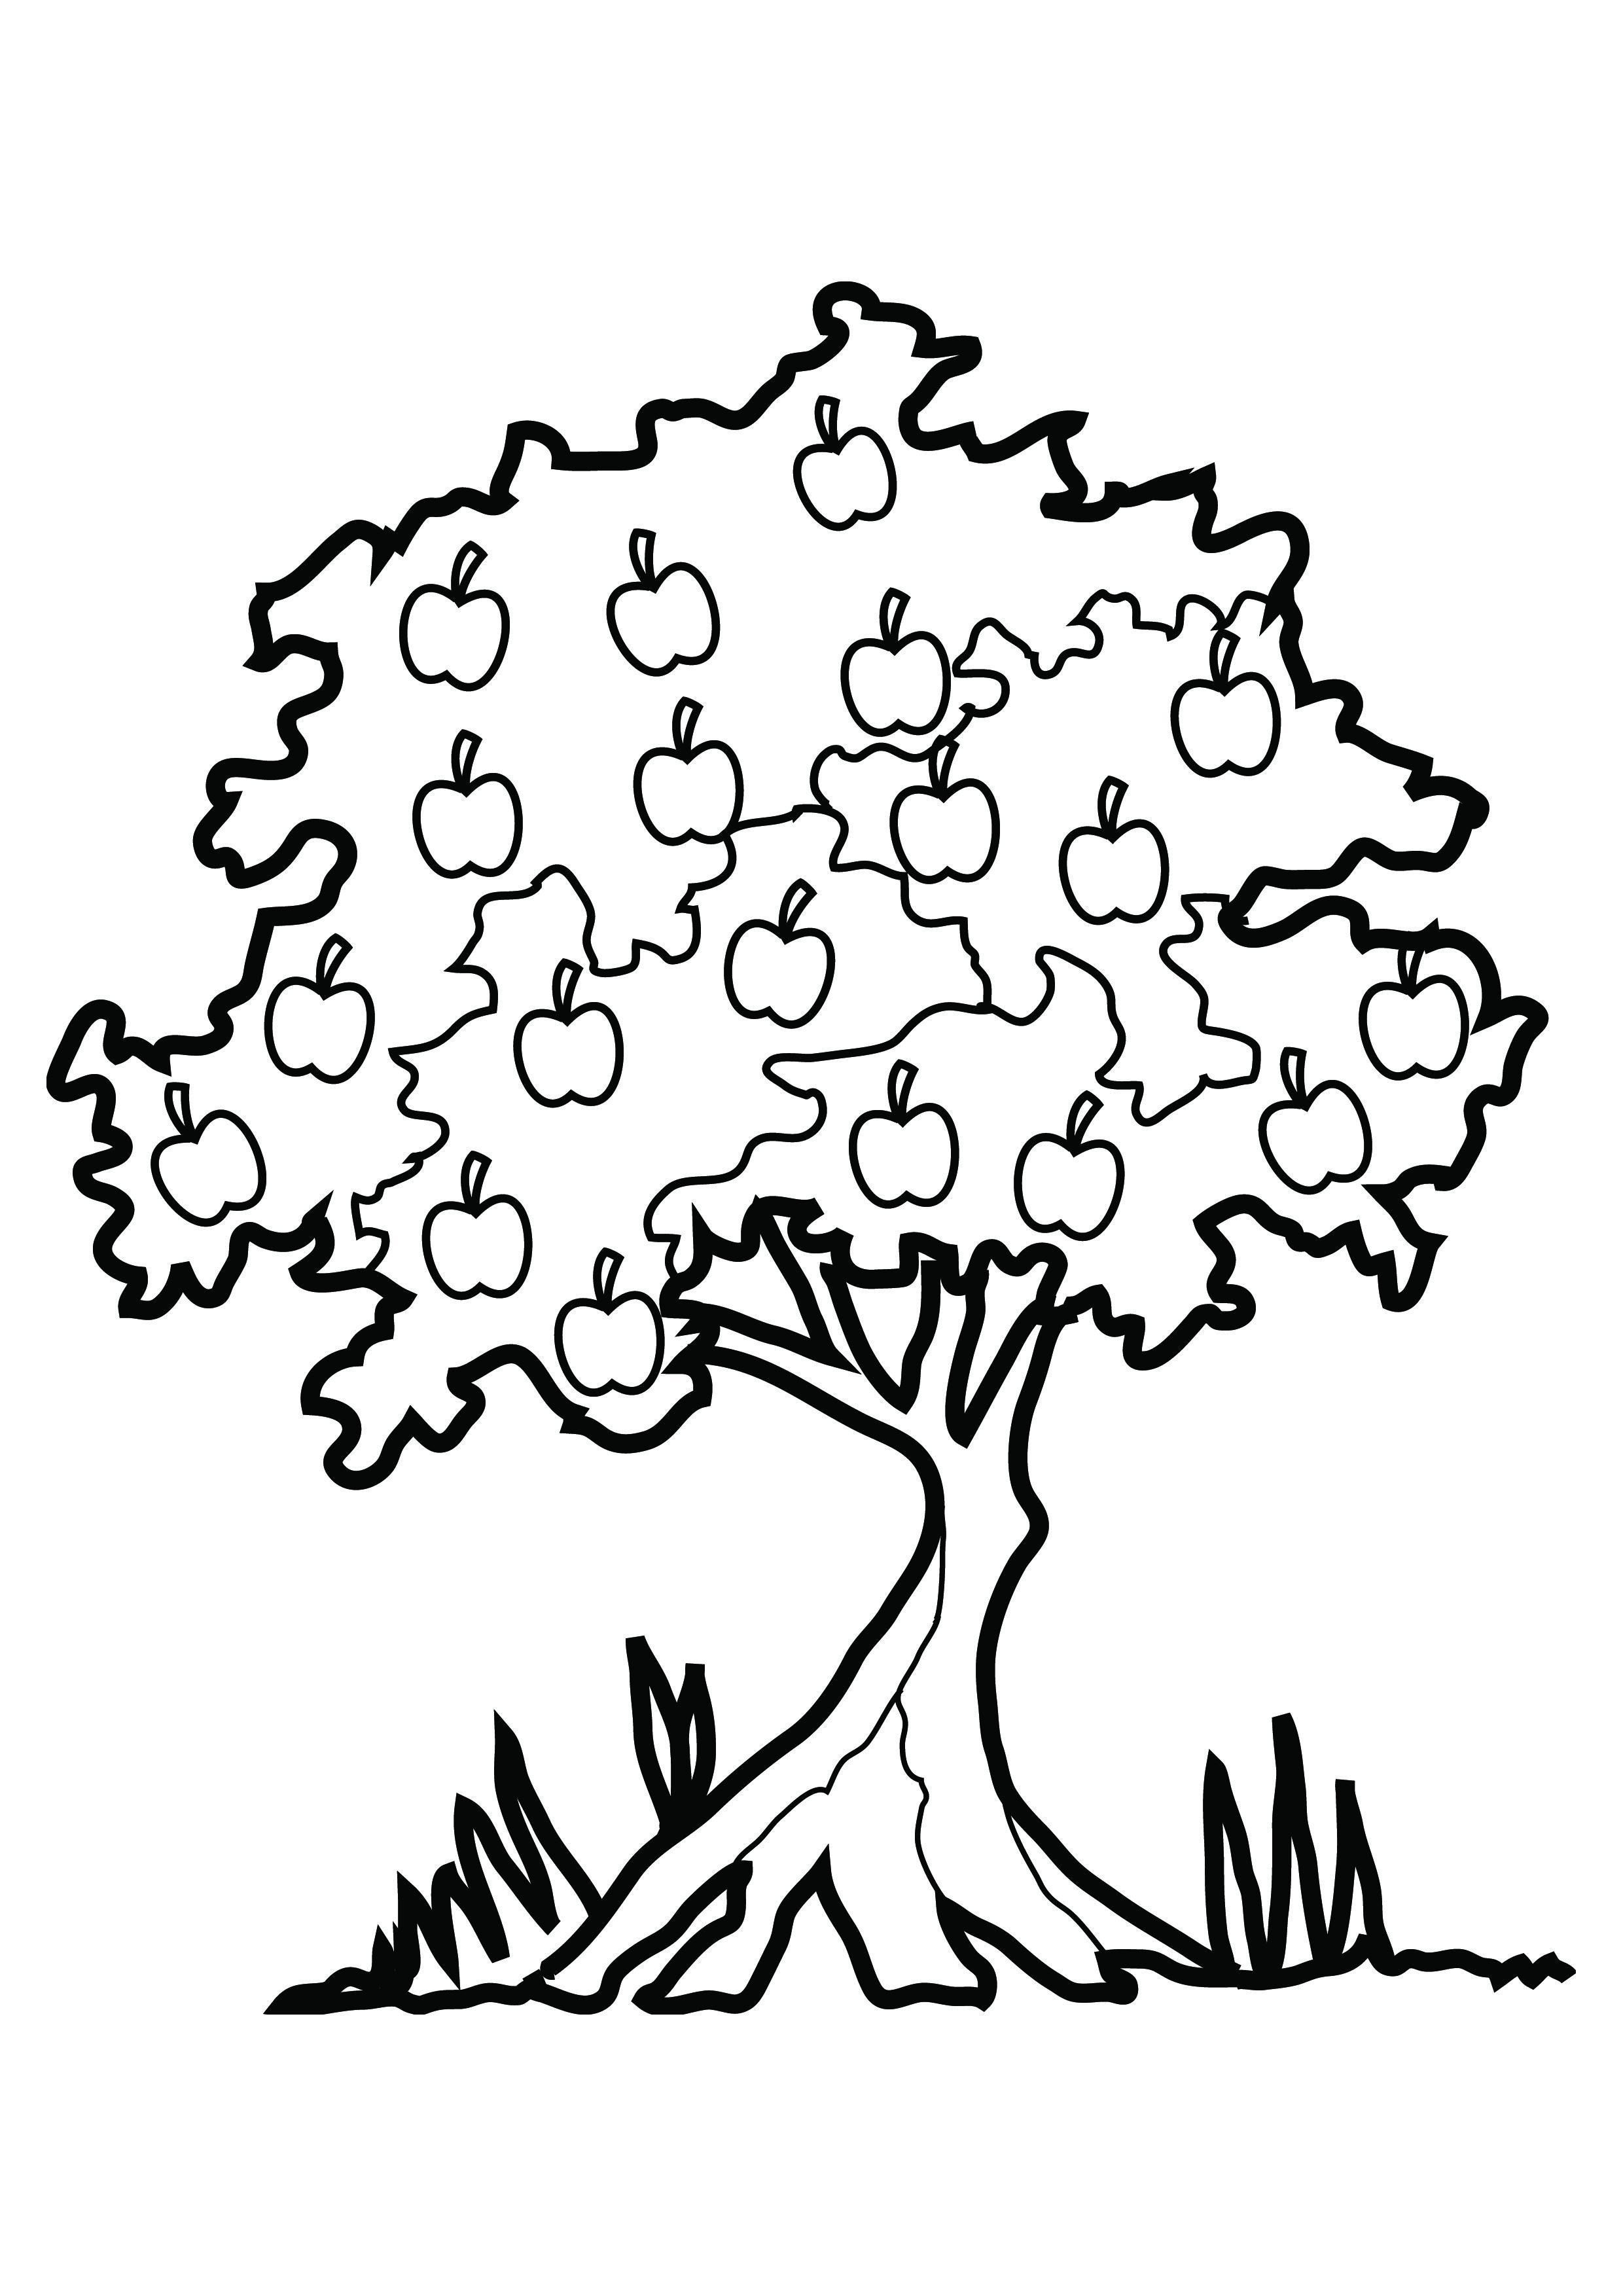
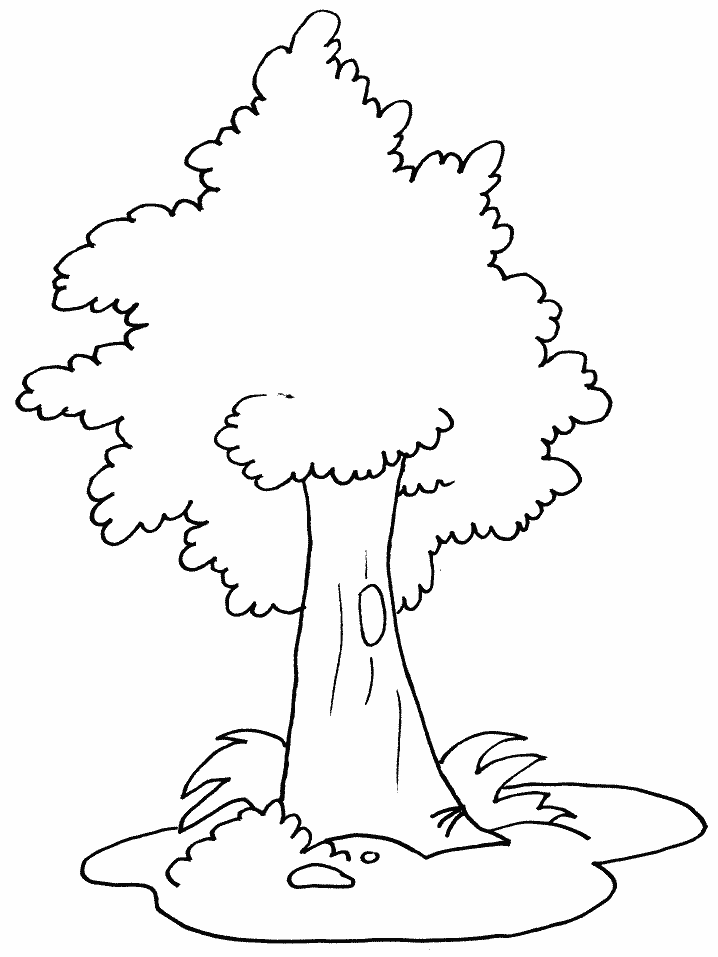
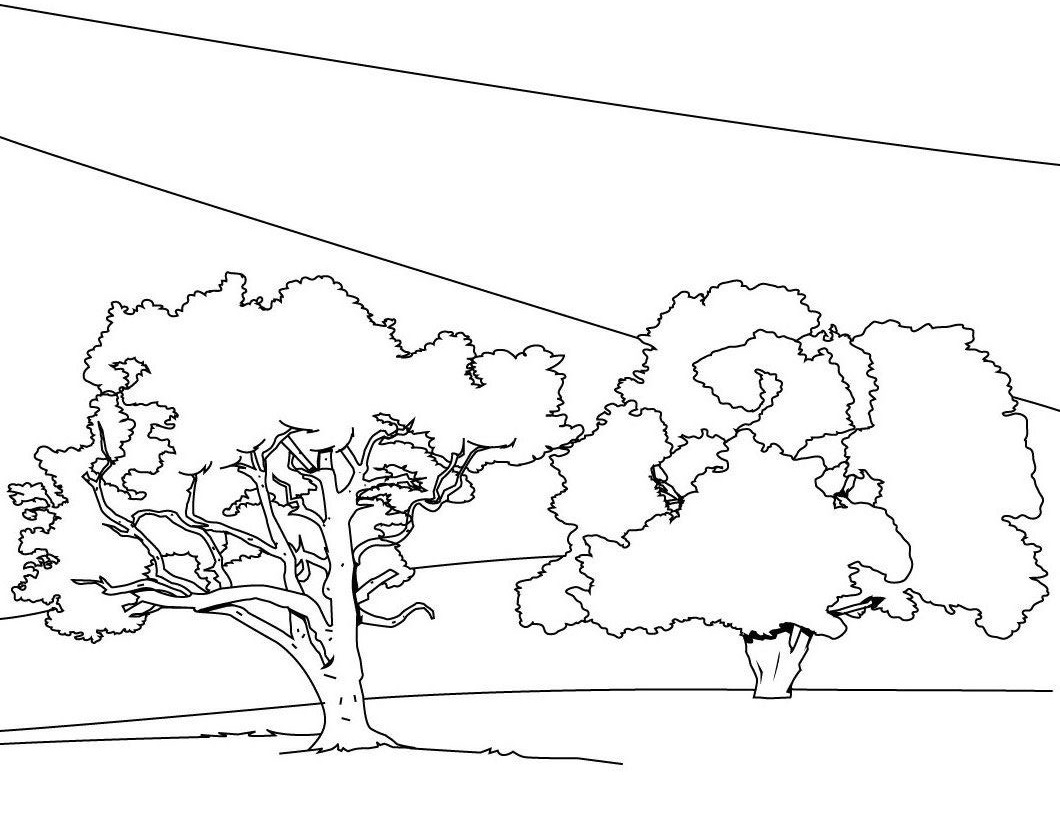
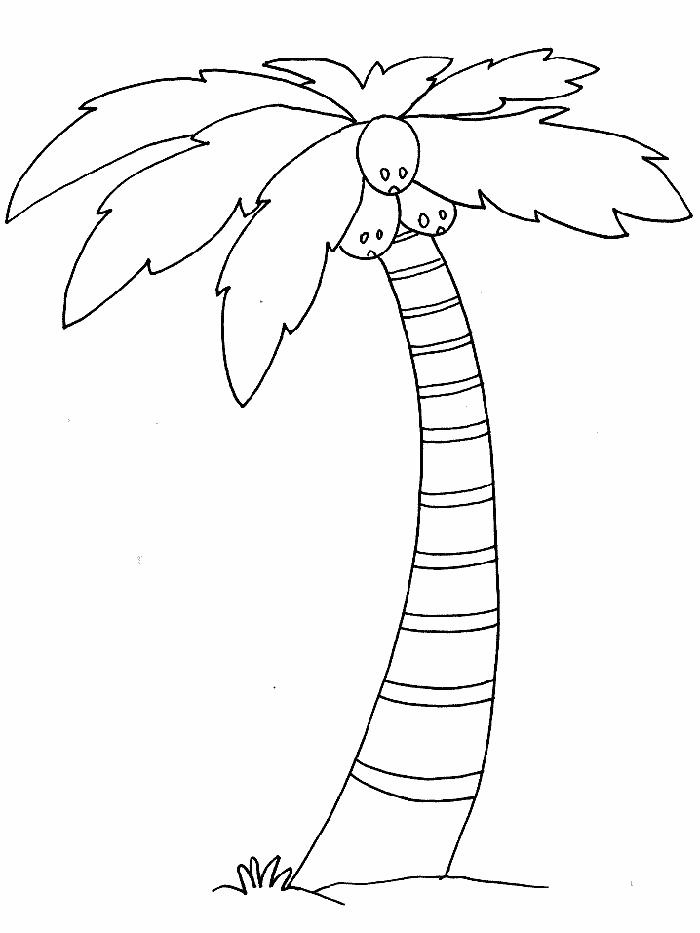
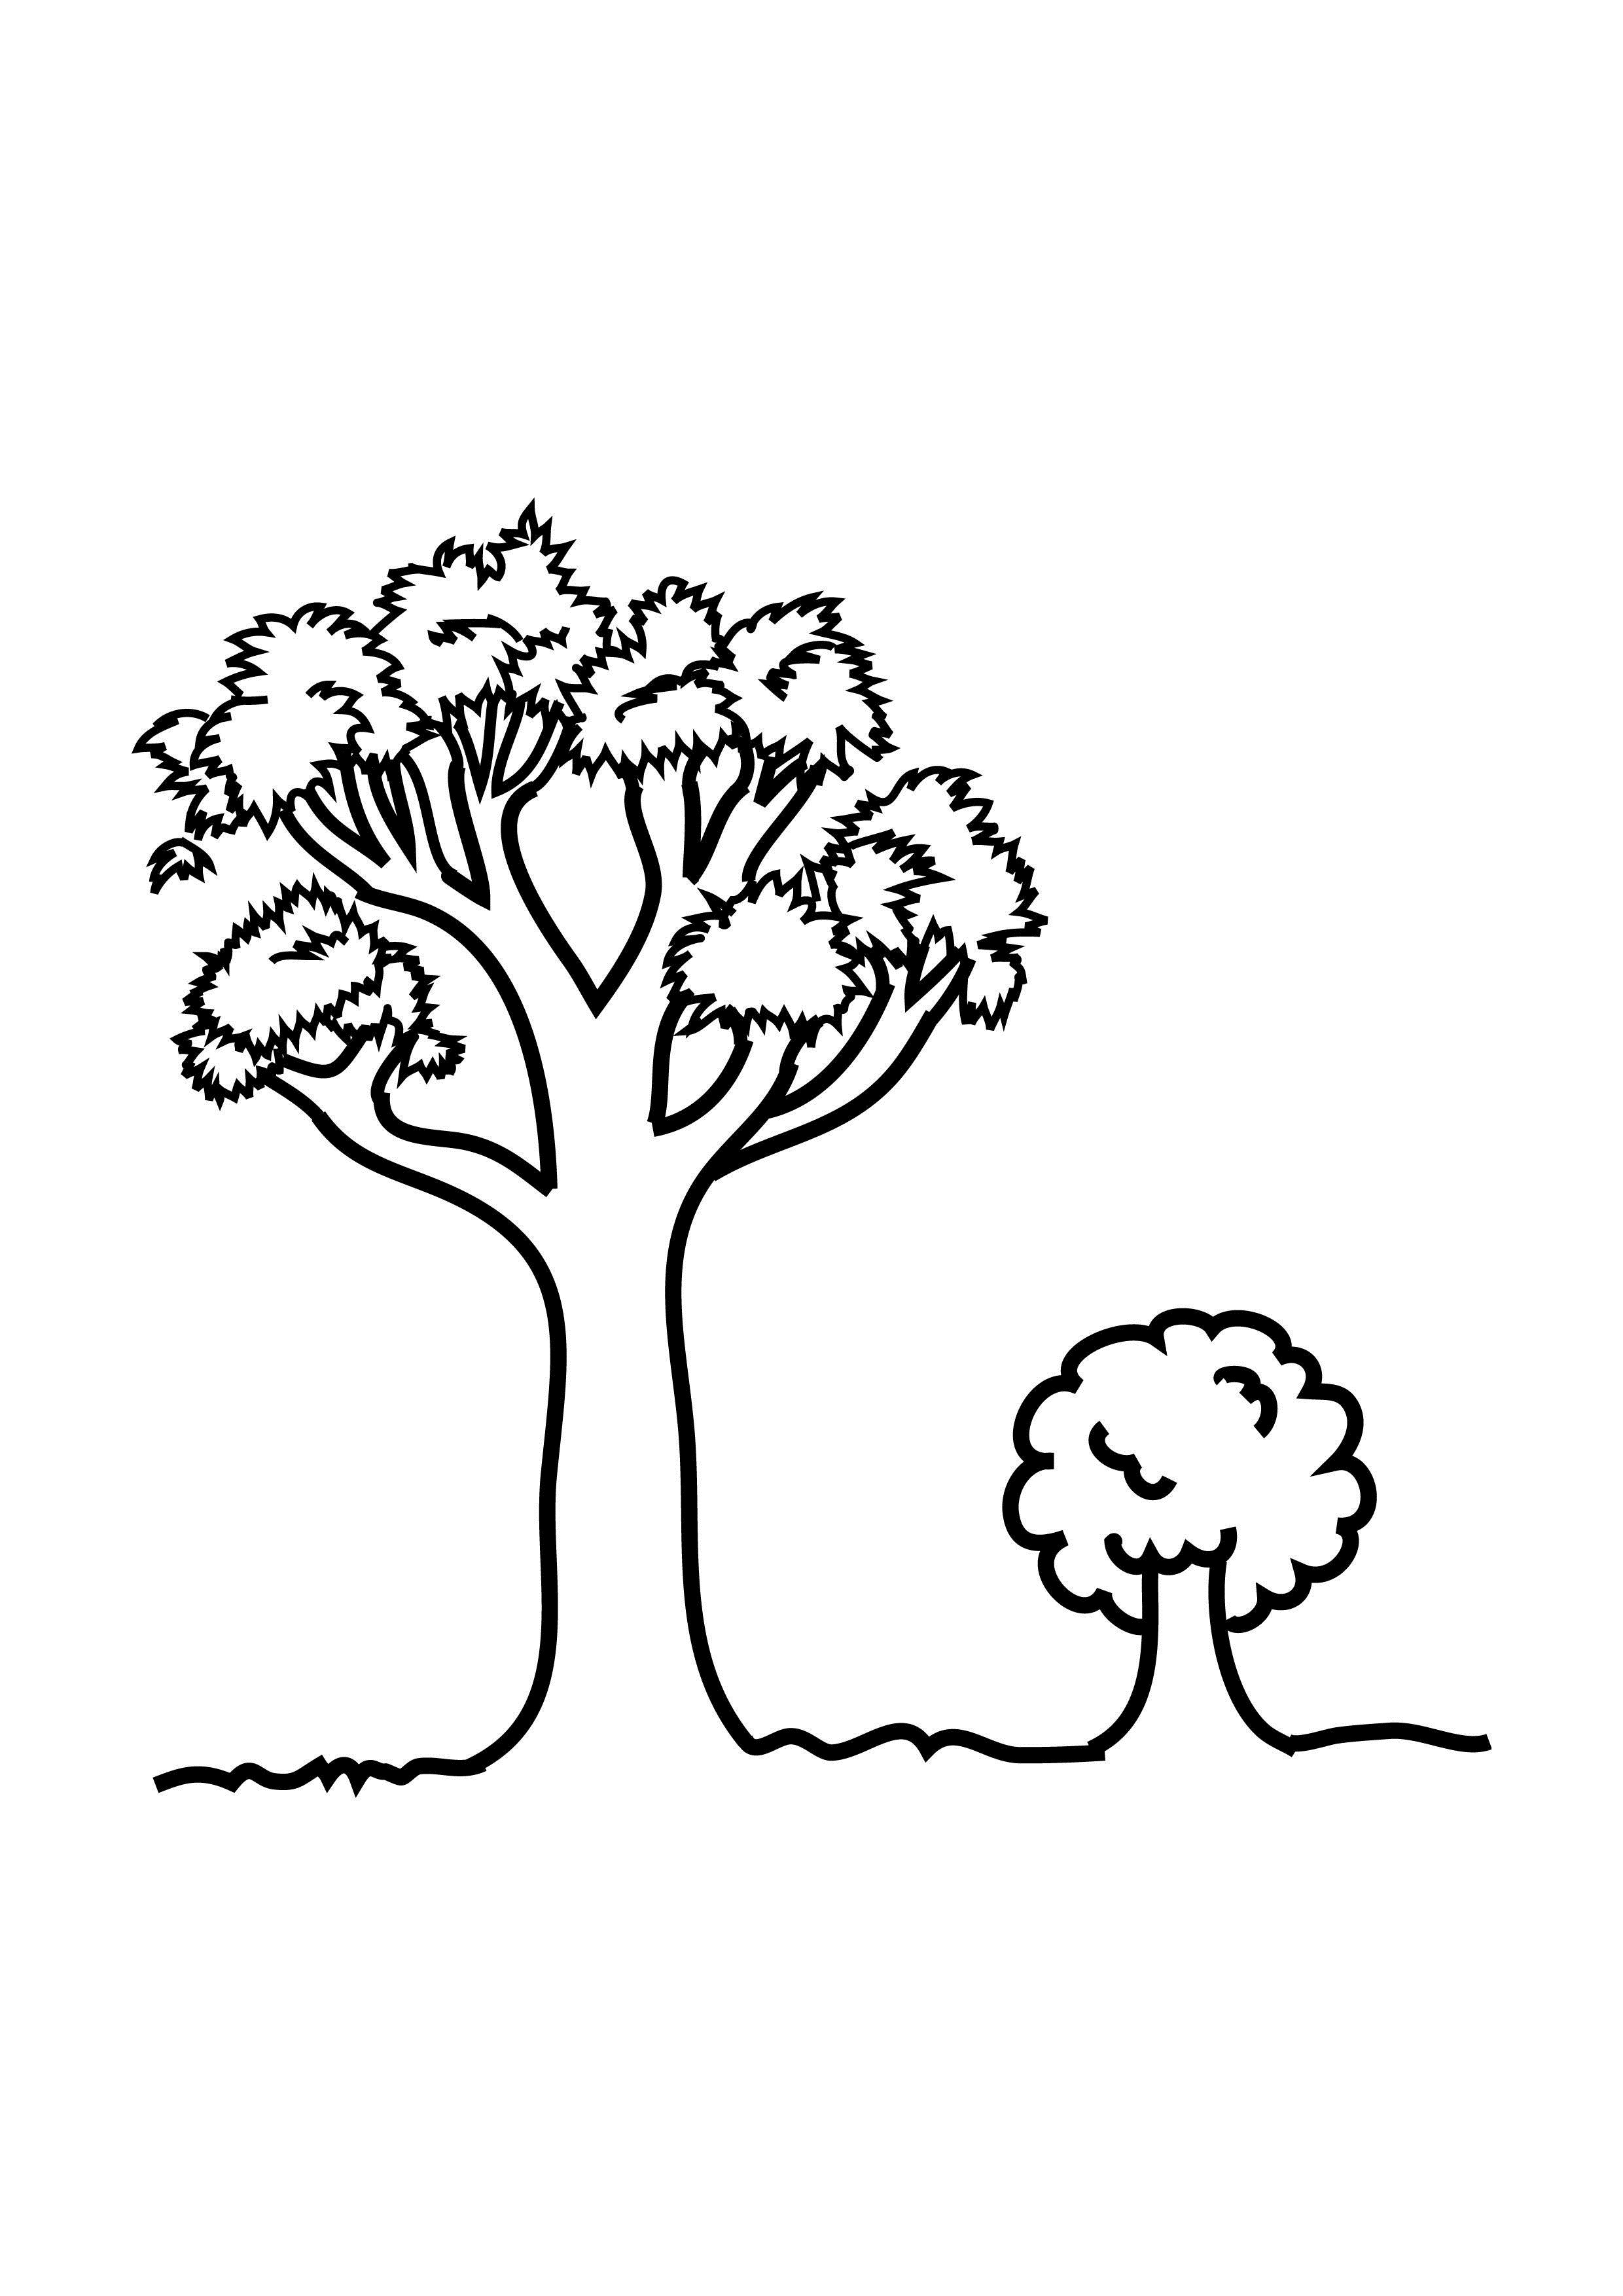
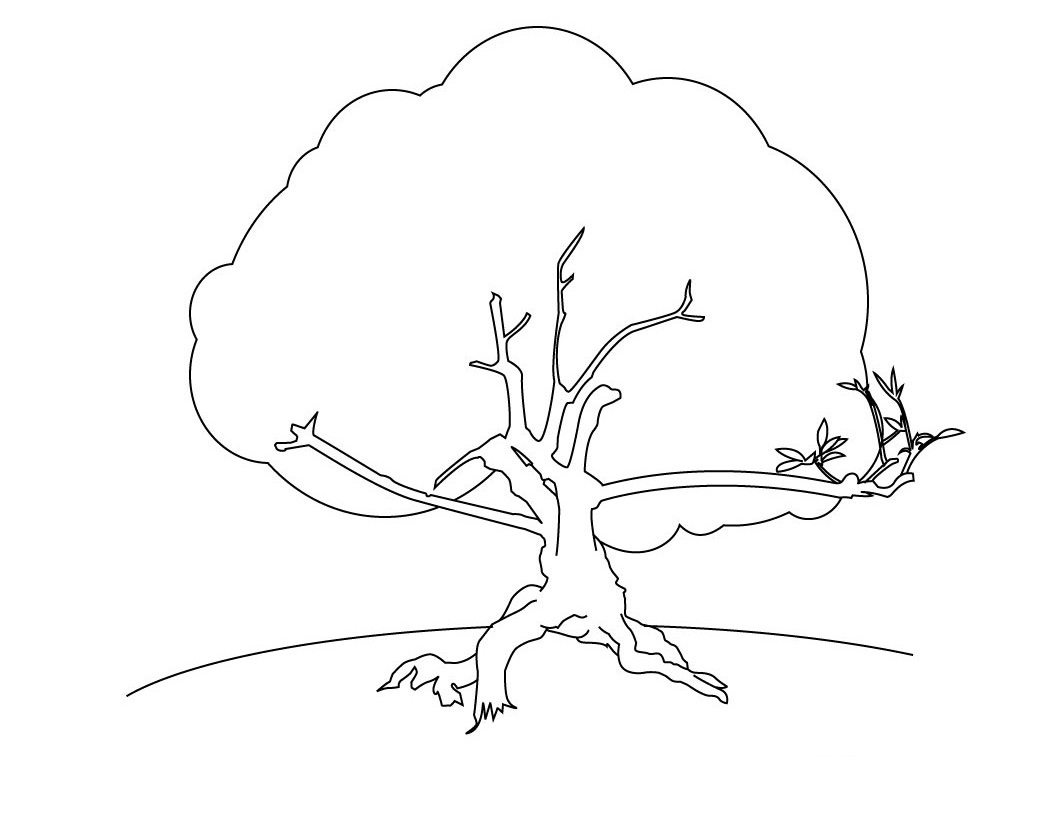
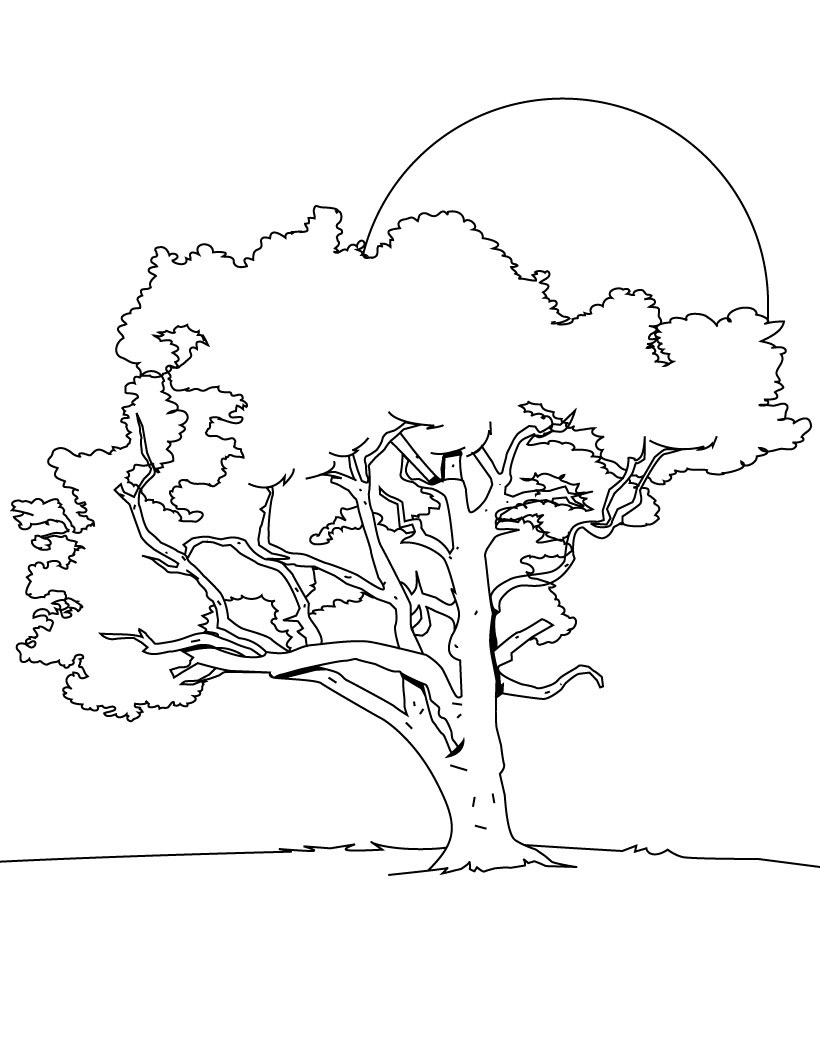
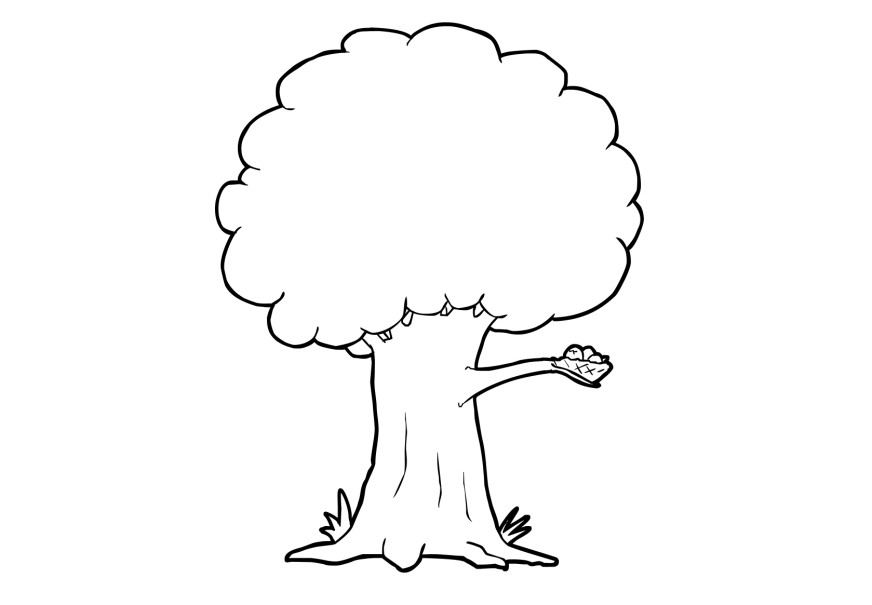
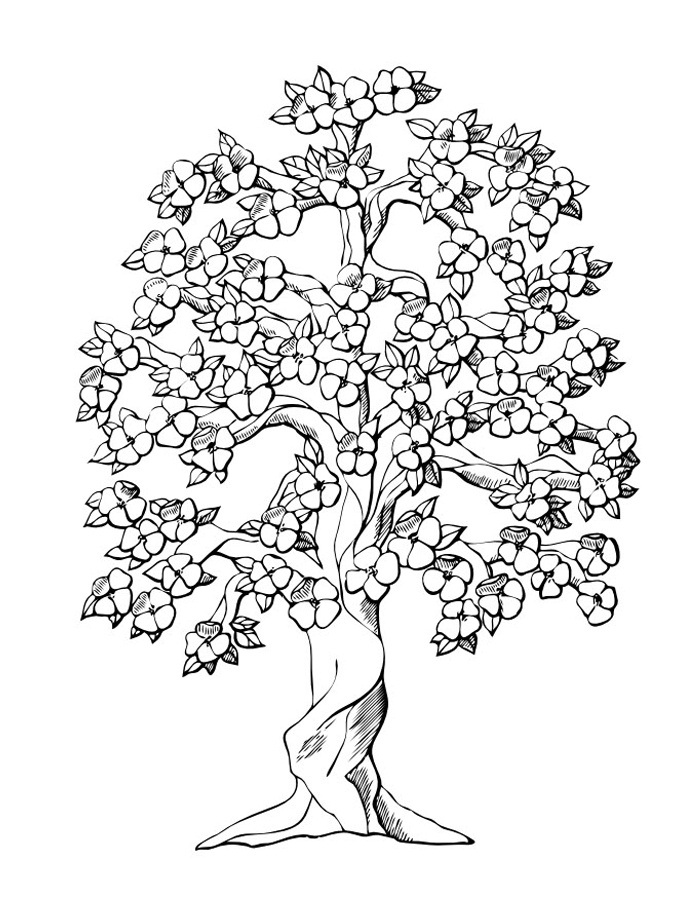
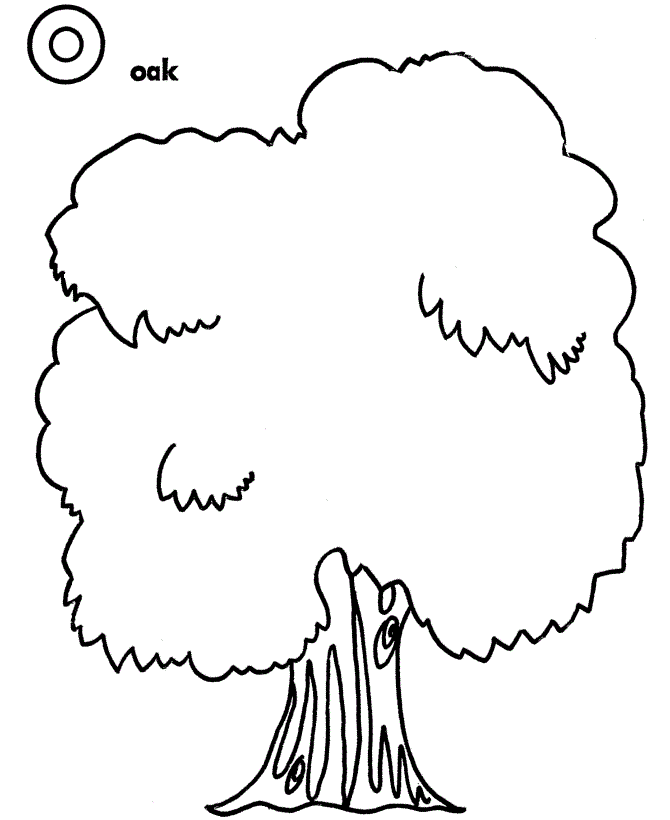
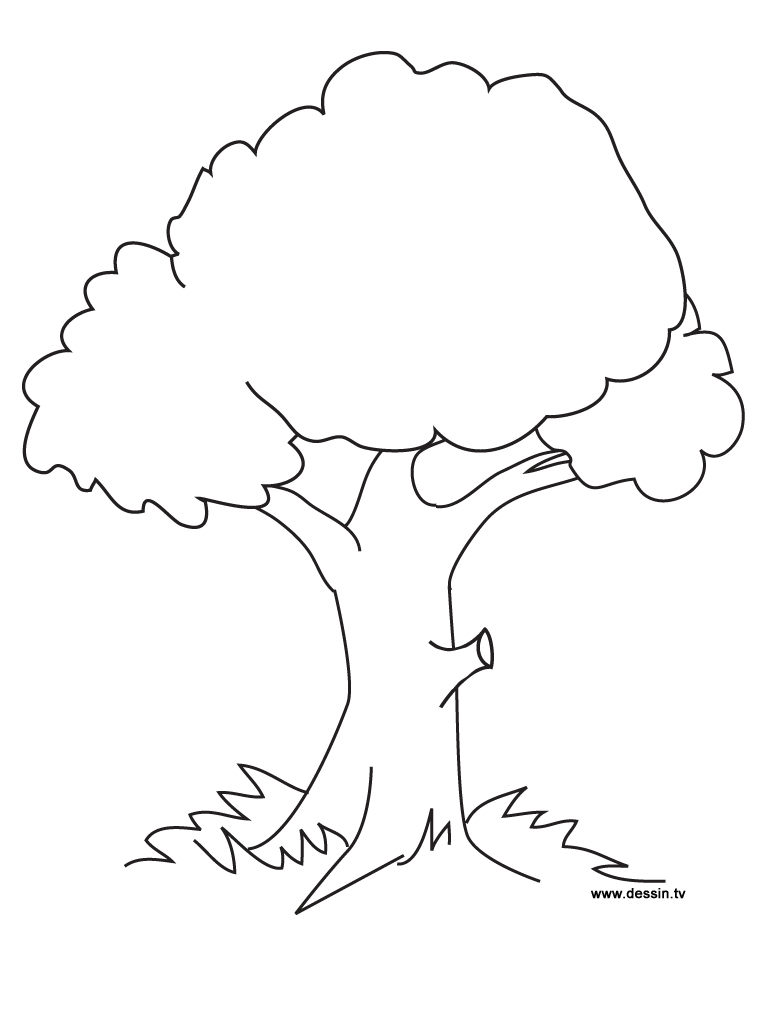
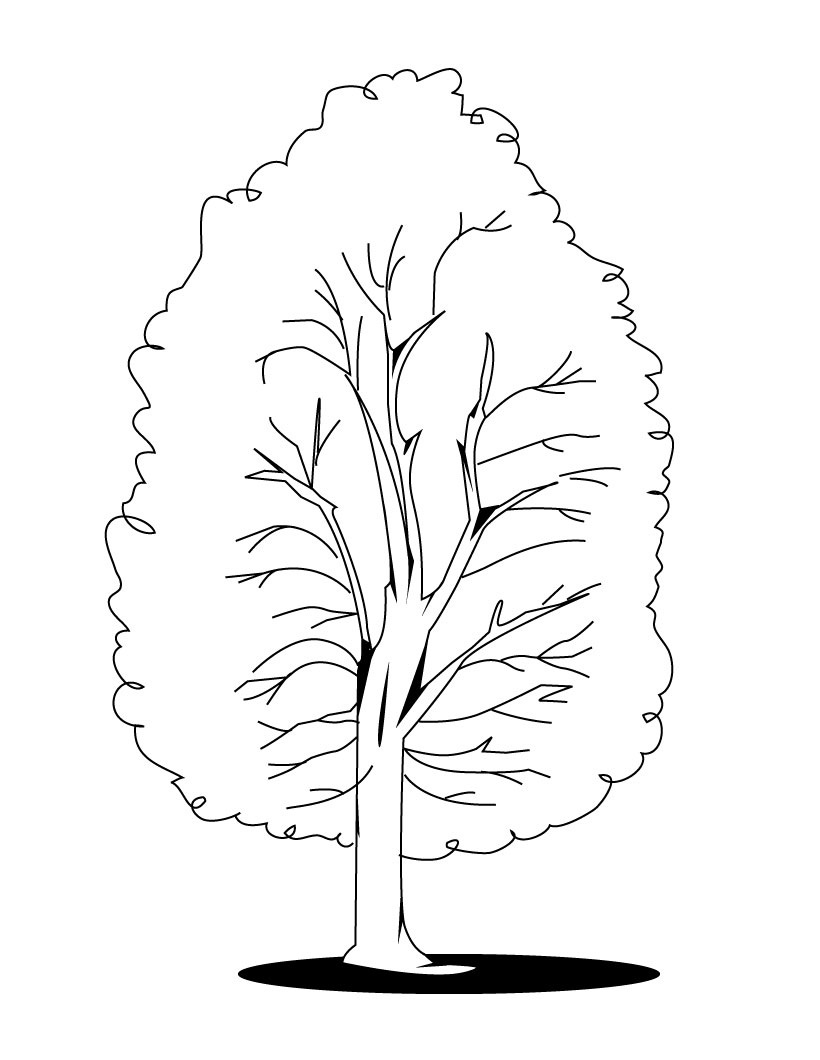
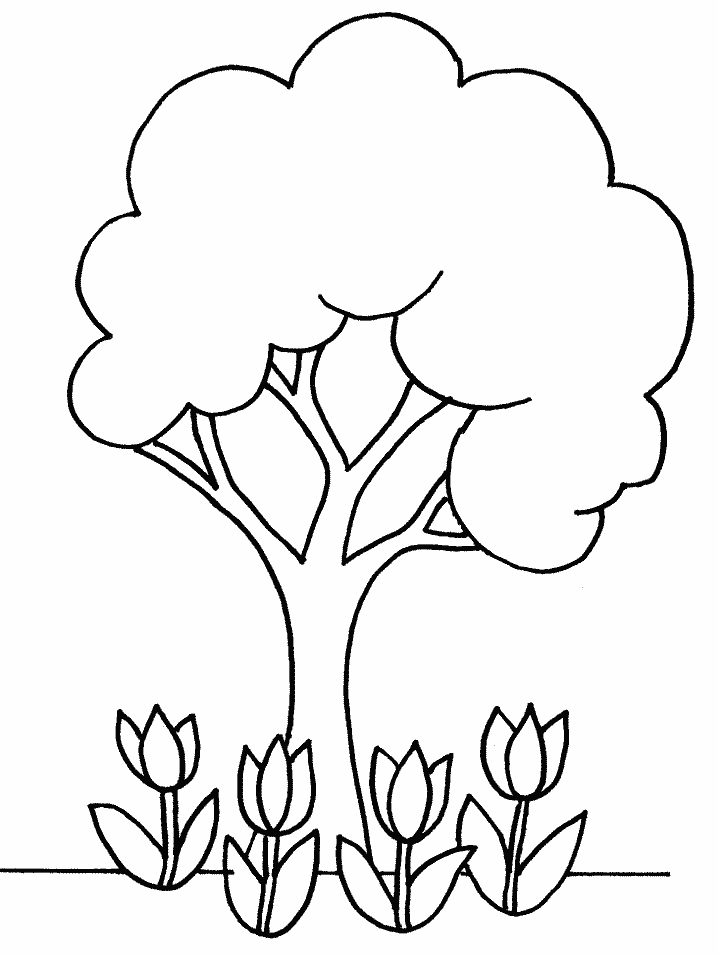
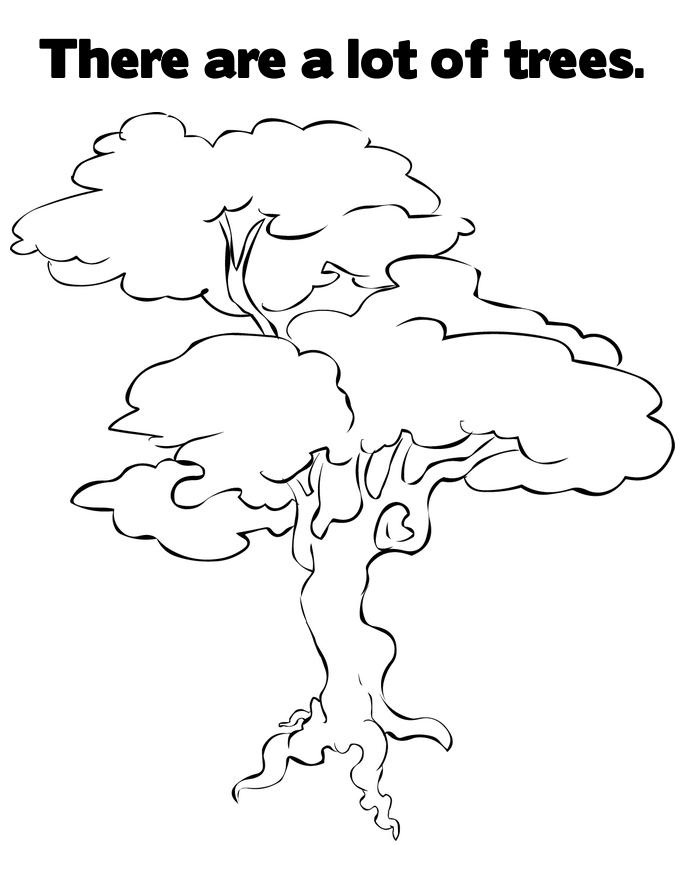
Simply follow this easy how to draw a tree step by step tutorial and you will have your tree drawing finished in no time. You will follow our instructions and go to step by step. In this post, we will describe how to draw tree in detail. Trees are usually part of a landscape and being able to draw them in a believable manner is necessary for a convincing landscape. The focus of this tutorial is on drawing tree foliage. For the drawing tree please consult this tutorial that covers it in detail. Along with the tutorial, we have also included a couple of free tree coloring pages that you can print off and give to your kids to color! You will practice drawing this stroke extensively in different sizes and orientations till you can draw it with a ‘random’ feel as shown below.
How To Draw A Tree – Let’s Get Started!

It would help if you prepared a pencil, eraser, colored pencils, and drawing paper before tree drawing. Here we draw the tree with 3 lush foliage. Whether you are a beginner or you are expecting, you can finish this mission easily. Drawing and coloring are good activities for everyone, especially for children. Our advice to you is to use a pencil to draw on paper, and you can easily erase it if you make mistakes. Follow along as an artist and illustrator shows you an easy and effective way to draw a tree, step by step. In each step, we provide the illustration, and you follow them to create a complete tree. With those activities, you will get a funny time relaxing. Spending time to relax will help you get excited, and relax your mind so work will be more effective. Why not? it is free, and you can come here daily with your device connecting to the internet. Now, let’s get started by drawing a tree with us!
Step 1 – Draw Tree Trunk

To start drawing the tree trunk, you draw two vertical parallel lines for the trunk. To give your tree trunk drawing character, you can make it taller and use different line styles. Very simple to realize, you spend some minutes and finish it.
Step 2 – Add Details For Tree Trunk

In this step of tree drawing, you will add the roots and branches to the trunk. Your task in this step is not complex; you can look at our image and follow it. From the tree trunk, you use straight lines and curved lines to draw the roots for the tree. You can finish the task here and move to step 3.
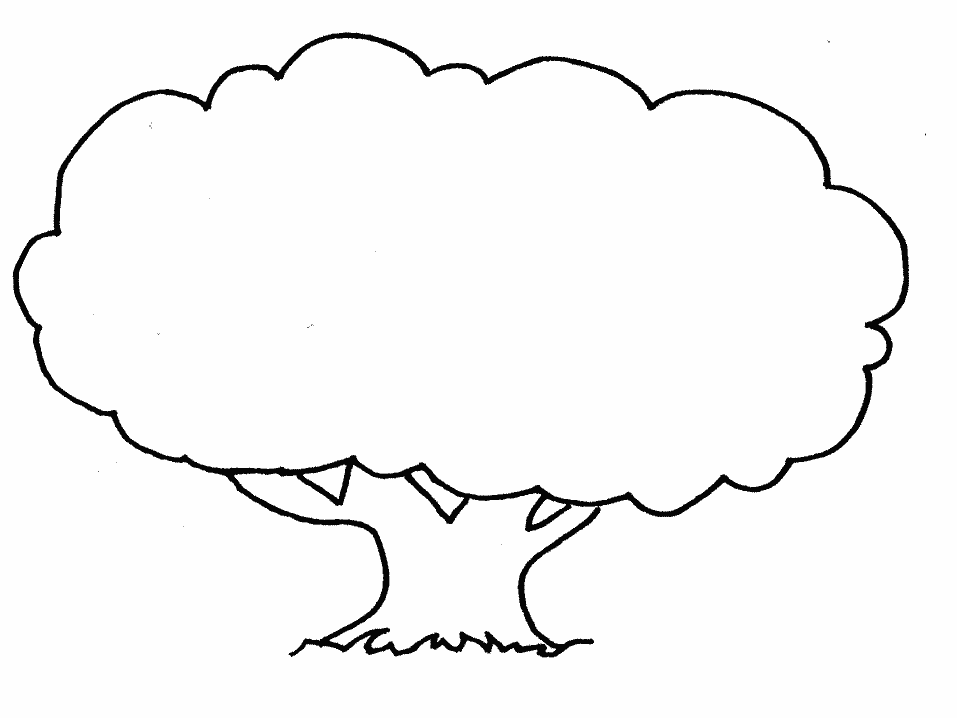
Step 3 – Draw The Leaves

Now, you will draw simple shapes to show your tree’s leaves now that it has a base and a trunk. This will give your tree a bushier appearance. You can use any shape you like, from a simple circle to an abstract and scalloped “blob” atop your tree trunk. You will use curved lines that connect each other to create beautiful foliage, like our tree drawing.
Step 4 – Add More Leaves

Similar to this 3-step step, you draw 1 more luxuriant branch for the tree opposite the drawn branch. . You also will use curved lines that connect each other to create foliage like step 3. That’s all there is to it for this step, so when you’re happy with the look of it we shall continue adding to this tree drawing in the fifth step.
Step 5 – Finish Drawing Mission

You will finish your drawing mission in this step by adding foliage for the tree. Using a pen, outline your pencil design and erase any remaining pencil marks to complete your simple tree drawing. To preserve your tree artwork for future reference, this step helps protect the pencil lead from smudging or accidentally being erased. So, you get complete with tree, branches, leaves,…and you have more the last step for coloring.
Step 6 – Color Tree

You will choose suitable colors for the tree. According to nature, the tree is always green; we take green for leaves and dark brown for the tree trunk. Apart from choosing your colors, you could also add details like fruit and flower into it, if you like. You can even draw in a beautiful background, perhaps with a rainbow or someone lying under a tree. All make your tree more amazing. You can show your drawing and coloring skills to create your own tree. Once you create a complete tree, you can next enjoy tree coloring pages for free. Depending on your ability, you can complete the task of drawing this ball in about how much time. Normally, it takes about 30 minutes to draw a basketball; how about you try and see how far your drawing and coloring talent is?