Ribbon Drawing Is Complete In 11 Simple Steps
Ribbon Drawing Is Created In 11 Steps
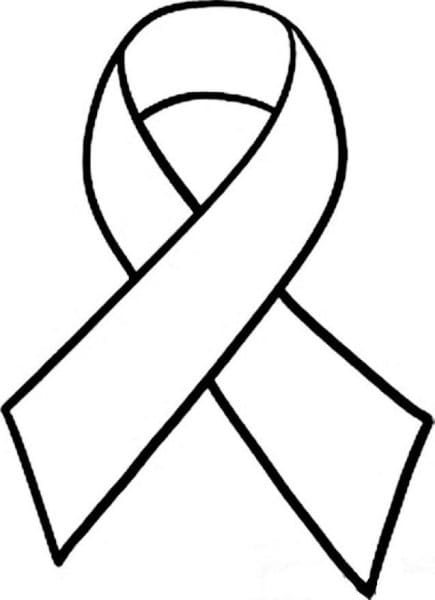
You’ve done a lot of ribbons in your life, and today we have a ribbon drawing challenge for you.
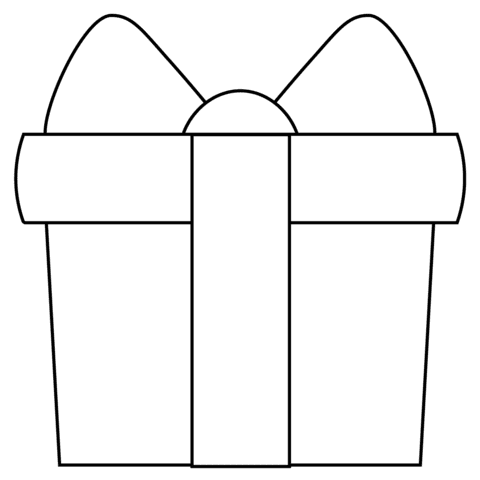
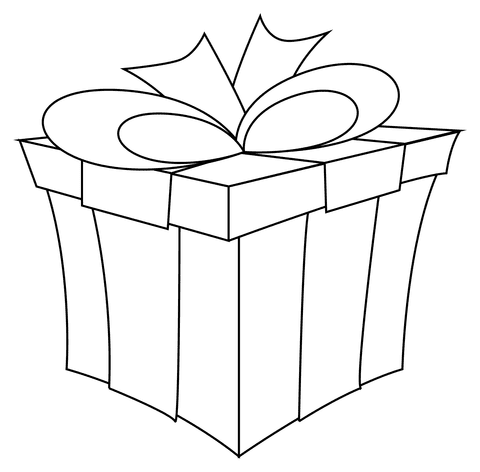
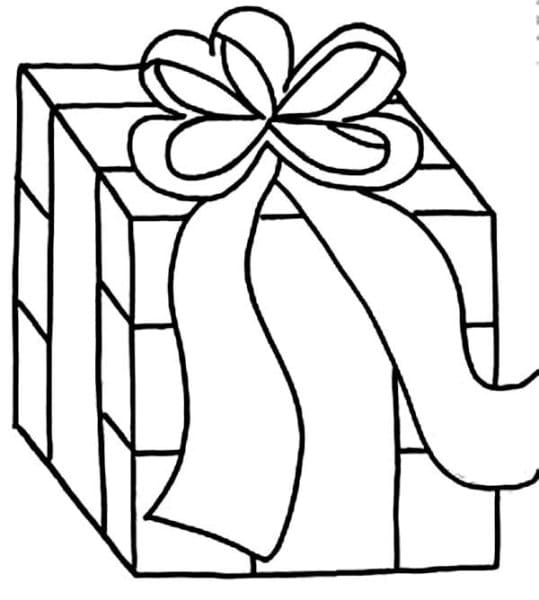
For decoration purposes, the ribbon is popular and has many different sizes to decorate at parties or decorate on gifts to create solemnity.
Although the ribbon is popular, drawing it can also be difficult, so today, we have created a tutorial to draw a ribbon in 11 steps. Breaking the ribbon drawing tutorial into several steps, hopefully, you’ll make this task easy.
In each step, we provide an illustration for you to reference and draw along.
Stay calm and follow our instructions, and you will get the desired results.
Before drawing a ribbon, you must prepare all supplies, such as a pencil, pen, colors, paper, and an eraser. Then you draw it with a pencil and paper. You can ultimately draw comfortably because you will erase your mistakes and draw again until you feel satisfied.
With this guide, you enjoy ribbon coloring pages for free to practice your drawing and coloring skill. Regular practice will help you improve your drawing and coloring skills.
Right now, you will go to 11 steps of our guide on how to draw a ribbon.
How To Draw A Ribbon – Let’s get started!

Step 1 – Draw The Middle Part Or The Knotted Part

To start with the how to draw a ribbon tutorial, you will draw a rectangle in the center of the paper. This is the middle part of the ribbon or the knot of the ribbon.
You can draw a rectangle by hand or use a ruler to make your task easier.
When you are satisfied with your drawing, move to the second step.
Step 2 – Draw The Left Part Of The Ribbon

It’s time to draw the left part of our guide on how to draw a ribbon. You will create a shape that closely resembles the triangle on the left side of the ribbon, as you see in our illustration.
Simple for you, finish it in a few minutes and move on to the next step.
Step 3 – Draw The Right Side Of The Ribbon

If in step 2 you draw the left side of the ribbon, in this third step, you will draw the right part of the ribbon. Like the part on the left, draw a shape that closely resembles a triangle before moving to the fourth step to continue your drawing work.
Step 4 – Create A Part Of The Left Lace of the Ribbon

Now we will create part of the lower part for the ribbon. You will draw the ribbon vertically from the left side. Use some lines for this task. It is not too difficult for you to look at our drawings and follow them.
When you feel everything here is fine, you can move on to the next section.
Step 5 – Complete The Left Lace Of The Ribbon

You will draw the rest for the left lace of the ribbon to complete it. It’s also simple to look at our drawing to ensure you’re on the right track.
Step 6 – Create A Part Of The Right Lace of the Ribbon

Similar to step 4, you draw part of the right lace of the ribbon in this step of the guide on how to draw a ribbon.
You also use a straight line and curved line for your task, and if you think good, you can go to the seventh step of your ribbon drawing.
Step 7 – Complete The Form Of The Ribbon

You draw the rest of the right lace of your ribbon. Since this task is simple, finish it quickly to move on to the next step.
Step 8 – Draw The Dimensions On The Left Side Of Your Ribbon

Your task in this step of our guide on how to draw a ribbon is effortless; just use a curved line to show this part.
And you will draw the dimensions on the right side of your ribbon in the next step.
Step 9 – Continue To Complete The dimensions Of Your Ribbon

In step 8, you draw the dimensions on the left side; in this step, you draw the dimensions on the right side.
You also use the curve to draw this part and move to the next step to continue your drawing task.
Step 10 – Draw The Final Details For Your Ribbon

You will complete the final details before moving to the last step of coloring for your product, the ribbon.
This is also an opportunity for you to draw some more details to decorate your ribbon. Use some lines to decorate it; As you can see in the reference picture, we used two short lines for each side.
Step 11 – Color Your Ribbon

That brings you to the last step of coloring, and your task in this step of our guide on how to draw a ribbon is to choose the lovely colors for your product. The ribbon can come in many colors, but red and pink are the two popular colors.
In our reference image, we have mixed pink and red for our ribbon drawing. You can choose the same color as ours or select different colors and try different coloring according to your product, ribbon.
Your Ribbon Drawing Is Complete!
You have completed all tasks to get a perfect ribbon in 11 steps. Interestingly, right? I hope you fully understand this guide and are satisfied with your product. On our website Coloringcool.com, you can enjoy lots of educational outcomes in coloring pages and drawing guides.
You can also find other drawing guides similar to ribbon drawing, such as Marie drawing, Sun drawing, or Butterfly drawing, these drawing tutorials are all related to ribbon, check them out and enrich your drawing learning collection. If you like our products, don’t forget to share them on your Facebook and Pinterest pages for everyone to see.