How To Draw A Butterfly – The Details Instructions
Like all insects, butterflies have a segmented exoskeleton, three-part body (head, thorax, and abdomen), three pairs of jointed legs, and compound eyes. They also have two antennae and two pairs of scaly wings. The wings of butterflies are the most beautiful part of their bodies that most people would like to draw and color.
Now, you will follow our steps and start drawing. You will go step by step with instructions and get a lovely butterfly.
How To Draw A Butterfly – Let’s Get Started!

The butterfly is a friendly insect, especially the wings. The wings are made of a fragile, semi-transparent material called chitin stretched between vein-like structures. So, in your products, you must show their beauty as well. The wings have layers of tiny scales. They are created by short, tiny hairs. These scales protect the branches and provide insulation.
Step 1 – Draw Butterfly’s Eyes.

You will draw Butterfly’s eyes in this step. Very simple to realize your task here. You just draw two small dots and highlight them black; they are the butterfly’s eyes.
Step 2 – Draw Face Outline For Butterfly.

You will start to draw a face outline for a butterfly with a nose, mouth. Would you mind adding the butterfly’s head and two antennae? Don’t curve antennae too much. It is not too difficult, but you must be patient as well. Don’t worry if you draw it wrong. Erase it and remove it again. Repeat many times for sure you will draw well.
Step 3 – Draw Butterfly’s Body.

You will draw the body for the butterfly. The butterfly’s body will have horizontal stripes and show that in your drawing. You will start by pulling the central part – the thorax. Note that forewings and hindwings are attached to the thorax, so draw the thorax right in the middle, where all wings come together. Then add a small circle on the top – the head – and the abdomen below the thorax.
Step 4 – Draw Butterfly’s Wings.

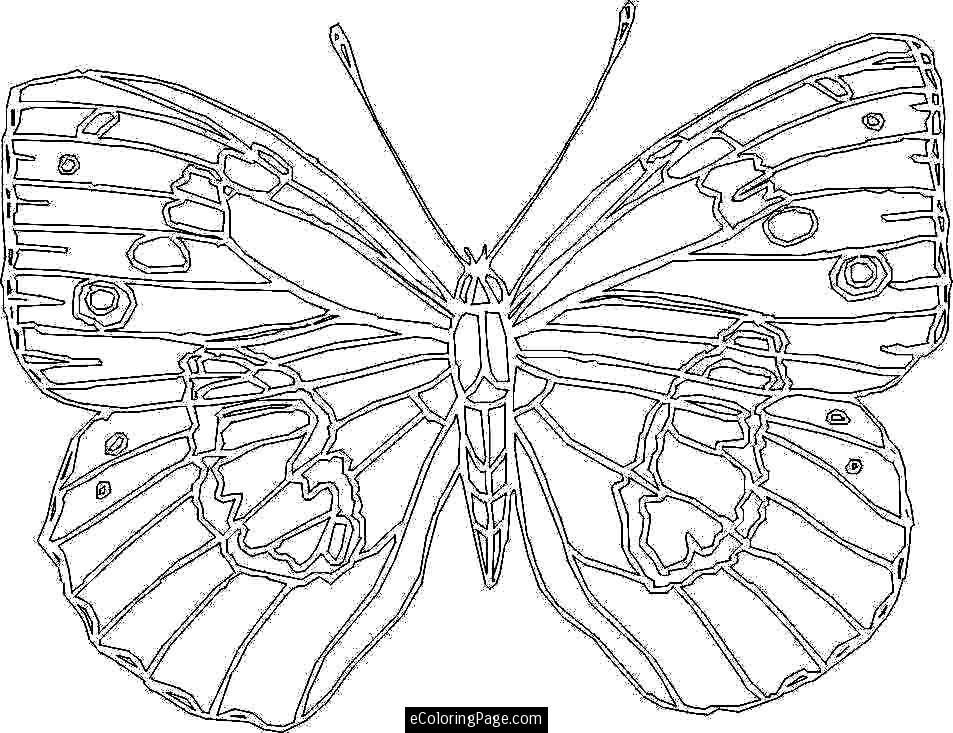
Please look at our picture and draw wings for butterflies. You will draw outlines of two hindwings of your butterfly. Make sure to make them smaller in size. Now you have a general layout of butterfly’s wings. You know that the hindwings are closer to the tail and are shaped like fans or seashells. So, you will draw our picture as well.
Step 5 – Finish Your Drawing Mission.

This step brings a few challenges. You will meet a little difficulty in this step. The best way to draw cells on the hindwings would be starting from the inner part of the wings located by the abdomen. Second, do the giant cell in the upper part. Add other cells afterward, and don’t try to be precise – all butterflies have a bit different patterns. You must draw the design on the forewings. It has some minor details for decorations. You will add all of them to your product. Please make darkening space between cells too.
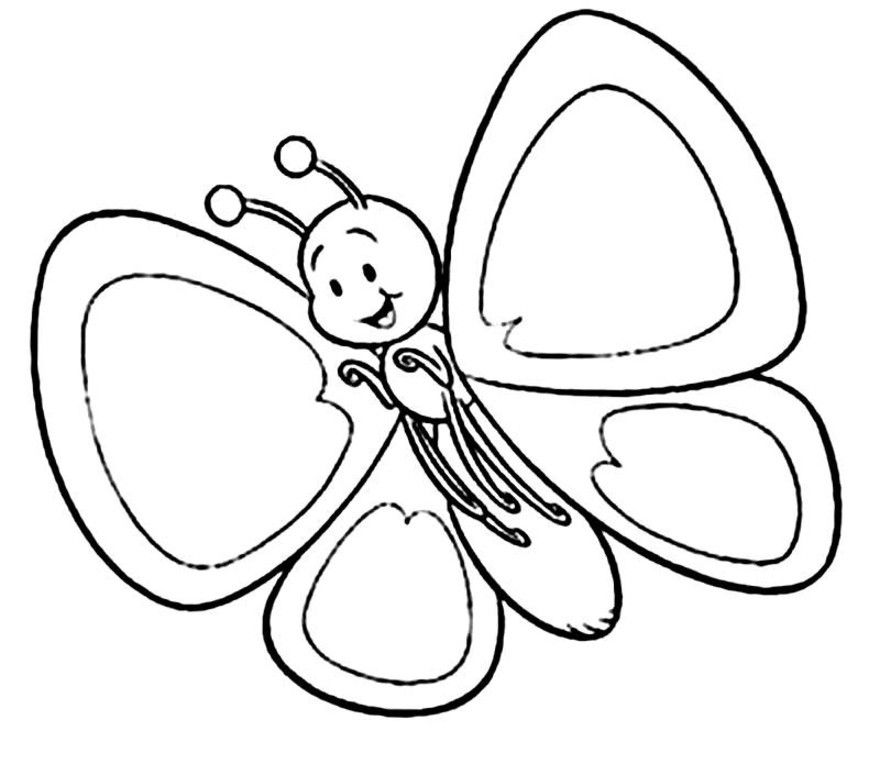
Step 6 – Color Butterfly.

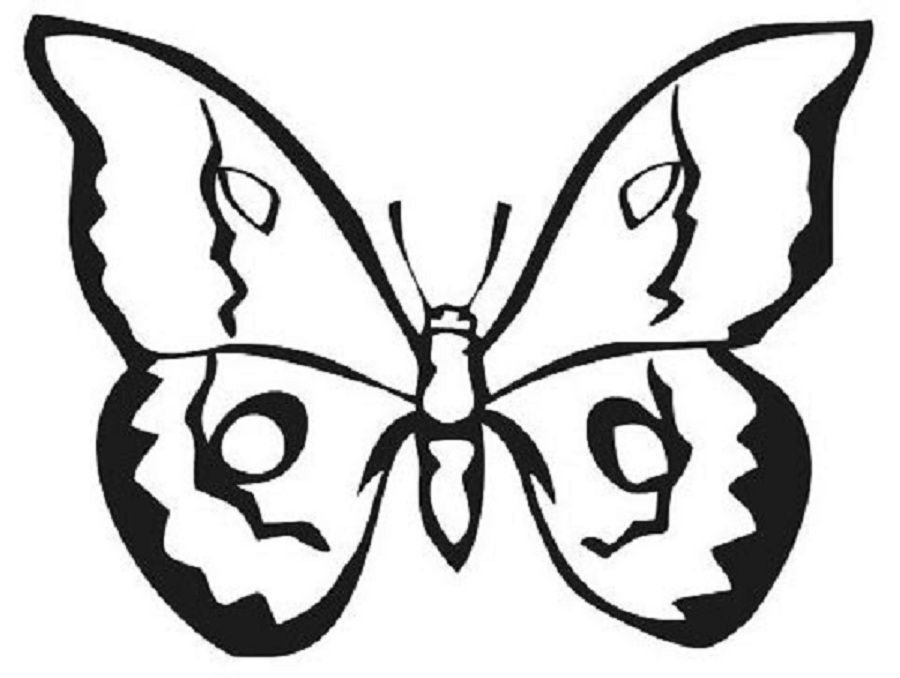
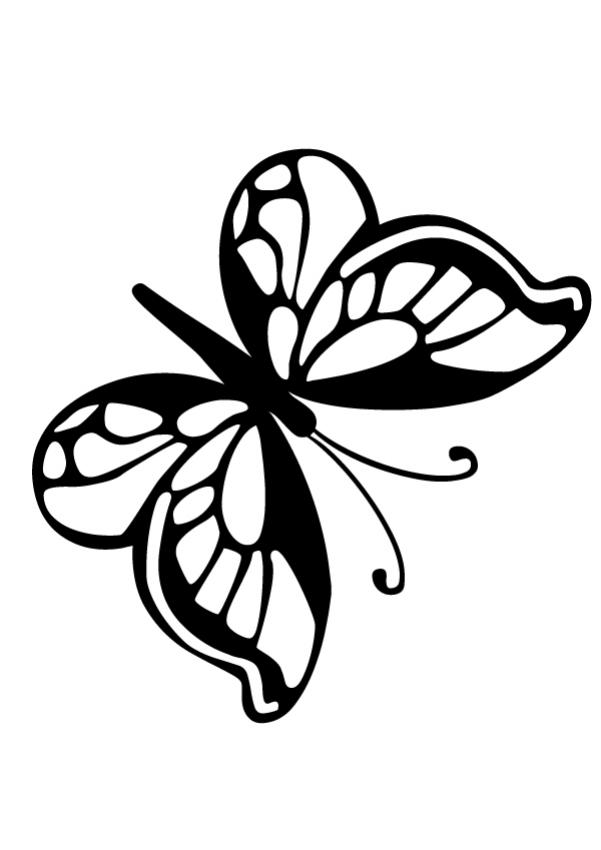
At right now, you will choose suitable colors for your products. The butterfly is adorable, so you must select the appropriate colors for the butterfly. The advice for you here is to choose colorful colors for butterflies. You can observe our coloring pictures and color, or you will select your color according to your preference to color the butterflies.
You can go to Butterflies Coloring Pages on our site to practice drawing and coloring because we have many Butterflies Coloring Pages for you.