8 Simple Steps To Create A Fly Drawing – How To Draw A Fly
Make a Fly Drawing in Eight Simple Steps
Our life is always hoping for the good but also not avoiding the unwanted, and today you will learn to draw one of those hateful insects, fly drawing, because flies are annoying.
Although no one likes flies, life sometimes comes across them, and today you have the opportunity to recreate the image of flies through our eight-step tutorial. This task is not simple but not too complicated; you must focus while learning to draw.
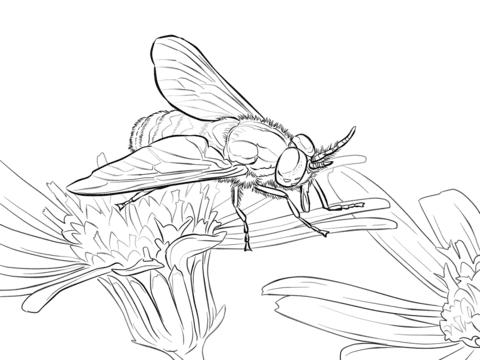
Here we will enlarge the fly so you can quickly detail it. By drawing a fly, you get more information about this insect.
Before starting to draw, you must prepare all necessary supplies for this drawing, such as a pencil, pen, eraser, and paper. You will then sketch the fly with pencil and paper, quickly removing the wrong lines and redrawing until satisfied. Finally, you will choose the color for your fly drawing.
You will go step by step until you finish all tasks to complete your drawing with our instructions.
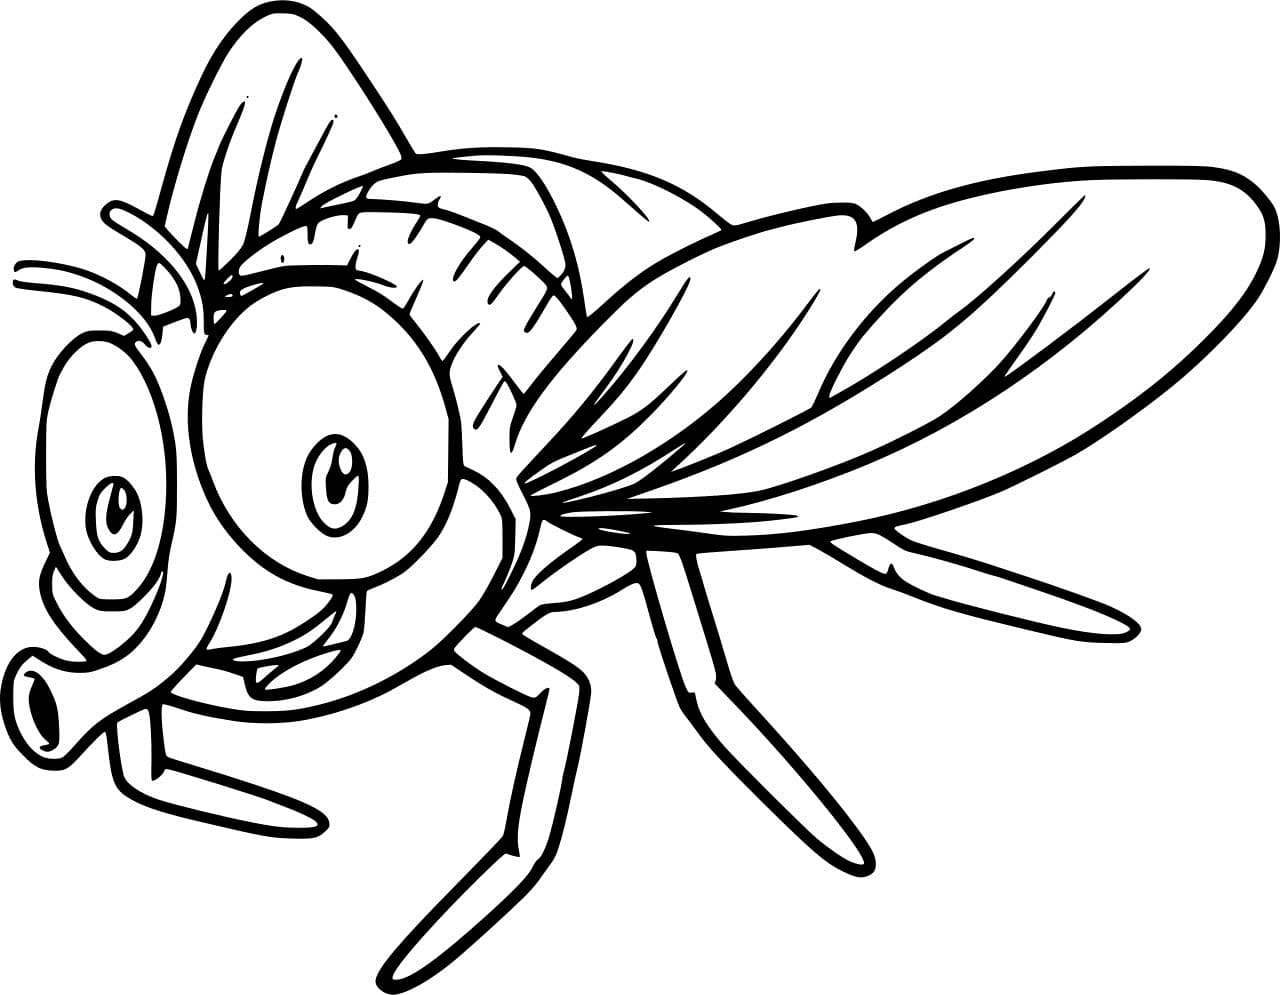
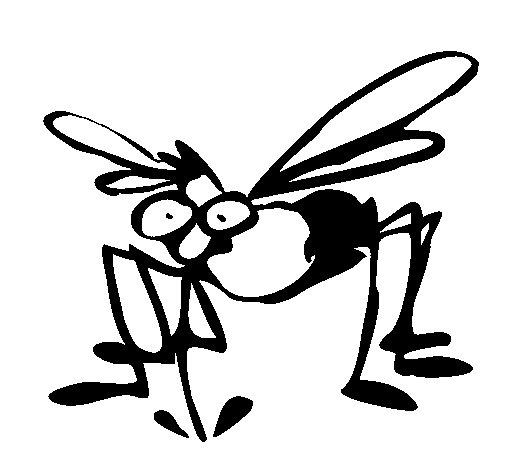
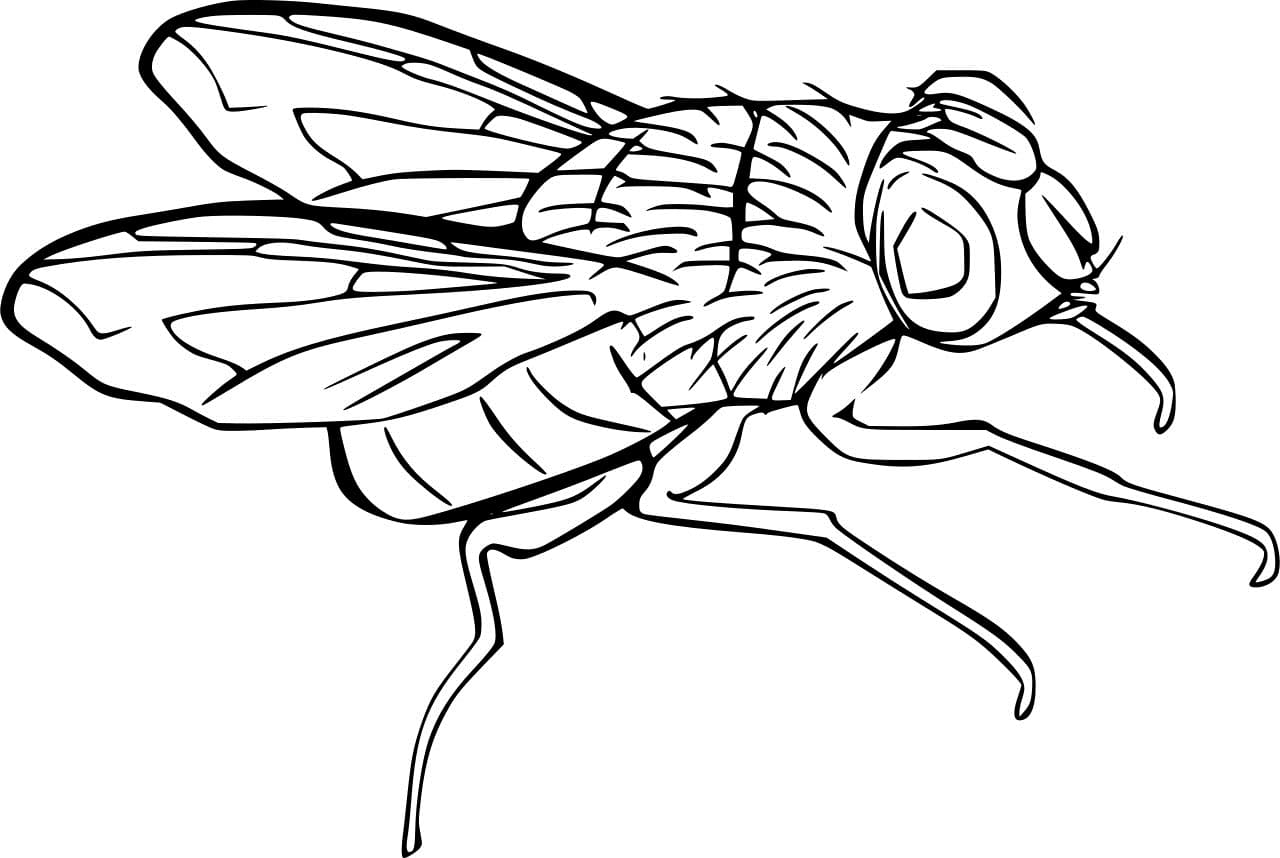
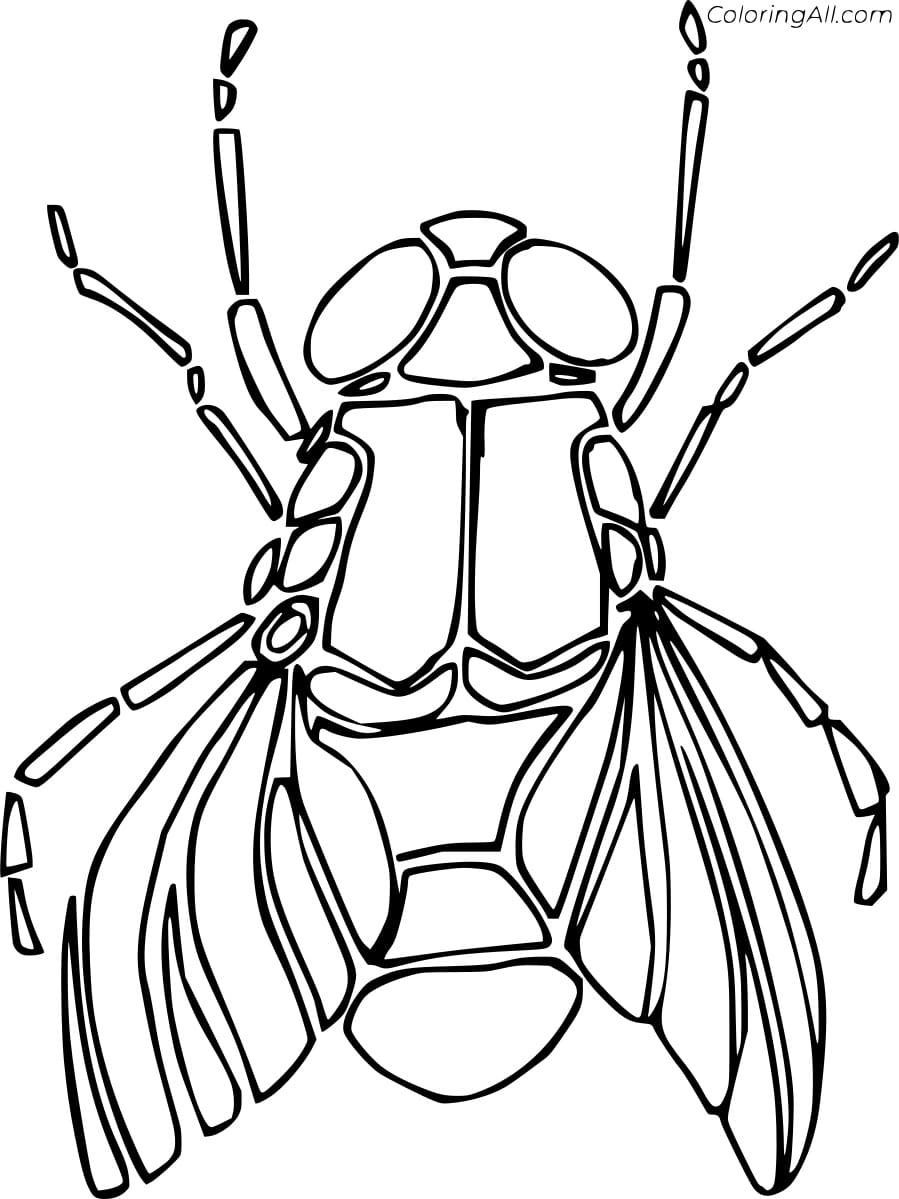
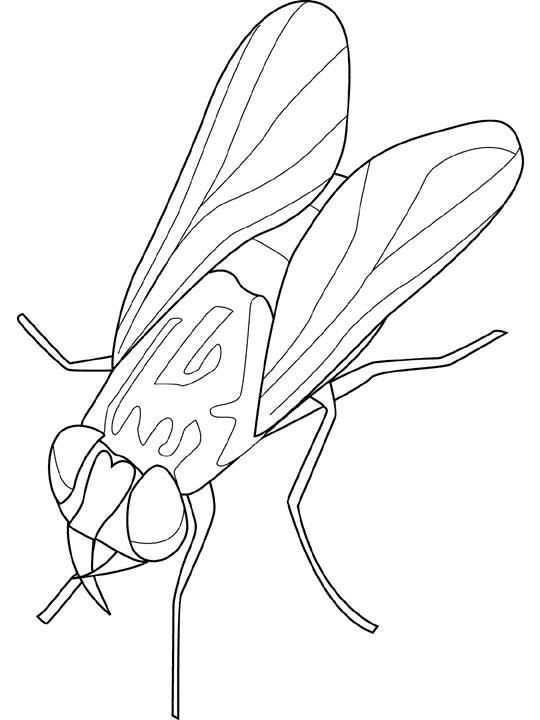
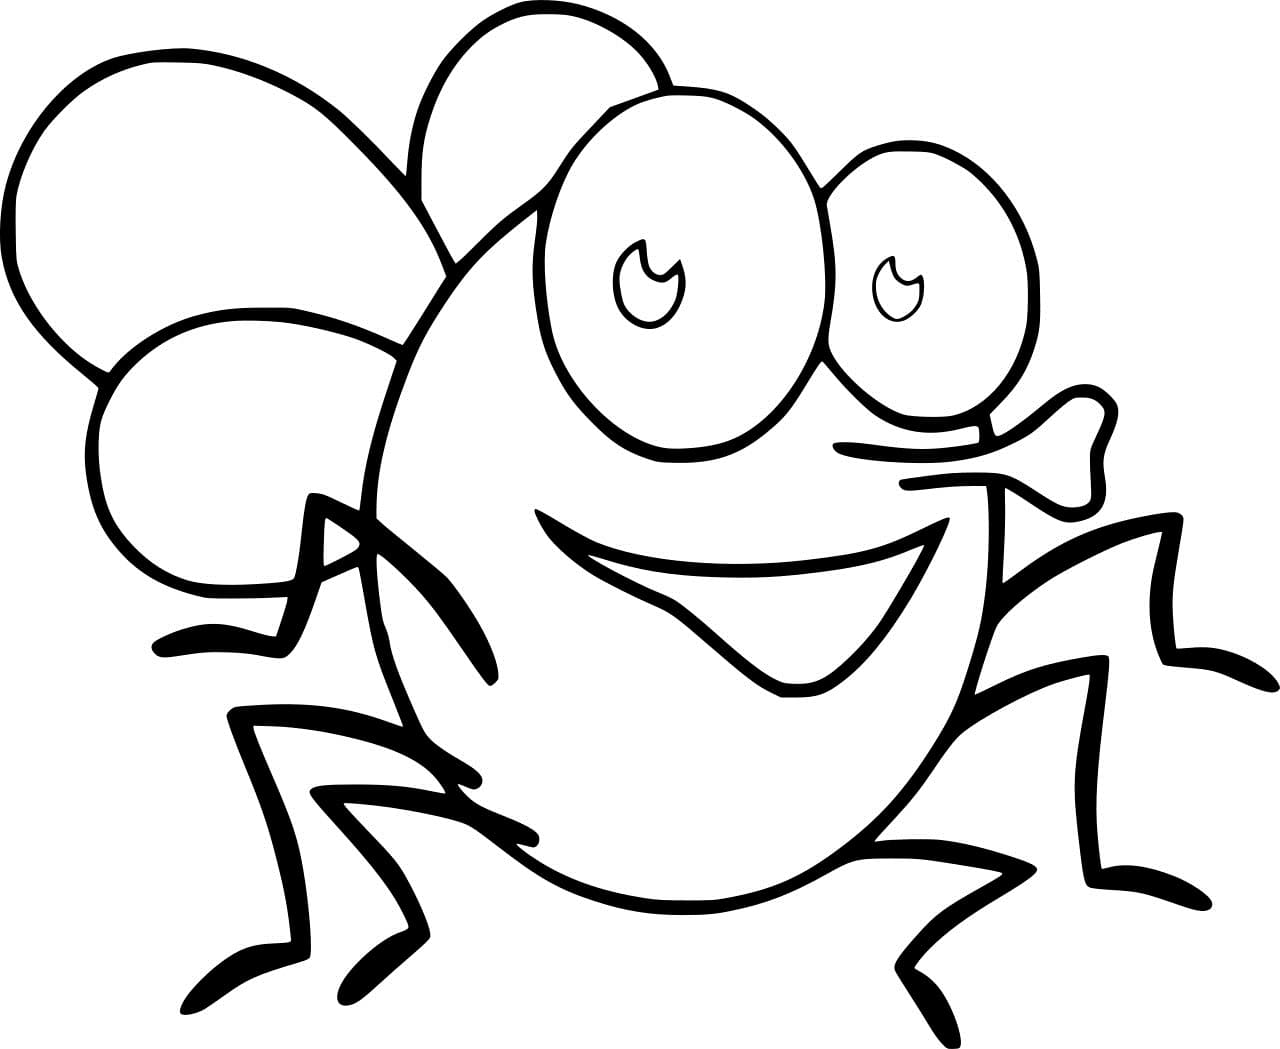
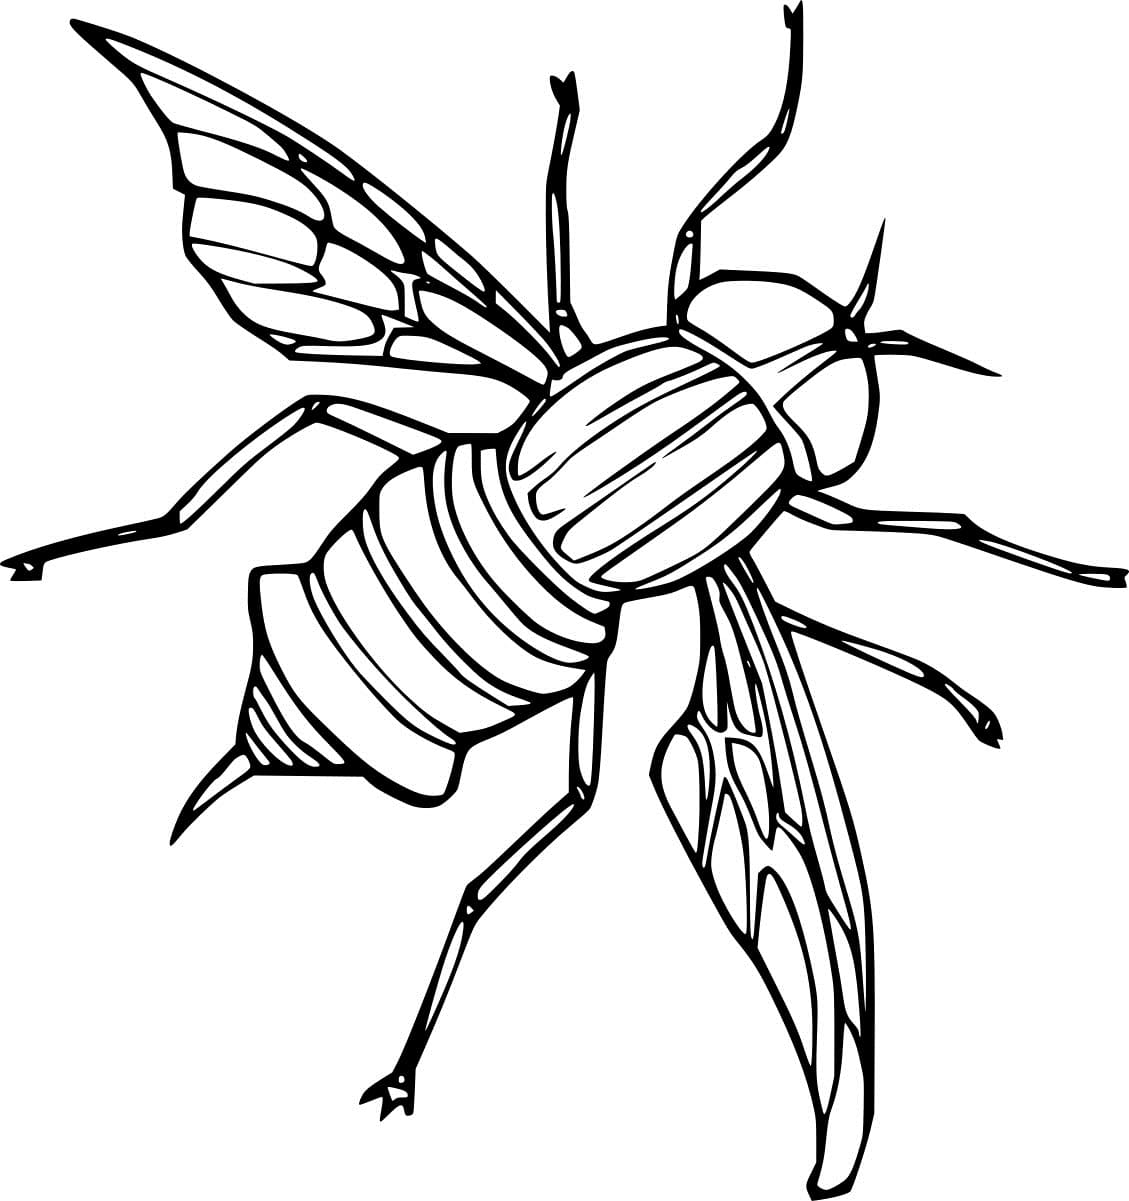
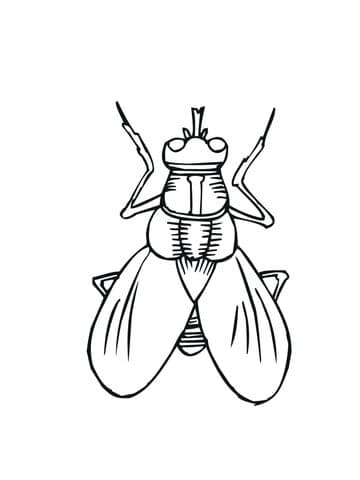
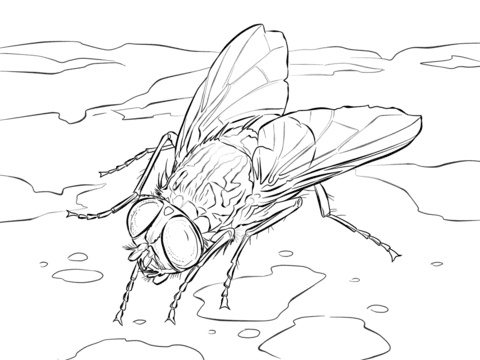
Along with this tutorial, you can enjoy fly coloring pages for free on our website Coloringcool.com.
You will calmly go step by step in our guide; you will surely be satisfied with the final result.
Let’s go to eight steps on how to draw a fly with us!
How To Draw A Fly – Let’s Get Started!

Step 1 – Draw A Part of the Body

Start task of our guide on how to draw a fly, create an oval for a part of the body as our reference.
You use two curved lines in this oval to make the fly’s body more realistic. Once you think good about your mission in this step, you can go to the next second step.
Step 2 – Add Details To The Fly’s Body

For this second step of your fly drawing, you will be adding some elements and details to the fly’s body.
Also simple for you, you draw an oval below the oval you were in at step 1.
That’s all your duty in this step, and you are ready to go to the third step.
Step 3 – Finish Off Head And Body For Your Fly

You continue your drawing mission with the head and details for the body.
Your task in this step of our guide is to add more a small oval to make the head outline for the fly. Then, you add two smaller ovals to create the eyes for your insect.
As our reference image shows, you add two small lines at the fly’s body. So, you complete your mission in this step and move to the fourth step.
Step 4 – Draw Two Front Legs Of The Fly

It’s time to start drawing the front legs for your insect, fly.
As our reference picture, you use three curved lines for each leg. Not too difficult is it; from the body, you will use the pen to draw three curves for each leg and take a few minutes to complete this task before moving on to the next step.
Step 5 – Add Two Legs Of The Fly

You continue to draw the legs for your fly drawing in this step. You also use three curved lines for those legs.
Similar to two front legs, you use three curved lines for each leg.
You also quickly finish the task of drawing the middle legs for the fly and move through the sixth step.
Step 6 – Draw Two Back Legs

You drew two front legs and two middle legs, and in this step, our guide on how to draw a fly, we draw two hind legs for the fly.
You continue to use three curved lines for each leg for your fly drawing.
You also spend some minutes on this task before going to the seventh step and drawing the wings for the fly.
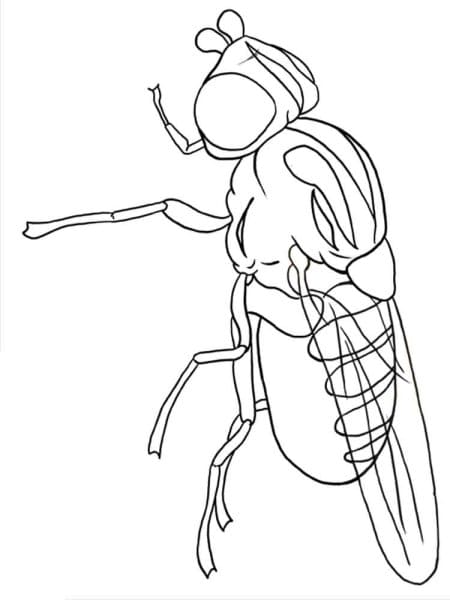
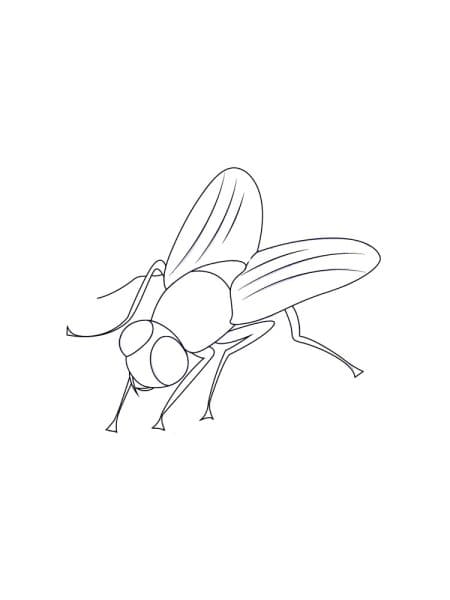
Step 7 – Draw The Wings For Fly

For this step of our guide on how to draw a fly, you must draw the wings for your insect, the fly.
This is also the step where you must complete all the details for your fly before moving to the last step to make coloring.
As shown, you use two curved lines meeting at a point for each wing. You have to draw two wings and are ready to move to the eighth step.
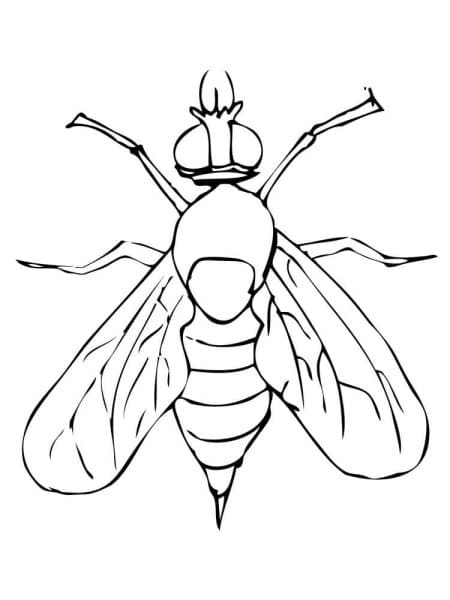
Step 8 – Color Your Fly

You will choose the suitable color for your insect in this step.
Usually, flies are blue or black. There is no right or wrong in choosing colors for your drawing, and there is no limit to creativity, so you can select your favorite color for your fly as you like.
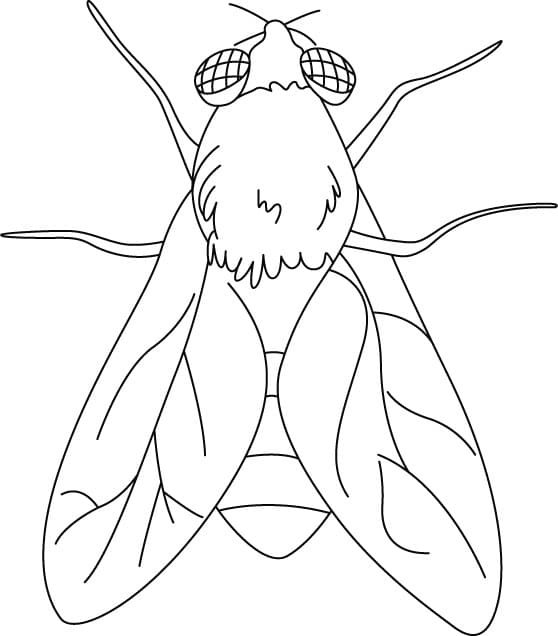
As you see in our reference image, we use dark green for the fly body, black for the head, leg, and eyes, and gray for its wings.
You can entirely create different colors with us if you want, so don’t limit your creativity and preferences.
Your Fly Drawing Is Complete!
So, you finish your drawing and color on how to draw a fly.
Isn’t it great? I hope you have a relaxing time learning to draw and return to work more efficiently.
On our website Coloringcool.com, you can find more our products related to fly drawing guides such as firefly drawing, butterfly drawing or dragonfly drawing.
These are insect drawing tutorials similar to fly drawing, you can easily find other drawing tutorials on many subjects such as Princess, Animal, Flower, etc for free on our website, and we upload them daily.
Besides drawing instructions, you can enjoy coloring pages and blogs with us. We provide various educational products so as not to bore the participants.
This drawing guide is suitable for everyone, especially children; if you are a parent, you can recommend this activity to your kids. Enjoy our products will help your kids avoid using technical devices such as television, smartphones, or tablets. With about 30 minutes and eight simple steps to get you a complete fly drawing, if you like our products, visit our website often to never miss out on the product.