Bunny Drawing Is Created In 6 Easy Steps
Complete A Bunny drawing in just 6 easy steps
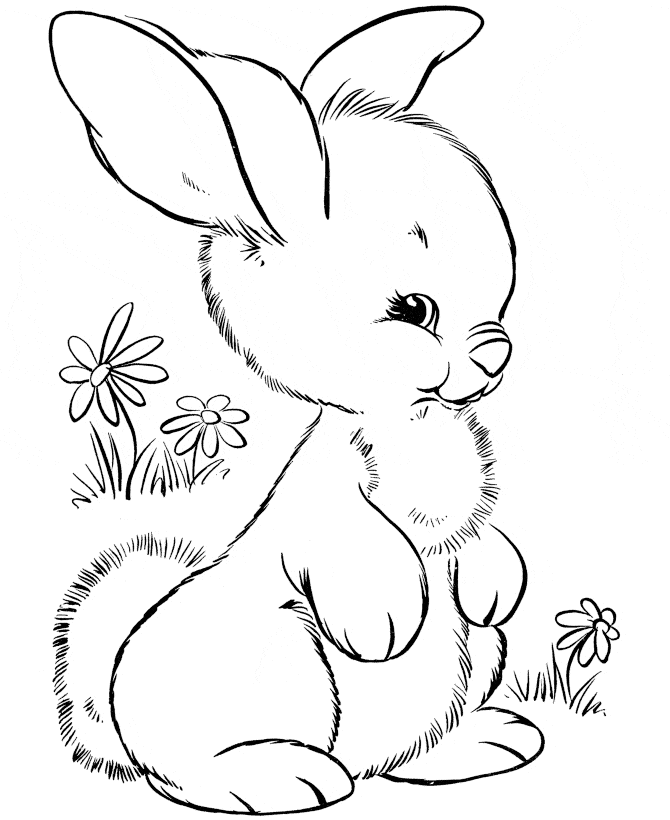
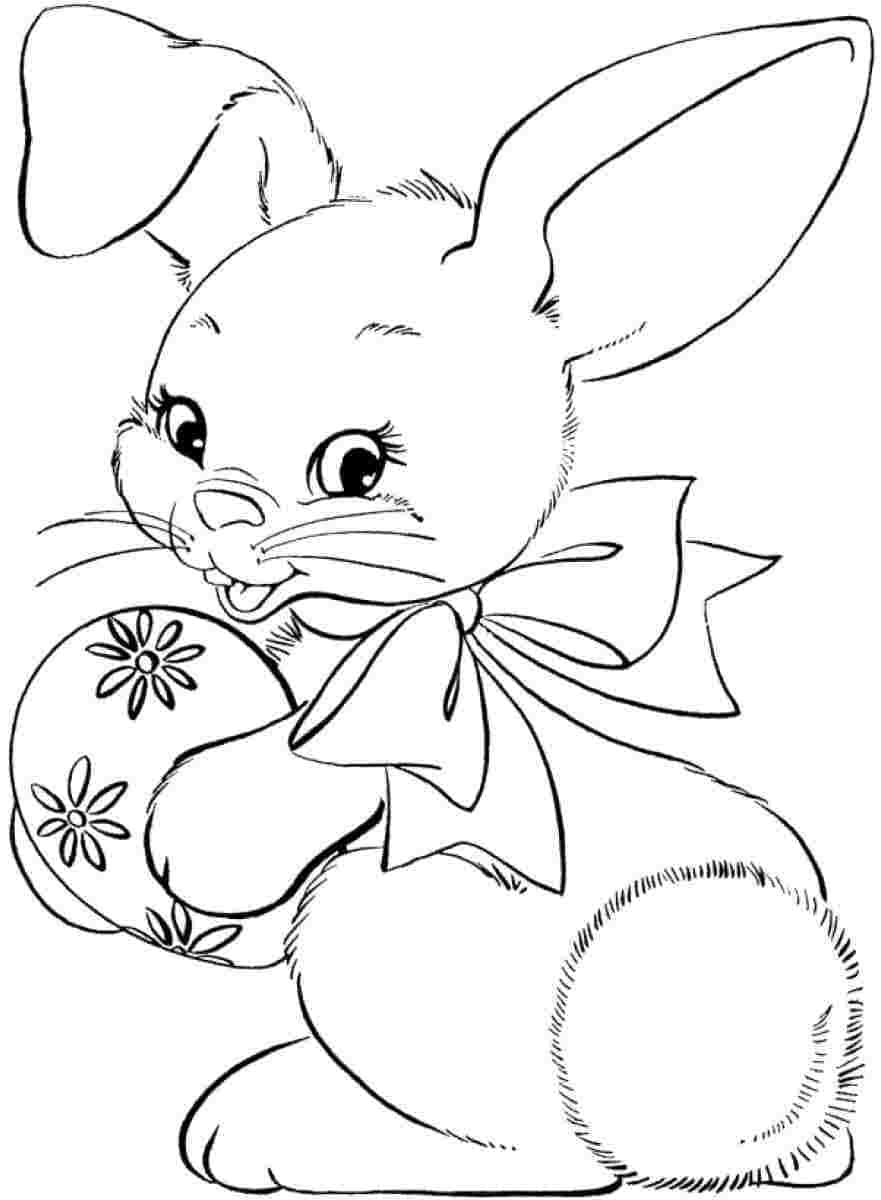
You will get a complete bunny drawing. Rabbit or Bunny are both common names for an animal – there’s no difference in breed or species, just the word we prefer. It is a small burrowing mammal that looks like a large mouse and lives in colder climates. It was born with their eyes open and hair covering their bodies, and they can run within a few minutes of birth (much like a Guinea pig!). On the other hand, bunnies are born blind and naked and remain in a fur-lined nest for the first days of their lives. They are meticulously clean animals and are easy to housebreak and train. Much like a dog, a pet rabbit can be taught to come to his/her name, sit in your lap, and do simple tricks. Here is some information about bunnies. To learn more about this animal, you will learn how to draw a bunny with us. You will get an opportunity to draw this cute animal with your kids and us if you want to teach your kids to love animals and nature. After that, you can enjoy bunny coloring pages on our site with many images related to a bunny, that you can choose the colors and make coloring for them.
How To Draw A Bunny – Let’s Get Started!

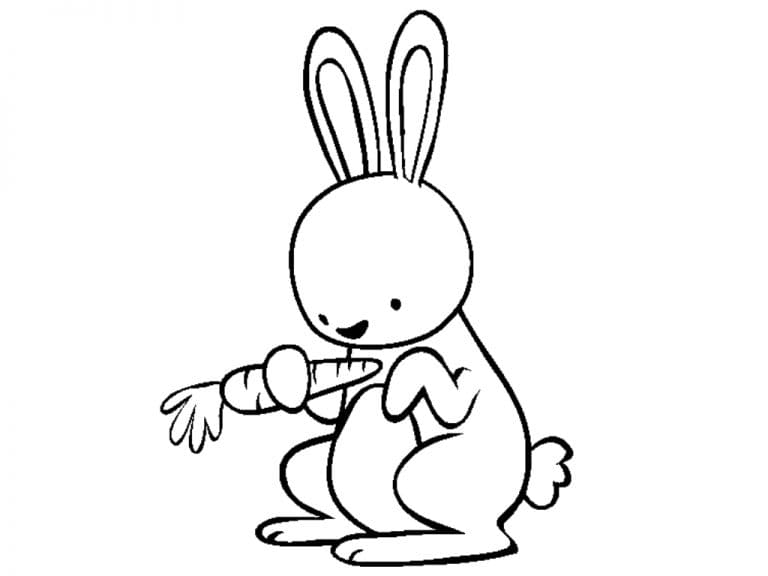
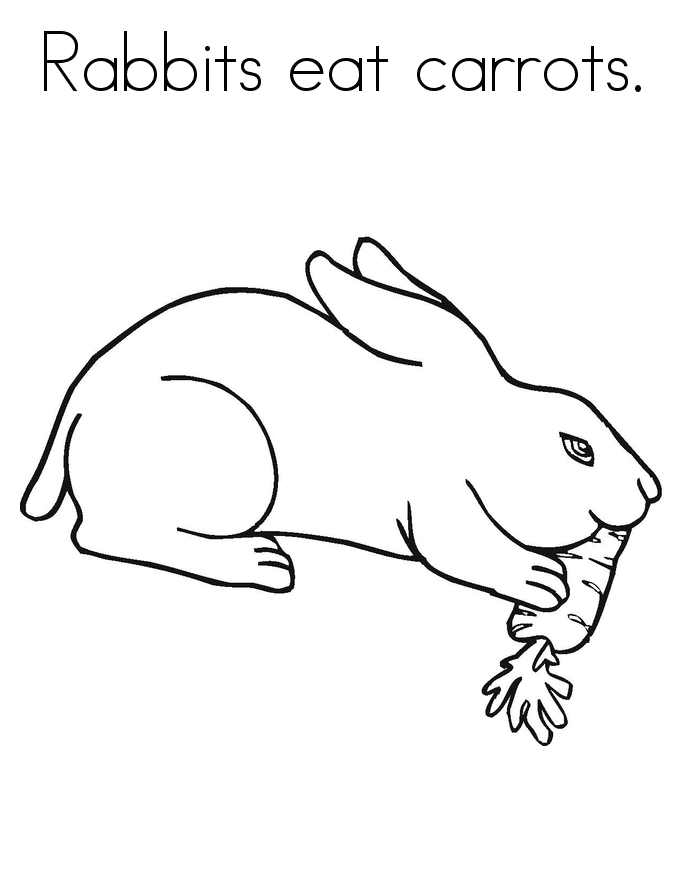
In drawing a bunny, you get a chance to explore them. They eat grasses and other plants. Because their diet contains so much cellulose, they pass two different kinds of feces to break down their food completely. So, they will re-ingest their feces on the first pass to get all of the nutrients they need. This is a special feature of rabbits compared to some herbivores, such as buffaloes and cows. They can live about eight years, and (those who are spayed/neutered) can live as long as 10-12 years. Bunny’s teeth are always growing, and just like mice, they often gnaw to make their teeth wear down and shorten. Now, you know how to draw a bunny with us. We will give the instructions and illustrate for you. You will follow us and realize your task to create a complete bunny. In the course of drawing, you can erase your mistakes, so you freely make your drawing and create without fear of being wrong. Once you finish your drawing mission, you can go to bunny coloring pages in our coloring pages section to enjoy coloring pages. We update the hundred about bunny coloring pages for free. They are suitable for everyone, from children to adults. By participating in drawing lessons, children will avoid contact with technological devices such as televisions, computers, and phones. Now, let’s get started drawing a bunny with us!
Step 1 – Draw A Half Circle

Very simple in this step; you will draw a half-circle now. You will use a pencil and draw on paper. Please keep patient and you will realize your task in some minutes and next to step 2.
Step 2 – Draw Bunny’s Face Details

You have an important mission now, and you must finish all details for the Bunny’s face. You will draw the semicircle in step 1 to make a line around the Bunny’s face. Then you will start to draw Bunny’s eyes. You will draw the right eye a bit bigger than the left eye because, in this way, the drawing is slightly tilted. You will draw a diamond-like shape that is Bunny’s right eye. If the left eye is slightly smaller, then choose black to color the pupil. You use small lines and black to make snouts and noses for Bunny. You must complete all tasks in this step and move to step 3 now.
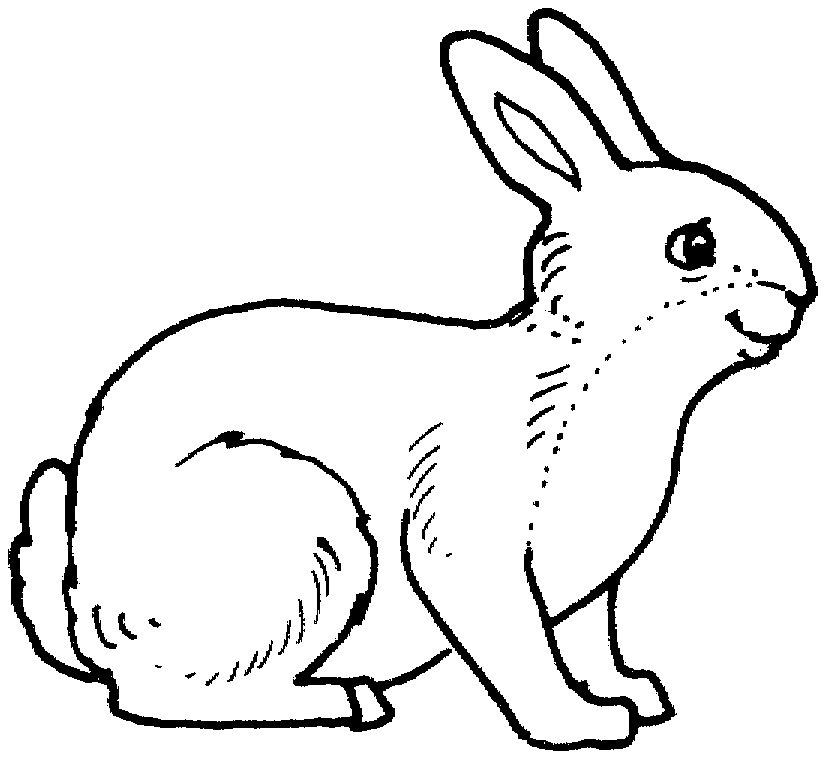
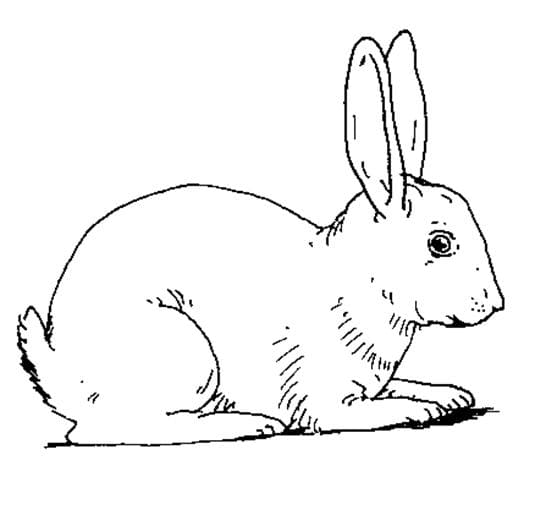
Step 3 – Draw Bunny’s Ears

You will draw two big triangles for two ears of Bunny. From the top of Bunny’s head, you will use lines and create triangles. That’s two ears for Bunny. Now, you get a bunny’s face with eyes, nose, snout, and ears. In general, Bunny has a full face and head for you. Once you have these elements looking as they do in the reference image, you’re ready for step 4!
Step 4 – Draw Body And Legs For Bunny

You will connect the head and the body using curved lines. On the Bunny’s chest, overlap several curved lines to indicate fur. You will draw an oval beneath the Bunny’s head. This will make the Bunny’s body outline. You will draw a curved line through the Bunny’s body, nearly enclosing a circle. This is Bunny’s leg. Draw the foot, using a curved line to enclose a rounded shape beneath the leg. Draw the Bunny’s front feet. Use a curved line to enclose an irregular shape beneath the Bunny’s chest. Then, enclose a second shape behind the first using a short, curved line. You will draw two front feet and a hind leg for the Bunny because another hind leg is hidden by Bunny’s body. That’s all there is to it for this step, so when you’re happy with the look of it, we shall continue adding to this Bunny in the fifth step.
Step 5 – Finish Your Drawing Mission

You must finish all your drawing missions in this step. You will add a tail for the Bunny. From the body, you will draw two parallel lines that meet at the top of the tail. That makes a tail for the Bunny. After that, you will draw some leaves around Bunny to decorate your image.
Step 6 – Color Your Bunny

Now, you must choose suitable colors for your bunny. You can take your favorite colors or use the same colors because there is no rule in choosing colors for products. Here, we choose green for the leaves and light brown for the bunny. You can take any color you like for your product. Now, you do almost Bunny pictures with our instructions. Not easy, but not too difficult. You are patient and concentrate on finishing tasks one by one. We have many instructions for you here. If you like our tutorial, don’t forget to give us a thumb up and recommend them to your friends! You also can refer to bunny coloring pages on our site to choose some bunnies and practice drawing. I hope you get a great time here and come back to enjoy more images with our instructions.