8 Simple Steps To Create Seahorse Drawing – How To Draw A Seahorse
Complete A Seahorse Drawing In Eight Steps
You will create a seahorse drawing by following our instruction step by step.
We give a detailed drawing guide to help you realize your task quickly.
There are eight steps equivalent to eight missions that you must finish.
Seahorses are particular creatures living in the sea; they have many unique features that excite us.
Although the basil has a horse-like appearance, it has many fish-like fins.
By learning how to the seahorse, you will have the opportunity to gain more knowledge about this particular creature.
Before learning to draw a seahorse, you will have to prepare all supplies, such as a pen, pencil, colors, eraser, and paper. You will then draw the seahorse with pencil and paper; you will also easily erase the wrong lines and redraw until you feel satisfied with your drawing.
Once you get a complete seahorse, you will choose the suitable colors.
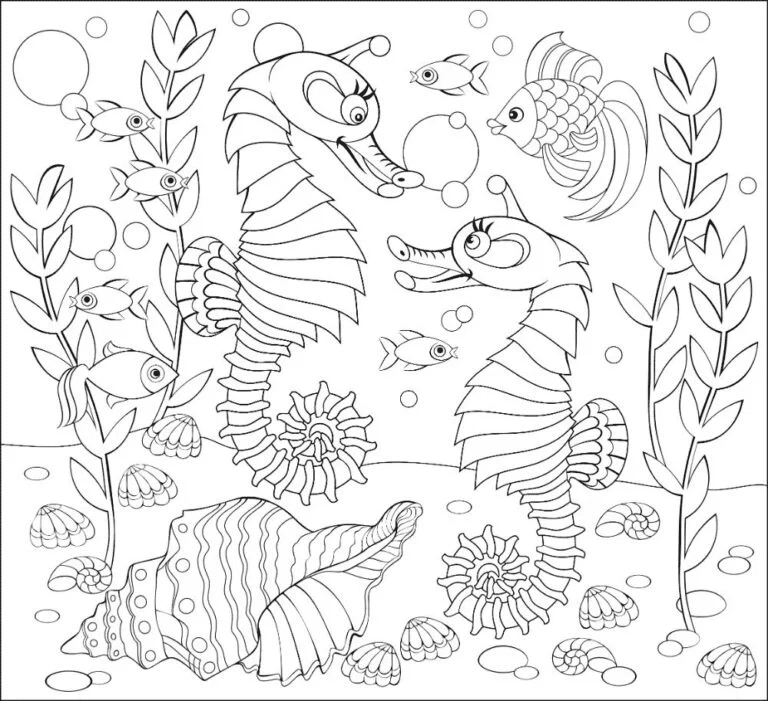
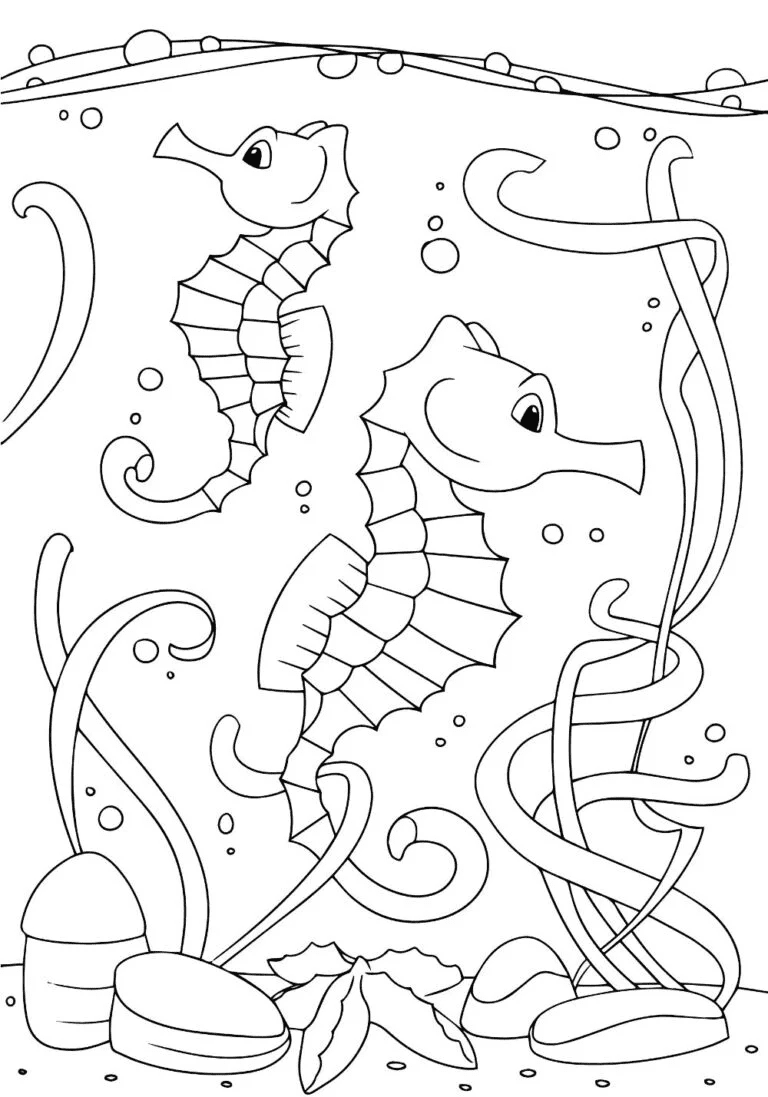
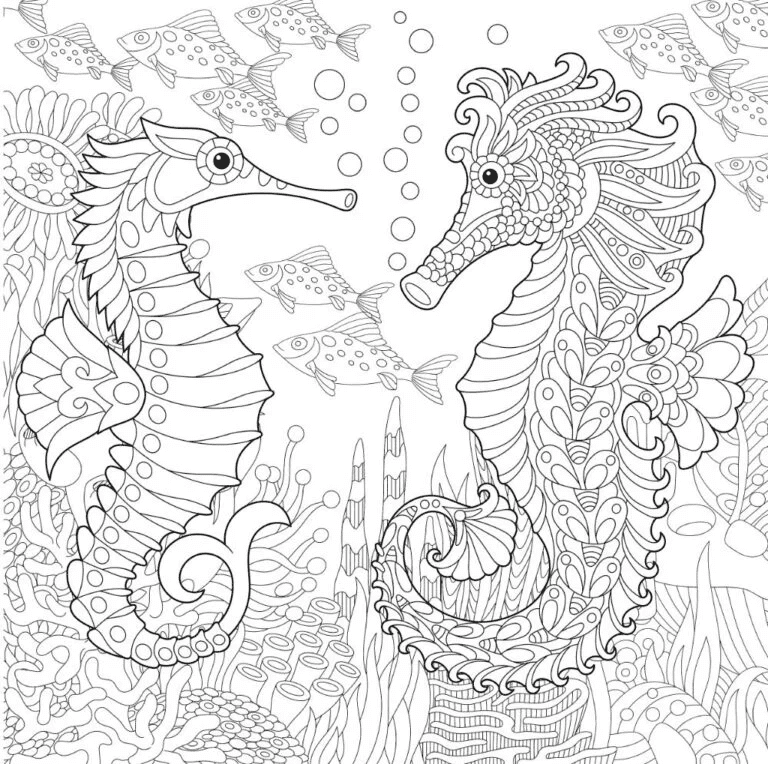
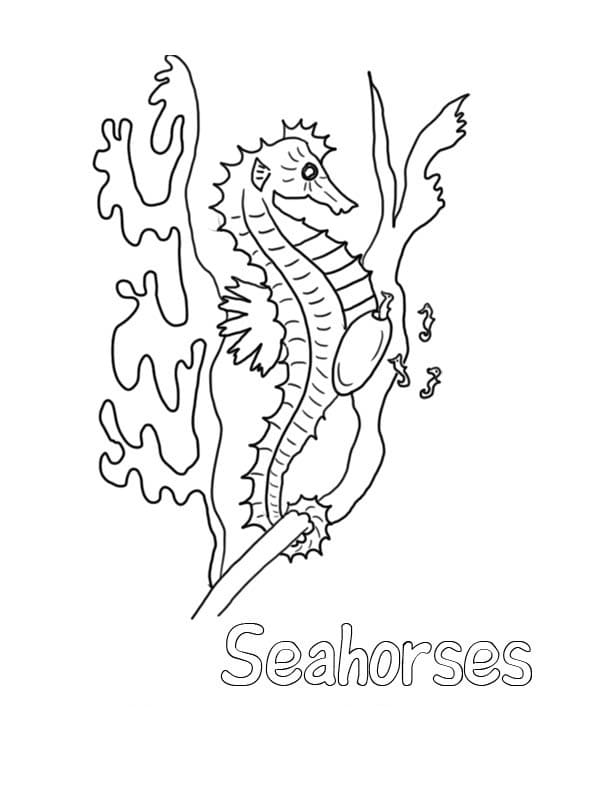
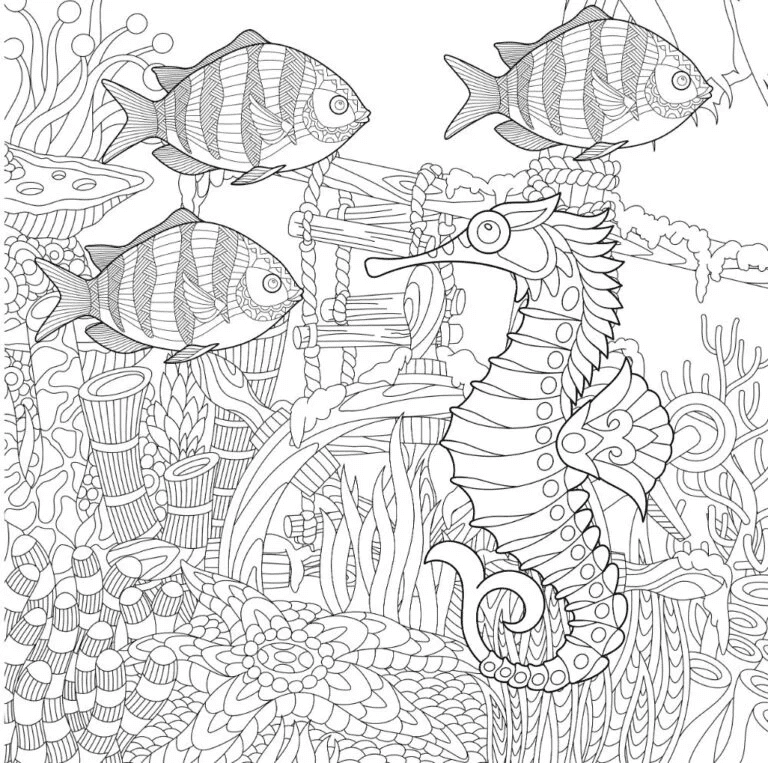
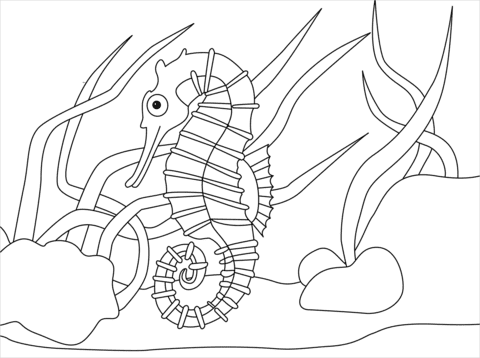
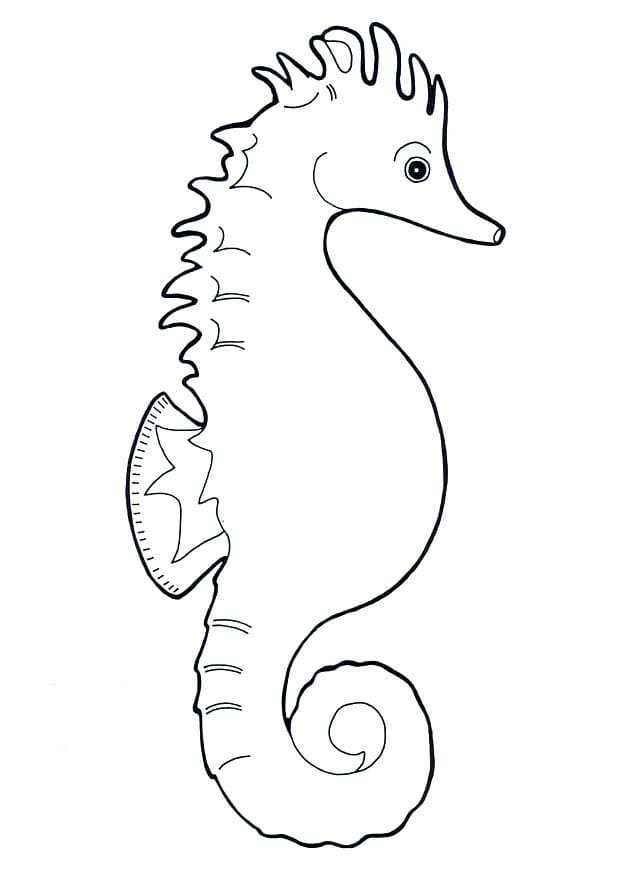
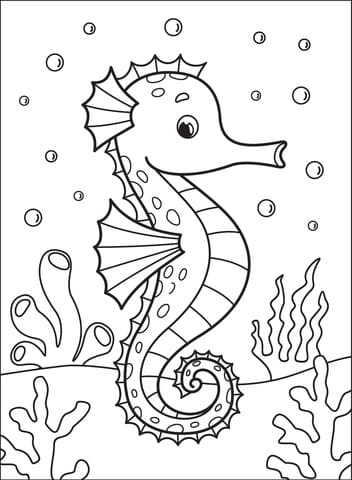
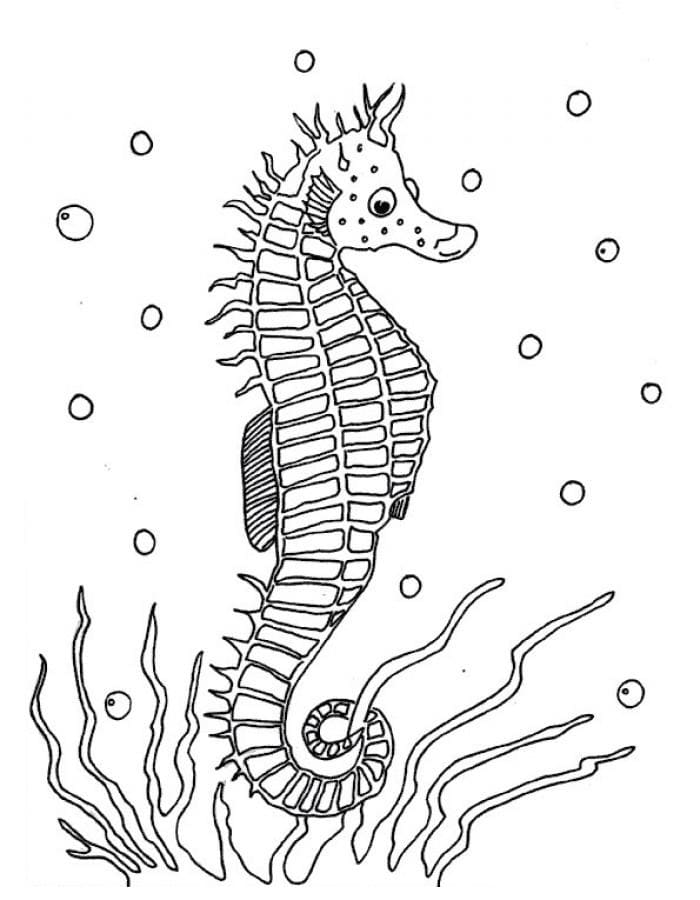
Along with this guide, you can enjoy seahorse coloring pages for free to practice your drawing and coloring skills.
Regular practice of drawing and coloring will improve your artistic ability and make you more relaxed, work better and live happier.
Now let’s start drawing a seahorse together with the fun!
How To Draw A Seahorse – Let’s get started!

Step 1 – Draw The Seahorse’s Head

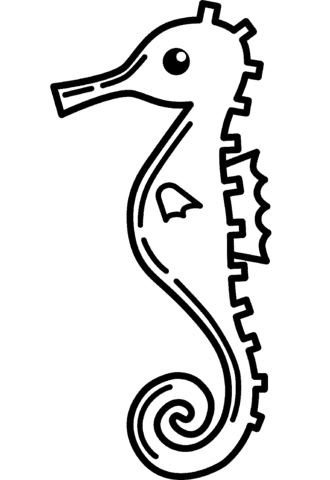
We’ll start with the seahorse’s head. Using a curved shape, you will draw its snout. A seahorse’s snout resembles a pig’s snout, as seen in our reference image.
For this task of our guide on how to draw a seahorse, you show the head and snout outline. Once your studies are done, you can move to the second step.
Step 2 – Draw The First Fin Of The Seahorse

Your task in this step for your seahorse drawing is to draw its first fin.
We are drawing the seahorse sideways, so you need to draw a fin that you can see.
Use curved lines to draw this fin below the creature’s head, as seen in our reference picture.
Once satisfied with your drawing, you can go to the next step.
Step 3 – Draw The Seahorse’s Belly

To draw its belly, you must use a curved line from its head. You can also use another curved line to draw a part of the seahorse’s back.
Your work in this third step of our guide on how to draw a horse is just that, and you will move on to the next step to do a more detailed drawing for your seahorse drawing.
Step 4 – Draw The Seahorse’s Tail

Like the tail of other creatures, the seahorse’s tail is long and curved; you use two nearly parallel curves to draw it, as you see in our reference image.
This task is not too complicated; you can look at our reference picture and follow,
Once you’re happy with your image, you can continue to perform your drawing mission in the fifth step.
Step 5 – Draw The Pointy Back Fin Of The Seahorse

In this step of our guide on how to draw a seahorse, you must show the pointy back fin of the seahorse.
You use the zigzag curves connected to form the seahorse’s pointy back fin on the head and back, as you see in our illustration.
Once these aspects are drawn, you can move to the next step for your seahorse drawing.
Step 6 – Draw The Seahorse’s Eyes

As mentioned above, we are drawing the seahorse sideways so we can only see one of its eyes, use a circle to draw this eye, and use a short curved edge to draw the seahorse’s eyebrows. Don’t forget to color the eyes black to make them more realistic.
Once its eyes are done, you will continue your drawing work in the next step.
Step 7 – Finish Off Your Drawing Mission

It’s time to draw the seahorse’s details. You use curved lines and straight lines for this task.
Make horizontal stripes below the belly and lines above the fin at the back, as you see in our reference image.
Also simple for you, you only need a few minutes to complete this task before moving on to the final step for coloring your seahorse drawing.
Step 8 – Color Your Seahorse

You will choose a nice color for your creature. We chose pink for the body and yellow for the belly of our seahorse. You can ultimately choose other colors and your way of coloring as long as you feel like and are satisfied with your product.
Once you get a complete seahorse, you can shear it on your Facebook or Pinterest page; we are also curious about your work.
Your Seahorse Drawing Is Complete
You finish your drawing and coloring missions of our guide on how to draw a seahorse.
How are you feeling? I hope you had a good time with us while learning to draw a seahorse. This drawing guide is also suitable for kids, so if you are a parent, you can give it to your kids, and they will surely like it.
Learning to draw and color will help children balance their life. In addition to time for exercise, you need to give children a suitable entertainment channel to learn more comfortably and effectively.
On our website Coloringcool.com you can find lots of drawing tutorials, coloring pages, or blogs. You can enjoy drawing guides similar to seahorses such as Koi fish drawing, Orca drawing, or Velociraptor drawing. We update them daily, and you can regularly come to ensure you don’t miss out on any of our educational products.
If you like our seahorse drawing guide, don’t forget to give us a thumb up and recommend them to your friends! And we’re here; if you have any questions about our products, please let us know! We’re happy to serve you! Have fun!