7 Simple Steps To Create A Beautiful Seagull Drawing – How To Draw A Seagull
Creating A Perfect Seagull Drawing In Seven Easy Steps
Below you will participate in creating a seagull drawing with us. This is a great art activity for you and everyone.
There are seven steps equivalent to seven missions that you have to finish to get a complete seagull.
If you are a beginner, it will take you about 30 minutes to complete this bird. At first glance, it seems complicated, but with our detailed guide hope you will complete this bird drawing task quickly, and you will enjoy this seagull drawing guide.
We also provide illustrations in each step to help you finish your drawing mission in the shortest time.
How To Draw A Seagull – Let’s Get Started!

If you are a bird lover and want to draw it, this tutorial is the right choice.
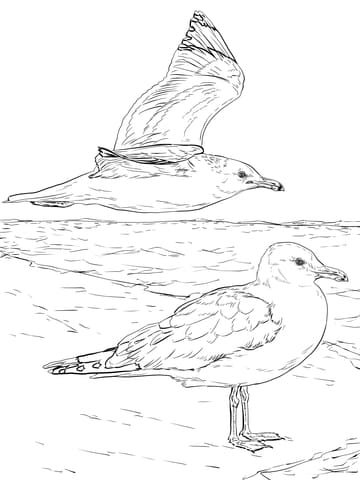
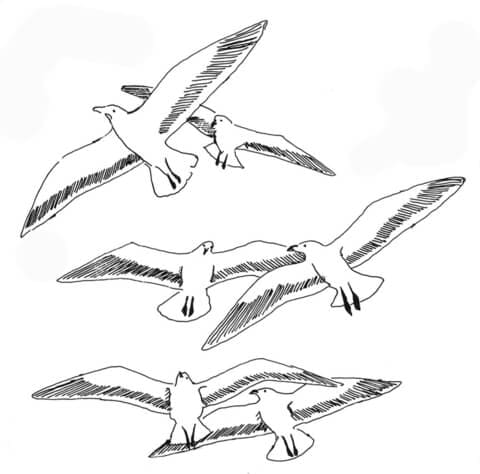
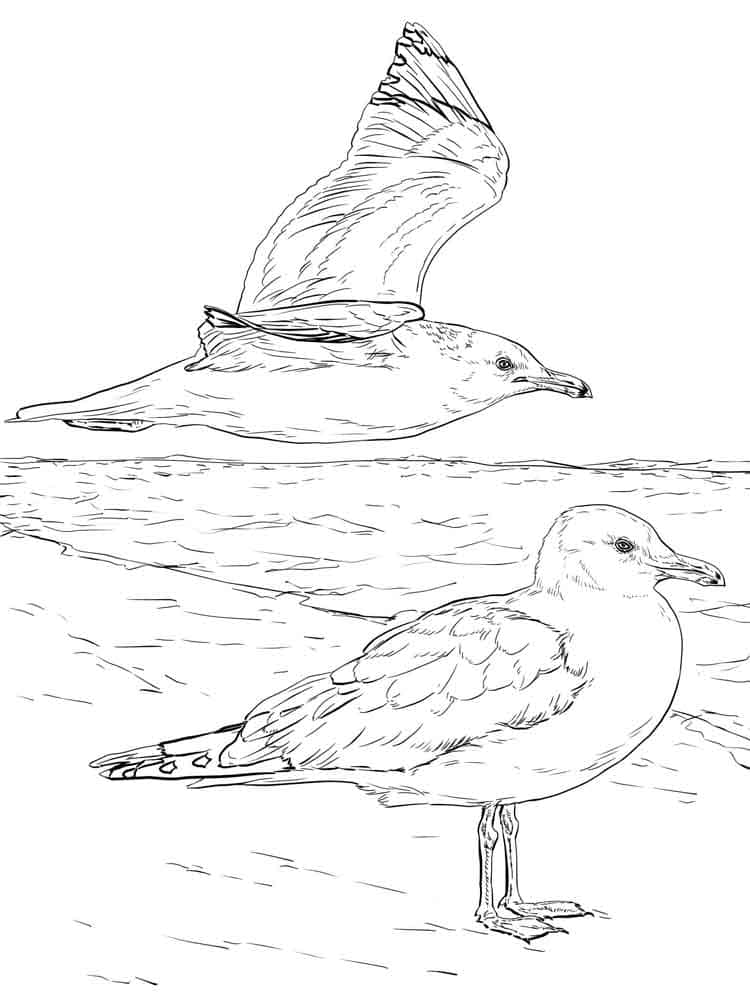
What’s more interesting in this drawing tutorial is that this is a sea bird, so you can add a sea scene to your painting to make the picture more beautiful and realistic.
The beauty of the seagull and the romance of the sea is the reason why this bird is painted a lot in the pictures hanging in the living room of some families.
Our seagull drawing tutorial has seven steps, and you go to step by step to finish each mission.
You can get more information about this bird drawing mission.
This drawing task is not easy, but it is very interesting and not too difficult; you must concentrate and realize it from easy to complex.
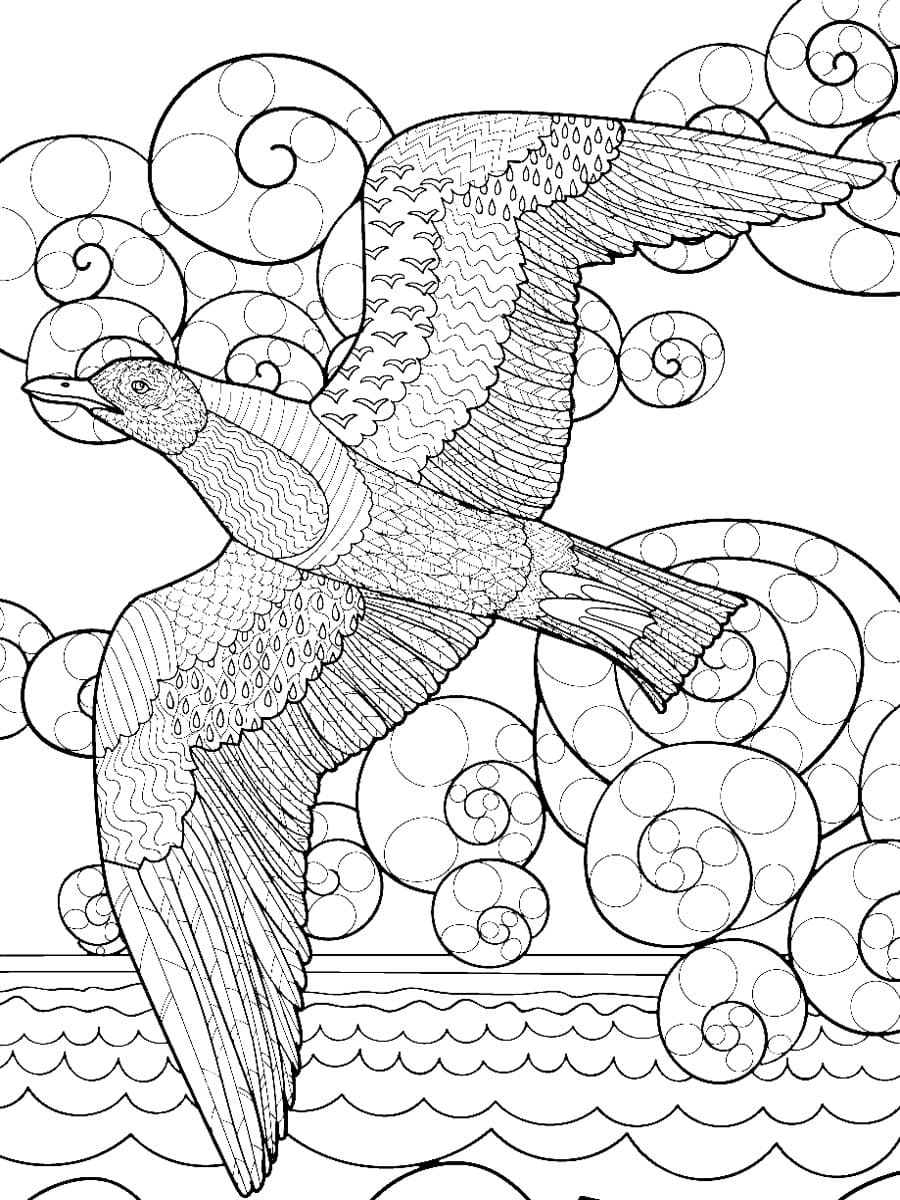
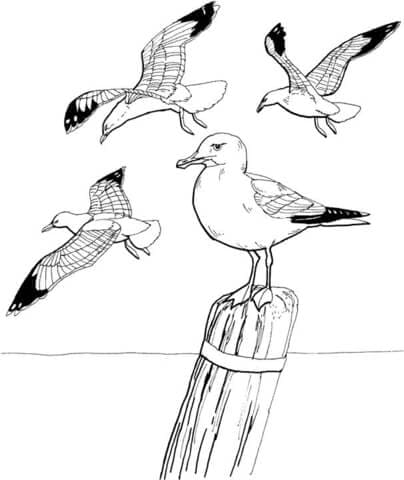
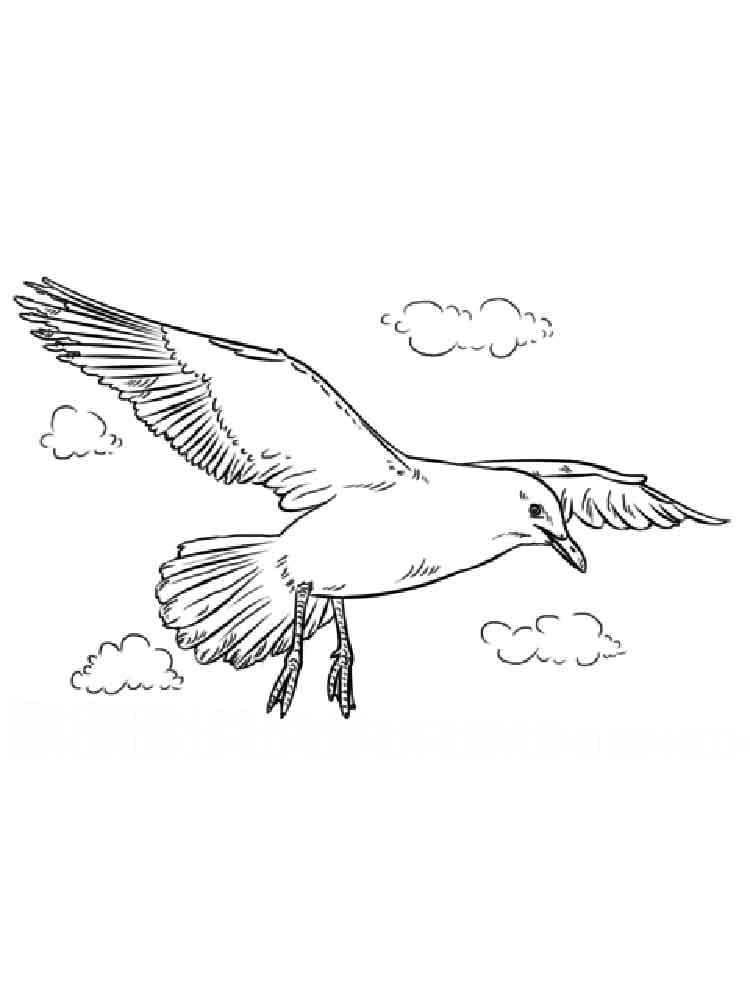
With this drawing instruction, you can enjoy seagull coloring pages for free on our website to practice your drawing and coloring skills.
Right now, you go to seven details steps to realize your mission with us.
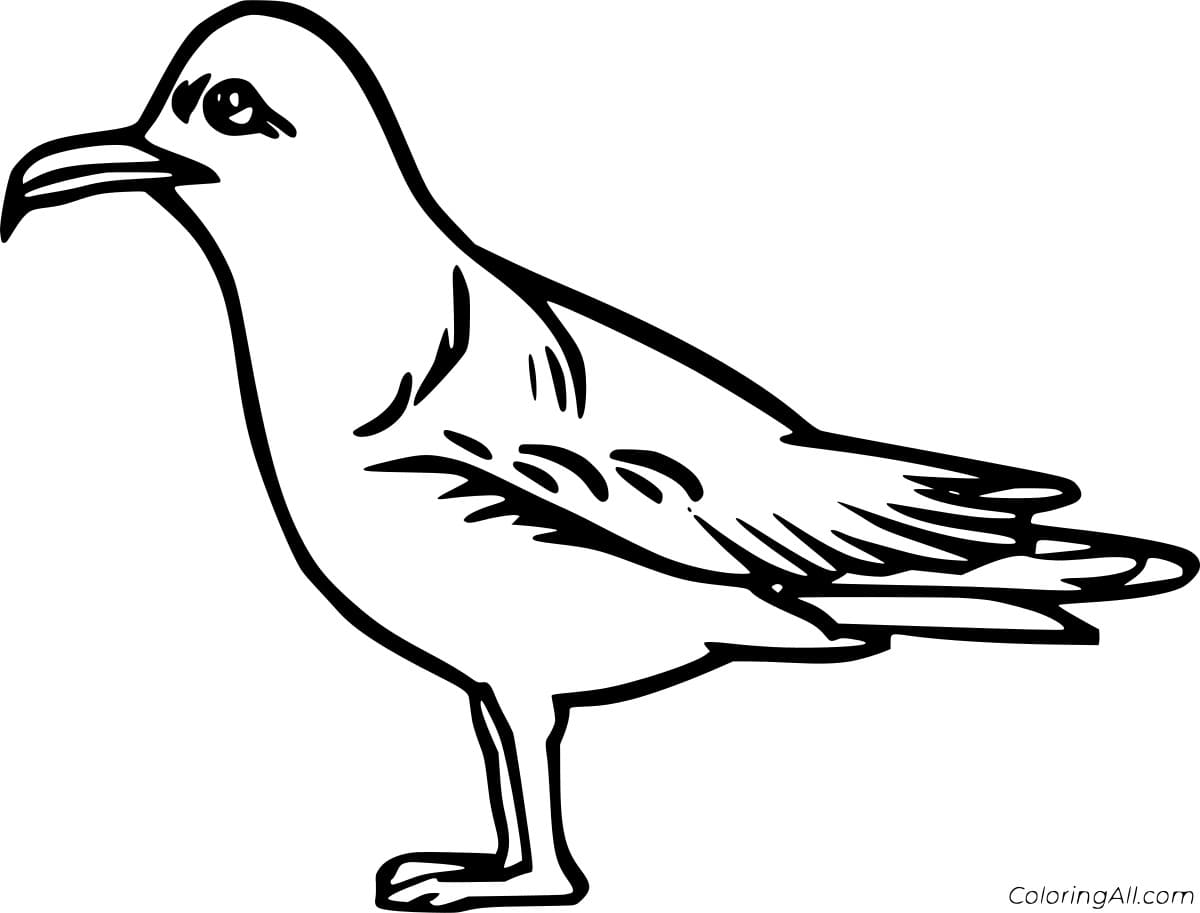
Step 1 – Draw Head, Eyes, And Beak For Seagull

In this bird drawing tutorial, we arrange everything from easy to difficult. So, we guide the simple detail for this step.
You begin to draw your seagull with the head created by a curved line to make an oval.
You add an oval for an eye.
Since we draw seagull italic so we only need to draw one eye that we can see and the other we can’t see.
Right now, you must show its beak.
The seagull’s beak faces to the left, so in this case, you use curves that make up the two parts of the brim, as you see in our reference image.
All are your task in this step, and you’re ready for step 2.
Step 2 – Draw The Seagull’s Belly

Your task in this second step of our guide on how to draw a seagull is to use only a curved line for its belly.
It’s a simple task for you; from its head, you use a curved line for this part, as you see in our illustration.
Step 3 – Draw The Seagull’s Back

It’s time to draw the back for our bird. The curve to draw this back is opposite the belly curve you drew above.
Between two those curved lines, you add another curved line for starting wings of the seagull you draw in the next step.
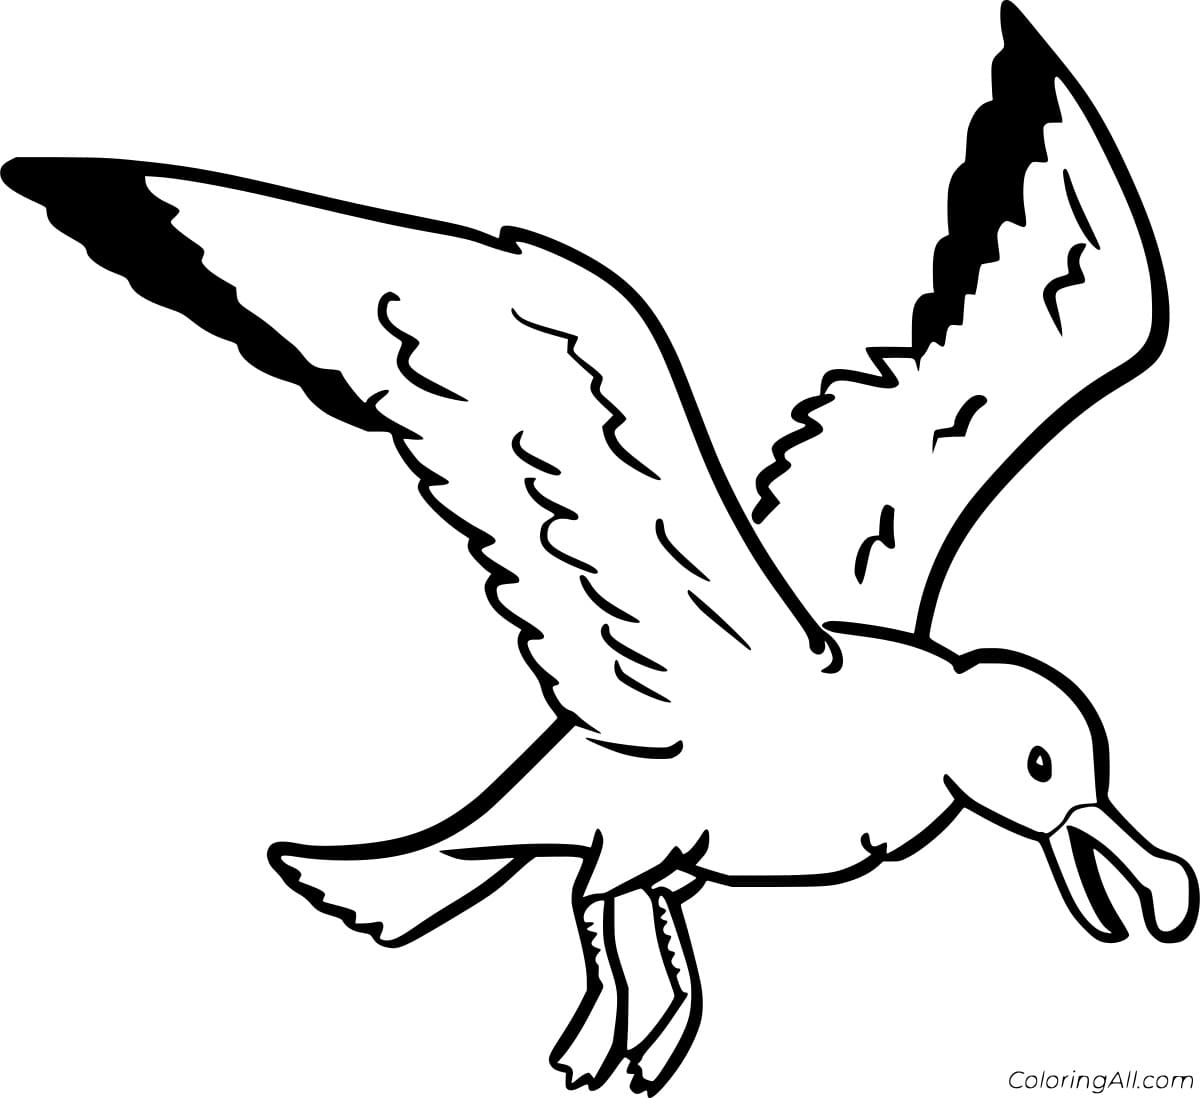
Step 4 – Draw The Seagull’s Wings

Like other birds, the seagull has two wings, and we also only draw the part of the wings that can be seen.
You use some straight lines to draw between the two curved lines you have drawn. Our reference image will show you what it should look like. Once you’re satisfied with your image, you can come to the fifth step..
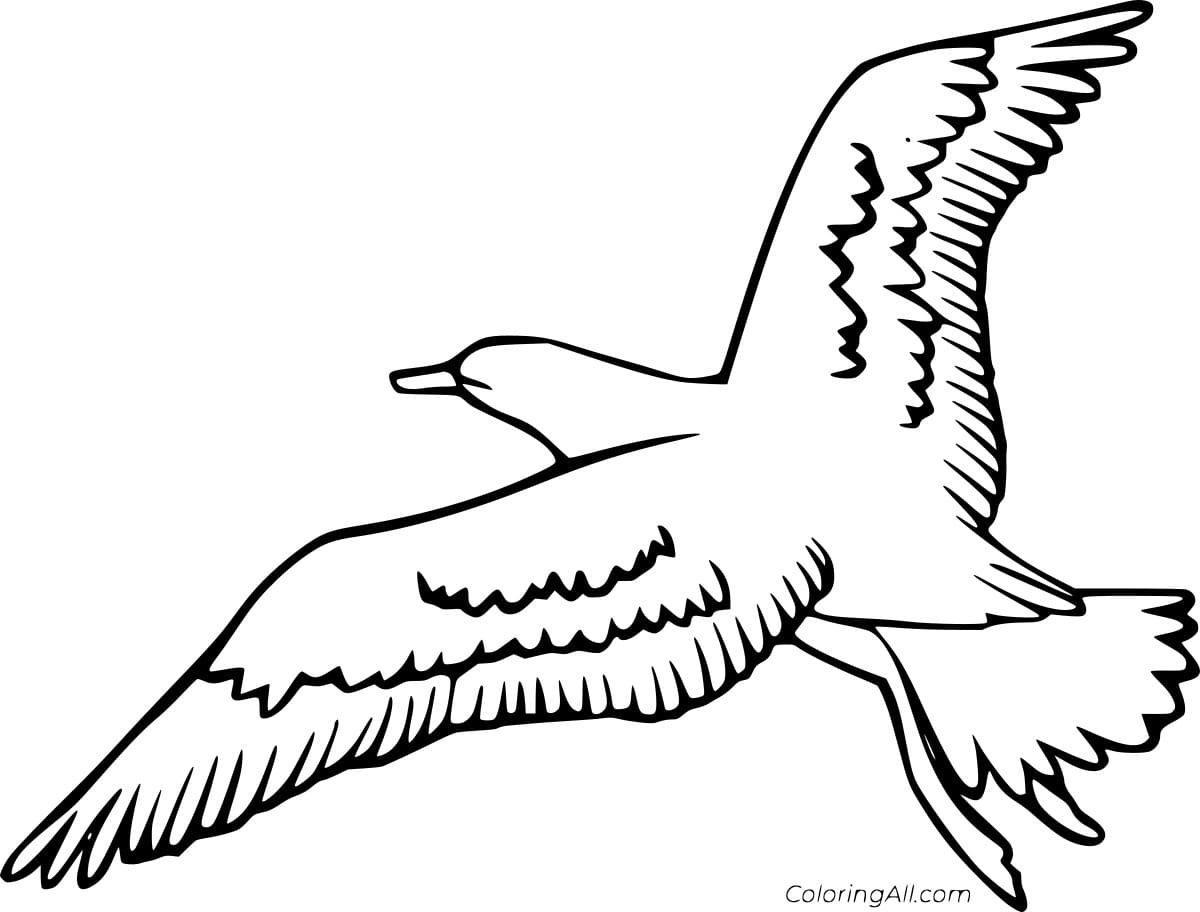
Step 5 – Create The Seagull’s Tail

For this step of our instruction on how to draw a seagull, you draw its tail with curved lines and straight lines. You can observe our reference picture to follow.
If these elements are drawn, you can continue your drawing task in the sixth step.
Step 6 – Draw The Seagull’s Legs

Right now, you have to draw two legs for your bird.
The seagull’s legs are made of parallel lines; you can draw the middle of the legs a bit to show that its legs have knees.
You will finish the mission in this step with two webbed feet with seagull toes.
Don’t forget to add talons to this bird, as seen in our illustration.
Right now, you only have a few more details to add before the final step for coloring!
Step 7 – Color Your Seagull

That brings you to this final step, and you will choose the suitable colors for your drawing.
You’re free in this step, it means you can use any color you like for your drawing.
We use grey for the seagull’s wing, beak, and legs are yellow.
We don’t forget to add white for the belly, head, and a part of the tail as our reference image.
Your Seagull Drawing Is Complete!
You finish off the drawing and coloring mission on how to draw a seagull. This time you can come back to all your tasks and admire your result, and I hope you’re happy with it.
On our website Coloringcool.com, you can refer to other bird drawing guides such as penguin drawing, toucan drawing, parrot drawing, blue jay drawing, hoopoe drawing, or crane bird drawing…By joining this drawing guide, you can find a comfortable time, and your life is better.
We hope you understand everything right now and come back here to enjoy more of the educational products that we update daily.
After the hard-working hours, we need time to enjoy some entertainment channels, and drawing is not a bad choice.
More, this activity is suitable for your kids, so if you are a parent, you can learn to draw with your children. Those activities will help them to avoid using some technical devices such as smartphones, tablets, and television…they are not suitable for their eyes and evolution. Have fun with this seagull drawing guide!