8 Simple Steps To Create Cute Sea Otter Drawing – How To Draw A Sea Otter
Creating A Nimble Sea Otter Drawing In Eight Easy Steps
Simply follow this easy how-to make a sea otter drawing step-by-step tutorial, and you will have your complete sea otter finished in no time. You will follow our instructions and illustrations to get a sea otter. This work is not easy but not too difficult; you will concentrate and go to step by step to create a sea otter drawing with us. You have a great time and come back to work more efficiently. Sea otter drawing instructions are completely free on our website, and you can come here to enjoy them anytime by just connecting to the internet device. I also hope you enjoyed this tutorial and got its worth.
How To Draw A Sea Otter – Let’s Get Started!
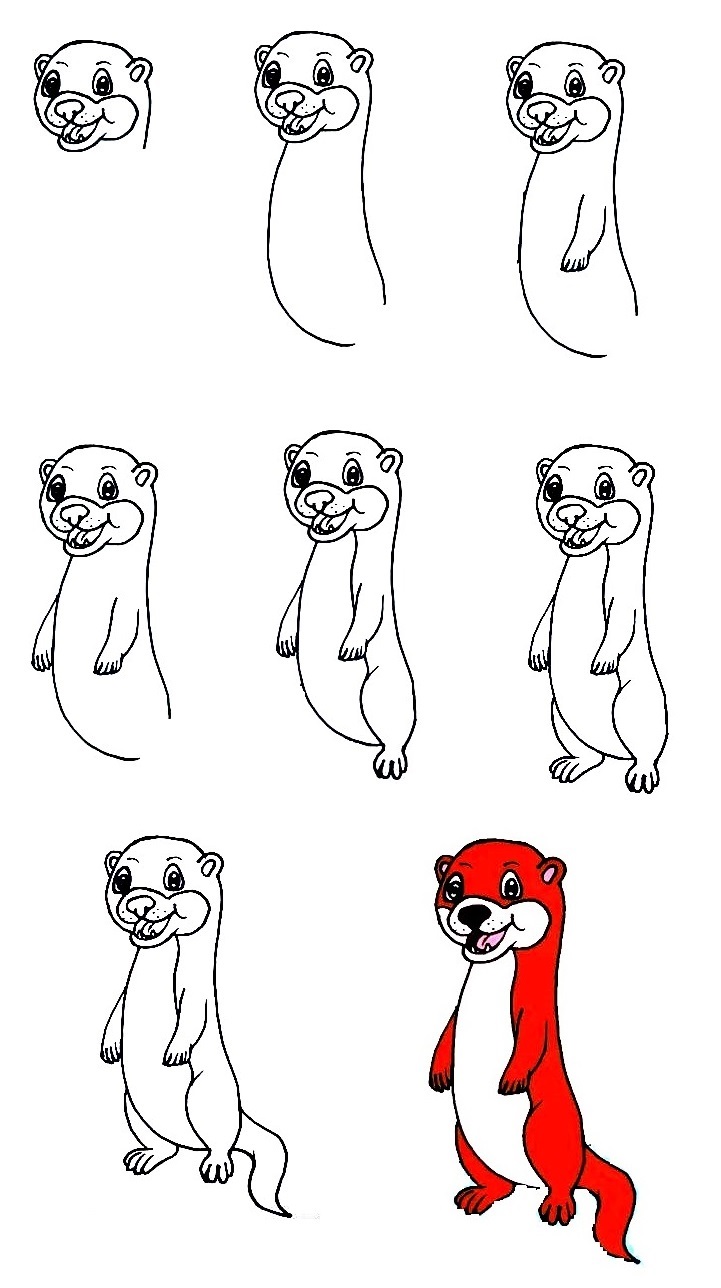
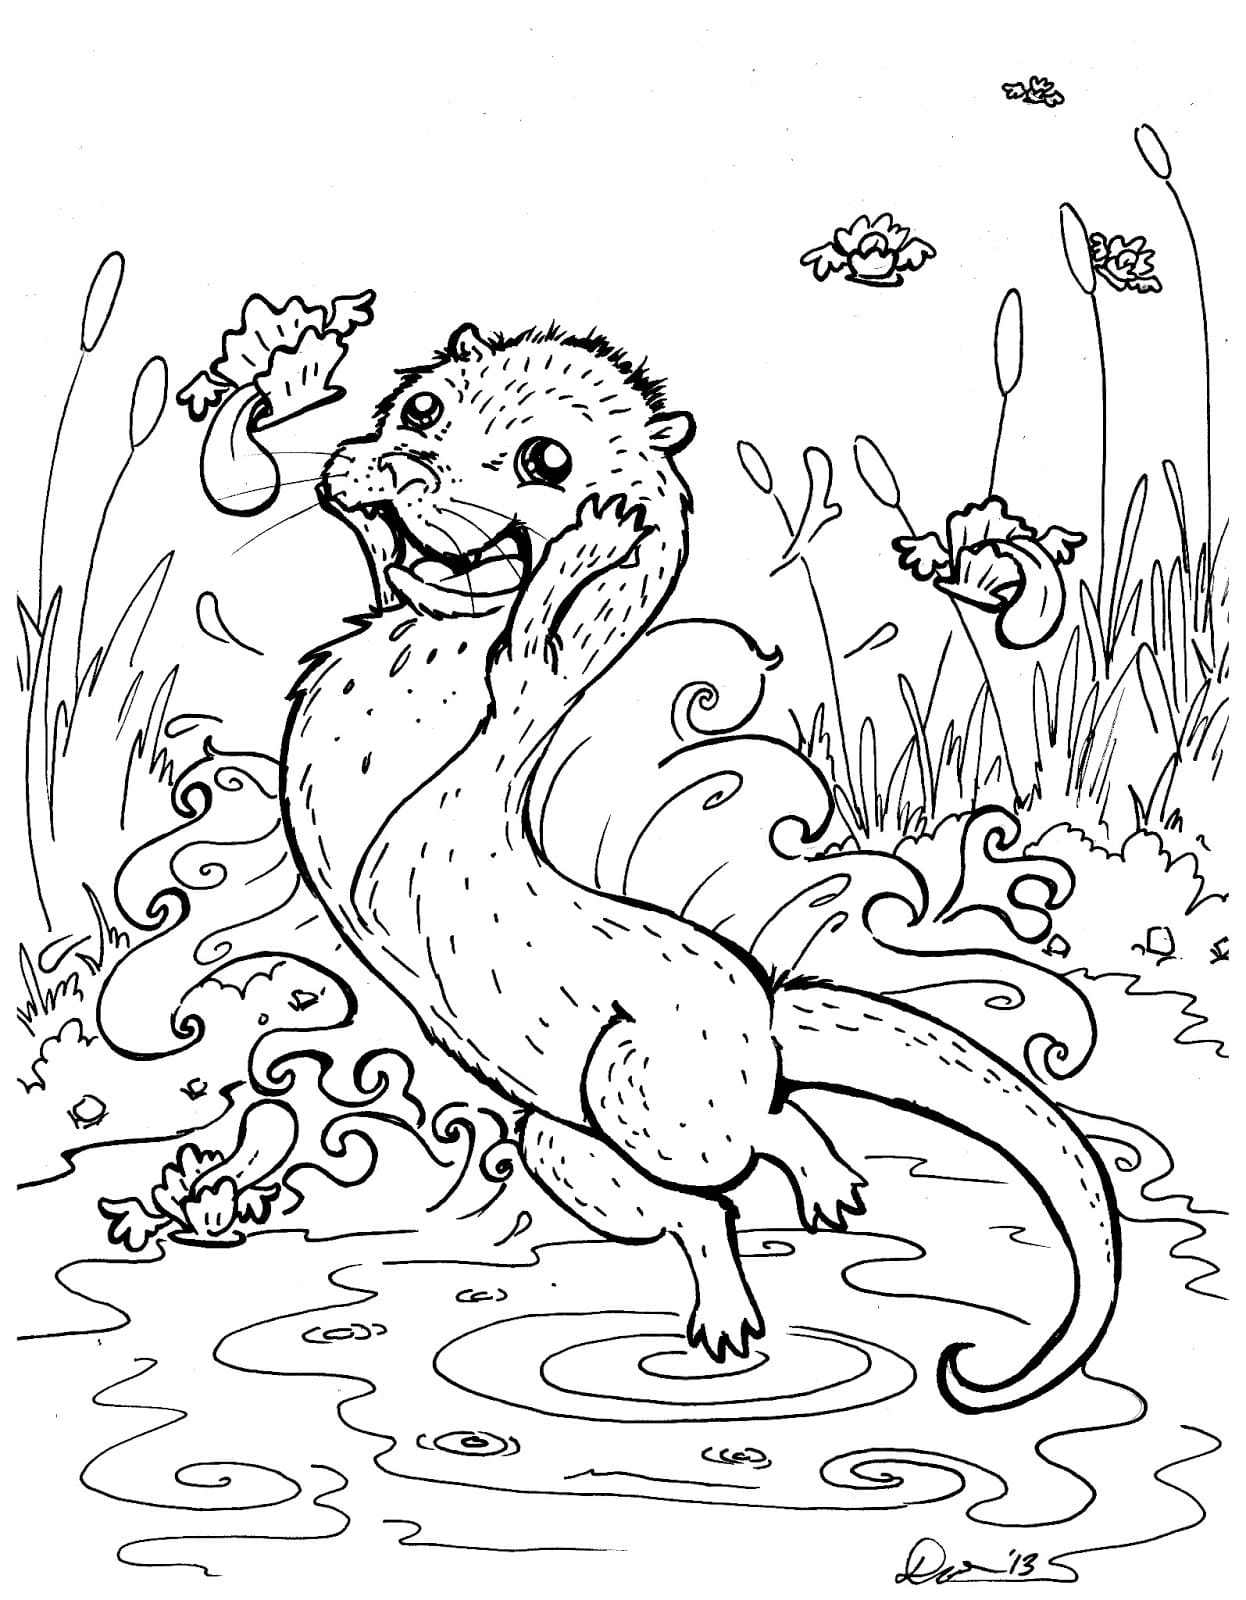
In the animal world, there are many kinds of cute and adorable animals. Those adorable animals can be found on land, in the air, and even in the water. Like water seals, sea otters can be found on land and in the water. And today, you are lucky to have the opportunity to learn to draw sea otters with us. This tutorial takes about 30 minutes to complete. However, if you draw for a long time, you can finish a sea drawing in a shorter time. Before drawing sea otters, you need to prepare a few things like a pen, pencil, marker, or crayon and a sheet of paper. You will then proceed to draw the sea otter with a pencil and paper. You will erase the wrong lines and highlight the correct ones. Finally, you choose the color for your drawing. In the process of learning to draw with us, you can create a few more details or change the colors according to your preferences to make your drawing more beautiful, more realistic, and still your style. Learning to draw is an entertaining way suitable for everyone, from children to adults; it makes your mood more comfortable. With this drawing guide, you can also enjoy sea otter coloring pages for free. Right now, you go to eight details steps on how to draw a sea otter with us!
Step 1 – Draw Head And Face For Sea Otter

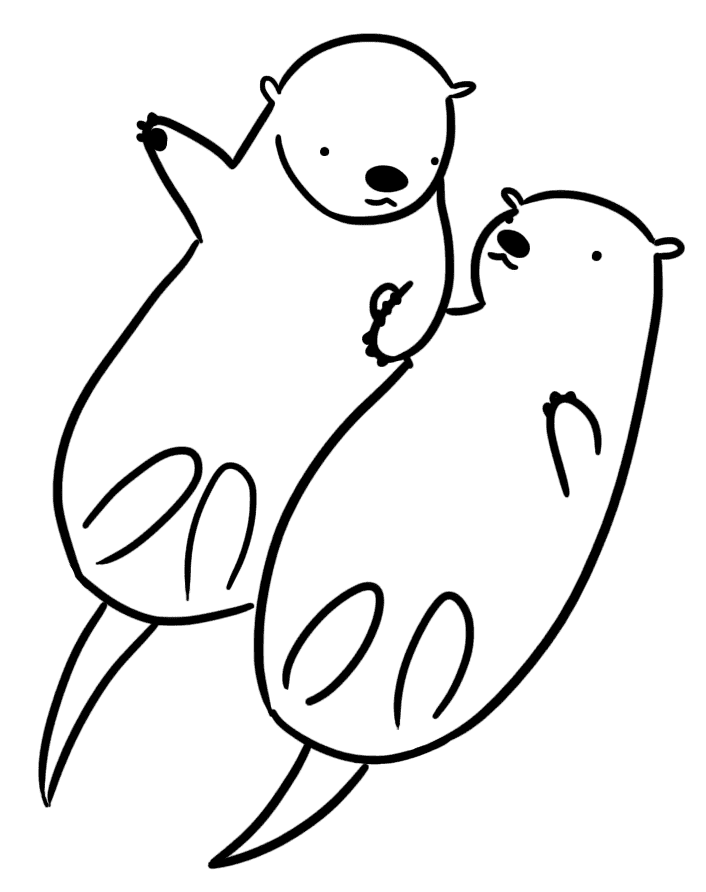
Starting your work with our guide on how to draw a sea otter, you begin with its head and face. You draw an imperfect circle to represent the sea otter’s head. Then you will draw two letters C representing its ears; you continue to draw details for the eye shape with a smiling mouth beneath and a nose, then use some rounded shapes for the eyes and eye details, and then add an outline for the mouth area. Once you have these elements looking as they do in the reference image, you’re ready for step 2!
Step 2 – Draw The Body This Sea Otter
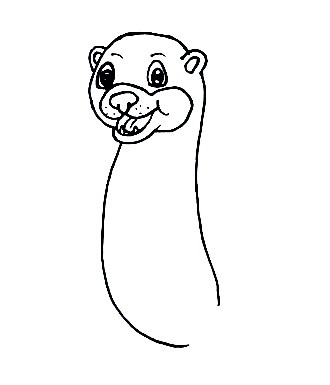
Your task of this instruction for your sea otter drawing is to use a curved line for the chest of the sea otter and then use a slightly curvier line for the back. These two curves are almost parallel to form a harmonious body of sea otters. When you are happy with your images, you can proceed to the fourth part of this tutorial.
Step 3 – Draw Arms Of Your Sea Otter
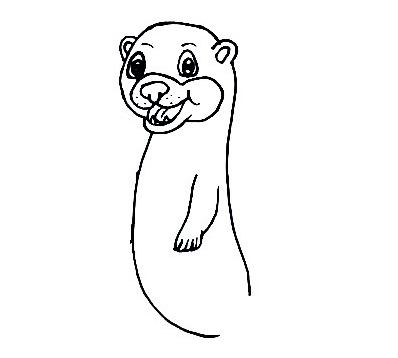
It’s time to draw the small arms pointing down near the center of the chest with two parallel curved lines for each arm. These will also end in some small pointy fingers as you see in our illustration.
Step 4 – Add More An Arm Of Your Sea Otter
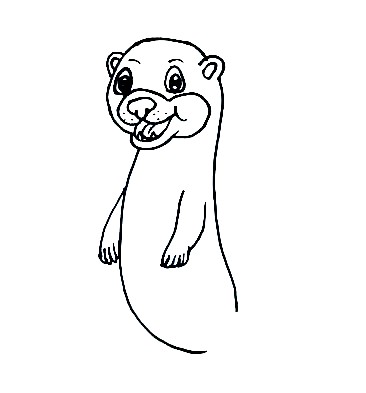
Similar to step 3, right now, you must draw more an arm for your sea otter. You also use two lines to draw the hán and some small lines to show its finger. If you have any difficulty you can observe our image and follow it. So, you finish off the task of drawing the sea otter’sarms.
Step 5 – Draw A Leg For Sea Otter
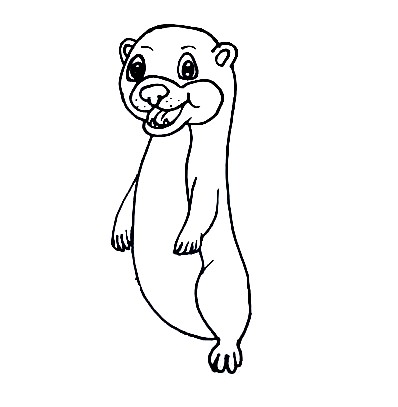
You will draw a left leg for your sea otter and draw the thick, rounded upper thighs for the legs. You will complete this leg with the tiny rounded toes, so they should be rather easy to add! Once the legs are complete, you can also add the tail for the otter. So, you have finished drawing a left leg and continue drawing the right leg for the sea otter in the next step.
Step 6 – Draw A Right Leg For Sea Otter
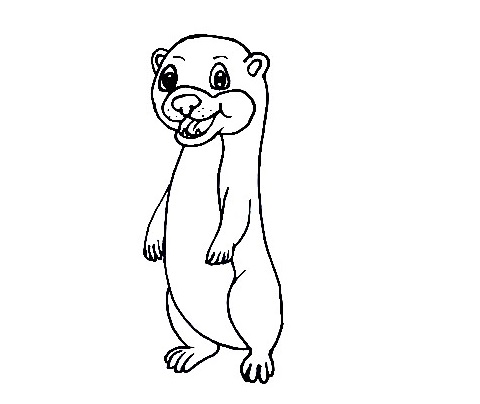
Right now, you finish off the task on legs for your creature of this sea otter drawing. Similar to drawing the left leg for the sea otter, the right leg is also drawn from the thigh down; you will draw it with curves and end with small toes.
Step 7 – Draw The Sea Otter’s Tail
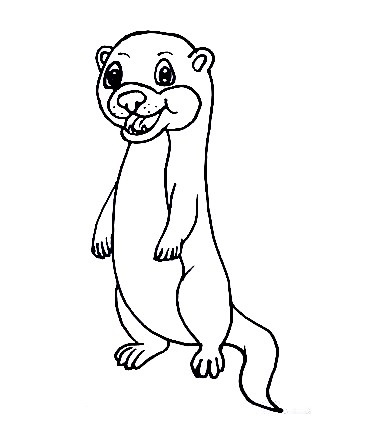
Before you move on to the final step for coloring this sea otter drawing, we will first finish off the tail. The sea otter’s tail is relatively long, and it will get smaller until it ends with a pointed tip. Simple for you, use two parallel curves and meet at a point.
Step 8 – Color Your Sea Otter

Your work will end with some colors; this part is also simple; you just need to choose some colors for your drawing; we used orange-red for the body, arms, and legs of the sea otter. Its belly is white with some black spots on some parts like the eyes, nose, and mouth,…Which color do you use for your sea otter? Show your image on Facebook or Pinterest for everyone to see?
Your Sea Otter Drawing Is Complete!
The Sea otter is an animal that you can easily see in the wild, and I hope you enjoy drawing it. In creating this sea otter drawing tutorial, we hope you both had a good time and gained the experience of learning to draw so you can enjoy in your free time, making your life better. If you are a parent, you can give this drawing guide to your kids; they will like surely and avoid using some devices such as television, smartphone, and tablets,…they are not suitable for their eyes and evolution. On our website Coloringcool.com, you can enjoy some creature drawing guides such as hedgehog drawing, antelope drawing or hyena drawing. These are drawing tutorials similar to sea otters. You will also draw the head, body, and tail and complete miunhf’s creature perfectly. Hope you will have fun with my tutorial too. Have a great time with sea otter drawing!


