Rope Drawing Is Complete In 12 Easy Steps
Rope Drawing Is Complete In 12 Easy Steps
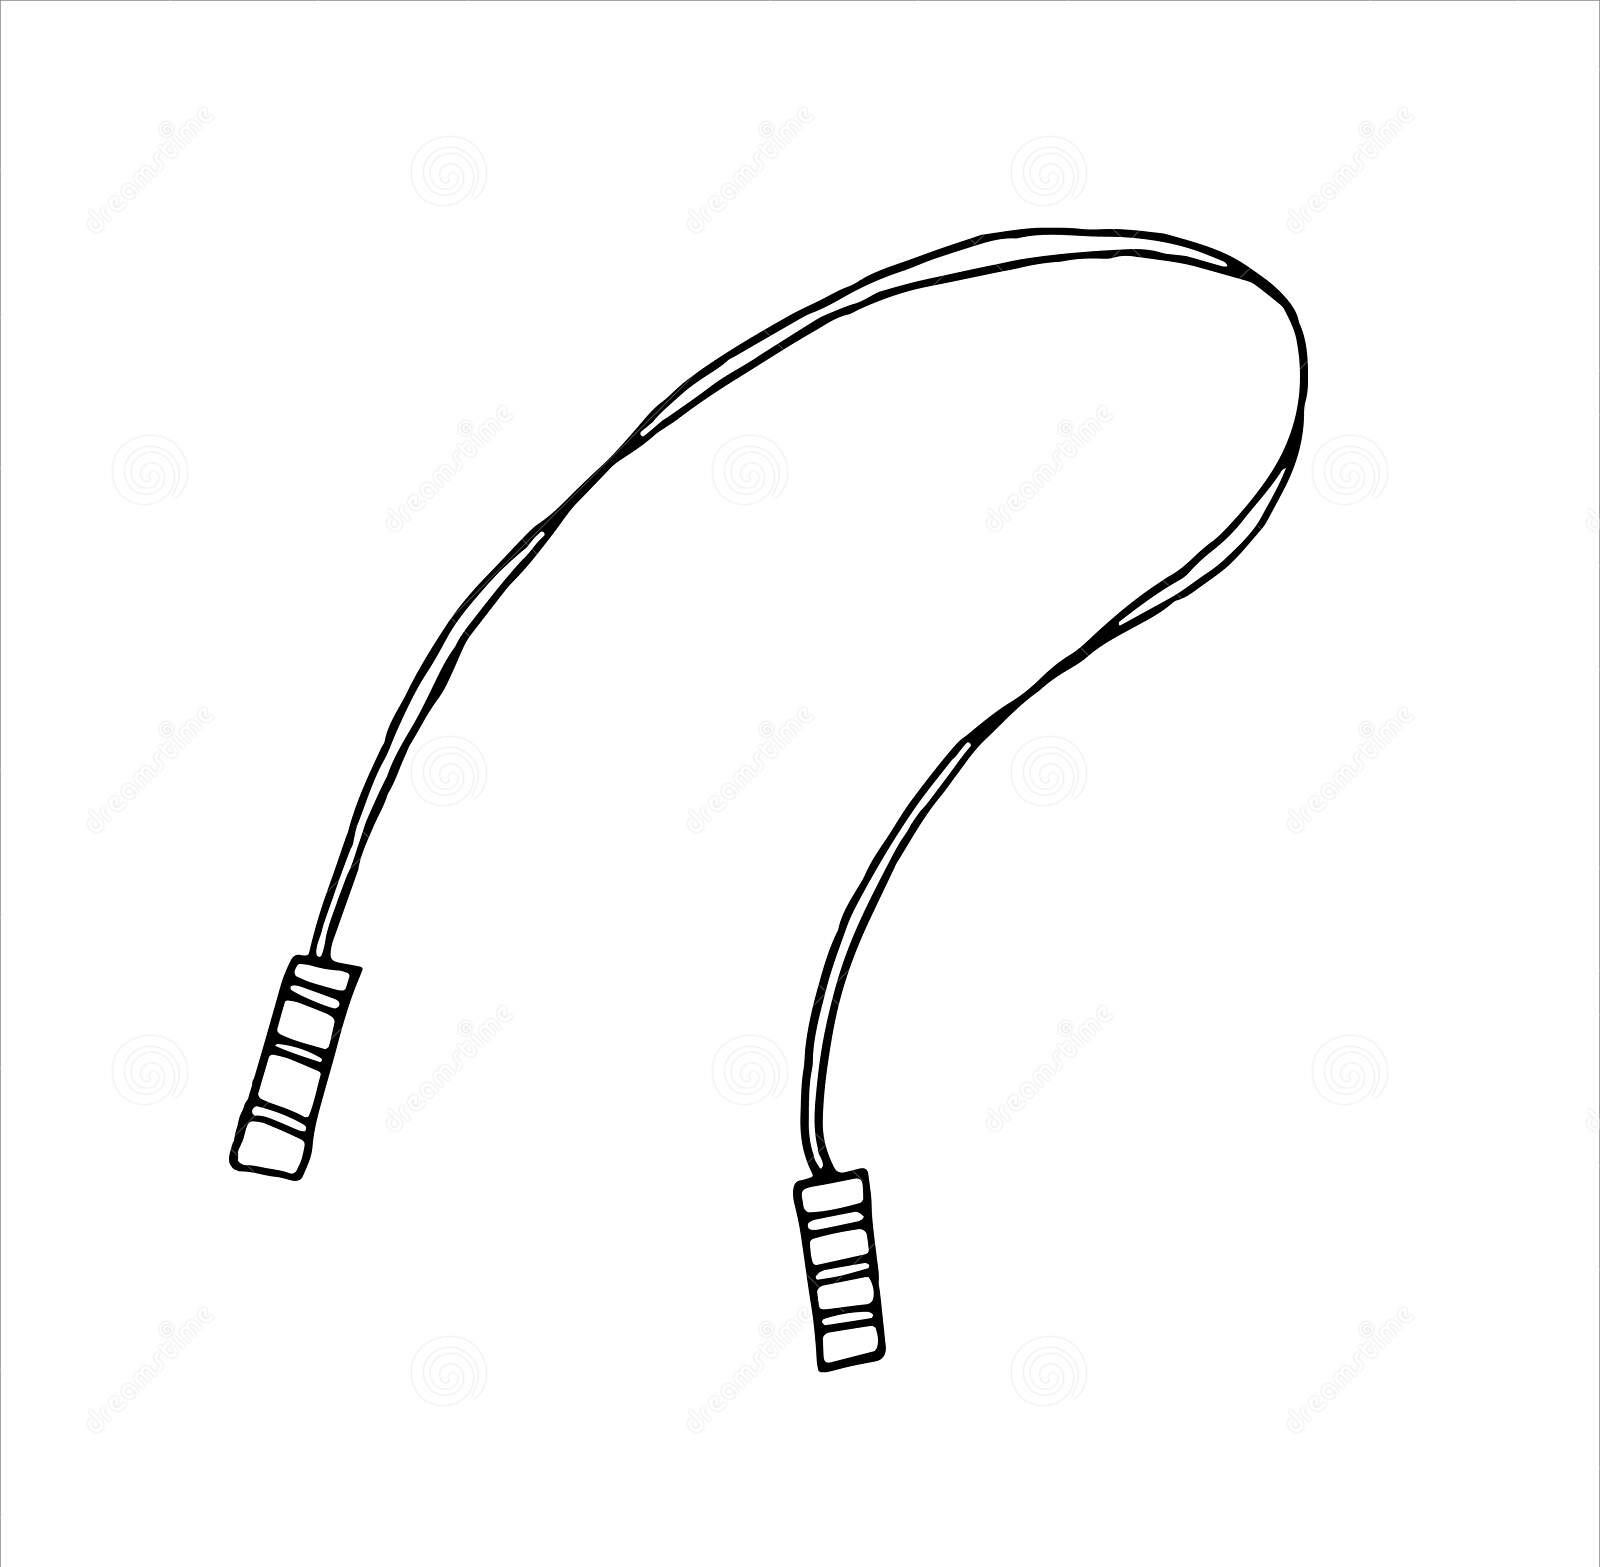
The rope is a familiar item in our lives, and today, rope drawing will be a new challenge for you.
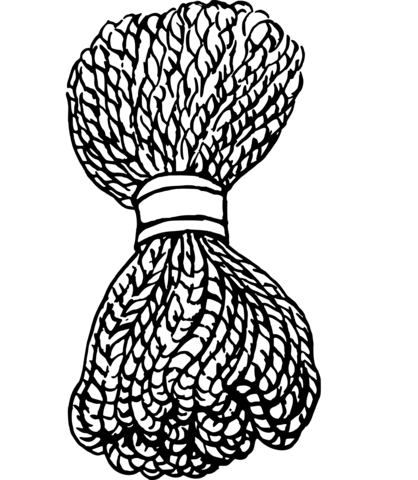
The rope looks simple outside, but it comprises many smaller fibers to form a strong rope like you usually see.
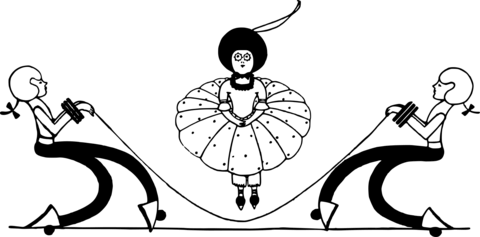
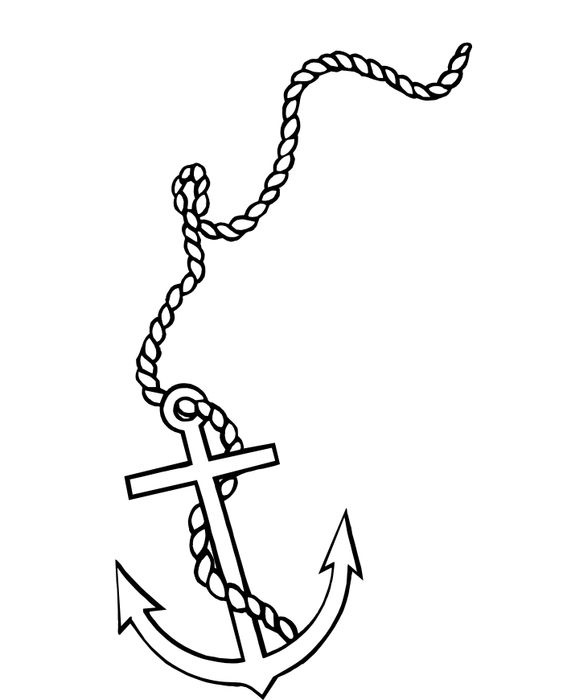
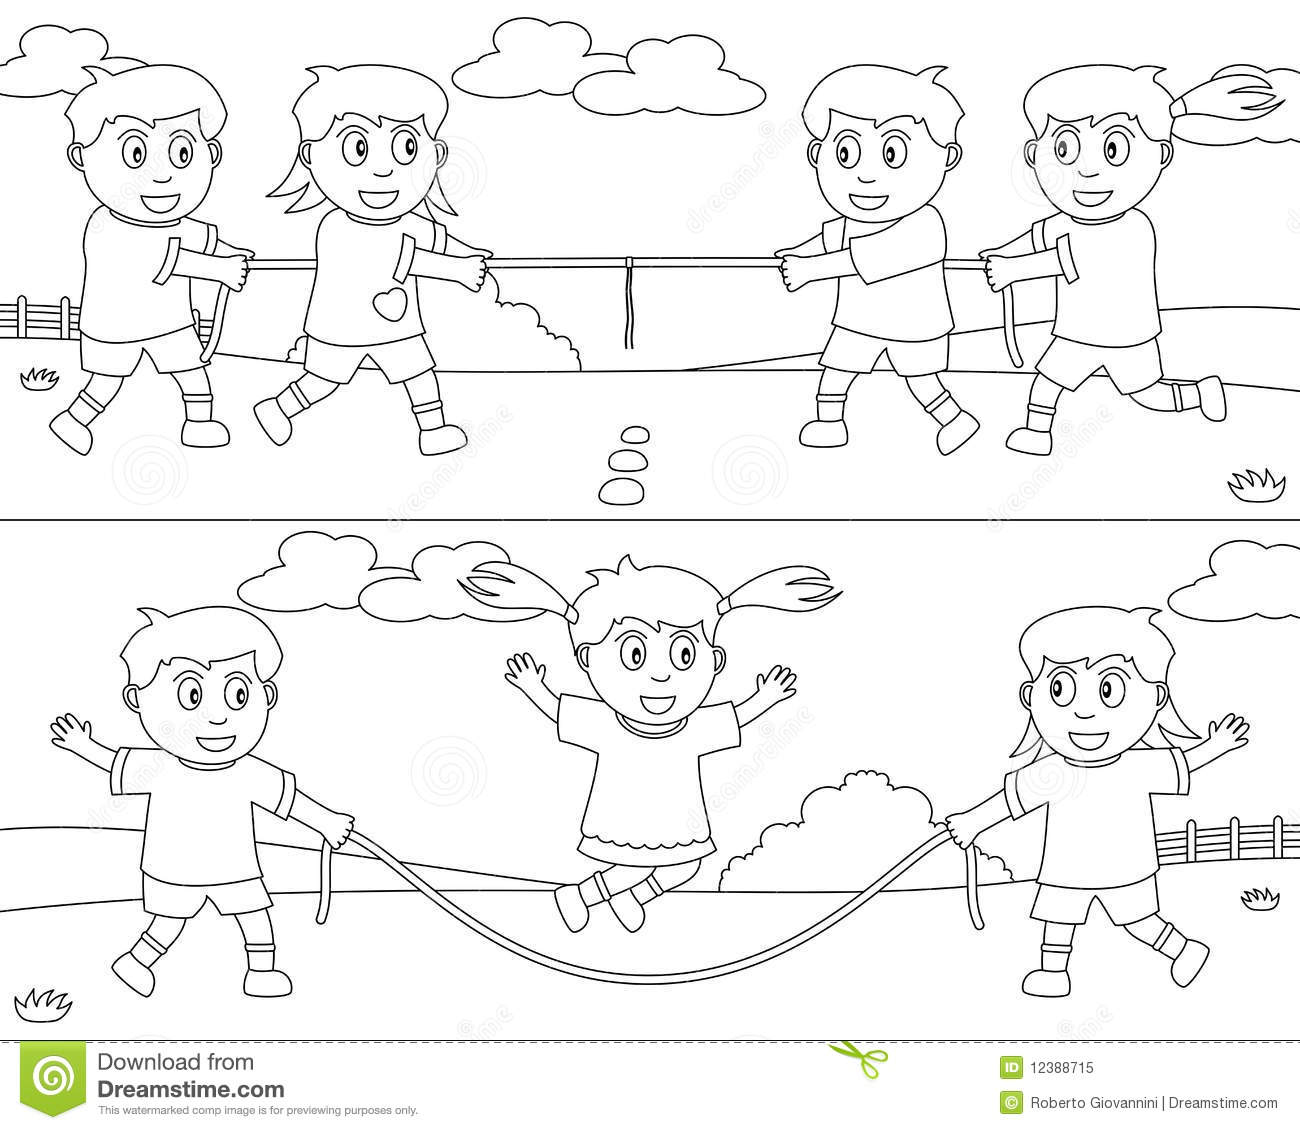
The rope has many different uses, such as fixing objects, or you can also use it as a tool for exercise.
It takes about 20 minutes to learn to draw a rope, and once you get used to it, you can finish it sooner.
It would help if you prepared all supplies such as pencil, pen, eraser, paper, and colors before starting to draw. You will then proceed to draw the rope with a pencil and paper. Using a pencil and paper will make it easy to erase your mistake and redraw it when you’re satisfied.
This drawing guide is suitable for everyone, from children to adults; you can enjoy it in your free time after the hard-working hours.
Once you get a complete rope drawing, you will choose the lovely colors for your product.
Along with this guide, you can enjoy rope coloring pages for free on our website to practice your drawing and coloring skills.
Now, we go to the 12 steps of our guide on how to draw a rope!
How To Draw A Rope – Let’s Get Started!

Step 1 – Draw The First Segment For Your Rope

As we know, the rope is made up of many small pieces, and in this first step of our guide, we draw the first segment for the rope.
You draw two parallel curves and two small lines at the ends for this task, and you can move to the second step.
Step 2 – Draw The Second Segment For Your Rope

You must draw the second segment for your product, rope. Continuing to use the curved lines from the first segment for this task, as you see in our reference image.
Of course, you also use two parallel curves to draw this segment; simple for you, right, let’s finish it and move on to the next step.
Step 3 – Draw The End Of The Rope

Your task in this step of our guide on how to draw a rope is to draw the end of your rope.
Use some lines to form the shape of the flower to make the rope look cute. You can see our drawing to follow, as it’s a bit complicated here.
Once you feel good about your image, you can come to the fourth step.
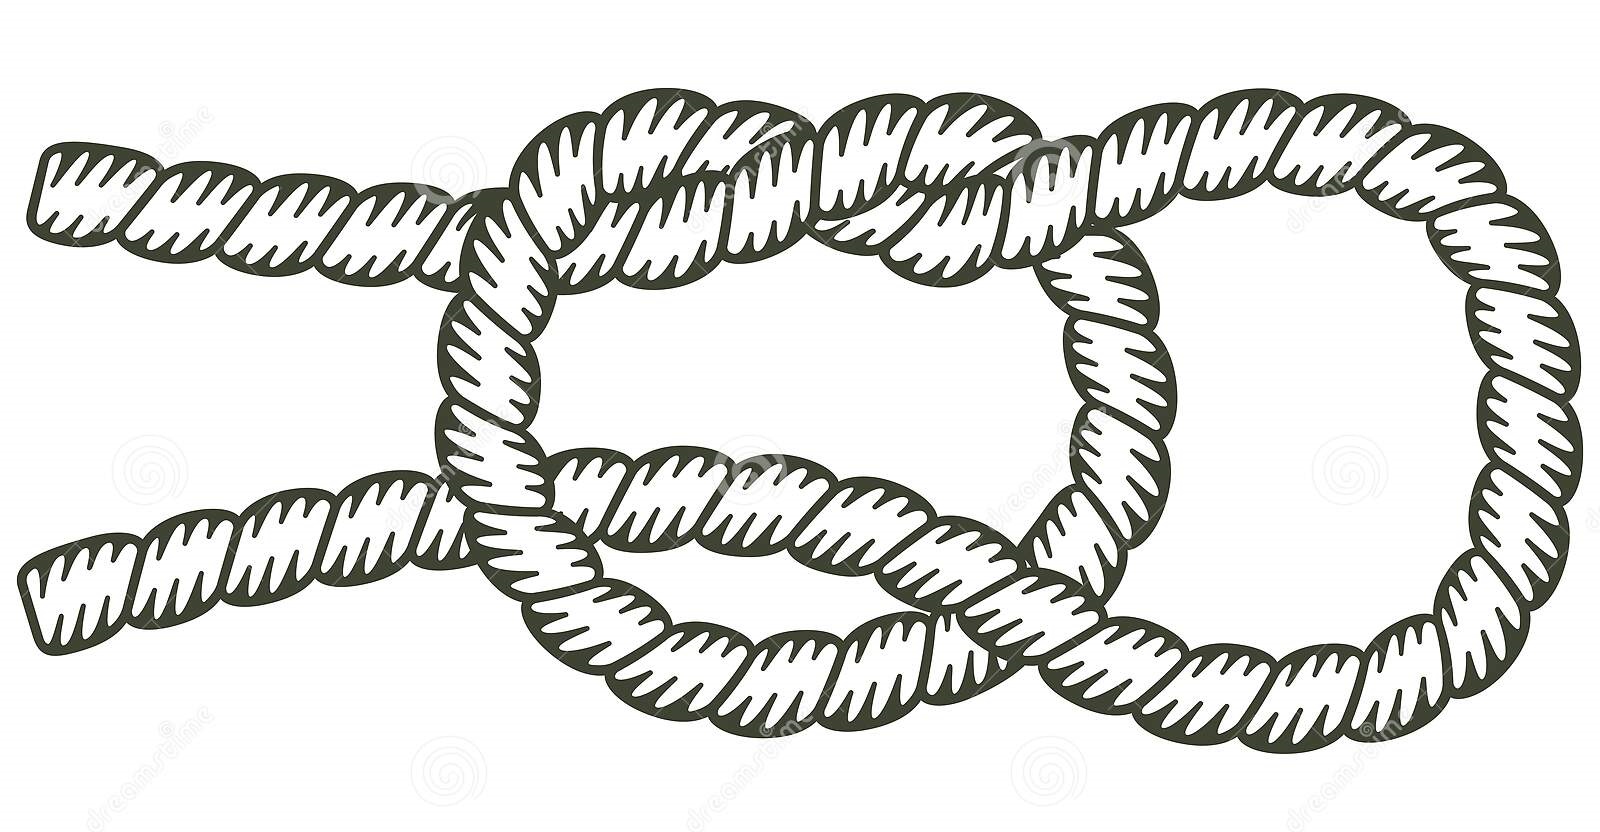
Step 4 – Draw The Rope’s Loop Outline

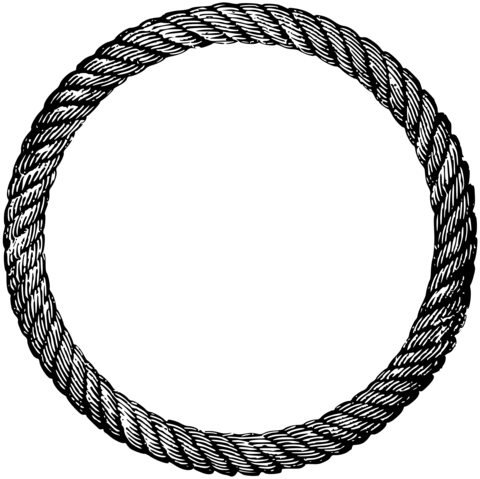
As you can see in our picture, the rope is wound in a loop in the middle, so you will also draw a circle here to make your rope more realistic.
Use a long curve and look at our reference to ensure you’re on the right track.
When everything is done, you can continue your drawing work in the fifth step.
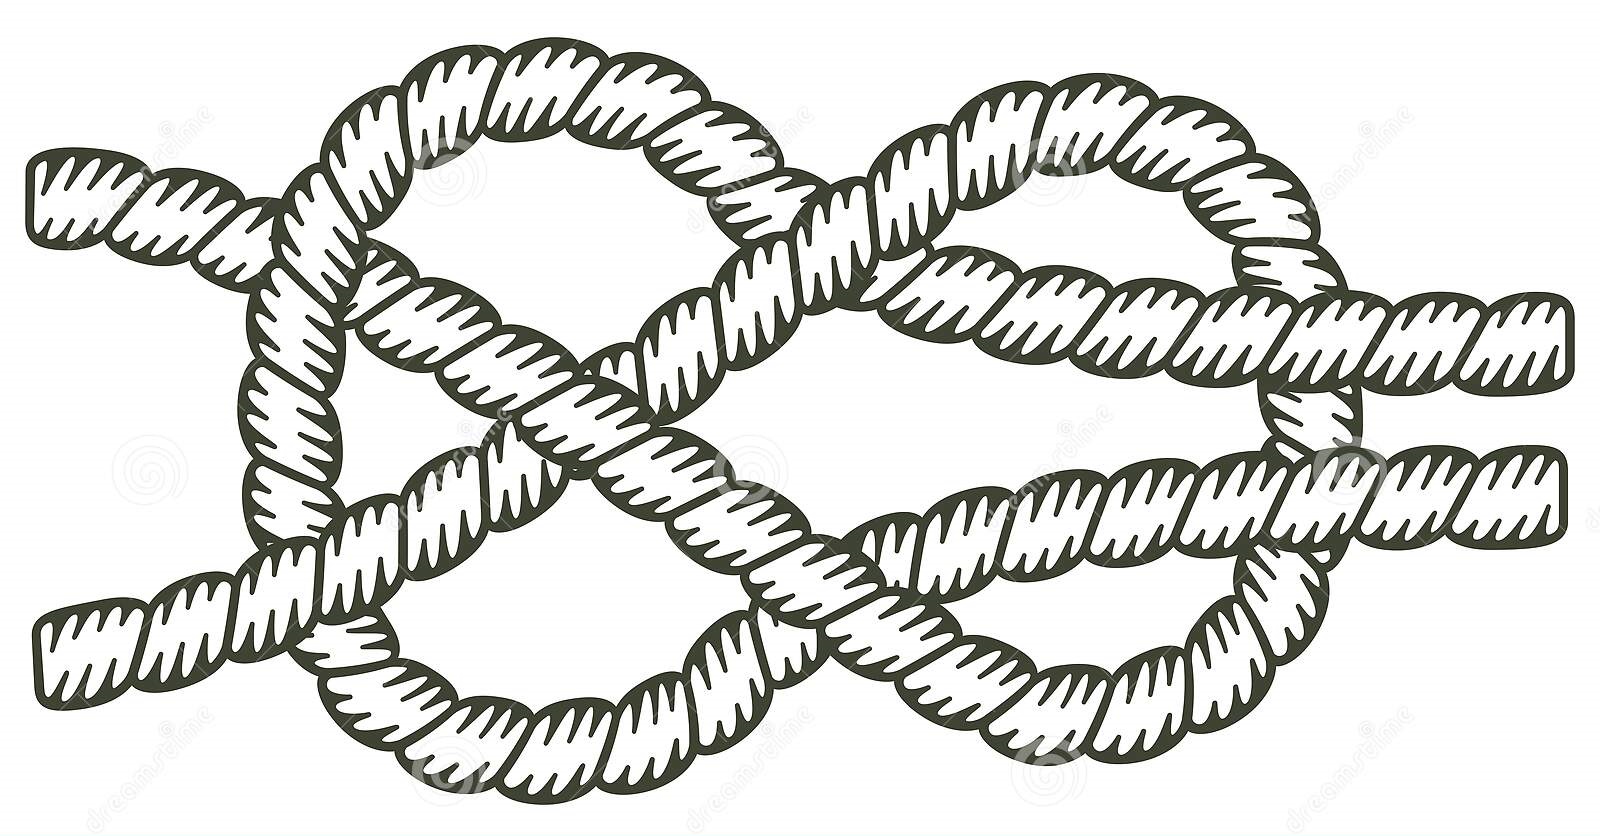
Step 5 – Complete The Rope’s Loop

If in step 4, you must draw the rope’s loop outline, in this step, you must complete this part.
Use a curve parallel and inside the curve in step 4 to complete this loop.
So, you finish off the loop of your rope drawing and are ready to go to the next step.
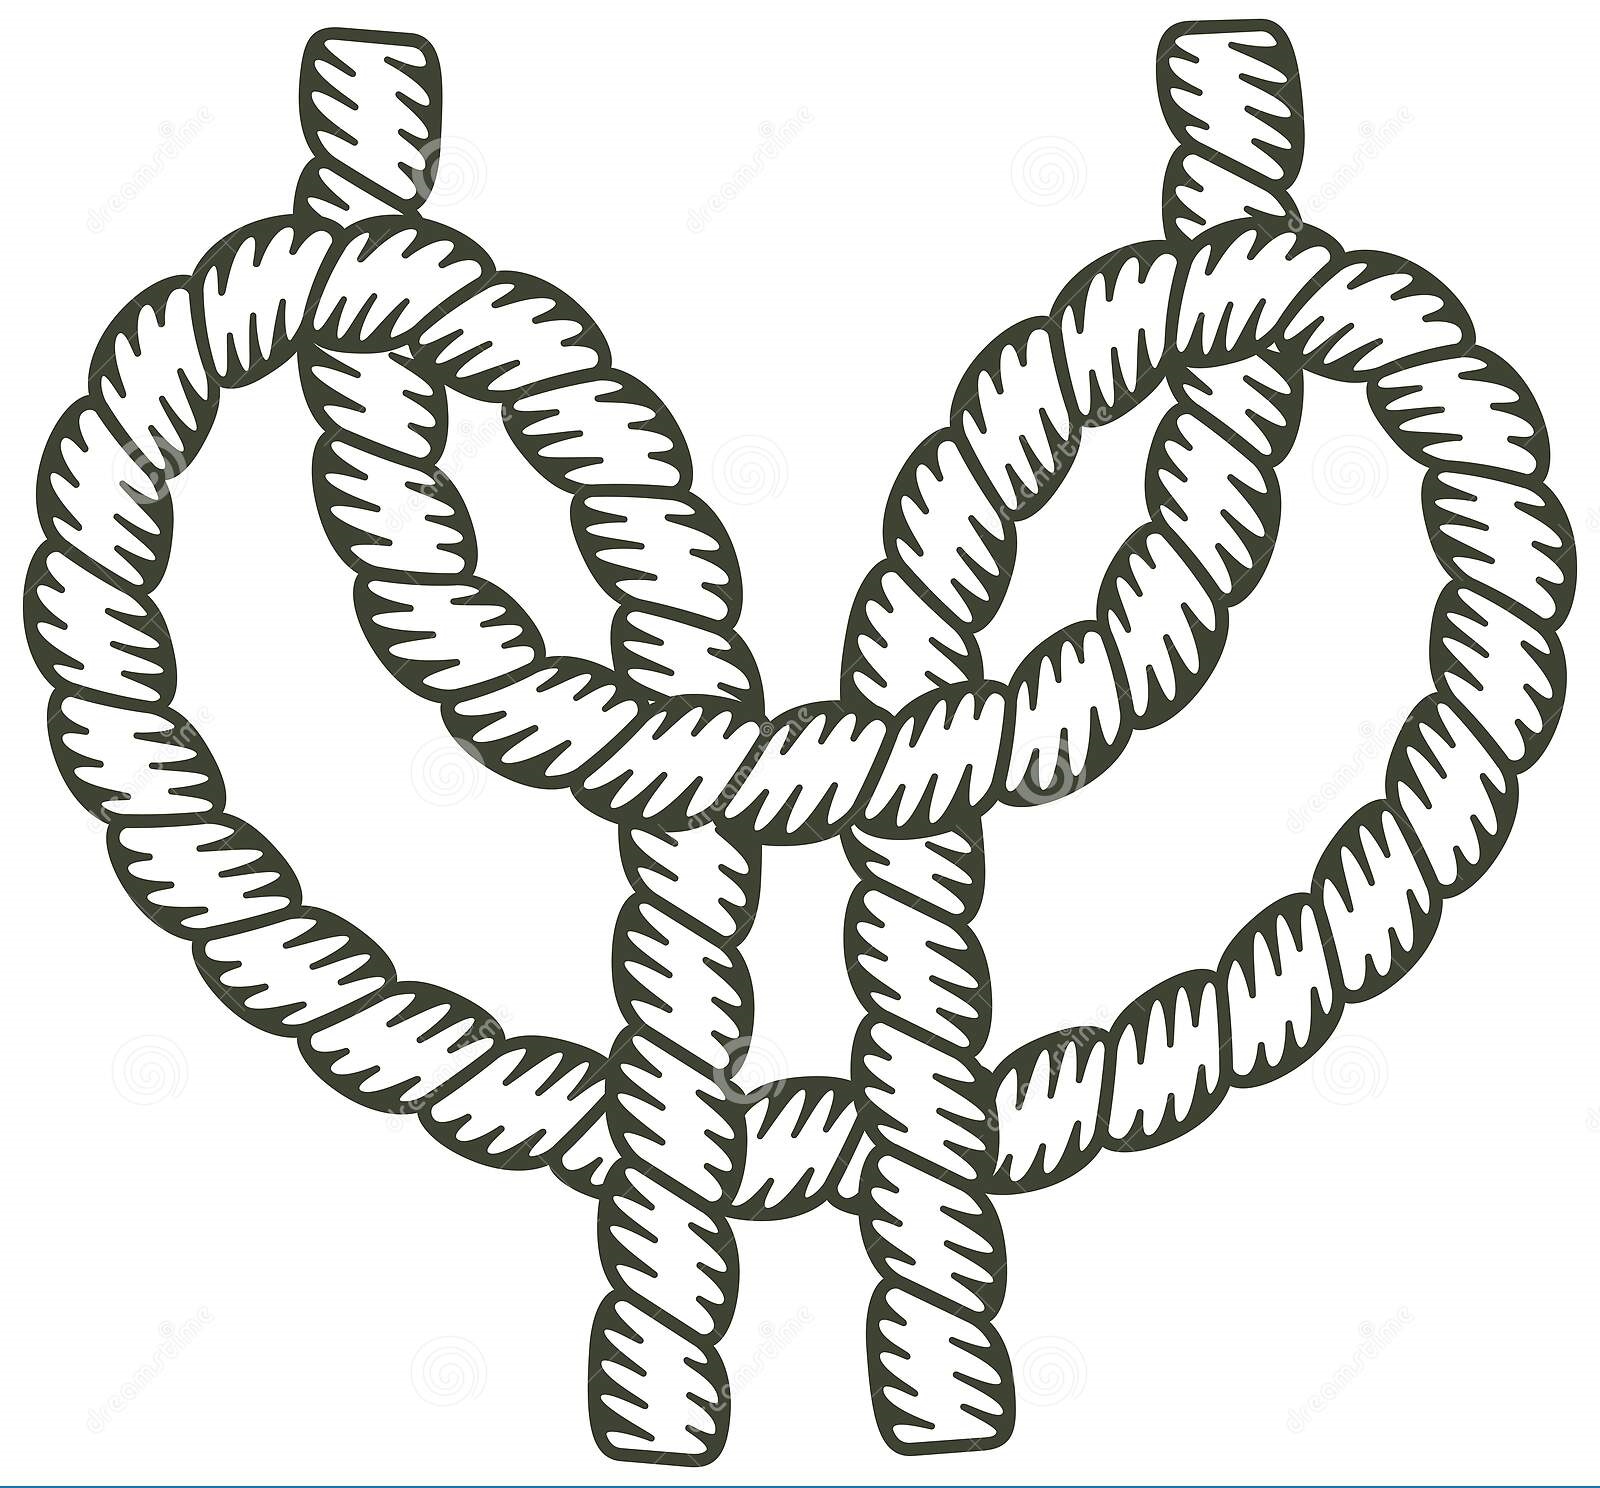
Step 6 – Add Segment To For Your Rope

In this step of our guide on how to draw a rope, you must use parallel lines to draw another segment for your product.
There is no difficulty for you in this step; quickly finish it in some minutes and continue your drawing mission in the next step.
Step 7 – Draw The Rope Top

Similar to the end of the rope, you will use small ropes to create a flower shape at the beginning of this rope.
Now that your rope is almost complete with the outline, you will continue to add decoration details to it in the following steps.
Step 8 – Decorate The First Segment Of Your Rope

You need to decorate your rope to make it look more beautiful and realistic.
Use short lines as you see in our reference image to decorate your product, rope.
Step 9 – Keep Adding The Details For Your Rope

Similar to your task in step 8, you must draw the decoration details for the rope drawing in this step.
Use the small line for the rope segment in our illustration. You can move to step 10.
Step 10 – Draw Some More Decoration Details For Your Rope

You continue to use short straight lines to decorate your rope. It’s simple because this task is the same as the previous step. Let’s finish it quickly.
You can move to step 11 and continue your drawing task.
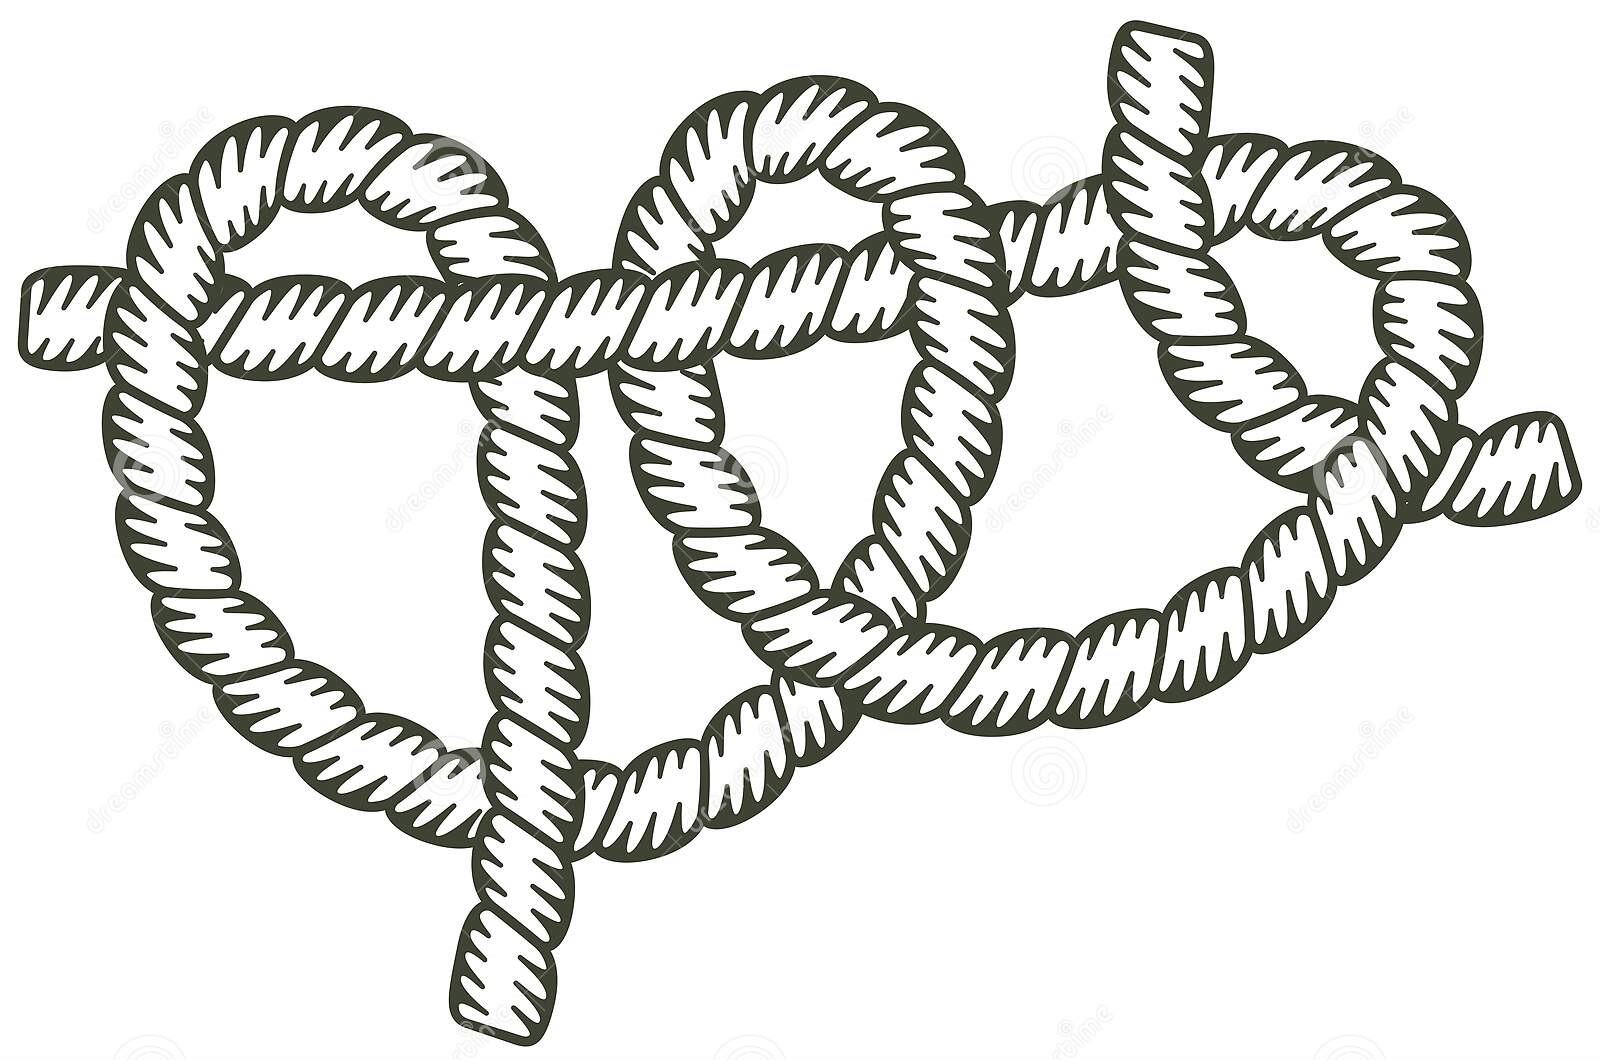
Step 11 – Draw The Final Detail for Your Rope

It’s time to draw the final details for your rope of our guide on how to draw a rope.
You draw more lines for decorating your product, rope drawing.
In addition to the details we drew, you can also add other information to make your rope your own if you wish before moving to the last step for coloring your rope.
Step 12 – Color Your Rope

That brings you to the last step of coloring for your rope. You will choose the more excellent colors for your product.
Rope can have many different colors; you can use one color or mix many colors to color your rope. There is no limit to creativity, so you can get creative here.
Your Rope Drawing Is Complete!
So, you finish off all tasks about drawing and coloring to get a rope. As we mentioned, in the beginning, it is not easy to draw the rope, but we have broken this drawing tutorial into several steps. I hope you understand it all and you’re happy with your final result.
On our website Coloringcool.com, you can enjoy many of our educational products about drawing guides or coloring pages for free. Once you’ve mastered rope drawing then you can move on to more complex challenges such as Wreath drawing, Bow and arrow drawing or Shrimp drawing. I hope you like our educational products and get a great time here!