Computer Drawing Is Made In 6 Easy Steps
Creating a realistic computer drawing in just 6 easy steps
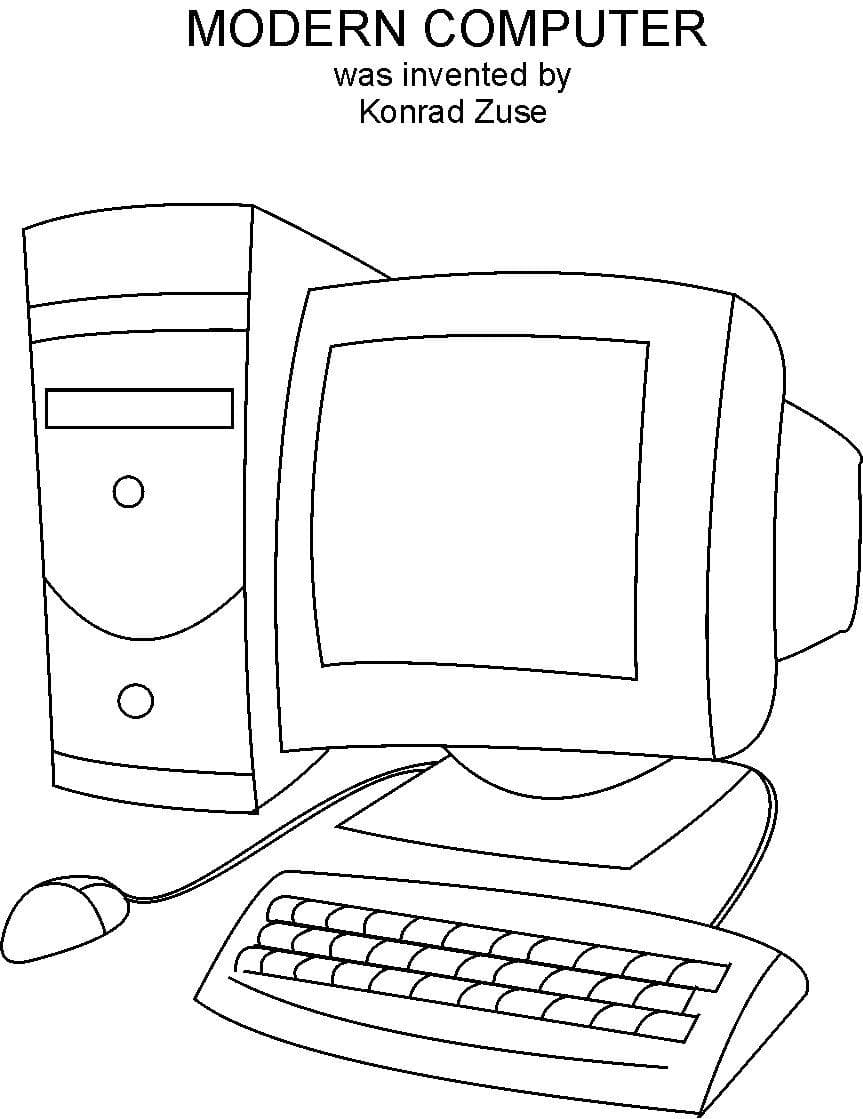
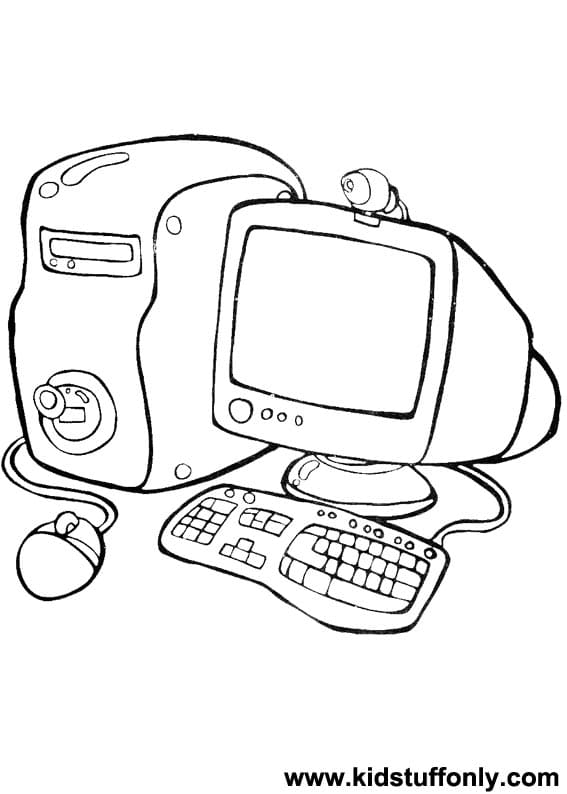
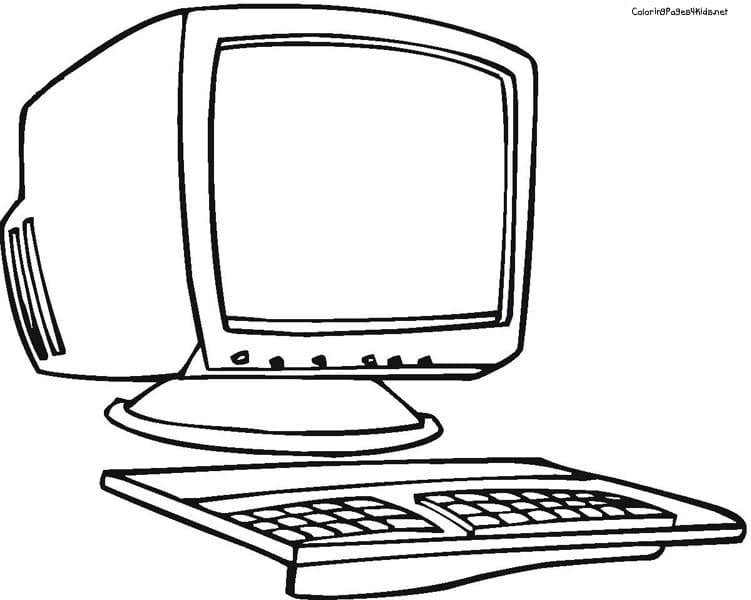
this really simple drawing tutorial will teach you how to make computer drawings. It’s funny, but this miracle of the digital revolution, as our artists portrayed it, is slowly becoming archaic. You and your kids can become real artists. You will follow the instructions and create a complete computer with your skill. We will give the instruction details from easy to complex, so whether you are a beginner or an expect in drawing, you can follow these steps effortlessly. With our simple steps, you can finish a computer. If you are a parent, you can join this activity with your kids. They will surely like it; your kids will get an opportunity to develop the skill as pen skills, concentration skills, and teamwork skills,…They are suitable for your children’s evolution. Why not? All activities on our site are free, and you can come here with any device connecting to the internet, such as computers, tablets, and smartphones. Along with the tutorial, we have also included a couple of free computer coloring pages that you can print off and give to your kids to color!
How To Draw A Computer – Let’s Get Started!

With six simple steps, you will know how to draw a computer with us. You will go to step by step until you finish your task. It would help if you prepared some things, such as a pencil, eraser, colored pencils, drawing paper ruler, etc, before beginning to draw. Use your pencil to draw on paper, and you can erase the mistakes, so don’t be afraid to draw. You can draw comfortably. With this drawing task, you must use the ruler because there are many details you must use a ruler to draw. There are six missions equivalent to six steps that you must come over to draw a computer. You can give the instruction to your kids, and you can understand your children because you let time with them. Through learning to draw, you understand what your children want, and you have a better way of educating them. The more you can relax with this drawing. You will work. Now, let’s get started drawing a computer with us.
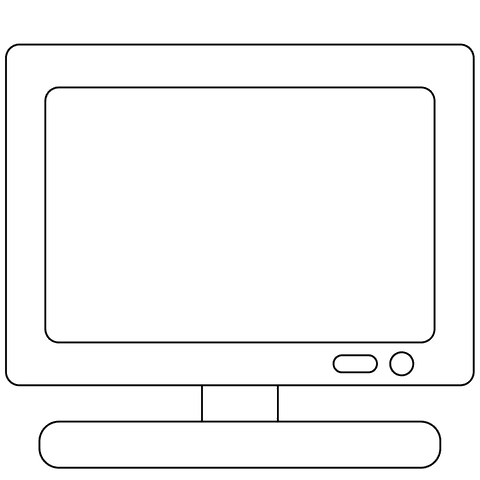
Step 1 – Draw The Computer’s Monitor

To begin this guide on how to draw a computer, you draw a monitor for the computer. This will use a combination of straight and curved lines, so you may want to use a ruler for this step! You draw four straight lines as a rectangle shape, and then you draw a smaller rectangle. Once you finish this task, you can move to step 2 and continue your work.
Step 2 – Draw Stand, And Keyboard For Computer

Your task in this second step is to draw the stand and keyboard for your computer. You use some straight lines to start drawing the stand for the monitor. Here, you use the ruler to draw straight lines as well. You continue to draw a keyboard with another rectangle. In front of the monitor, you draw a keyboard outline. You can move to the third step and continue your drawing now.
Step 3 – Draw The Tower For Computer

You continue your drawing with the tower for the computer. This will be composed of two rectangular shapes connecting next to the monitor. You also use the ruler to draw the tower. This is simple for you in this step, and you spend some minutes to finish and go to the fourth step.
Step 4 – Draw The Mouse For Computer

For this fourth step, you draw the mouse for the computer. You use curved lines to draw the mouse for the computer. The mission in this step is simple, and you can see our illustration and follow it. You can move to the fifth to finish your drawing task.
Step 5 – Finish Your Drawing Mission

To finish your drawing mission, you now add the final details for this computer. We will draw some rectangles onto the tower, and each one will have a line going through it. There will also be a small circle on the upper left-hand side. You can add more details for the decoration of your computer. Before moving the color step, you could add even more details to the drawing! Maybe you could add other objects such as a coffee cup or a computer mouse, for a few ideas.
Step 6 – Color Your Computer

This is the simplest mission for you. You will choose the suitable color for your product, the computer. You can take any color you like and we used some lovely blues for the screen of the computer, and then for the tower and other aspects, we used various shades of brown and red. Computers come in a wide range of designs and color schemes, so you have many options for how you could finish this drawing! So, you finish your drawing and coloring mission to create a complete computer.
Your Computer Drawing Is Complete!
You can move to computer coloring pages for free. You can enjoy the images related to the computer. We update many coloring pages for free. In this tutorial, we have shown you how to draw a computer in only six easy steps. I hope you have understood everything now and can also practice your drawing. Have fun!