8 Simple Steps To Create A Lively Shrimp Drawing – How To Draw A Shrimp
Saving A Shrimp Drawing In the Eight Steps
With this drawing tutorial, you have a chance to challenge yourself with a shrimp drawing.
Shrimp is one of many creatures that live in the ocean of many different types and sizes.
Shrimp has a petite body compared to other creatures, but it brings us a lot of nutritional and economic value.
As a popular dish and loved by many people, shrimp is also favored by many artists to depict in works of art.
Today you will have the opportunity to create your artwork with a shrimp on our website.
Depending on your perceptive abilities, you can complete this quest in more or less time.
We have also arranged this tutorial from easy to complex; whether you are a beginner or a drawing expert, you can complete this task easily.
There are eight steps equivalent to eight missions that you must finish to complete a shrimp drawing.
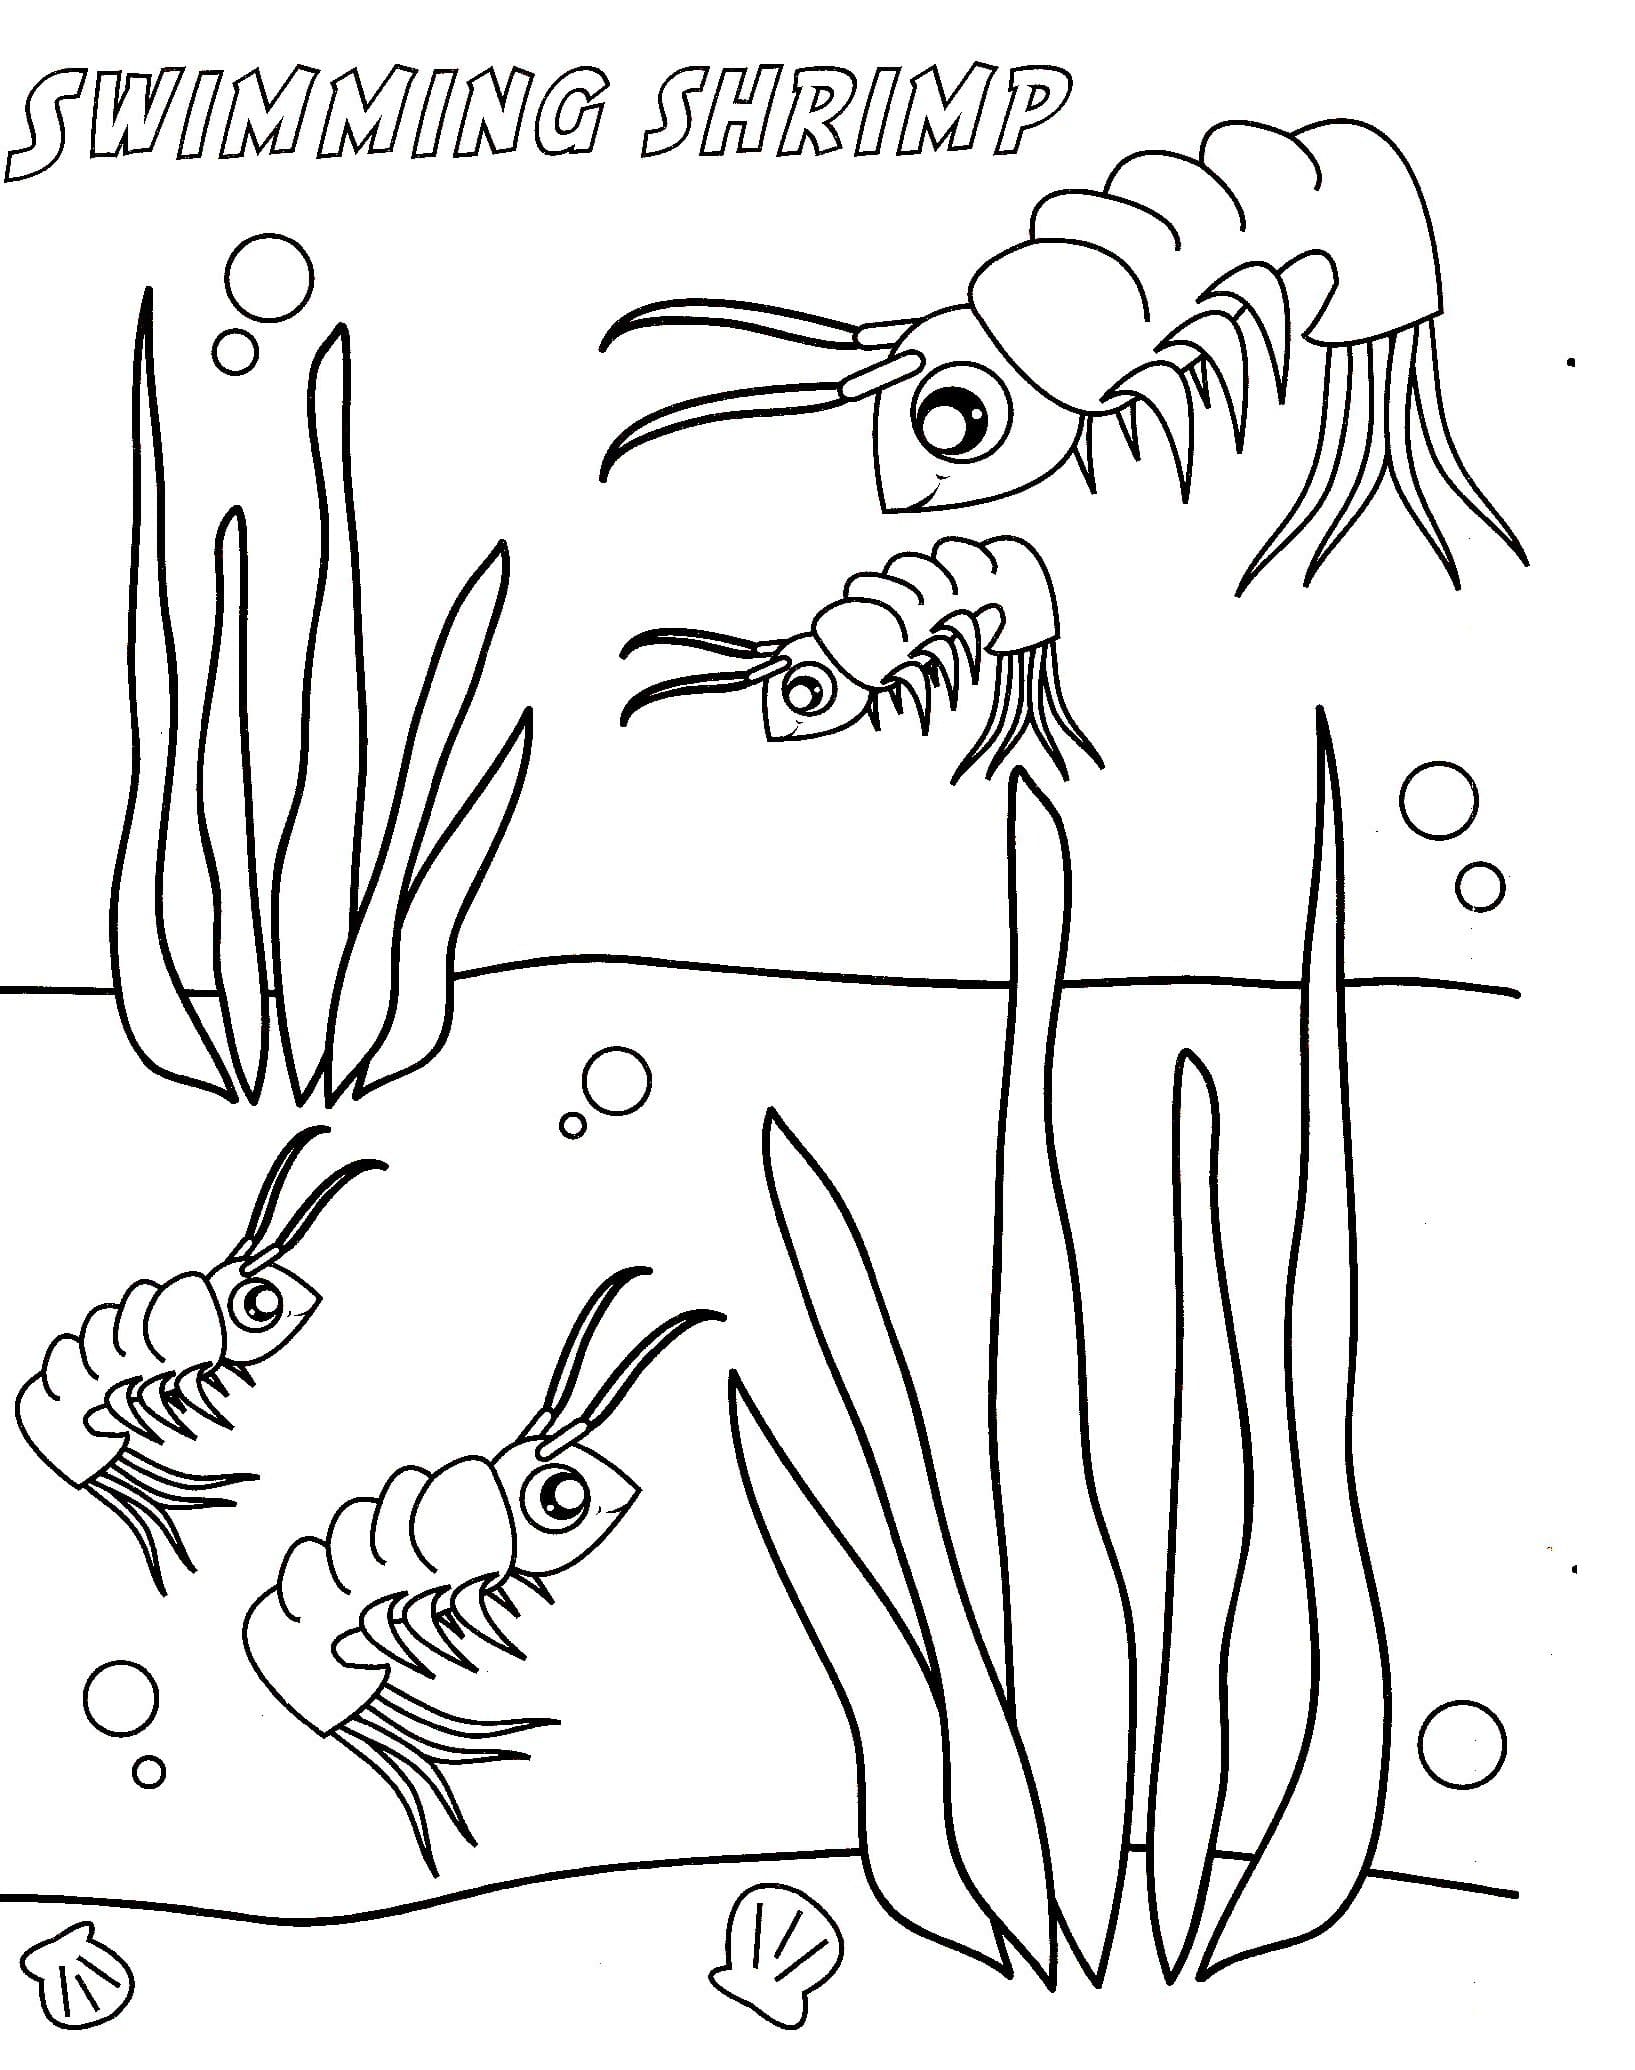
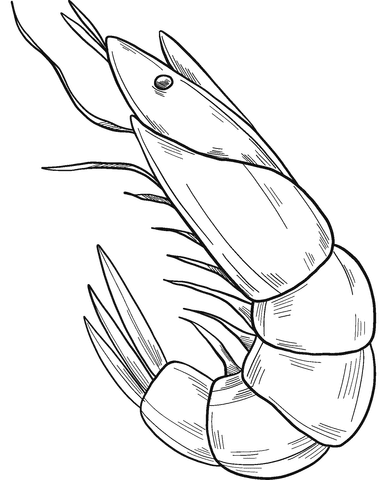
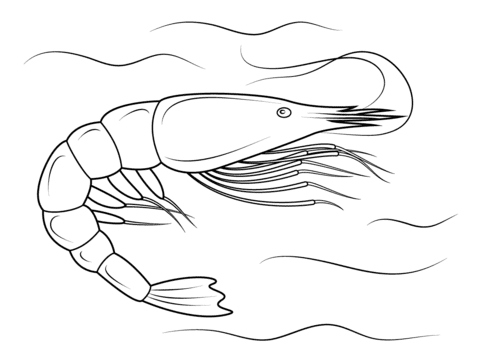
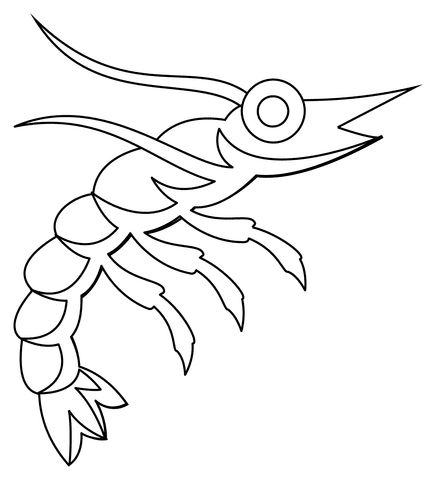
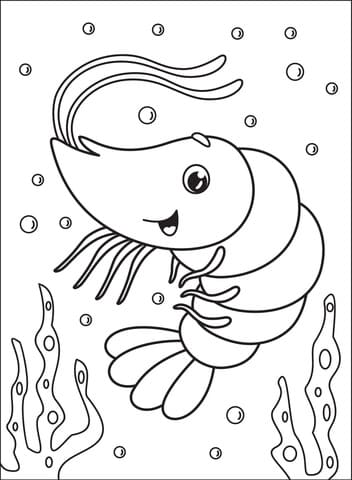
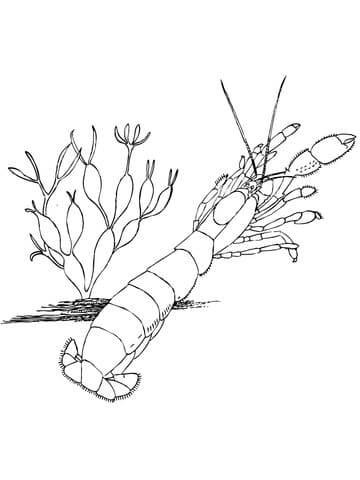
Along with this drawing guide, we also provide shrimp coloring pages for free for you to practice your drawing and coloring skill.
Let’s started to go through eight detailed steps on how to draw a shrimp!
How To Draw A Shrimp – Let’s Get Started!

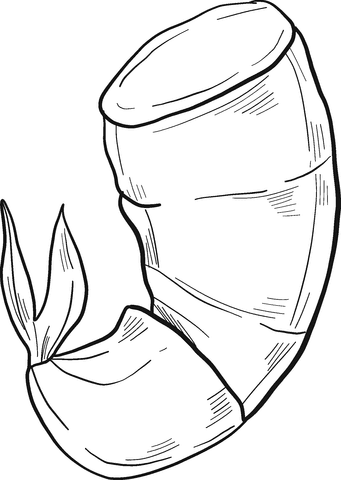
Step 1 – Draw The Head Outline For Shrimp

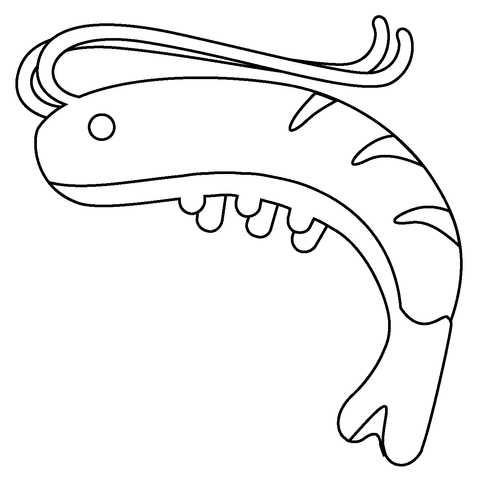
Begin to realize your task in the shrimp drawing; you will draw the head outline for it. Use curved lines and straight lines for it.
Please don’t forget to let some zigzag lines on the top of the head to make its head more realistic.
This is a simple task for you, and it takes some minutes to finish it before moving to the second step.
Step 2 – To Draw The Shrimp Back

Very easy for you in this step, you use a curved line for this task from the shrimp head; it makes the back for your creature.
Your task for this step is done, and you can continue your drawing mission in step 3.
Step 3 – Draw The Shrimp Body

Use two curved lines and meet at the tail of the shrimp for the body in some minutes.
Right now, your shrimp gets the head, body, and tail; you continue to use lines to decorate the shrimp tail drawing in the next step.
Step 4 – Finish Off The Shrimp Tail

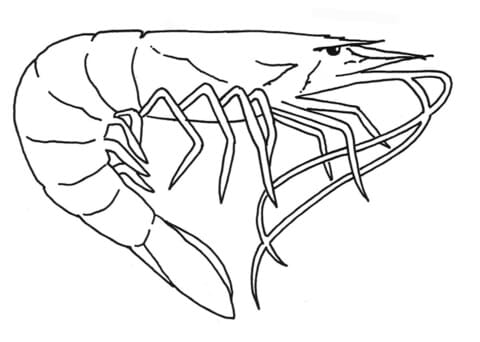
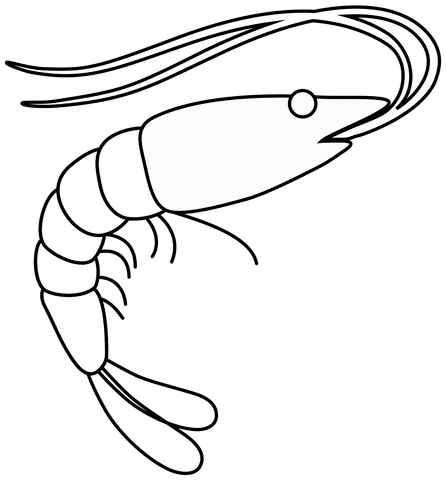
For this step of our guide on how to draw a shrimp, you continue to add other curved lines to make the perfect tail, as you see in our reference image.
You continue your task with a small circle at the head to make an eye for your shrimp.
Since we are drawing the shrimp sideways so we can only see one eye, you need to complete the task with this eye then you can move on to the next step.
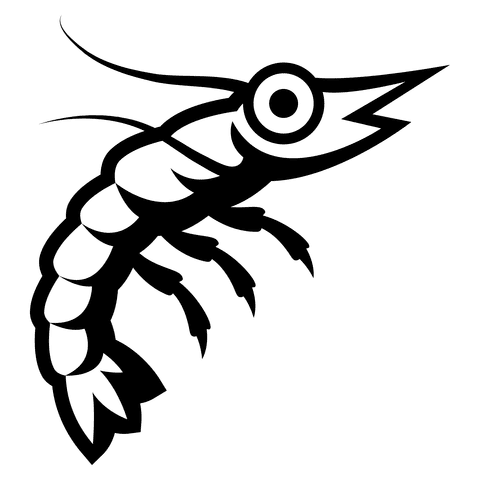
Step 5 – Draw The Curved Segments Of The Body

A shrimp has some dots, and your task in this step is to show its dots. You use the curved lines on the body and draw many dots for the shrimp to make it more vivid and realistic.
It depends on the size of your shrimp drawing; you will allocate more or fewer dots to make your shrimp drawing reasonable.
Once you’re happy with your image, you can move to the sixth step and continue your mission.
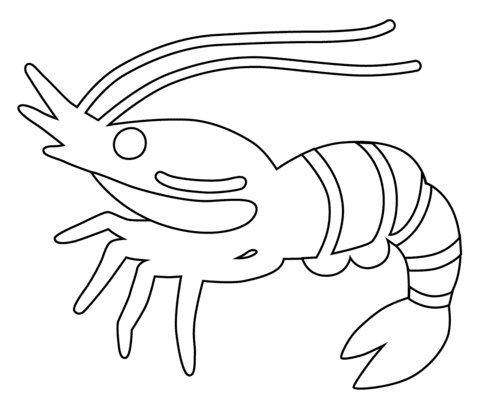
Step 6 – Draw The Shrimp Legs

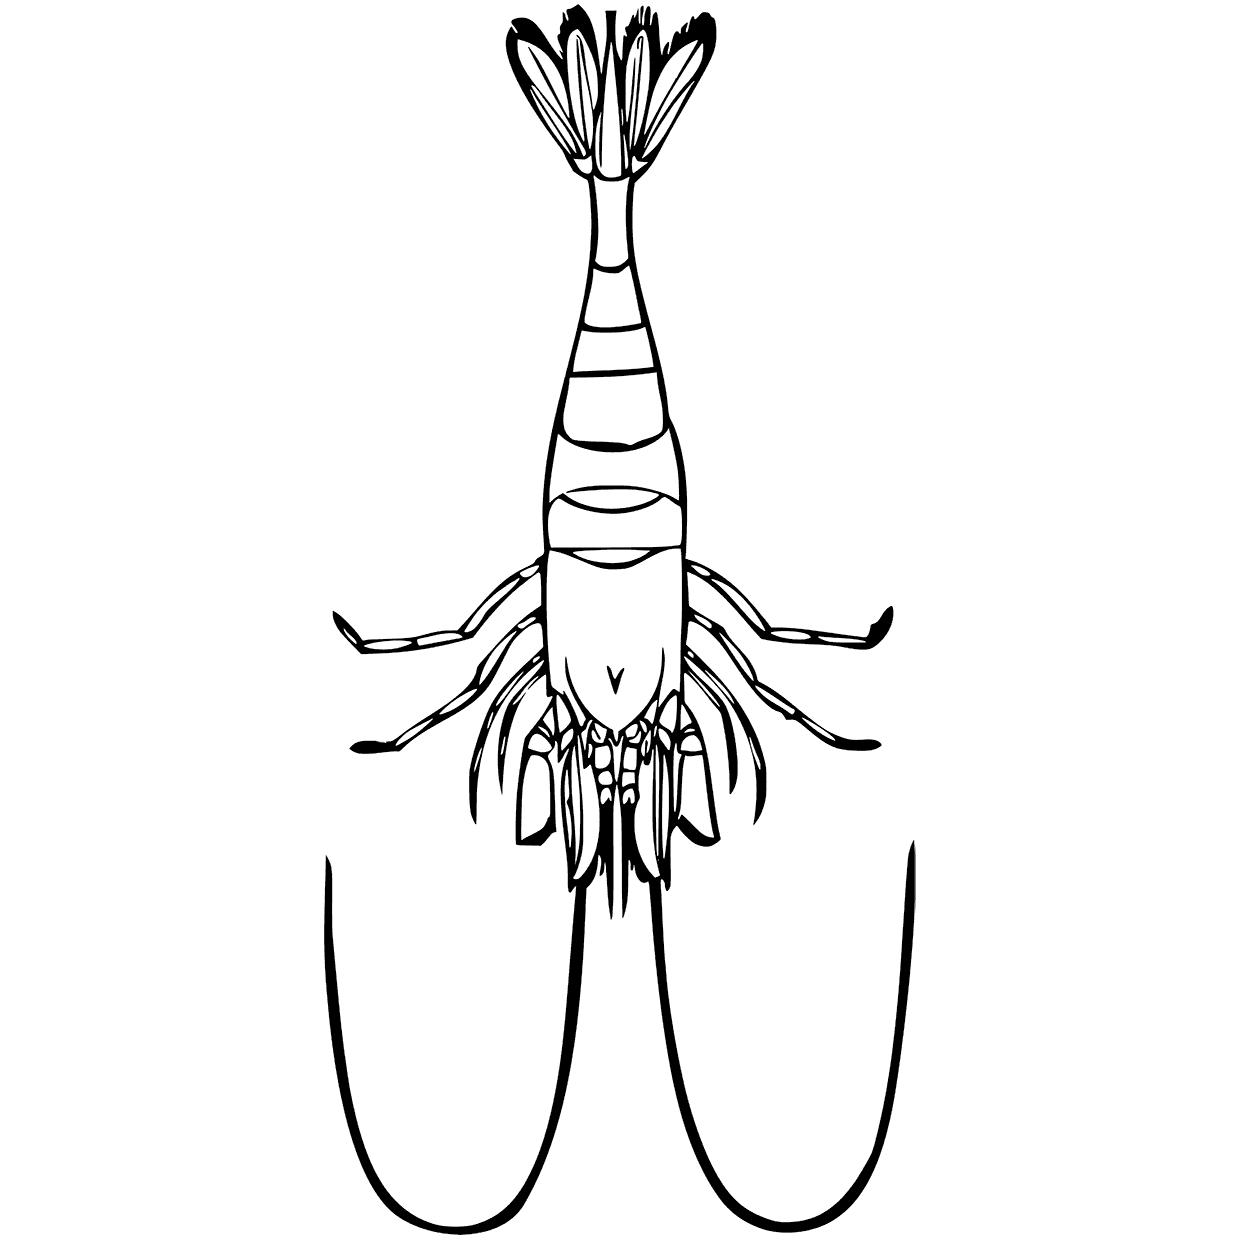
Shrimps are indispensable for swimming in the water, and your mission in this sixth step of our guide on how to draw a shrimp you must draw its legs.
They are created by the short curved lines under their belly, as you see in our reference picture.
When you’re satisfied, you can move to the seventh step to draw the shrimp feelers.
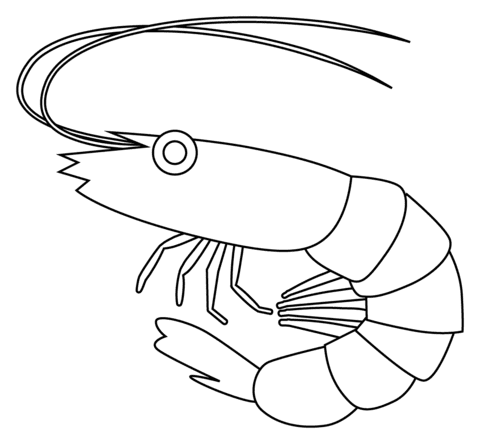
Step 7 – Draw The Shrimp Antennas

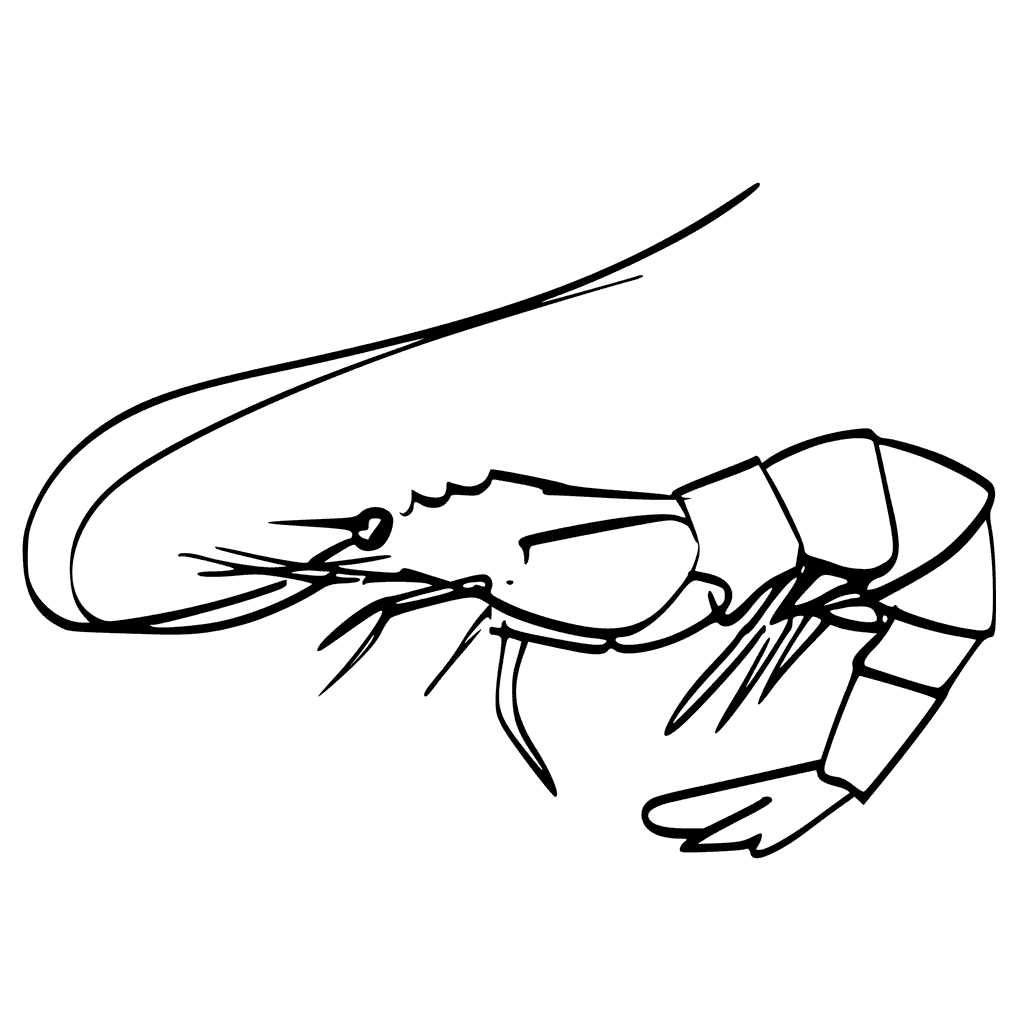
You must draw two long curved lines for shrimp antennas. Very simple, you use a pencil or pen to draw the curved lines from its head and come to half of the body so that you can observe our image and follow it.
Before going to the final step on how to draw a shrimp, you can add some decoration details to your product and make your image more excellent.
Step 8 – Color Your Shrimp
It’s time to choose suitable colors for your product’s drawing. Live shrimp can be green, yellow, or white, but after processing as food, it will be red. So, you can change the colors for your shrimp product and make it more perfect.
There is no right or wrong in learning to draw because it is simply a mainstream entertainment channel, so you should draw and color according to your feelings and abilities. I believe you will be satisfied with the result.
Your Shrimp Drawing Is Complete!

You finish all drawing and coloring missions on how to draw a shrimp. You can admire your product, add some details to the details we drew, and create your own signature drawing.
Drawing is a good activity and helps you to reduce the stress in life and make your life better.
You can temporarily forget your worries if you participate in drawing lessons because you have to focus on this. It’s great; it’s completely free on our website Coloringcool.com. Besides the shrimp drawing guides, you can refer to more guides related to seafood such as squid drawing, crab drawing.
Hopefully, you can understand everything right now; you recommend your kids or your relative to enjoy our educational products because they are suitable for everyone. Once you get the perfect result, you can show it on Facebook or Pinterest for us to admire.