6 Simple Steps Creating A Hat Drawing – How To Draw A Hat
A Hat Drawing Is Complete In 6 Simple Steps
Today, we learn to draw and color the hat in hat drawing, the object that we use every day. All you need is a sheet of paper, and drawing tools are paper, pencils, and crayons; and now you are ready to start drawing! Don’t forget to color the hat when you’re done! This is not too difficult a job, even for beginners; as long as you have patience and follow us, you will easily complete your task.
If you are going to draw any details of the hat in this tutorial with pencil and paper. Make sure the strokes are light until you’ve finished the drawing.
How To Draw A Hat – Let’s Get Started!

You will need to erase some details in the drawing as you move from one drawing step to another. The lines in the example are all bold strokes to help us see more clearly.
Step 1 – Draw The Top Of The Hat

This is a very simple step; you only need 1 stroke to finish. You can paint from faint to light, look at our drawing and follow along. You also don’t have to be too fast; draw slowly to have a beautiful hat
Step 2 – Draw Two Contours Of The Hat

Here are the 2 contours connecting the hat and the body of the hat. It is 2 simple lines, but you also have to draw carefully to have harmony between the top of the hat and the body so that your hat will be beautiful. Not too difficult. Please look at our image and follow us!
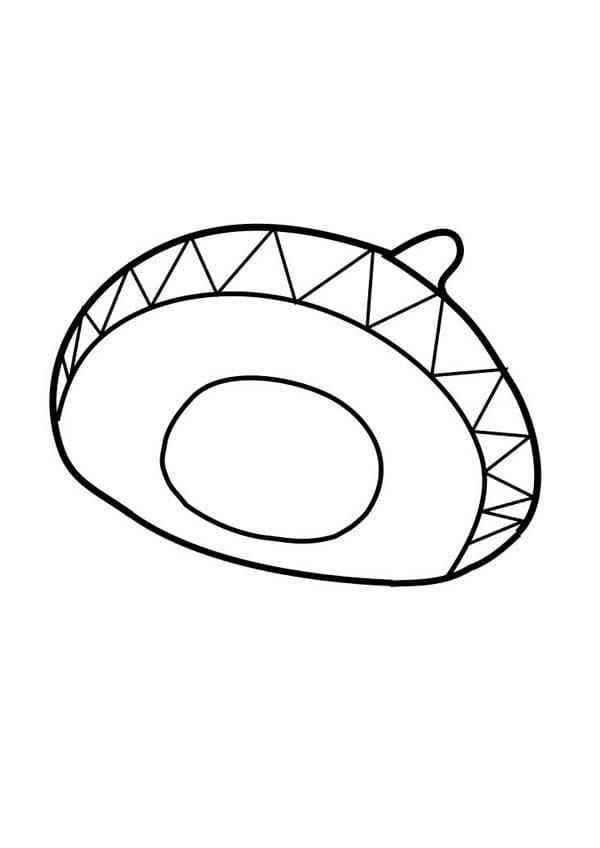
Step 3 – Draw Hat Brim

This is a very important step because this is the step that decides whether the hat is beautiful or not, so you have to draw the brim accurately and beautifully.
Step 4 – Draw Hat Bow

A pretty bow will enhance the hat’s beauty, so don’t forget this detail. Depending on the size of the hat, you can draw a large or small beautiful bow for the hat. In this detail, it needs a bit of ingenuity, so make the most of your ingenuity here. This is the highlight of the hat you are drawing, so you need to make yourself a beautiful bow to enhance the hat’s beauty.
Imagine a hat with a bow and a hat without a bow. The hat with the bow will be much more beautiful. It is a great highlight for the hat. Please cherish the bow.
Step 5 – Redraw The Line Bolder

This is a redo of step 4. You just need to re-color the lines you have colored in step 4. Use a pencil to bolden the lines you drew, like in our image.
This is also the step where you complete any missing strokes or details to complete the hat. Try to draw a perfect hat with the most distinctive brushstrokes.
Take a look at the overall hat and what details are missing; please add to make your hat more complete.
Step 6 – Make Coloring For Hat

So you have finished your job of drawing the hat. Now only, the last step is to color the hat. Much simpler than the previous steps. Your job now is to choose your favorite colors of the hat and color it. It depends on your hobby and the colors that you choose the suitable colors for this hat. Here, we take yellow, pink, and green to make coloring for hat and you what colors for the hat now?
Your Hat Drawing is Complete!
You can see How To Draw to learn to draw more coloring pages. You can refer to the drawing guide of other Pokemons such as charizard drawing, Charmander drawing, or Wooper drawing. You can use them as a collection for learning how to draw Pokemon characters. I also hope you enjoyed our drawing tutorial and had a great time!