7 Easy Steps To Create Bambi Drawing – How To Draw Bambi
Bambi Drawing Is Complete Through 7 Steps
In this tutorial, you will learn how to create Bambi drawing with us.
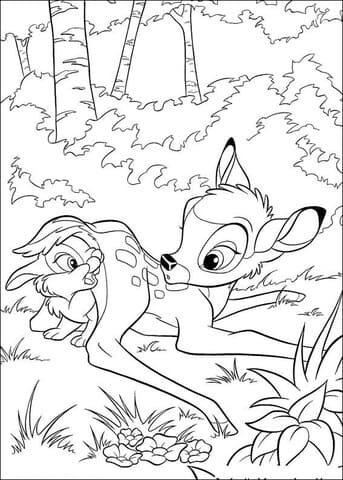
This is a little deer from the cartoon Disney Studios’ Bambi was produced in 1942
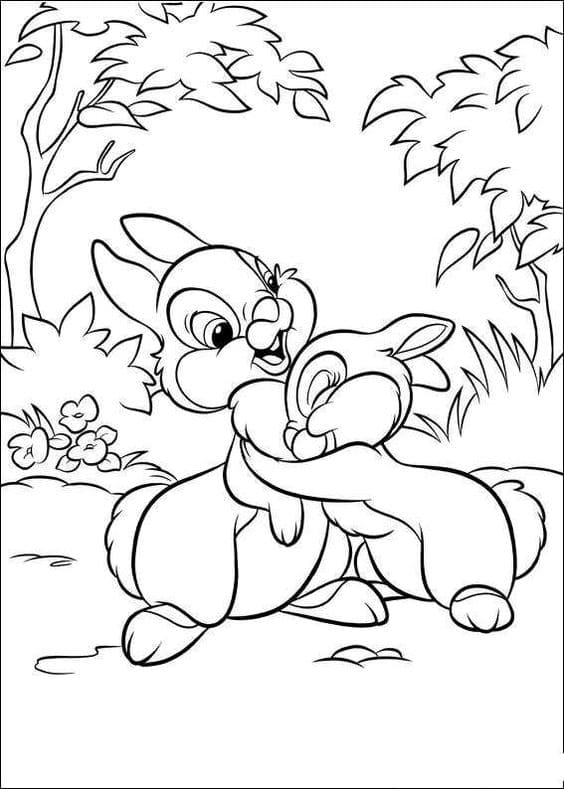
The film revolves around the character Bambi and his friends like Thumper (a pink-nosed rabbit), Flower (a skunk), Flower, and Faline.
The stories filled with tears and laughter of the characters have contributed to the film’s success.
And the movie has been quite popular with audiences to this day, and you can sketch Bambi with us in this drawing guide.
You must finish seven missions in seven steps to getting a complete character, Bambi.
Drawing Bambi is no easy task so follow our guide to get an excellent final result.
Stay focused during the drawing process so that you can feel your progress in learning to draw.
It would help if you also prepared everything like a pen, pencil, colors, paper, and eraser before drawing. You will then proceed to draw Bambi with a pencil and paper. Using a pencil will make it easier to erase mistakes and redraw them until you are satisfied with your drawing.
In the process of drawing, you can also create more than the details we have drawn.
Once you get Bambi, you will choose the suitable colors and color him.
You will improve your drawing ability if you practice drawing and coloring regularly.
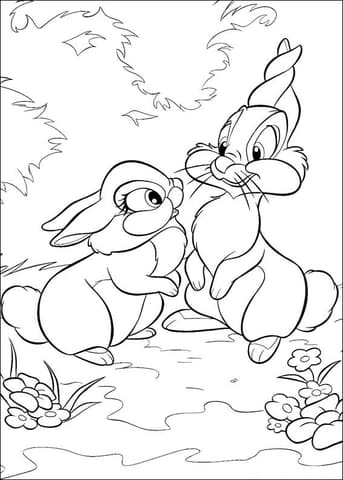
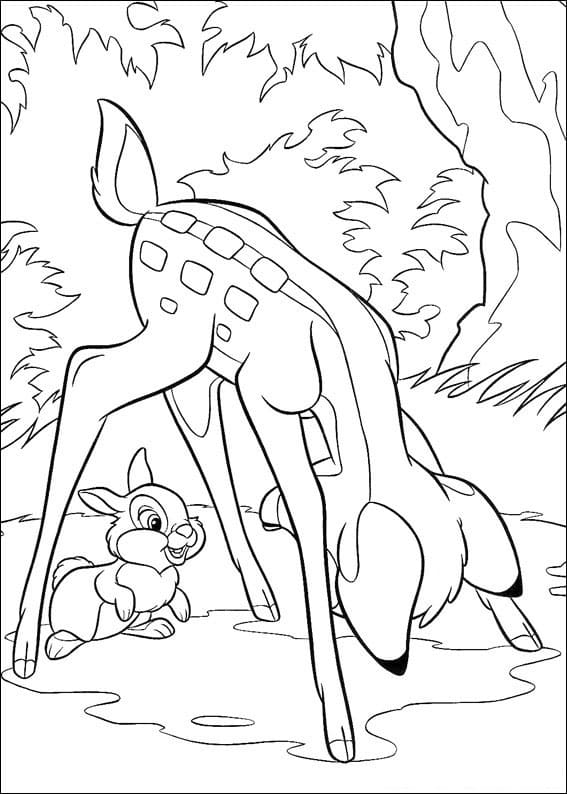
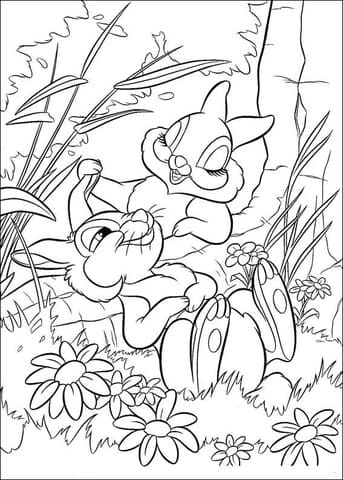
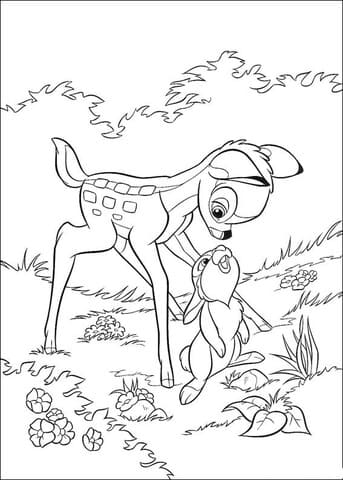
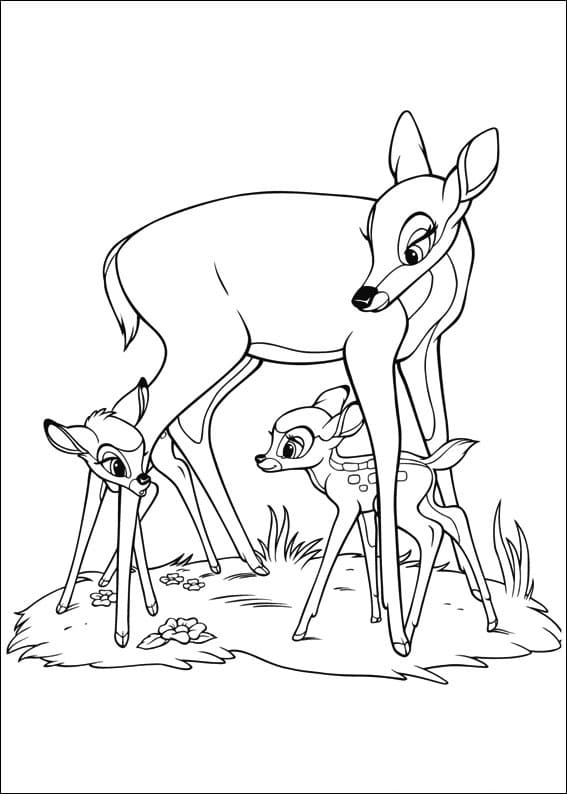
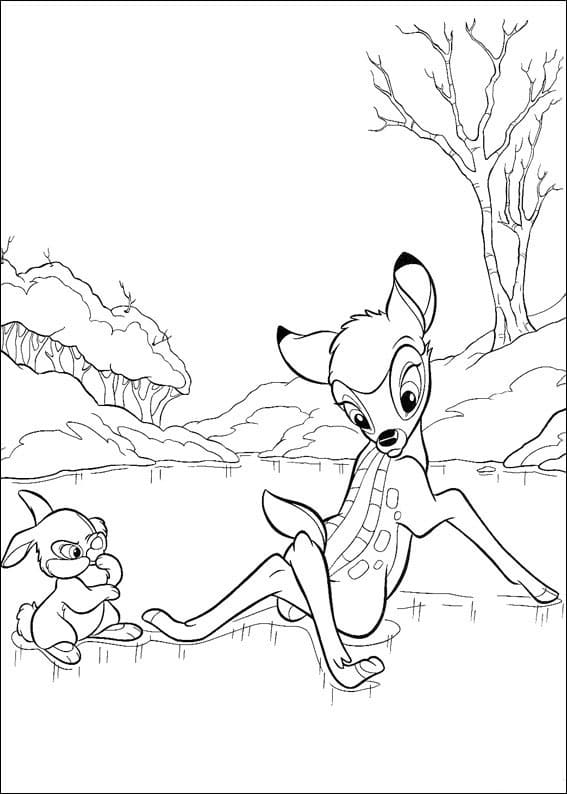
Along with this drawing guide, you can enjoy Bambi coloring pages to practice your drawing and coloring skill.
Right now, let’s get started drawing Bambi with us!
How To Draw Bambi – Let’s Get Started!

Step 1 – Draw Head And Face Details For The Bambi

You start drawing Bambi with his head and face details. Use curved lines and straight lines for the task. You draw snout, nose, and eyes for his face. Please don’t forget to draw his ears on the head top.
Once you have an image similar to our illustration, you can move to the second step.
Step 2 – Draw The Bambi’s Body Outline

For the second step of our guide on drawing Bambi, you must draw his body outline with curved lines from his head, as you see in our reference image.
The task in this step is simple for you; you spend some minutes finishing it before going to the third step.
Step 3 – Draw A Hind Leg For Your Bambi

You start to draw the legs for your character, Bambi drawing. In this step, you must draw a back leg with some lines, as you see in our illustration.
At the end leg, you must draw his foot and Bambi’s feet and nails.
Once you’re happy with your drawing, you can go to the next step.
Step 4- Draw The Bambi’s Tail

For your task in this step, you must show his tail. It’s simple, use three curved lines for this task, and you can finish it in some minutes and come to the fifth step and continue your drawing mission for the Bambi drawing.
Step 5 – Draw A Front Leg For Your Bambi

This front leg of Bambi is long and has some curves; you should look at our reference image and follow it to get the image drawing you want.
With a few curves and bends at the knee, you’ve completed the task in this step. Make sure you have completed this leg drawing task and will draw the remaining pins in the next step.
Step 6 – Draw The Final Details For Your Bambi

Your task in this step is to draw the rest details for your character, Bambi drawing. You must draw a front and back for him.
Similar to your task in step 3 and step 5, use curved lines and straight lines for this task.
Before moving to the last step, coloring your Bambi, you must admire your drawing and add more details to your image until you feel satisfied.
Step 7 – Color Your Bambi

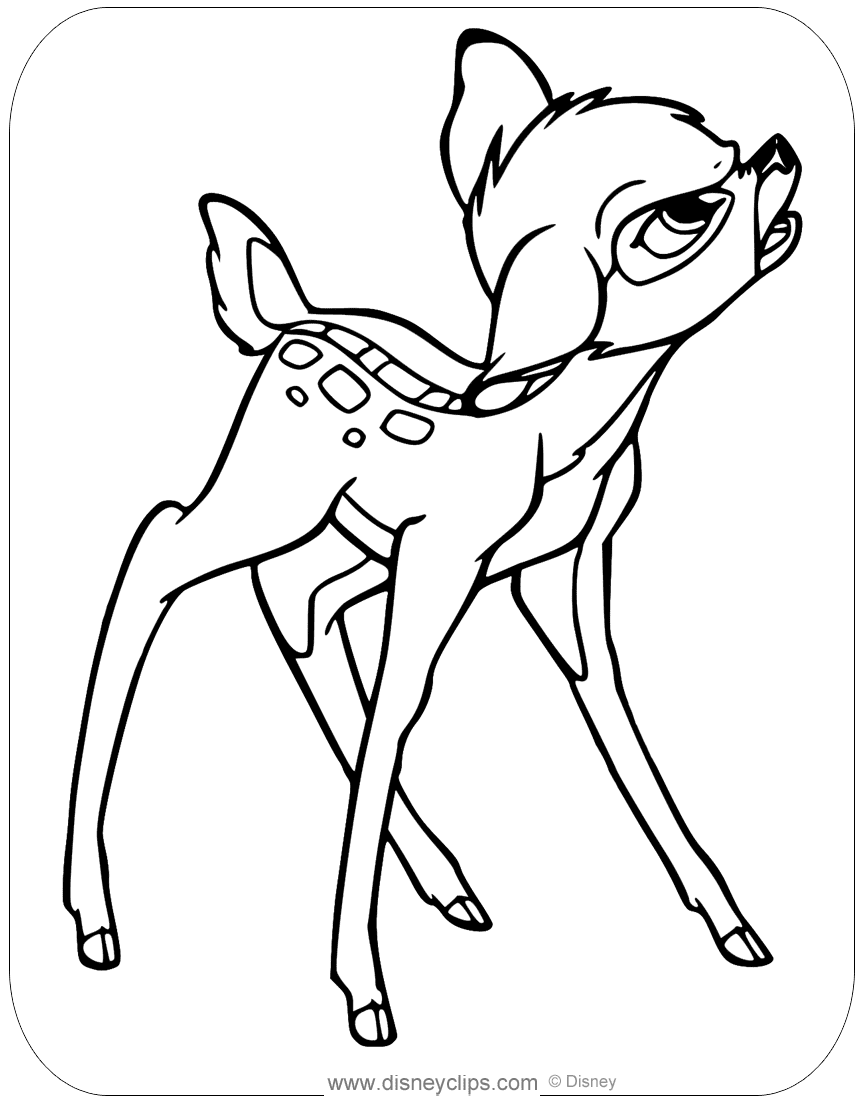
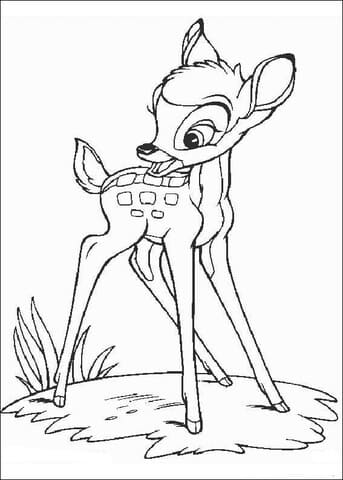
That brings you to the last step for coloring your character of our guide on how to draw Bambi. You can use your favorite colors for your product, or you can follow our reference image to choose colors.
We use orange and yellow for our Bambi drawing, as shown in the reference image.
Your Bambi Drawing Is Complete!
You create a complete Bambi character with us in seven steps. How long did it take you to complete this mission? It usually takes 25 minutes to draw Bambi, but with regular practice, you can finish it in less time.
I hope you like our Bambi drawing guide and understand everything in our drawing guide.
On our website Coloringcool.com, you can enjoy many activities for free on coloring pages or drawing guides. You also can find more the drawing guides such as Rudolph drawing or Reindeer drawing. They are similar to the Bambi drawing guide. We update them daily; please come here regularly to be sure you don’t miss out on any products and get a great time.