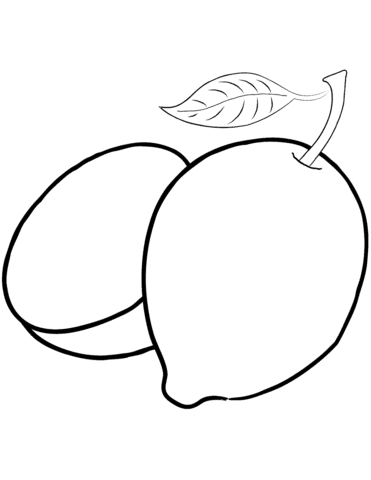
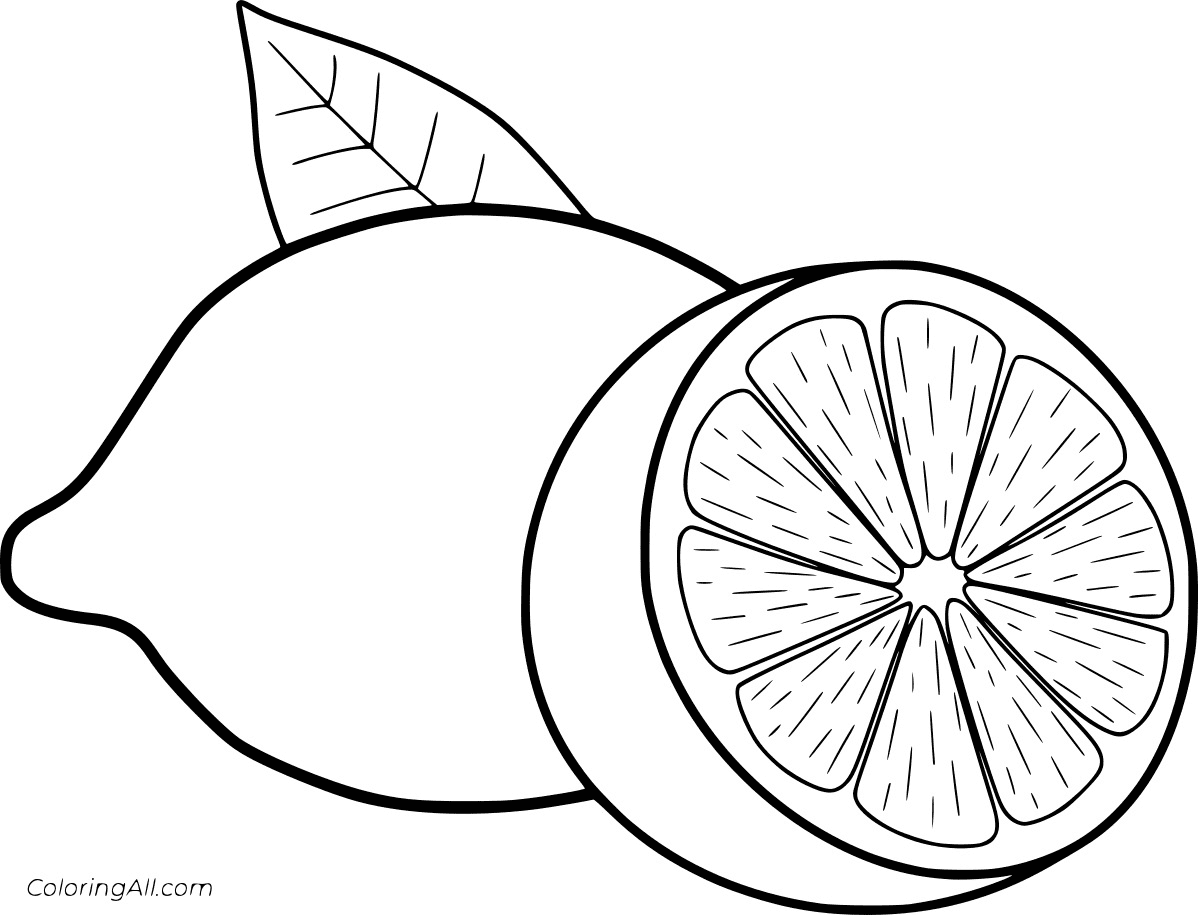
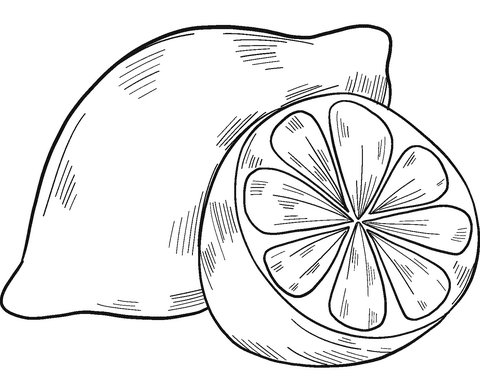
Lemon Drawing Is Complete In 12 Easy Steps
Creating A Lemon drawing In 12 Easy Steps
Lemon drawing is today’s challenge for you. The task is not complicated but requires you to focus and work hard; I hope you will succeed.
Lemon is a familiar fruit to us, often grown in humid climates. They are usually yellow and fragrant.
Lemons are also a good source of vitamin C. They help you control your weight and have a health value.
Lemon also works well in cooking because it infuses dishes to enhance the flavor of many favorite dishes.
Today we created a 12 steps lemon tutorial that will help you to draw a whole lemon whether you are a beginner or a drawing expert.
Before starting to draw, you will have to prepare all supplies such as a pen, pencil, colors, paper, and eraser.
Let’s start drawing lemon with a pencil; you will easily erase your mistakes in the drawing process.
Once you get a complete lemon, you can choose the suitable color for your product.
At first, glance, drawing lemons is a difficult job, but we have broken the tutorial down, and you will finish it without difficulty and be satisfied with the result.
With along this guide, you can enjoy lemon coloring pages for free on the website to practice your drawing and coloring skills. Regular practice will help you improve your drawing and coloring skills.
Right now, we go to 12 steps of the guide on how to draw a lemon!
How To Draw A Lemon – Let’s Get Started!

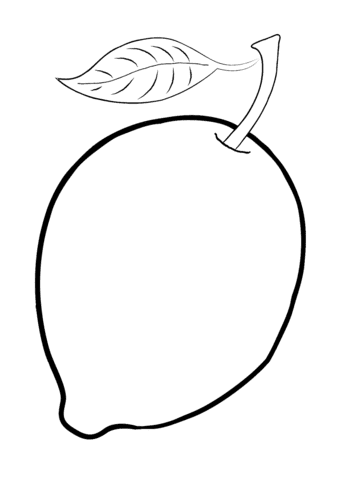
Step 1- Draw The Shape Outline Of The Lemon

Start drawing the lemon with a short curve as you see in our reference image, to form a shape outline for your lemon.
Simple for you, right? Finish this quest and move to the second step.
Step 2 – Start Drawing Slice For The Lemon

For your task in this step of our guide on how to draw a lemon, you draw more of a curved line to create a slice of the lemon.
Your work in this step is also quite simple, you draw a short curve to the stem of the lemon, and you’re done. You can come to the third step.
Step 3 – Complete The Slice Outline Of The Lemon

You will draw an oblong curve that meets at the end of step 2 to form the slice outline of the lemon, look at our drawing and ensure you are on the right track.
You finish your task here and continue your drawing in the fourth step.
Step 4 – Add A Curved Line For The Lemon’s Shape

Your task in this step is straightforward; you use a curved line to help the shape of a lemon.
It will take a few minutes to complete this work before moving to the next step.
Step 5 – Draw An Outline Of The Lemon’s Shape

You will draw a line below the lemon, and you are done with your task in this step of our guide on how to draw a lemon.
It’s that simple, and we’ll move on to the sixth step right now.
Step 6 – Draw A Leaf For Your Lemon Drawing

As seen in our reference image, you draw a leaf on your lemon.
Like other plants, the leaves are long and round; you can use two curved lines to draw their leaves before moving on to the next step.
Step 7 – Draw Lemon’s Stem Outline

You must draw some lines to form the lemon’s stem in this step of your fruit, lemon.
It’s simple and it only takes you a few minutes to complete, so quickly move on to the next step.
Step 8 – Complete The Lemon’s Stem

As you see in our reference picture, you must complete the lemon’s stem in this step.
You will use small curves to form the complete stem for stem in this step of our guide on how to draw a lemon.
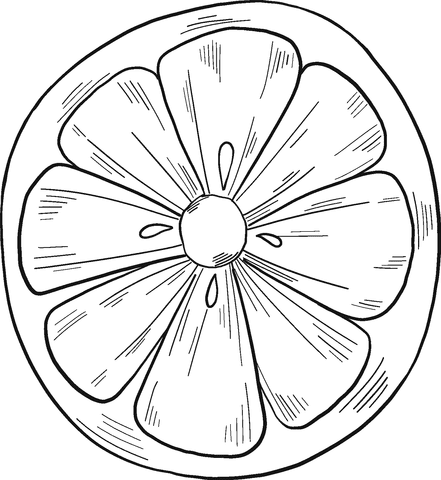
Step 9 – Add Details To Lemon’s Slice

It’s time to add details to the slice of your lemon. You draw a circle inside the circle of lemon slices that you drew, and you complete the task here.
Once you’re happy with your mission, you can continue going to step 10 of our guide on how to draw a lemon.
Step 10 – Keep Drawing Slice’s Details For Your Lemon

Draw short curves inside the lemon slice to make it more realistic and lively
It’s not difficult for you, don’t worry, the reference picture will show you what it should look like.
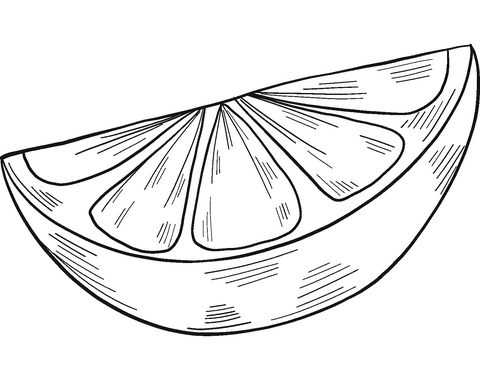
Step 11 – Draw The Final Details For Lemon

Before moving on to the last step of coloring, you must draw the last strokes for your lemon.
As we see in our drawing, you will add more details to the lemon slice. You can also add more information to decorate your lemon if you want.
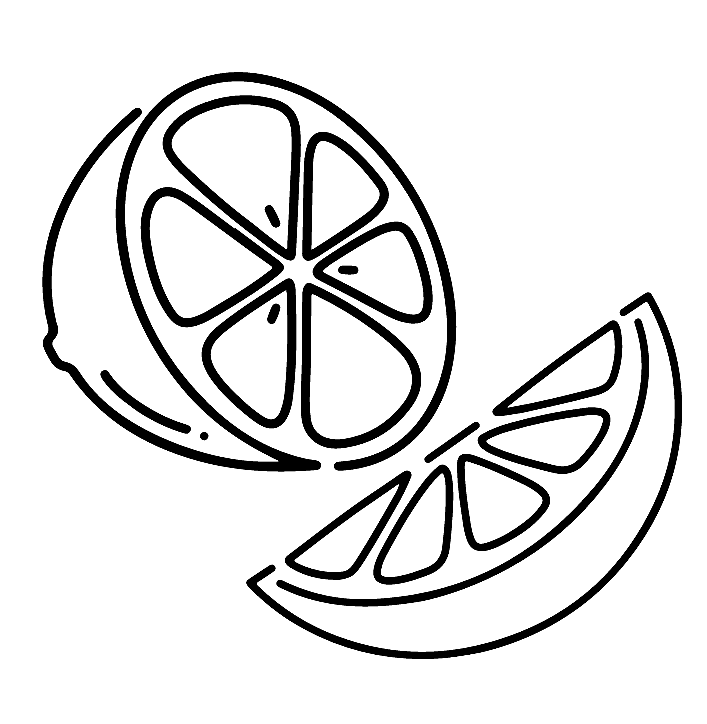
Step 12 – Color Your Lemon

That brings you to the last step of our guide on how to draw a lemon. You will choose suitable colors for your products. You can use any color you like as long as you think nice.
As you see in our illustration, we choose yellow for our lemon and green for the leaf.
You can choose the same yellow and blue as our color, or you can choose a different color and color scheme to personalize your picture.
Your Lemon Drawing Is Complete!
You have completed the quest for lemon drawing. This job usually takes 25 minutes, but you can finish it earlier if you have a drawing and coloring skills. Follow our guide to get the most out of your time.
On our website Coloringcool.com, you can enjoy many educational products drawing and coloring pages for free. You also find more drawing guides similar to lemon drawing as Apple drawing or pineapple drawing or Avocado drawing. They are free on our site and update new products regularly, so keep checking in, never to miss out!