How To Draw An Easy Avocado – Details Instructions
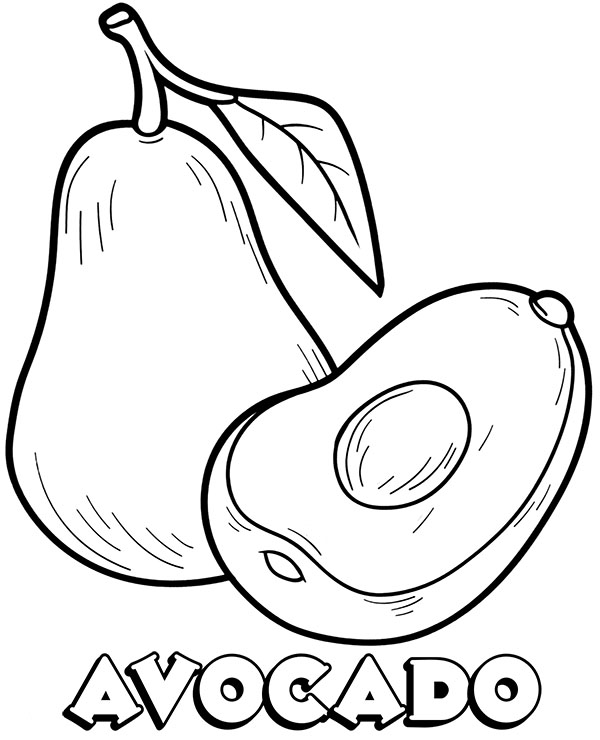
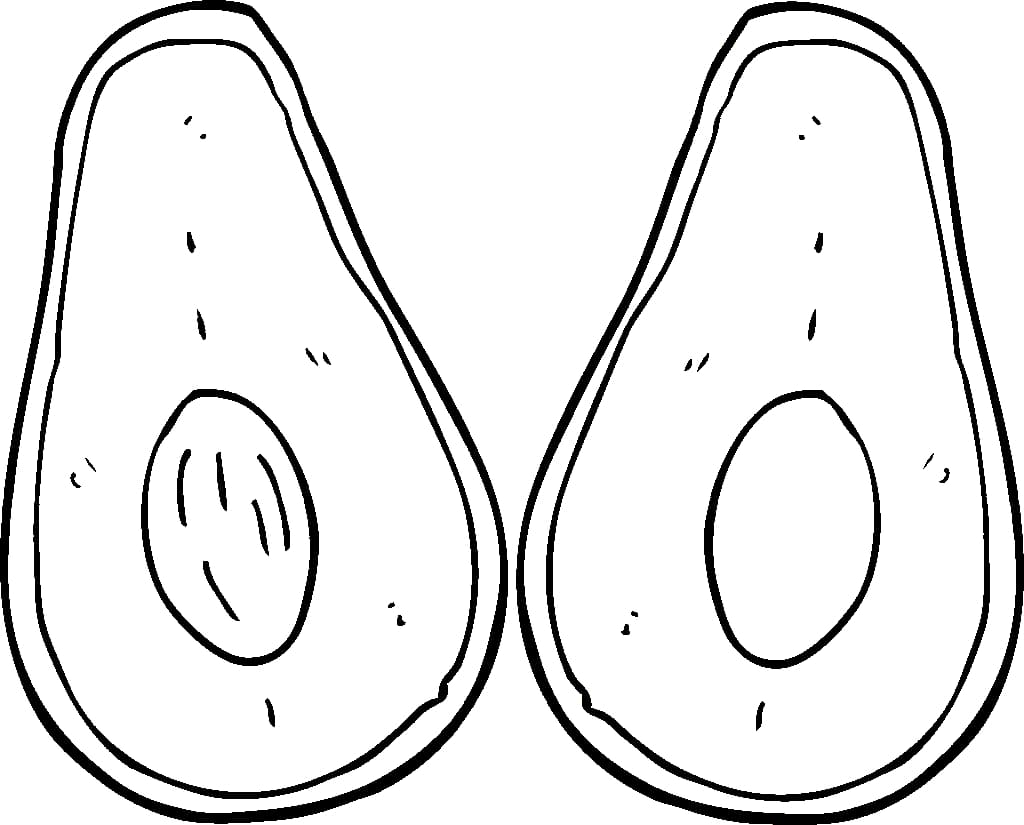
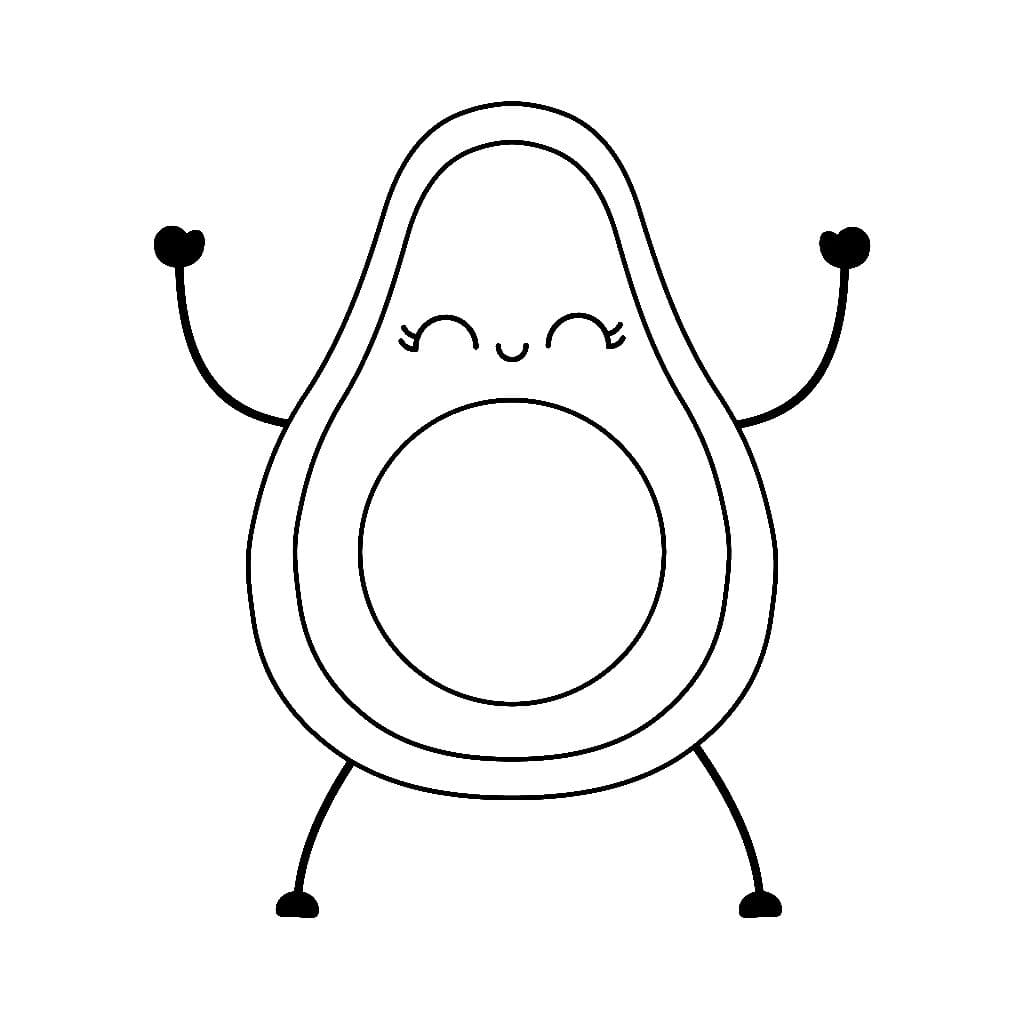
As you know avocado is a delicious fruit in the world, everyone loves this fruit. You can eat it directly or add a little sugar, milk. if you are not afraid of fat. You can also make an avocado smoothie, avocado ice cream, or serve other fruits. At right now, it has more than 400 types of avocado in the world. In this blog, you will learn how to draw an avocado. Avocados are available all over the world. It is a popular and easy-to-eat fruit loved by everyone from the elderly to children. Although it is a delicious and nutritious fruit, it has an affordable price so anyone can enjoy it, whether rich or poor. Usually avocado in that season is summer, the season you will need cool drinks such as ice cream, smoothies, made from avocado, it is very delicious. Along with the tutorial, we have also included a couple of free Avocado coloring pages that you can print off and give to your kids to color!

Now, we will let start together drawing an avocado, you can see our image and refer.
Step 1- Draw a shape.

In this first step, you will outline the shape of the avocado with paper and pencil. It’s not too difficult, you can look at our pictures and follow along. With a few simple touches, you have the outside shape of an avocado. The bottom will be bigger and rounder than the top, which will be a bit more narrow.
Step 2- Draw the seed

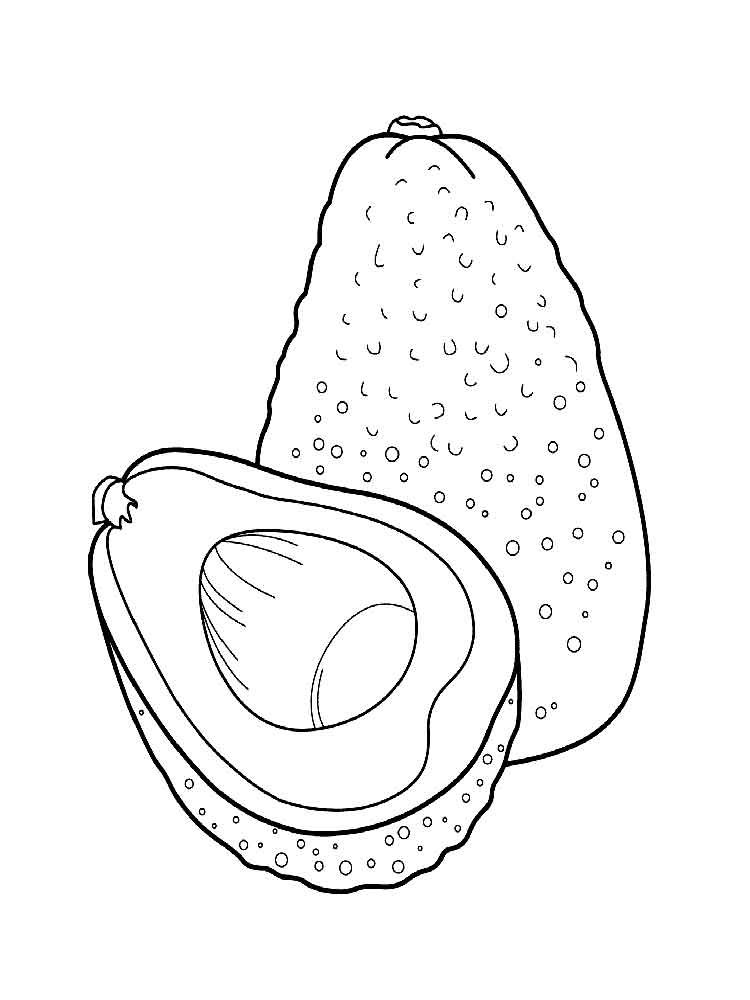
In this step 2, you draw the avocado seed that looks like an egg. With the avocado seed added to the avocado, it looks a bit finished. At this step, it is also difficult and simple and anyone can do it. Please look at our image and follow us!
Step 3 – Draw the skin.

Now your task is to draw the outside volume or skin color for the avocado. Based on the shape of the avocado, you can put the sketch pen around the avocado and you will have an avocado including the skin, body, and seed. This step is also quite simple, even beginners can easily complete this step.
Step 4 – Draw the second avocado

Now you draw 1 more avocado it’s the same as step 1 but now you draw the avocado again from the back. That will take care of the outlines for the avocados, and in the next steps, we will add some extra details and inner elements. You can look at our image and refer. Following the instructions, you are almost done with the avocado drawing, just a few more steps and you’re done.
Step 5 – Finish off the final details and elements

Your avocado is done, now you need a few more details to make the avocado perfect. These details will be fairly simple, but they will be effective in finishing off the drawing nicely. They will mostly comprise of some simple curved lines throughout the avocados to give them some texture detail. You can look at our image and follow. Now your avocado is basically done, just one last step and you’re done.
Step 6 – Color your avocado.

Finally, you will make coloring for the avocado to complete the drawing. To do this, you can use pretty much any medium that you have at your disposal (paints, markers, crayons, etc.).
Make the main surface of the avocado green and the small end light brown. Also, remember to leave a white area for the bright areas (light reflected from its surface). To show a bumpy/uneven surface, break the marker into some white spots like in the example.
You don’t want the highlights to have a black outline, but you can draw them out using a green pencil or marker to help make sure you don’t accidentally brush over them. Then you can simply blend the outer contours into green as you color it.
You can refer How To Draw to learn drawing more coloring pages