9 Simple Steps To Create Rudolph Drawing – How To Draw Cute Rudolph
Complete Rudolph Drawing In 9 Steps
We create the Rudolph drawing guide through nine simple steps.
Drawing Rudolph is not too difficult, but you need to focus during the process of learning to draw.
This gradual direction takes about 30 minutes to complete, but if you have the ability to draw, you can finish this task earlier.
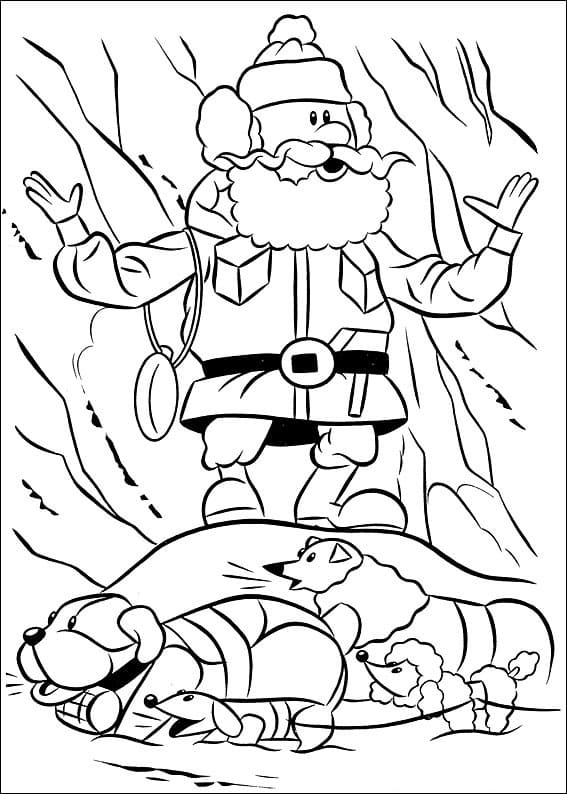
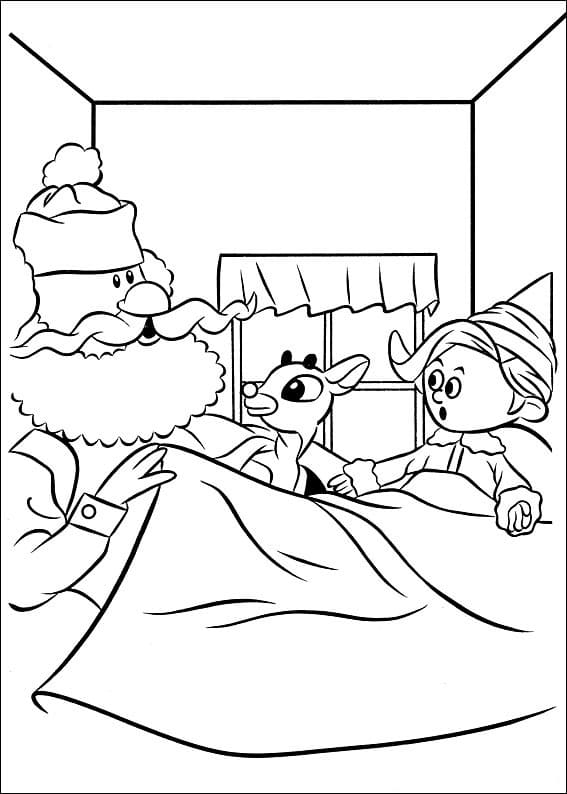
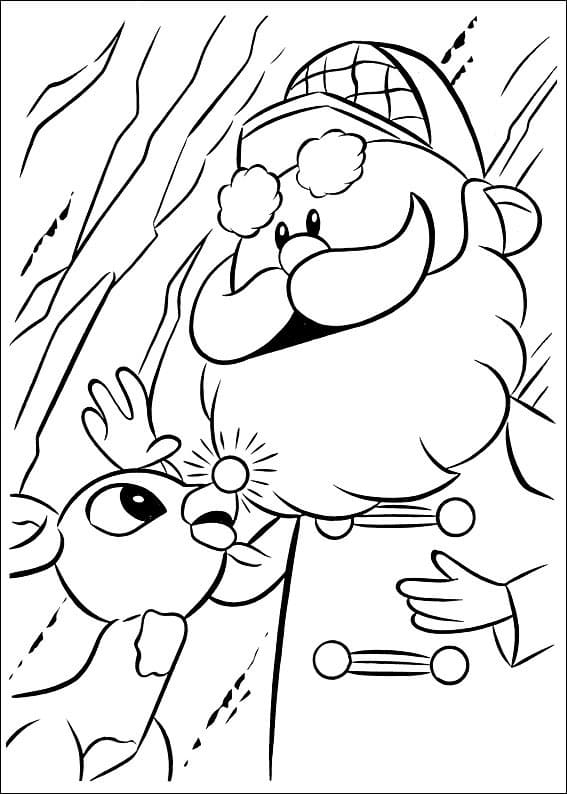
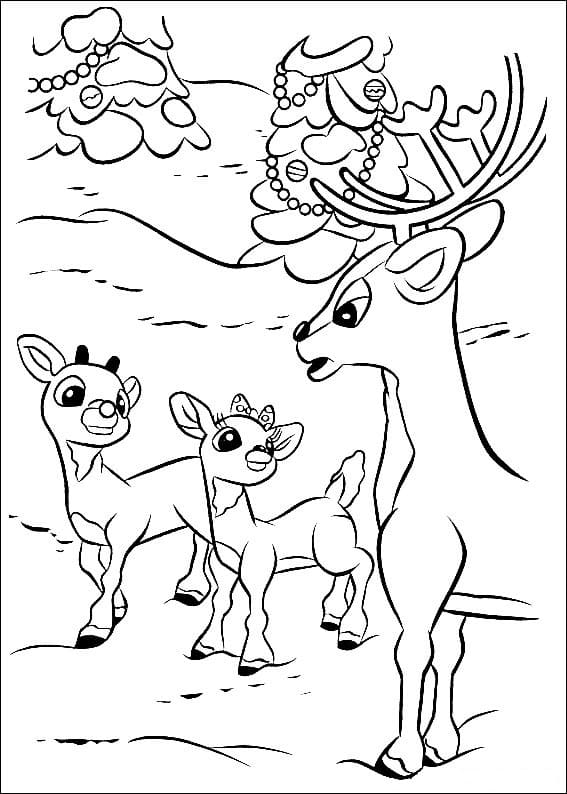
Rudolph is one of the eight reindeer pulling the older man’s snowmobile
Christmas, it has a bright red nose that lights up the way to gradually drive Santa’s snowmobile on the journey to distribute gifts to children.
Christmas is just around the corner, and if you want to get in the Christmas spirit, trying out learning to draw Rudolph is a great way to do it.
Before starting to draw, prepare all necessary supplies like a pen, pencil, colors, paper, and eraser. Afterward, you will begin to draw your character, Rudolph, with a pencil and paper. You also can remove your mistakes with a pencil.
Once you finish your drawing task, you will choose the suitable colors for your products.
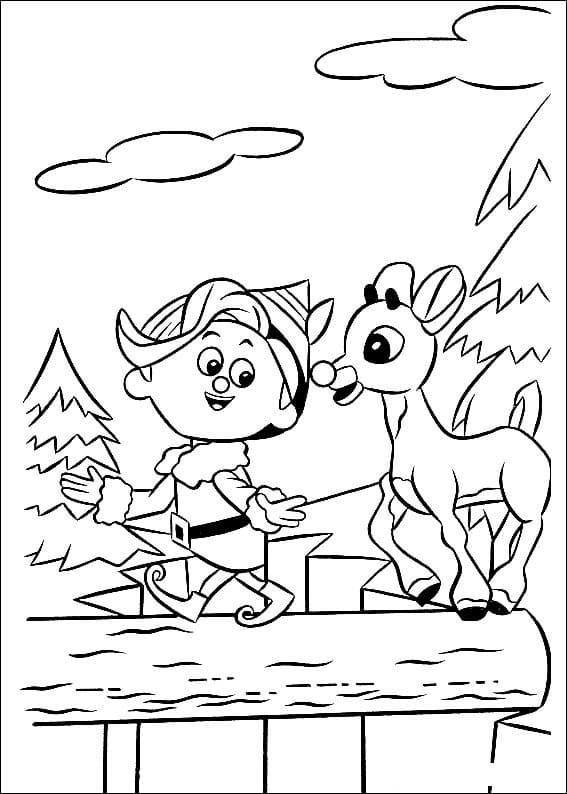
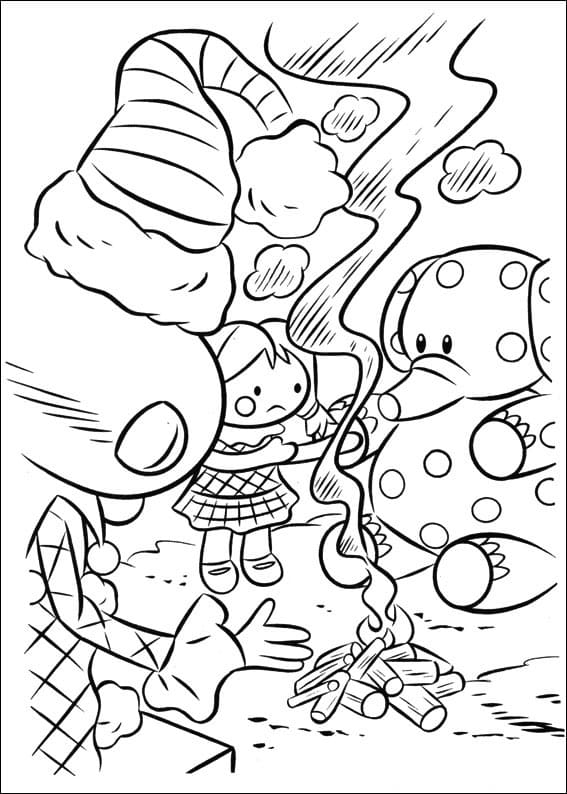
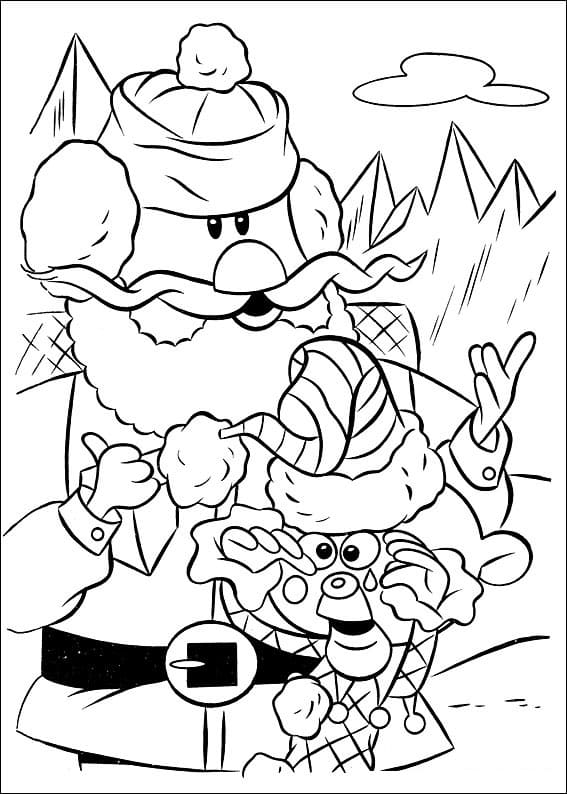
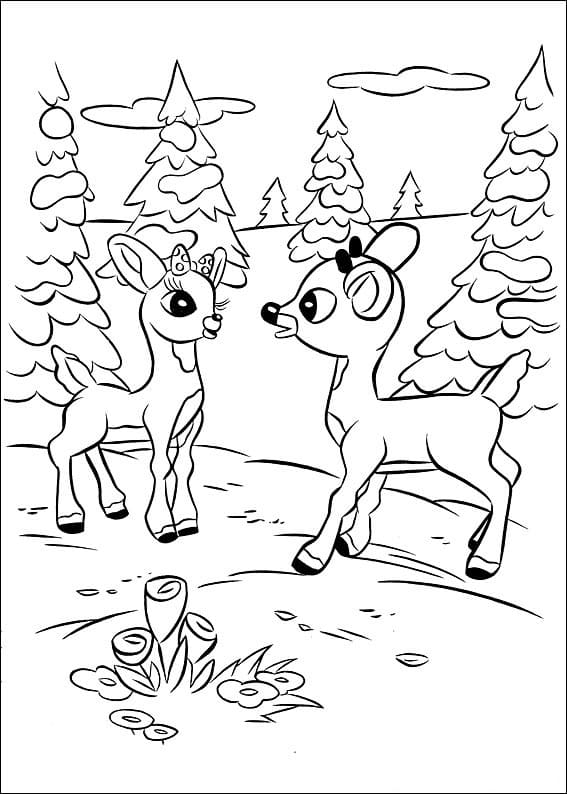
Along with this guide, you can enjoy Rudolph coloring pages free on our website to practice your drawing and coloring skills.
Regular practice of drawing and coloring will help you develop your talent for painting, and your mind will be more relaxed.
These activities will help you to balance your life which will be very boring if there is only work, so take the time to have such appropriate entertainment, life will be more fun and happy.
Right now, let’s go to draw Rudolph with us and get fun.
How To Draw Rudolph – Let’s Get Started!

Step 1 – Draw Rudolph’s Head Outline

Start our guide on how to draw Rudolph; you use an imperfect circle to show his head outline, as you see in our reference image.
You draw a circle and leave two places to draw his antlers in the next step.
Step 2 – Draw Rudolph’s Antlers

For this second step of our guide on how to draw Rudolph, you must show his two antlers on the head.
Rudolph’s antlers are like branches; you will use parallel lines to draw them; you can also look at our reference image to ensure you are on the right track. Once you’re happy with your drawing, you can move to the third step.
Step 3 – Draw Rudolph’s Ears

As seen in our reference picture, you will draw two curves for each ear.
Your task in this step of your Rudolph drawing is also simple; you need to complete two ears to move to the next step.
Step 4 – Draw Rudolph’s Eyes

You draw two circles to show his eyes, then use black to color the eyes, leaving a few uncolored dots to make his eyes more realistic.
Once his eyes are done, you can continue your drawing task in the fifth step.
Step 5 – Draw Snout And Nose For Rudolph

Below the eyes, you will draw a snout and nose for your Rudolph drawing, as shown in the reference image.
Use curved lines and straight lines for this task. Once you’re happy with your mission, you can go to the next step.
Step 6 – Draw Two Front Legs For Rudolph

Your task in this step of our guide on how to draw Rudolph is to start drawing his legs.
Rudolph’s legs are orange and thin; you will use two parallel lines to form one leg, don’t forget to draw claws at the end of each foot for it.
Please don’t forget to add a bell to his neck.
Once you have replicated the lines as they appear in our reference image, you’re ready to move to step 7!
Step 7 – Draw Two Hind Legs For Rudolph

As you can see in our reference image, the hind legs are partially covered by his body, so you need to show the back legs you can see.
You use the curved lines for this task, and when you’re happy with how these parts look, we can proceed to the eighth part of this guide.
Step 8 – Draw Rudolph’s Tail

It’s time to draw Rudolph’s tail; you use curved lines for the tail behind him, as you see in our illustration,
Before moving to the last step for coloring, you can add some details for the decoration of your Rudolph drawing.
In addition to our details, you can also add some details to make a difference in your drawing.
Step 9 – Color Your Rudolph

You must choose now colors for your product, Rudolph. You can select a color similar to the one we chose for our Rudolph. We chose brown for most of the body and red and yellow for the collar and bells. We also chose black for the eyes, just like the other characters. You can look at our reference pictures for color selection or create your own with different colors to ensure you’re happy.
Your Rudolph Drawing Is Complete!
You have completed nine missions for Rudolph’s drawing. Now is the time to look back at your product, and I hope you’re satisfied with your final result.
It’s not too tricky. You can come here often to enjoy our new products, we always upload them, and you can refer to the coloring pages, blogs, or drawing guides.
You can also enjoy drawing guides similar to the Rudolph drawing guides such as Reindeer drawing or Santas sleigh drawning.
Here are the tutorials related to Rudolph; you can enrich your drawing learning collection, visit our website and enjoy them for free. Our educational products are suitable for everyone. If you are a parent, you can give them to your kids; they can enjoy drawing guides or coloring pages in their free time after the hard-working hours at school. Hopefully, you get a great time and come back here with your friends!