6 Easy Steps Creating A Peach Drawing – How To Draw A Peach
Creating a fresh peach drawing in just 6 easy steps
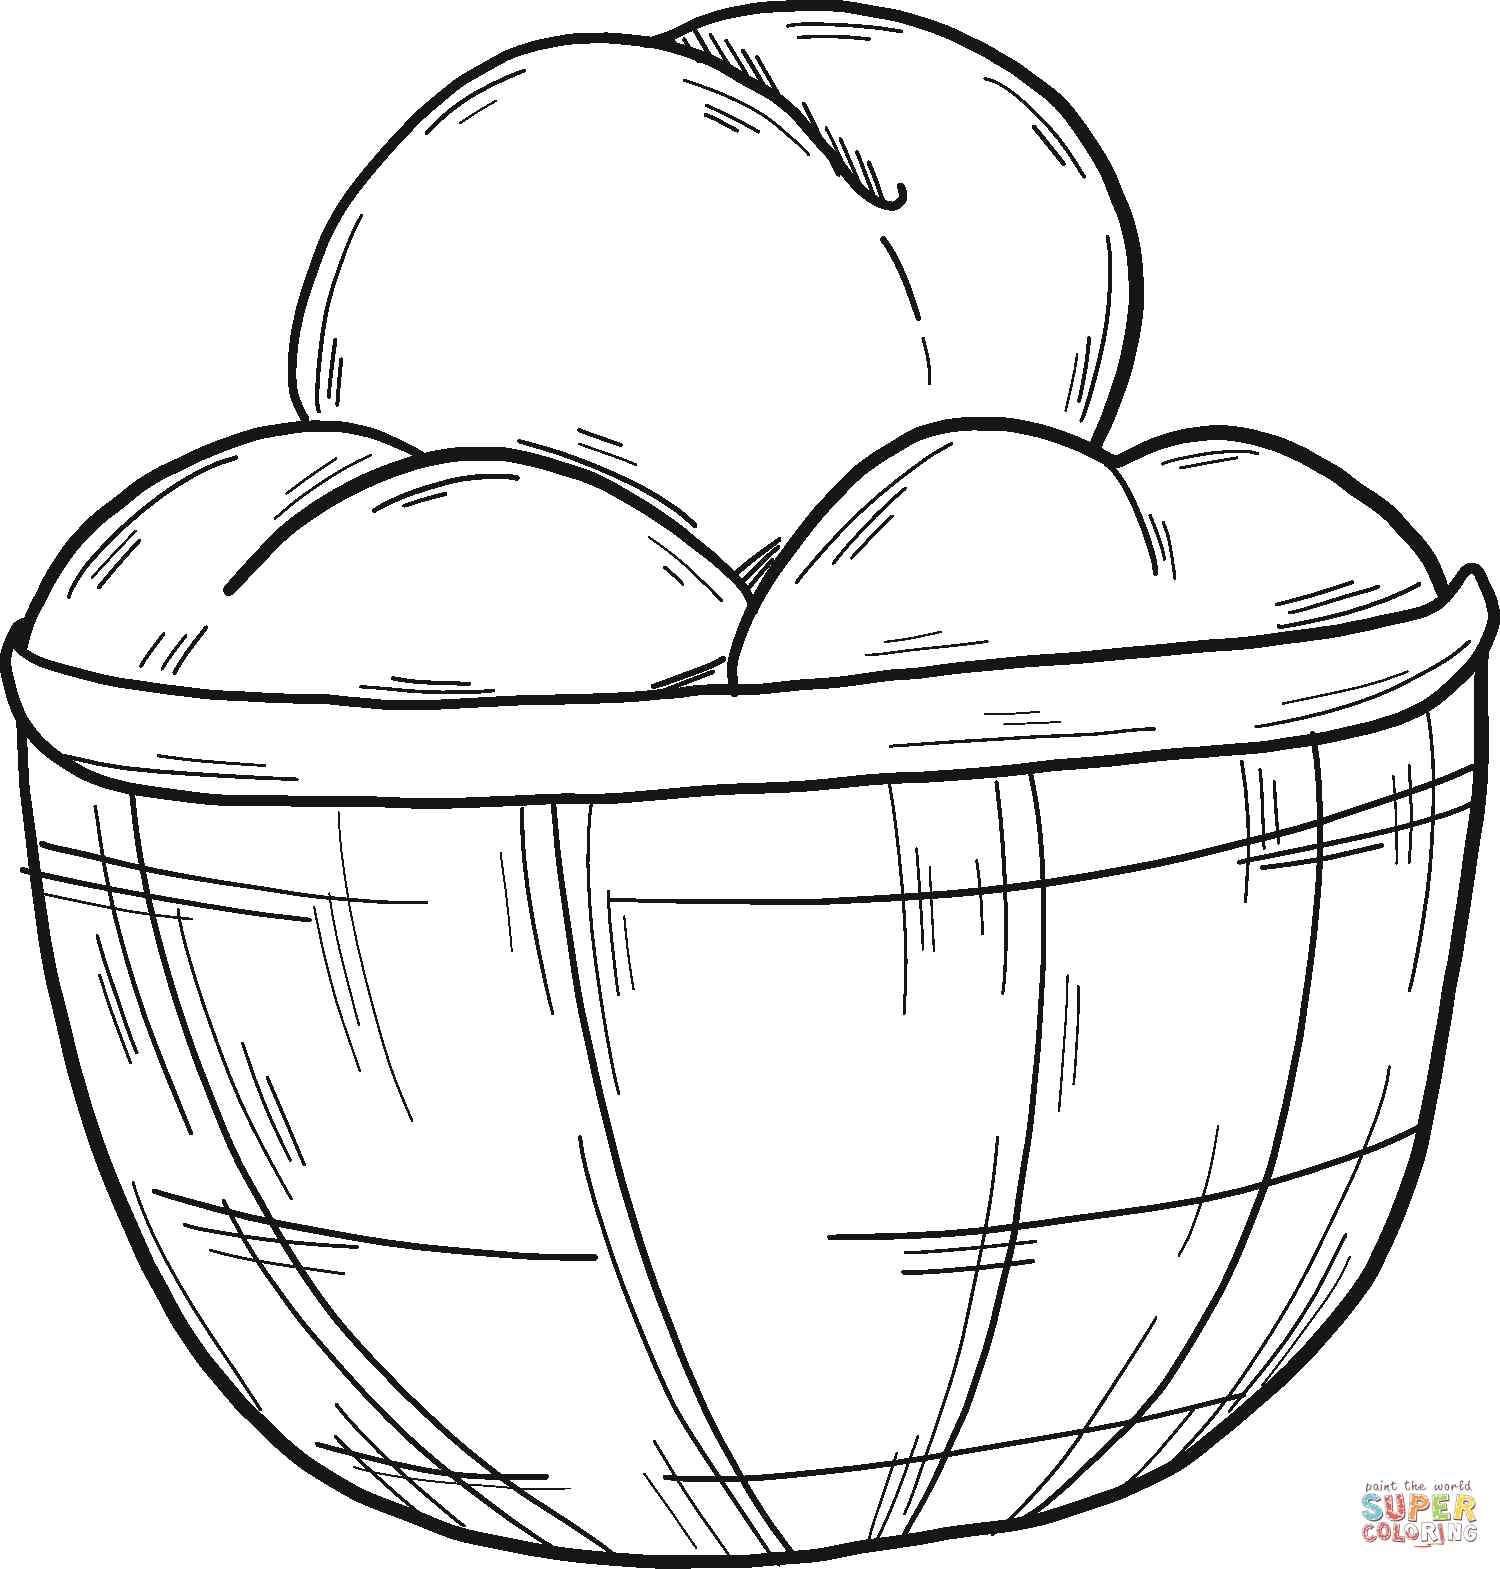
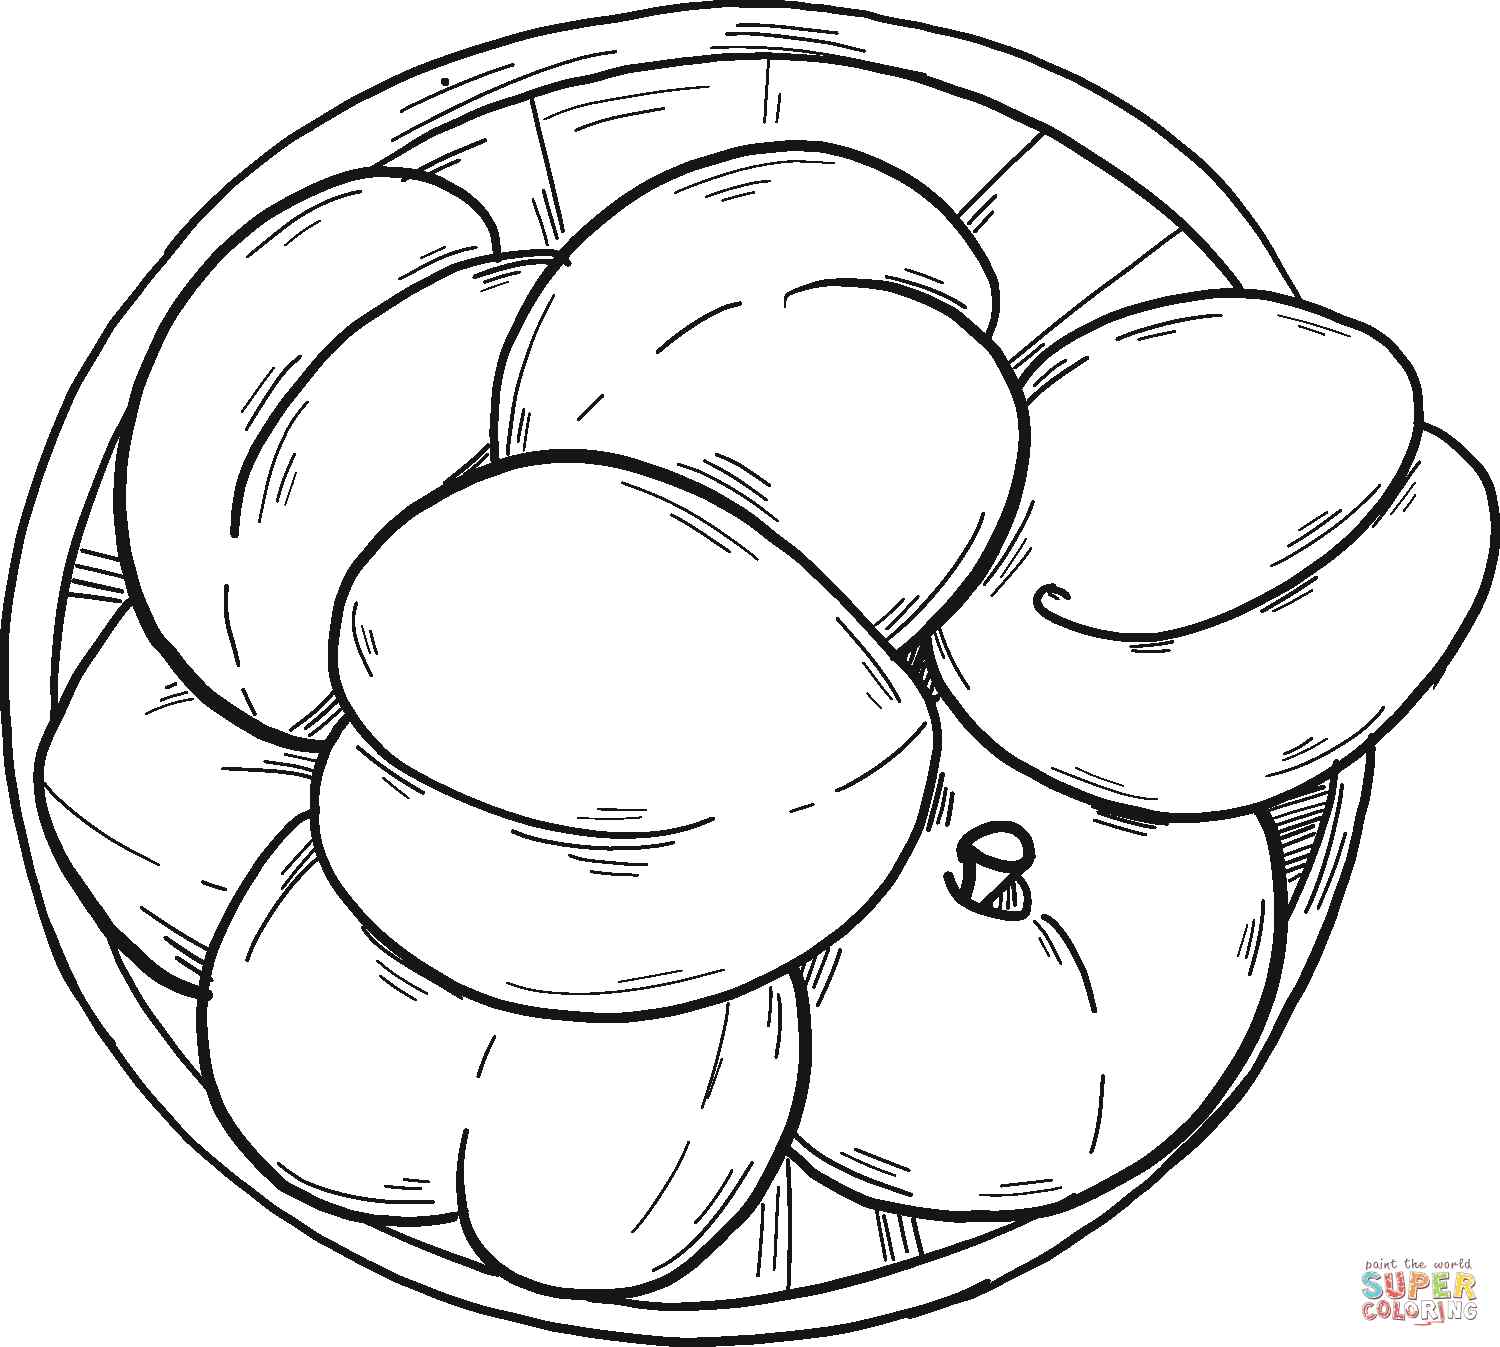
You will make a peach drawing in our six easy steps. This easy tutorial shows how to draw a peach step by step. It can be good for beginners or anyone looking to practice simple line drawing. You will follow our detailed tutorial and make a complete peach. Whether you are a novice or an expert in drawing, we’re sure you can follow these steps effortlessly. Peach is a familiar fruit that many people know, but not everyone can draw it today fortunately, you can learn to draw a peach with us. This task is not simple but not too difficult for you. You need to concentrate your mind, passion, and time here until you finish the task. We update the guide from easy to difficult, and you will complete your work at each step one by one. With six simple steps, you get a peach with our help. Along with the tutorial, we have also included a couple of free peach coloring pages that you can print off and give to your kids to color!
How To Draw A Peach – Let’s Get Started!

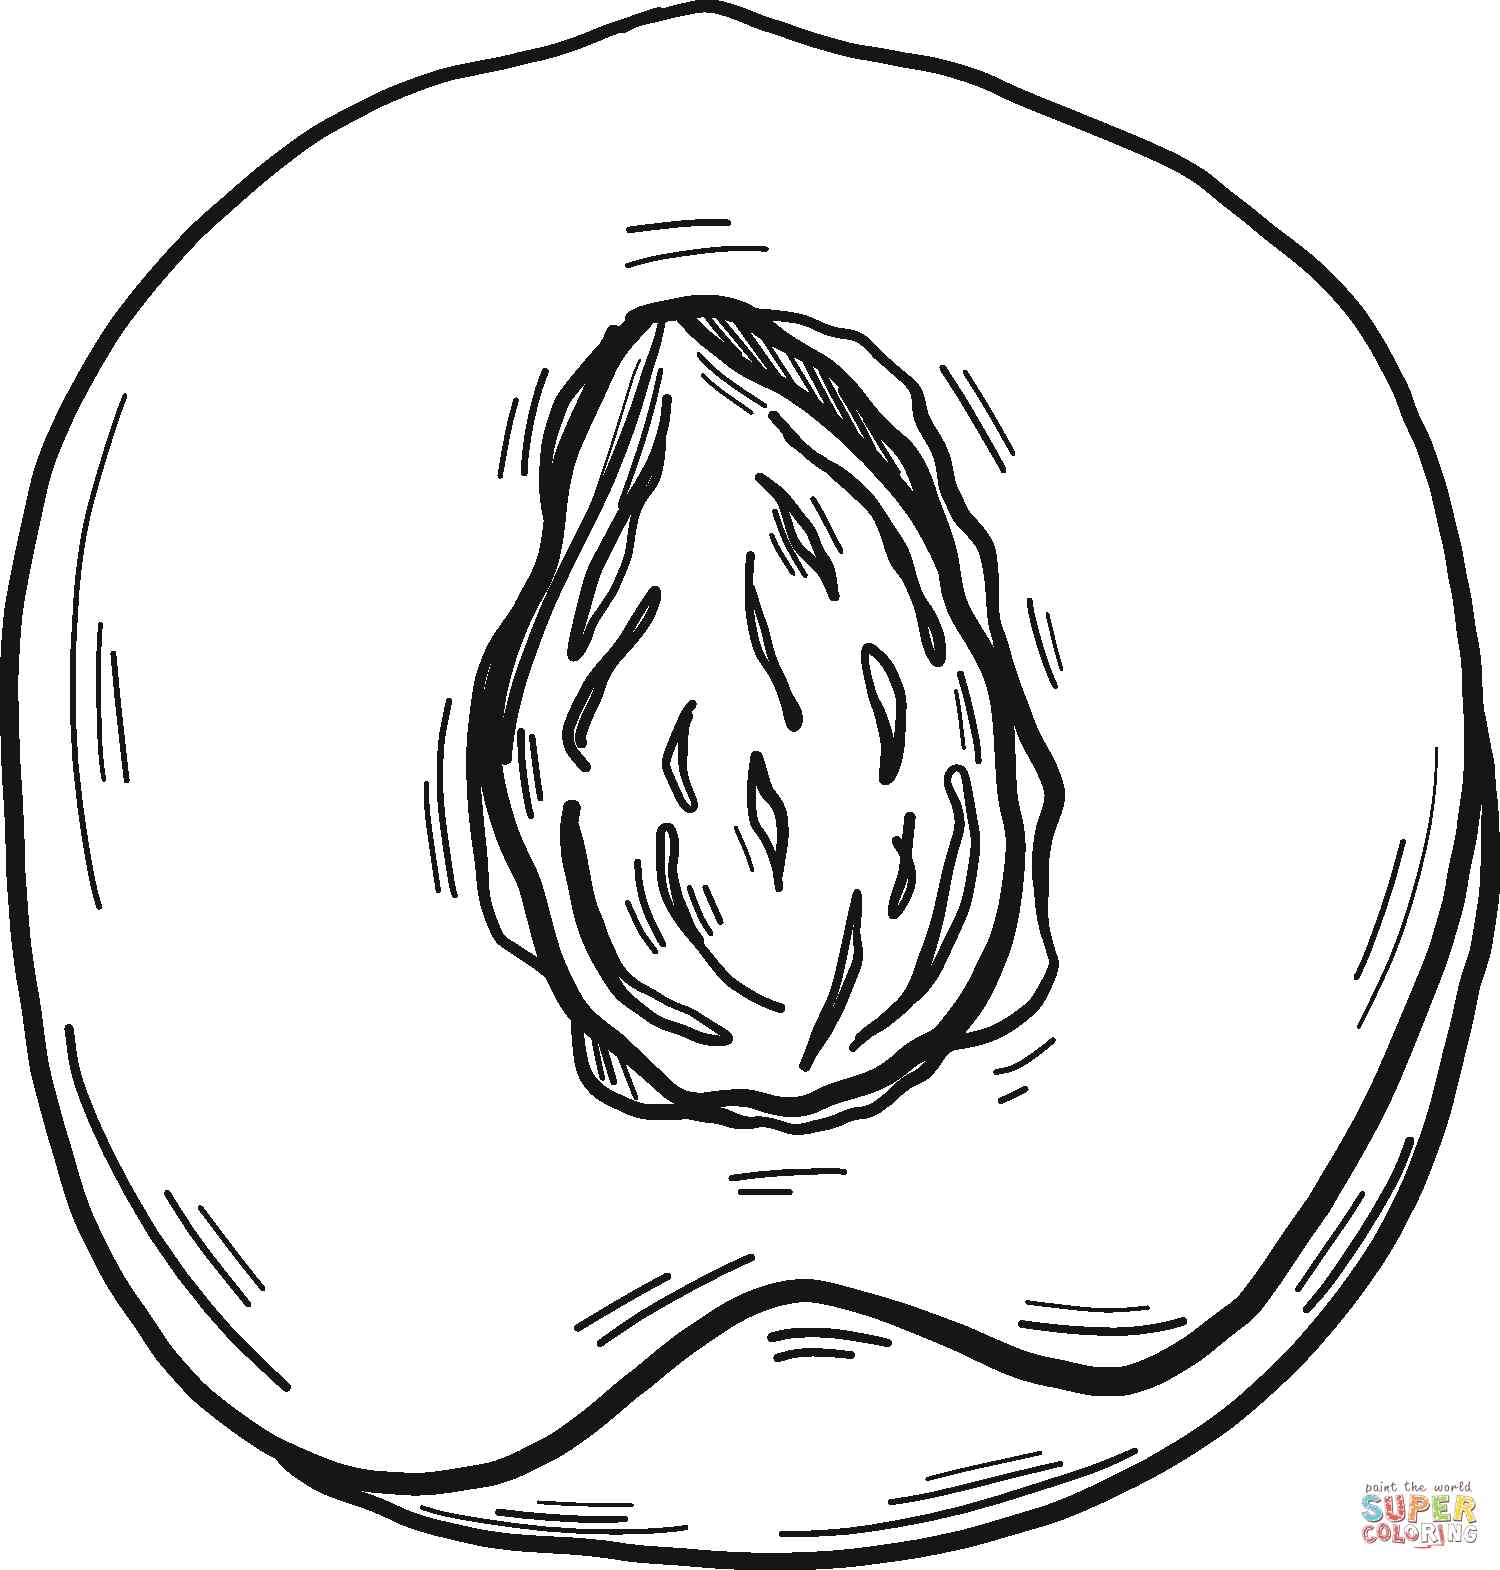
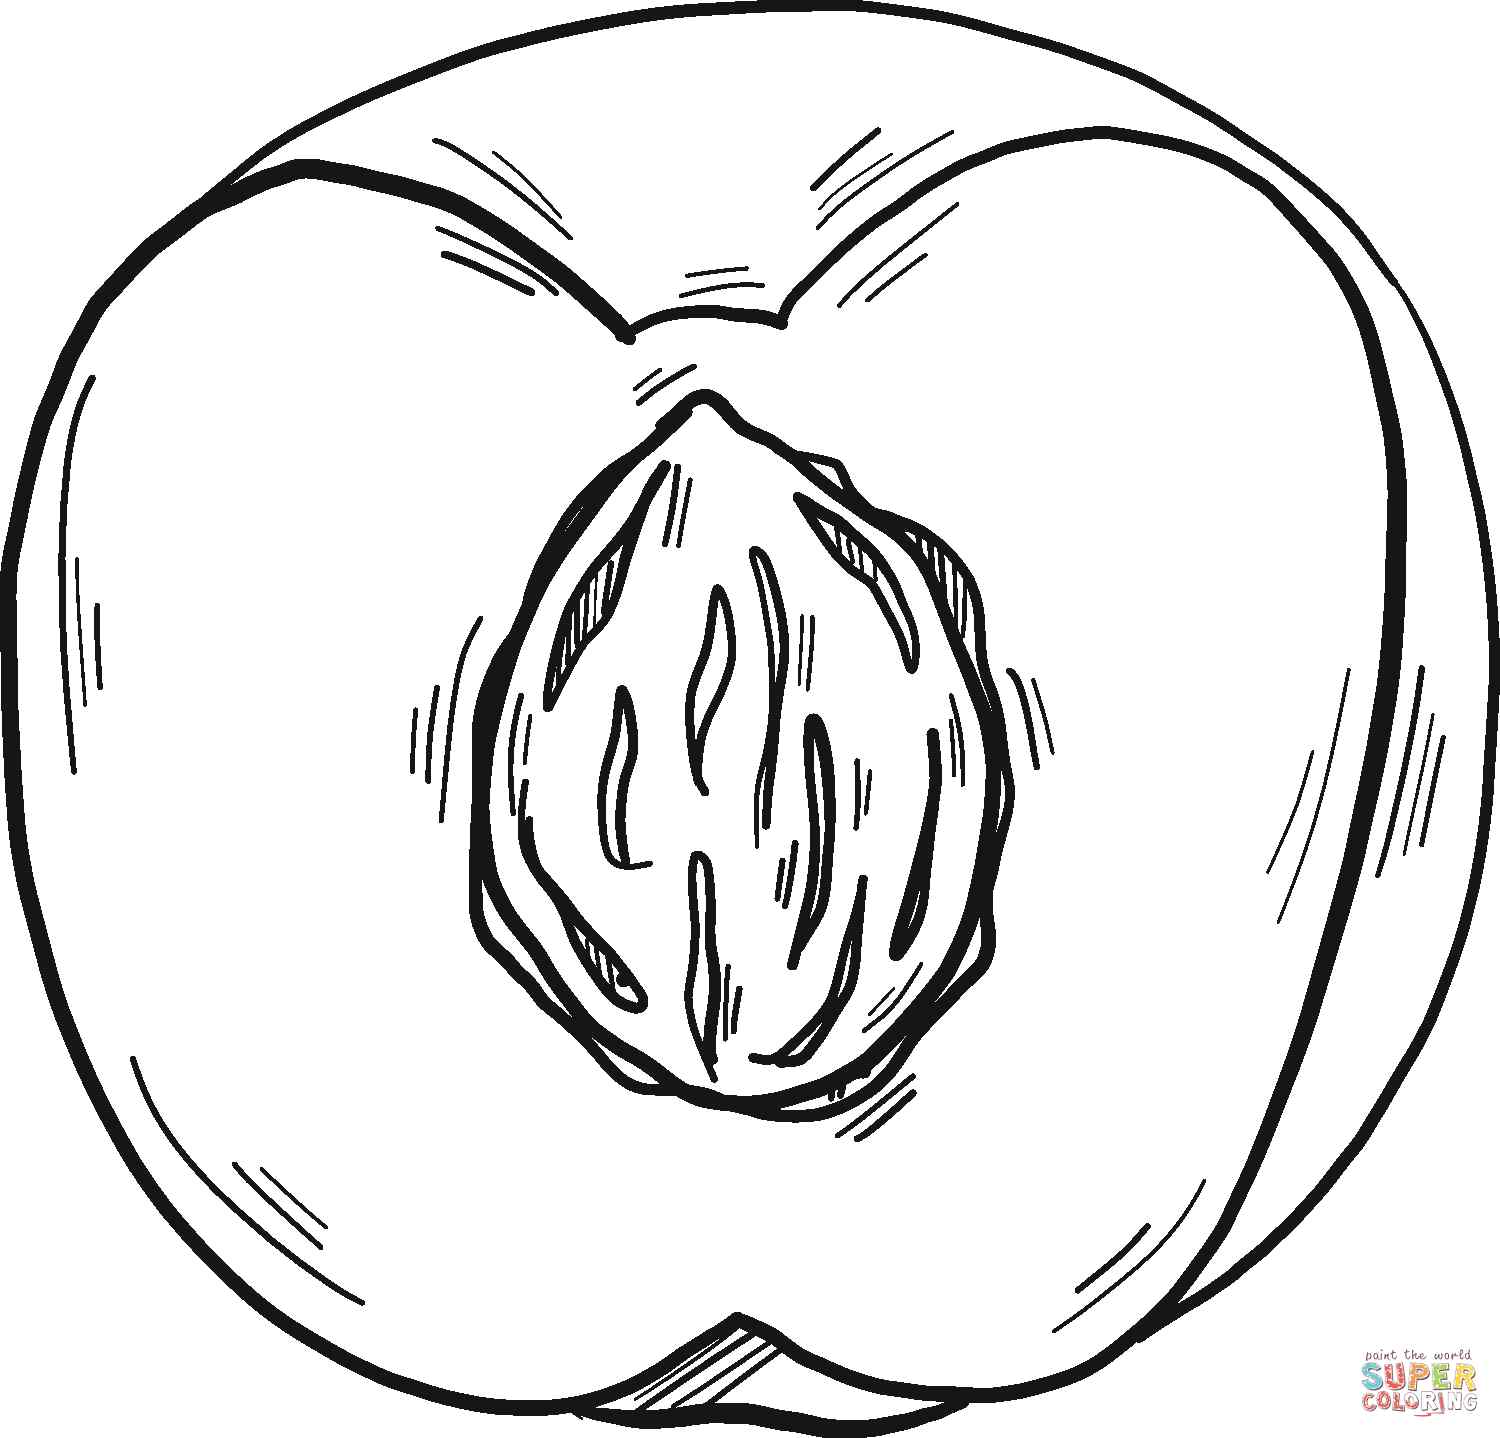
As you know, peaches are known as stone fruit due to the large, hard pit in the center. The pit is a seed. Peaches with easily removed pits are called “freestones,” while those removed only with difficulty are called “clingstones.” Learning to draw is exciting and suitable for all ages, from children to adults. You can enjoy this activity in your free time after the hard-working hours. Joining this activity helps you to balance your life, and you can forget stress and worries in life. But before drawing, It would help if you prepared a pencil, eraser, colored pencils,…You will use your pencil to draw on the paper, and you can erase your mistakes easily. So, don’t be afraid to draw, you can draw in your comfortable way, and in the course of drawing, some steps will require you to erase lines drawn in previous steps. If you are a parent, you can learn this drawing with your kids, they will like surely it and it can help them to avoid using technical devices like television, smartphones, and tablets,…they are not good for their eyes and evolution.
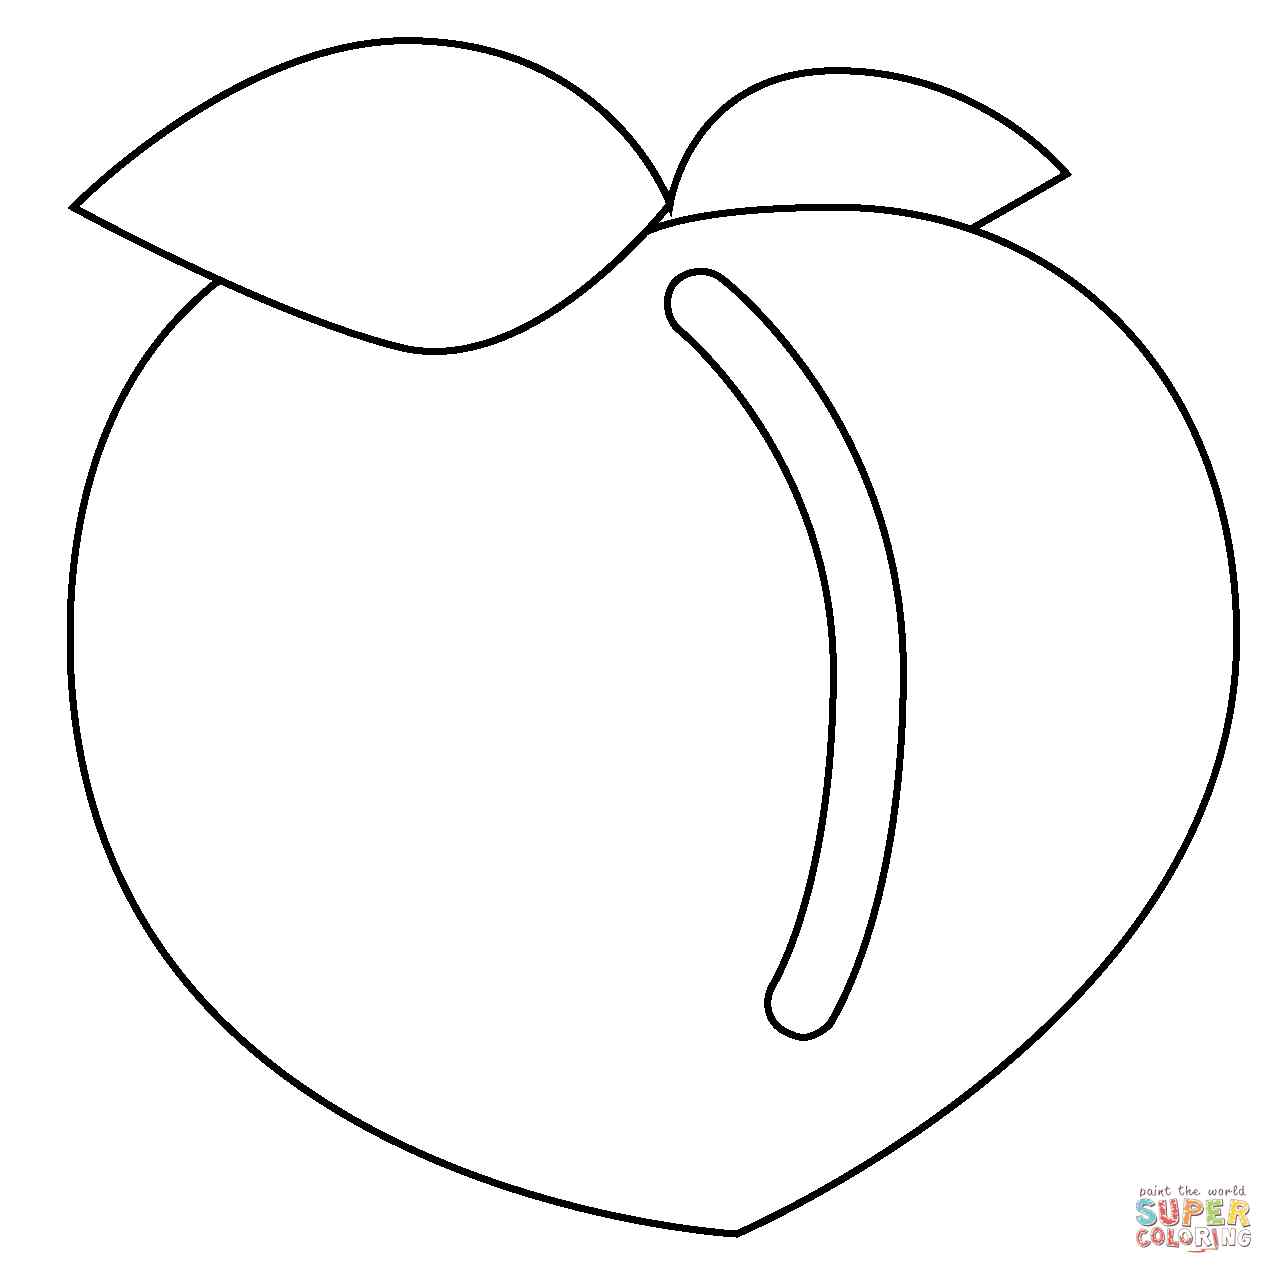
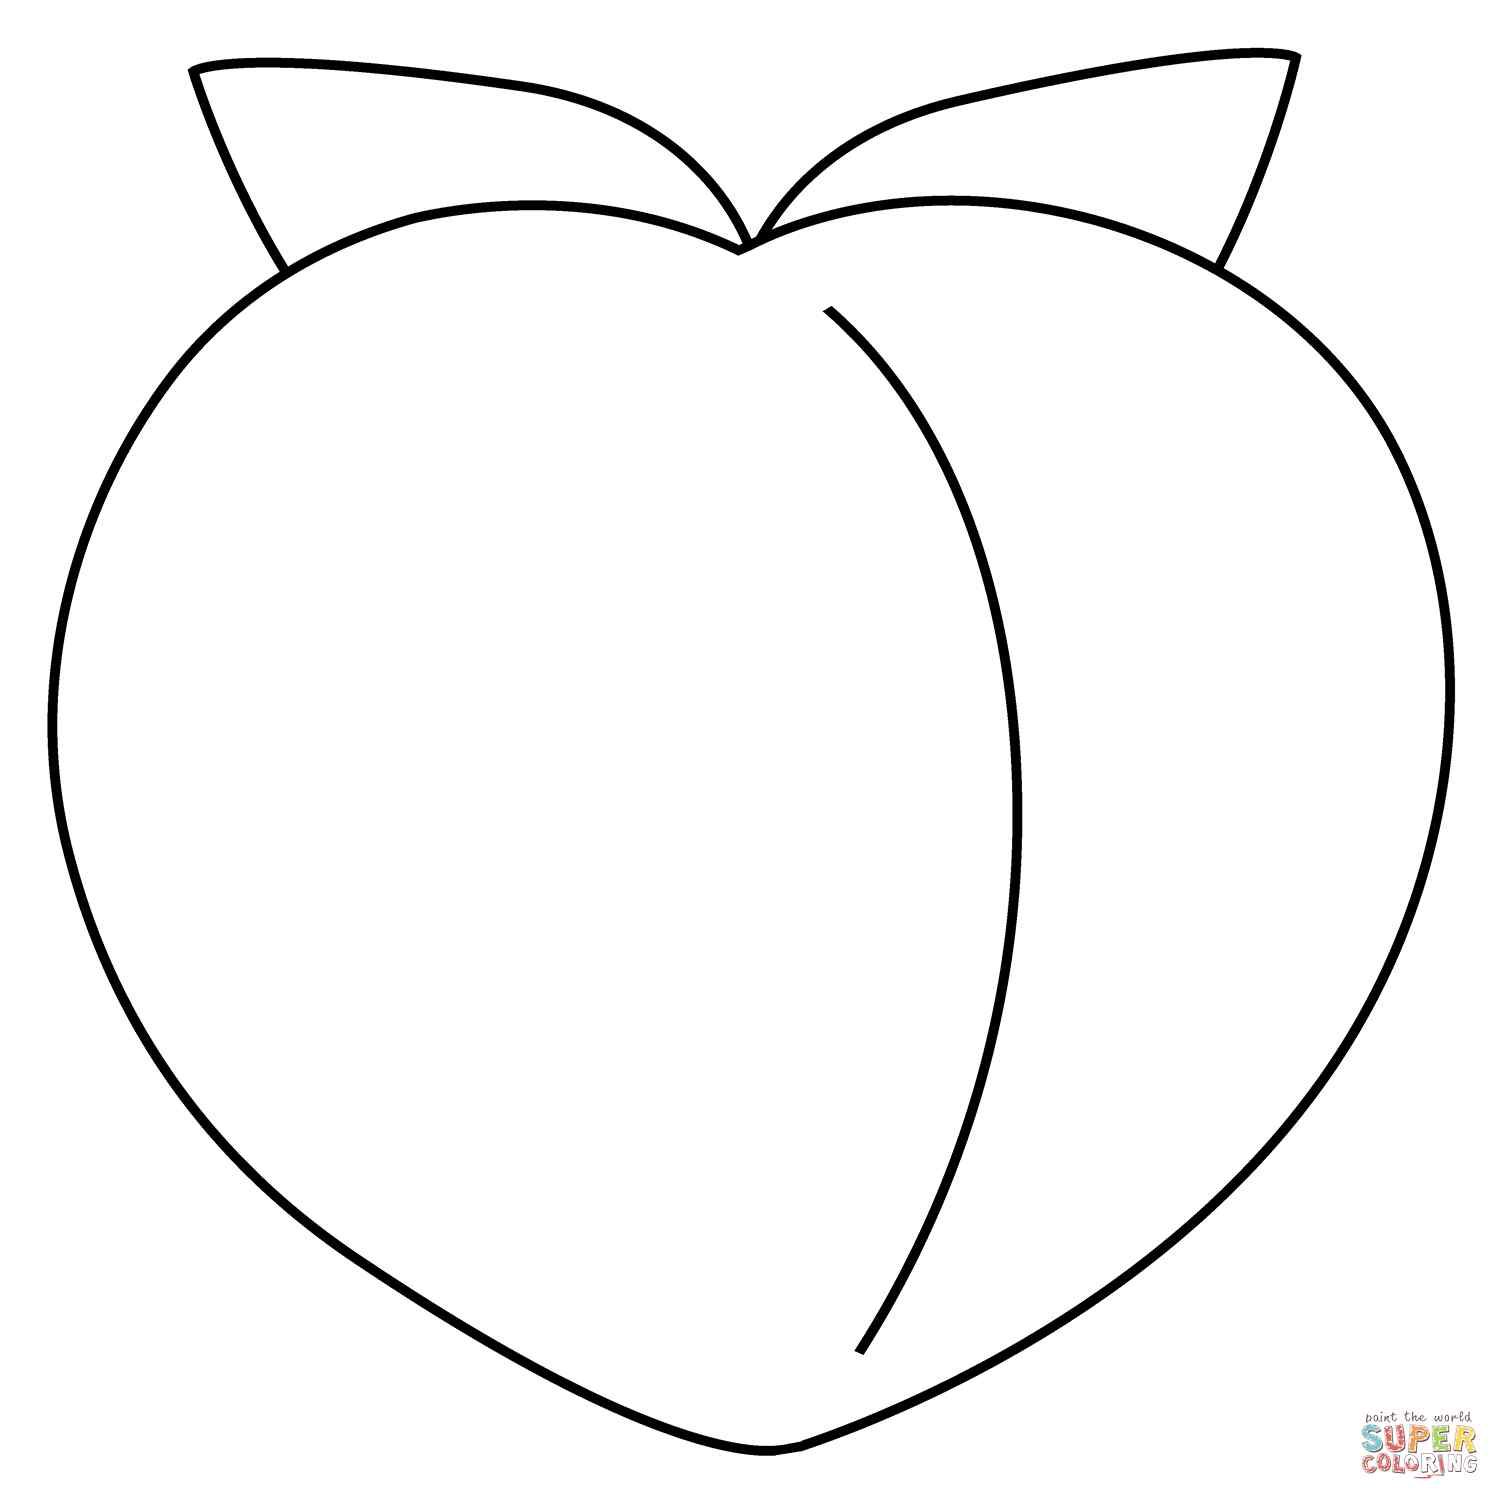
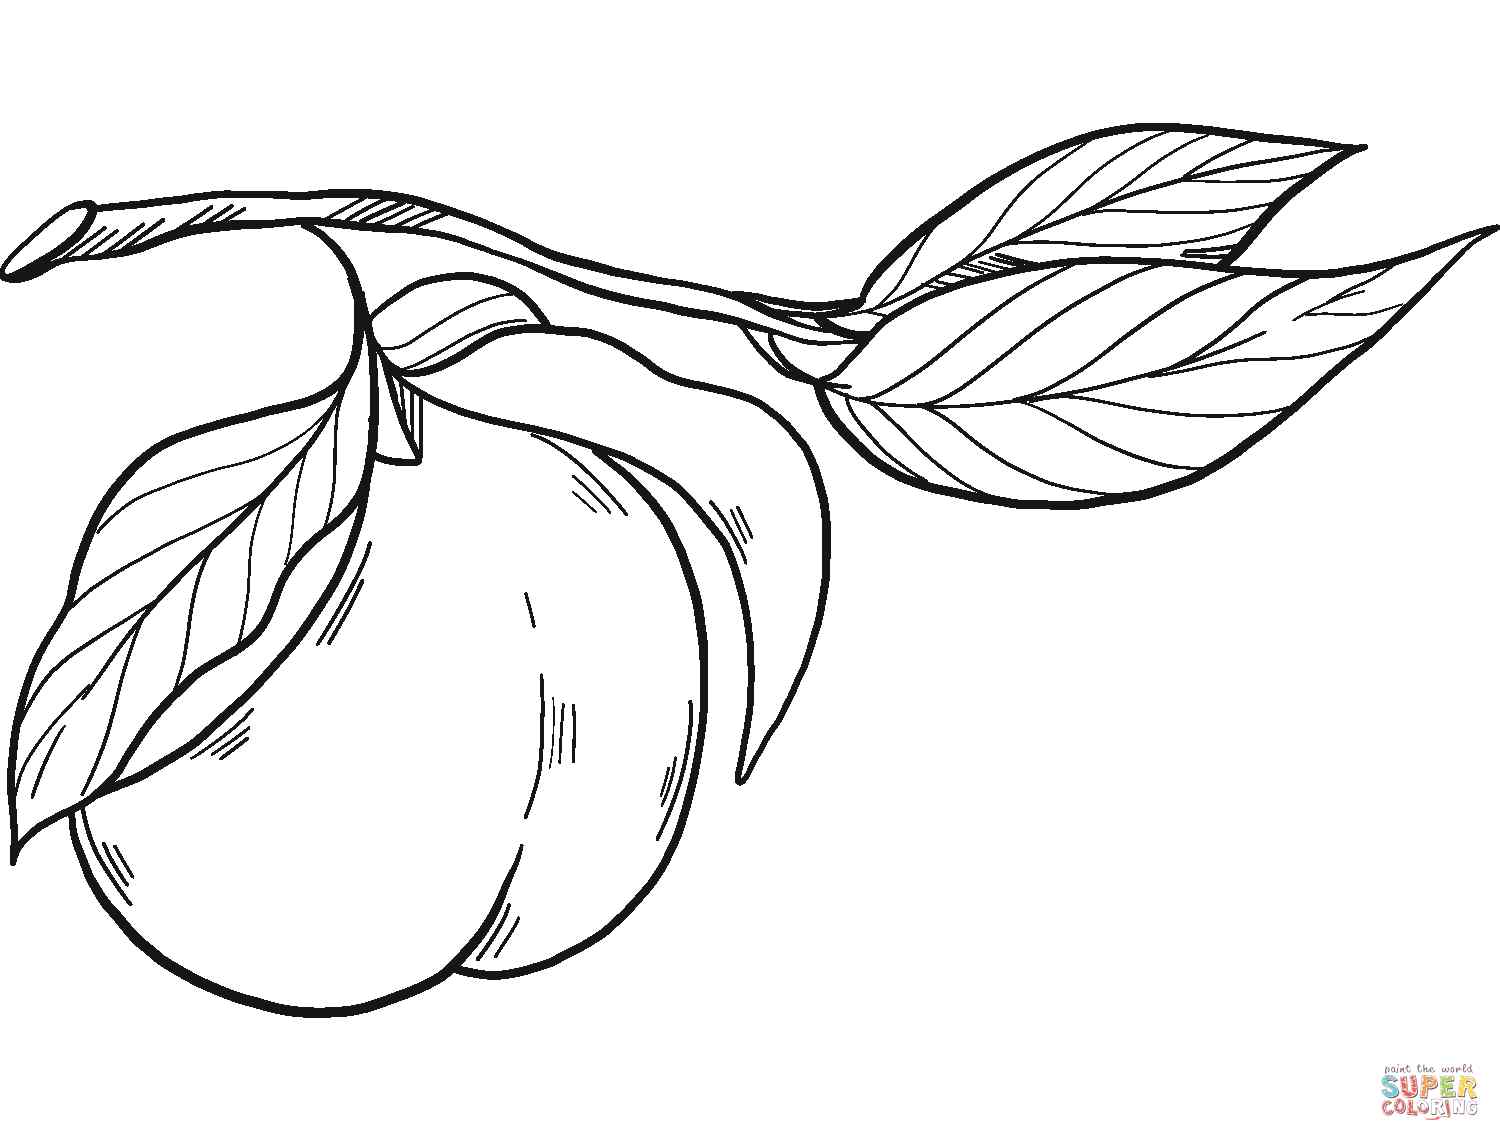
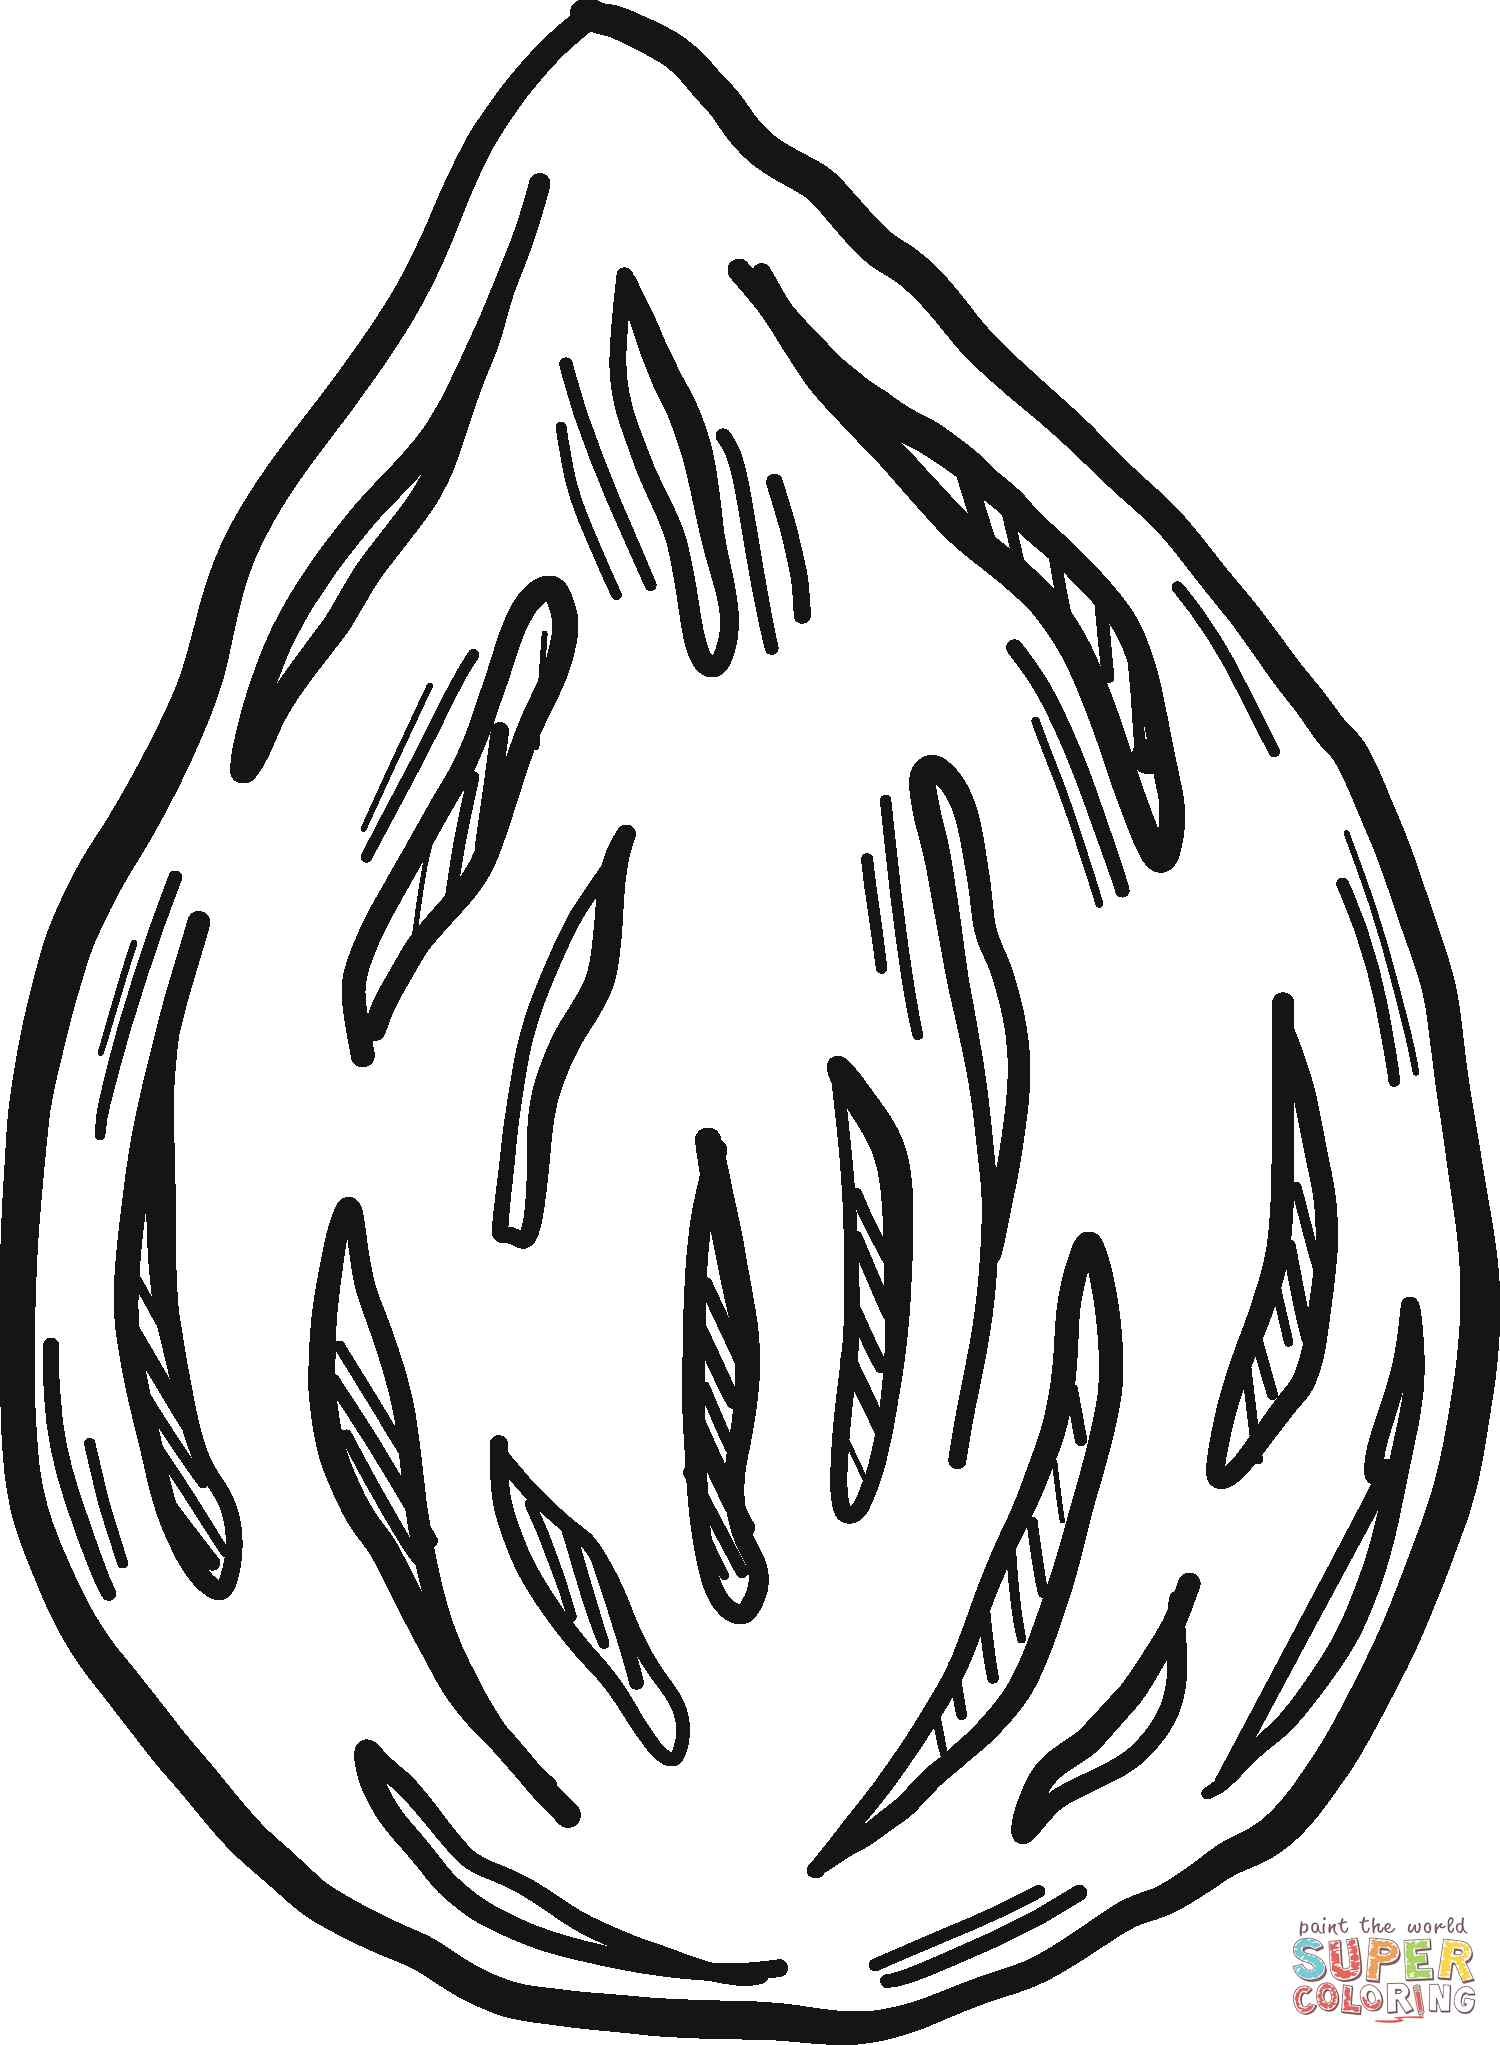
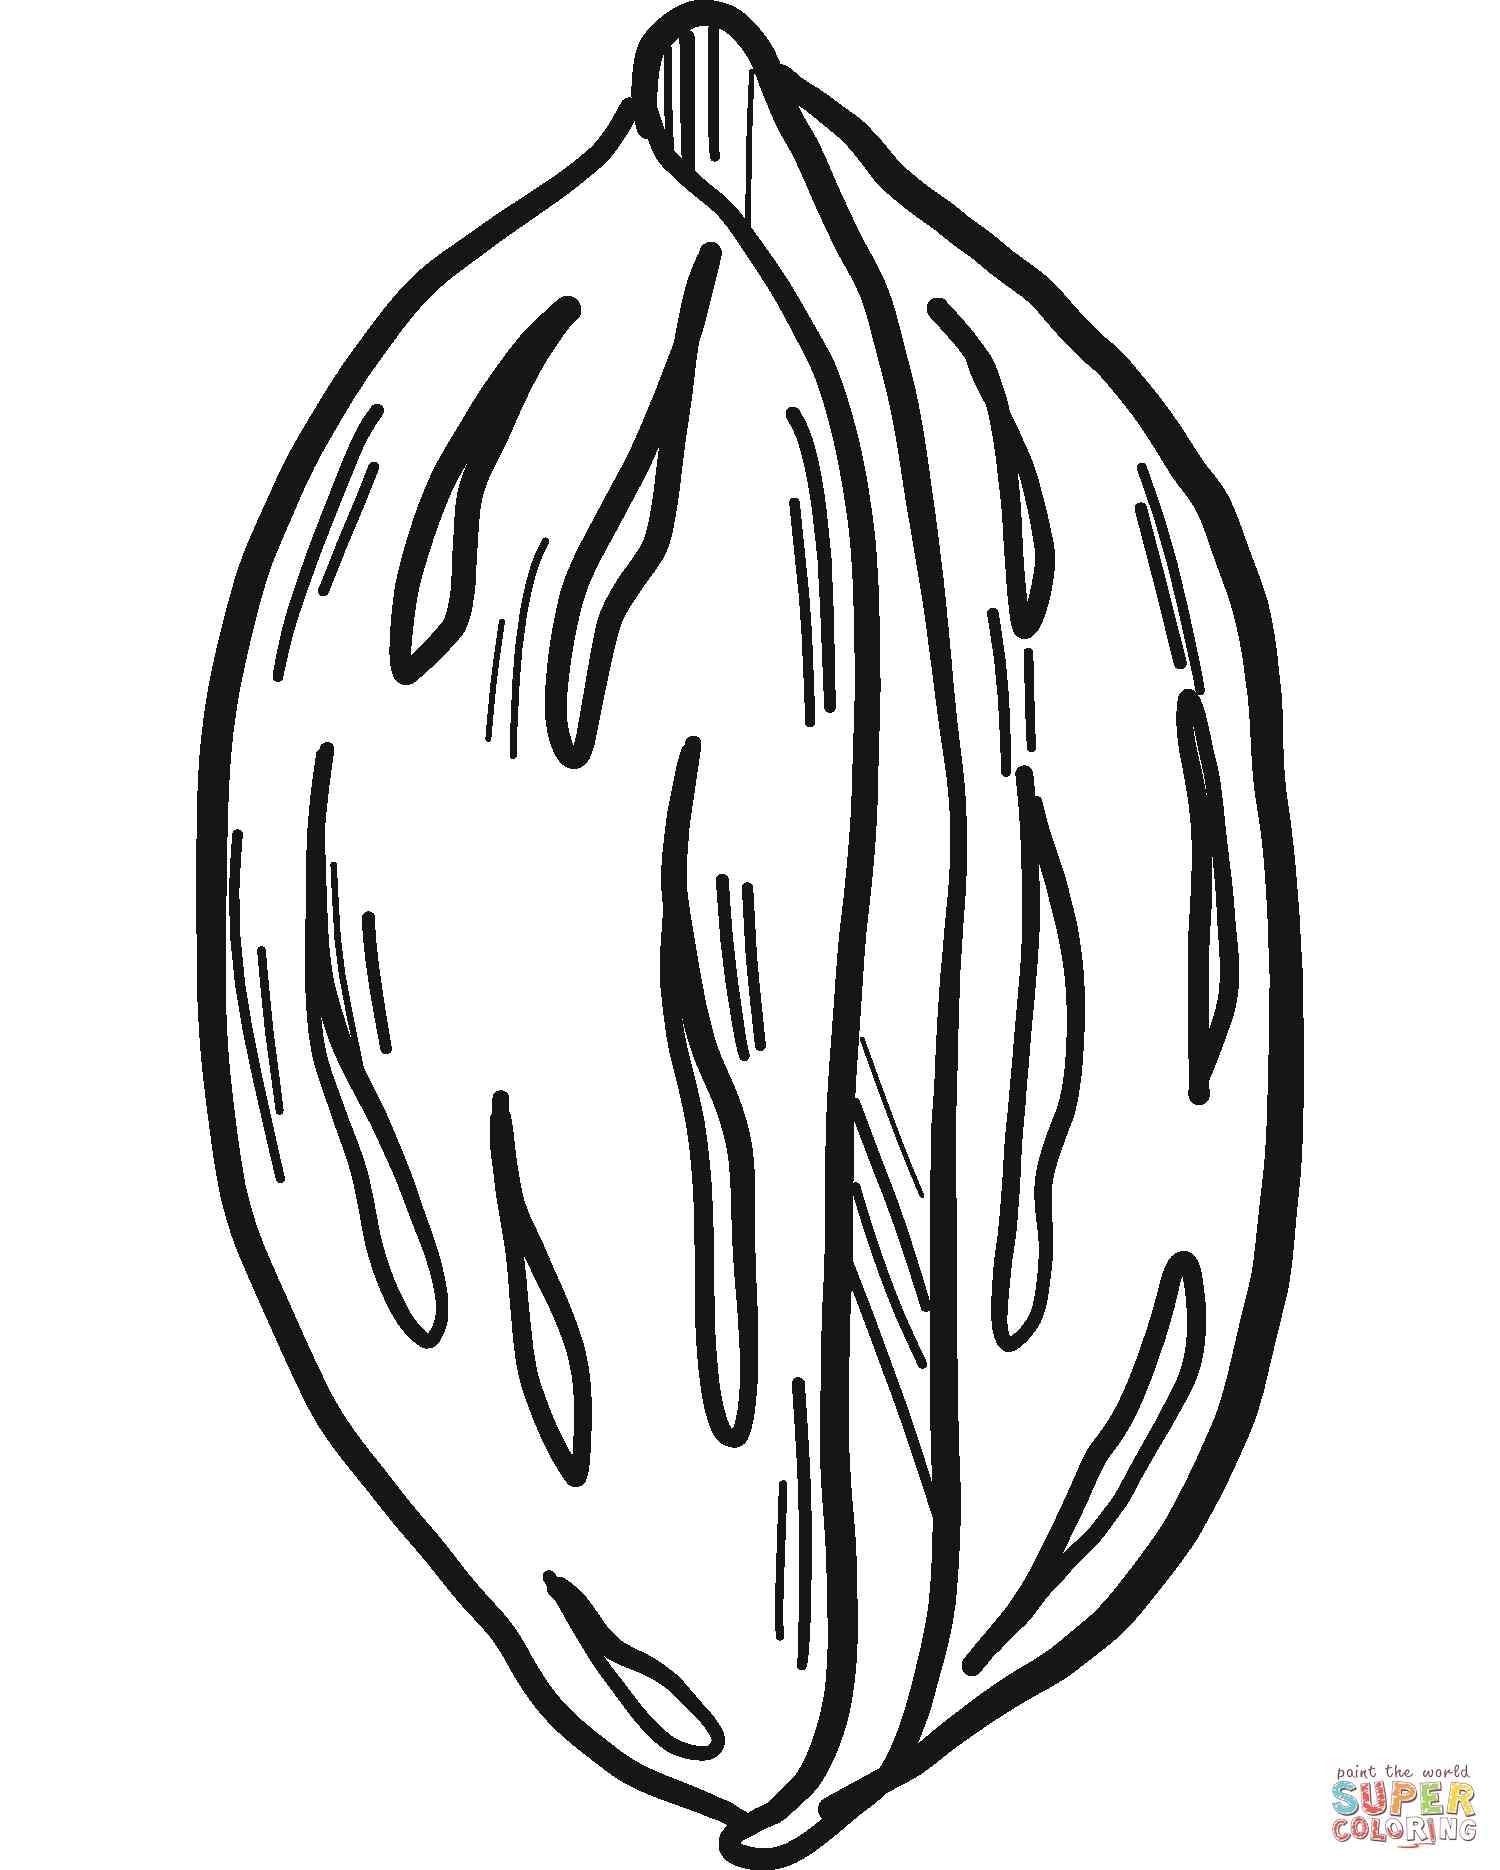
Step 1 – Draw The Shape Outline For The Peach

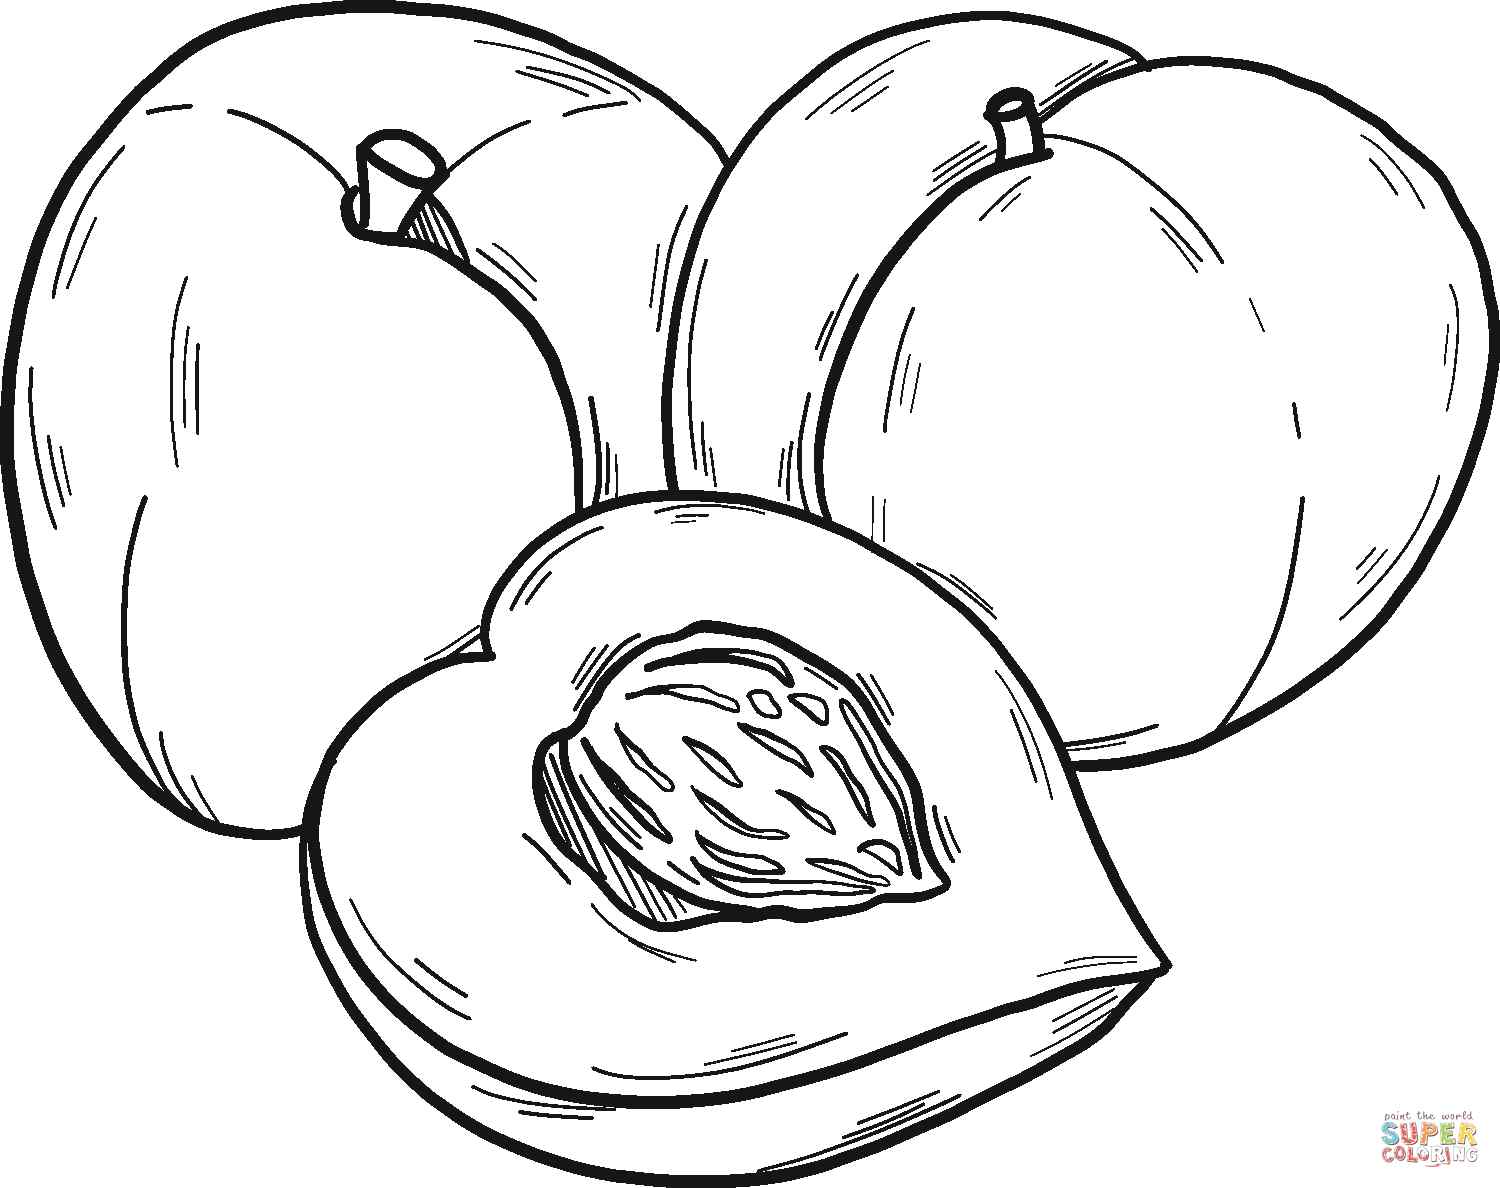
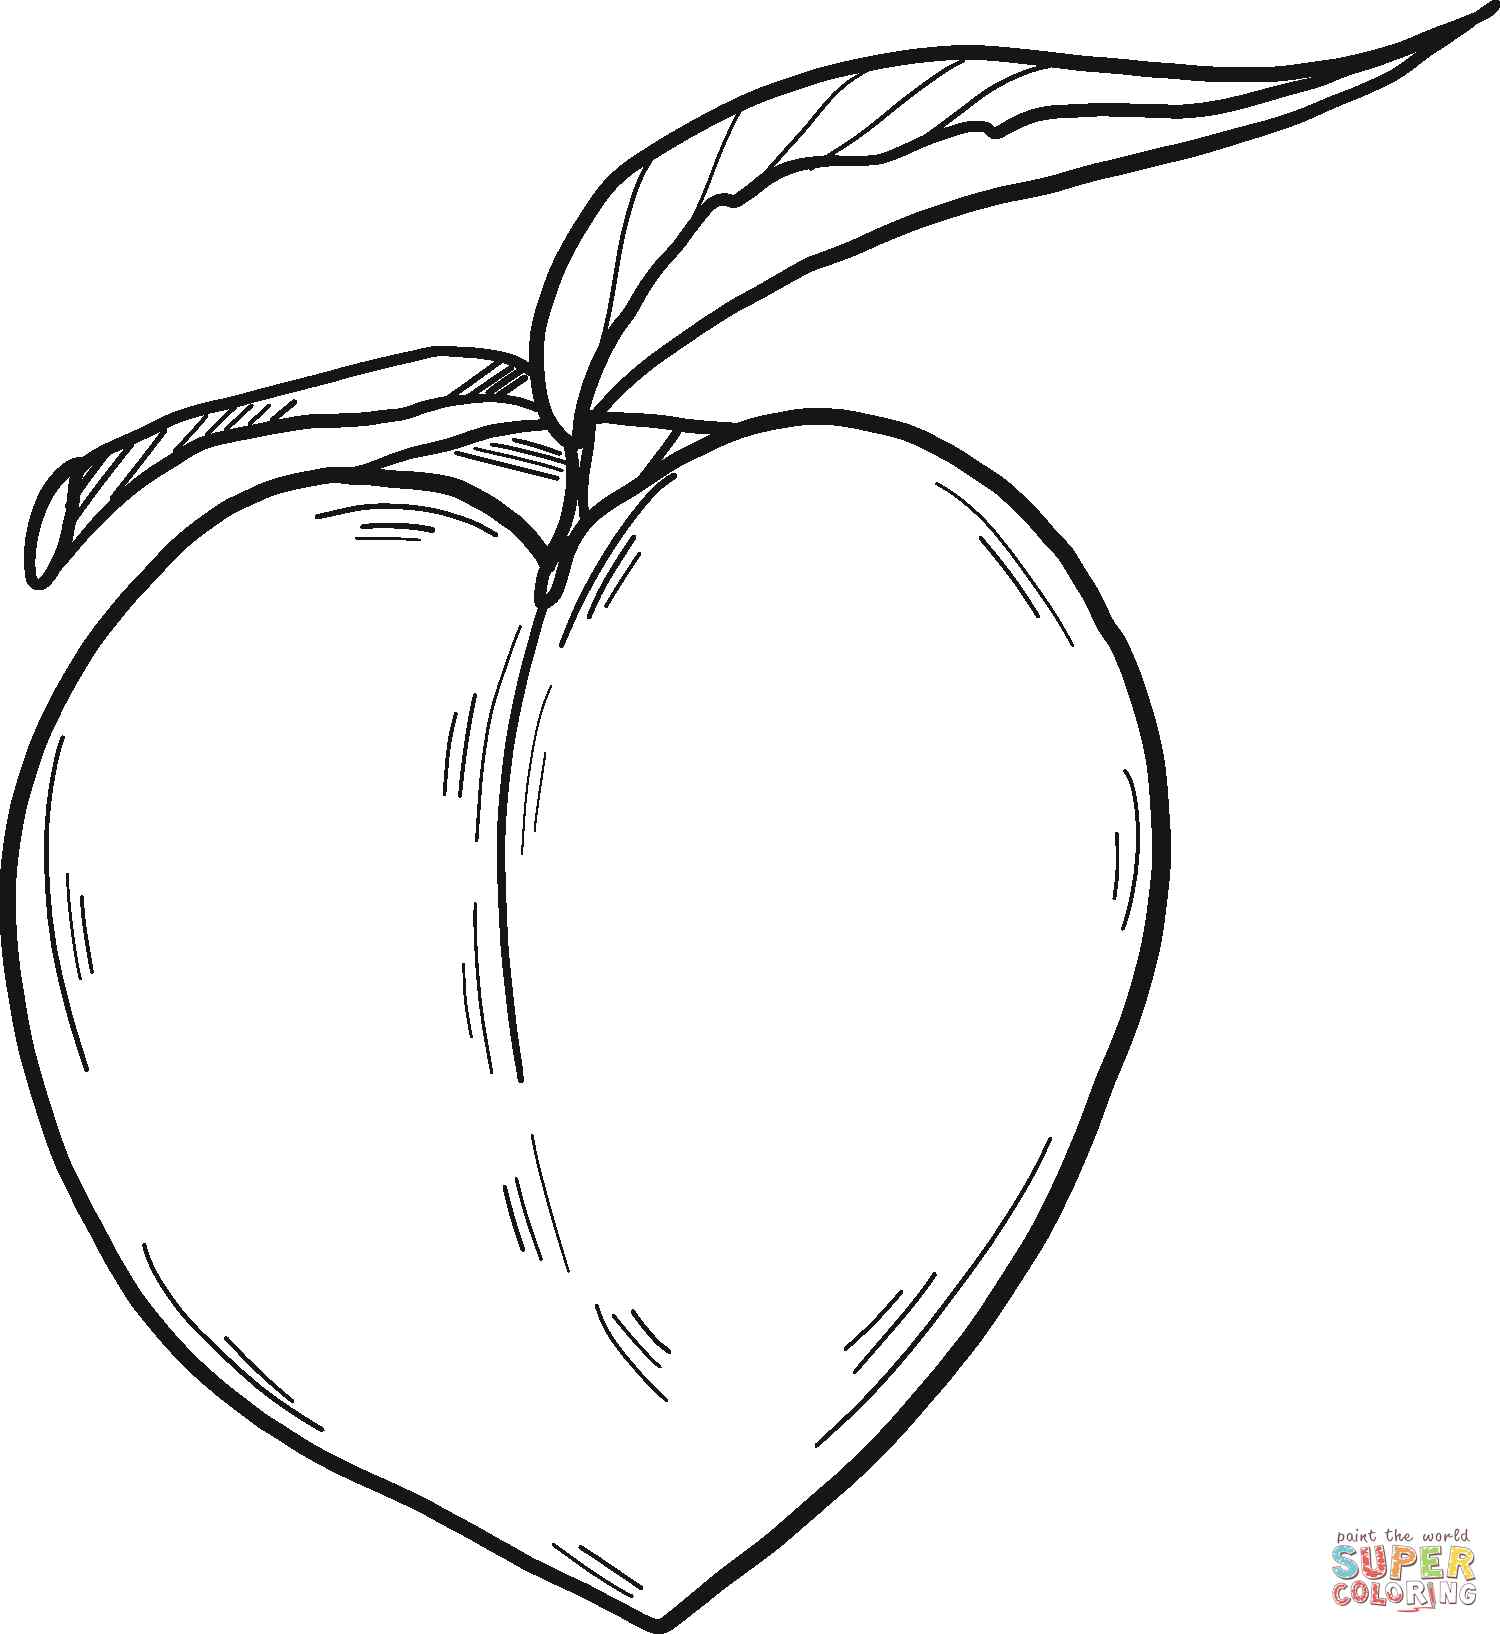
Start on how to draw a peach, you draw the shape outline for the peach. As you see in our reference image, it will be fairly symmetrical on both sides. You can draw the peach itself one half at a time. Make its combined outer shape with a bit of an indent at the top and with a slightly pointy tip at the bottom. If you glimpse it, it looks a bit like a heart. Once you are pleased with your task, you can go to the second step.
Step 2 – Draw The Peach’s Stem

In the second step on how to draw a peach, you must draw a stem for your peach. You add the stem to the top of the peach coming from the indent drawn in the previous step. It’s also pretty simple for you; you’ll use two parallel curves and meet at a cross-section to form a peach’s stem.
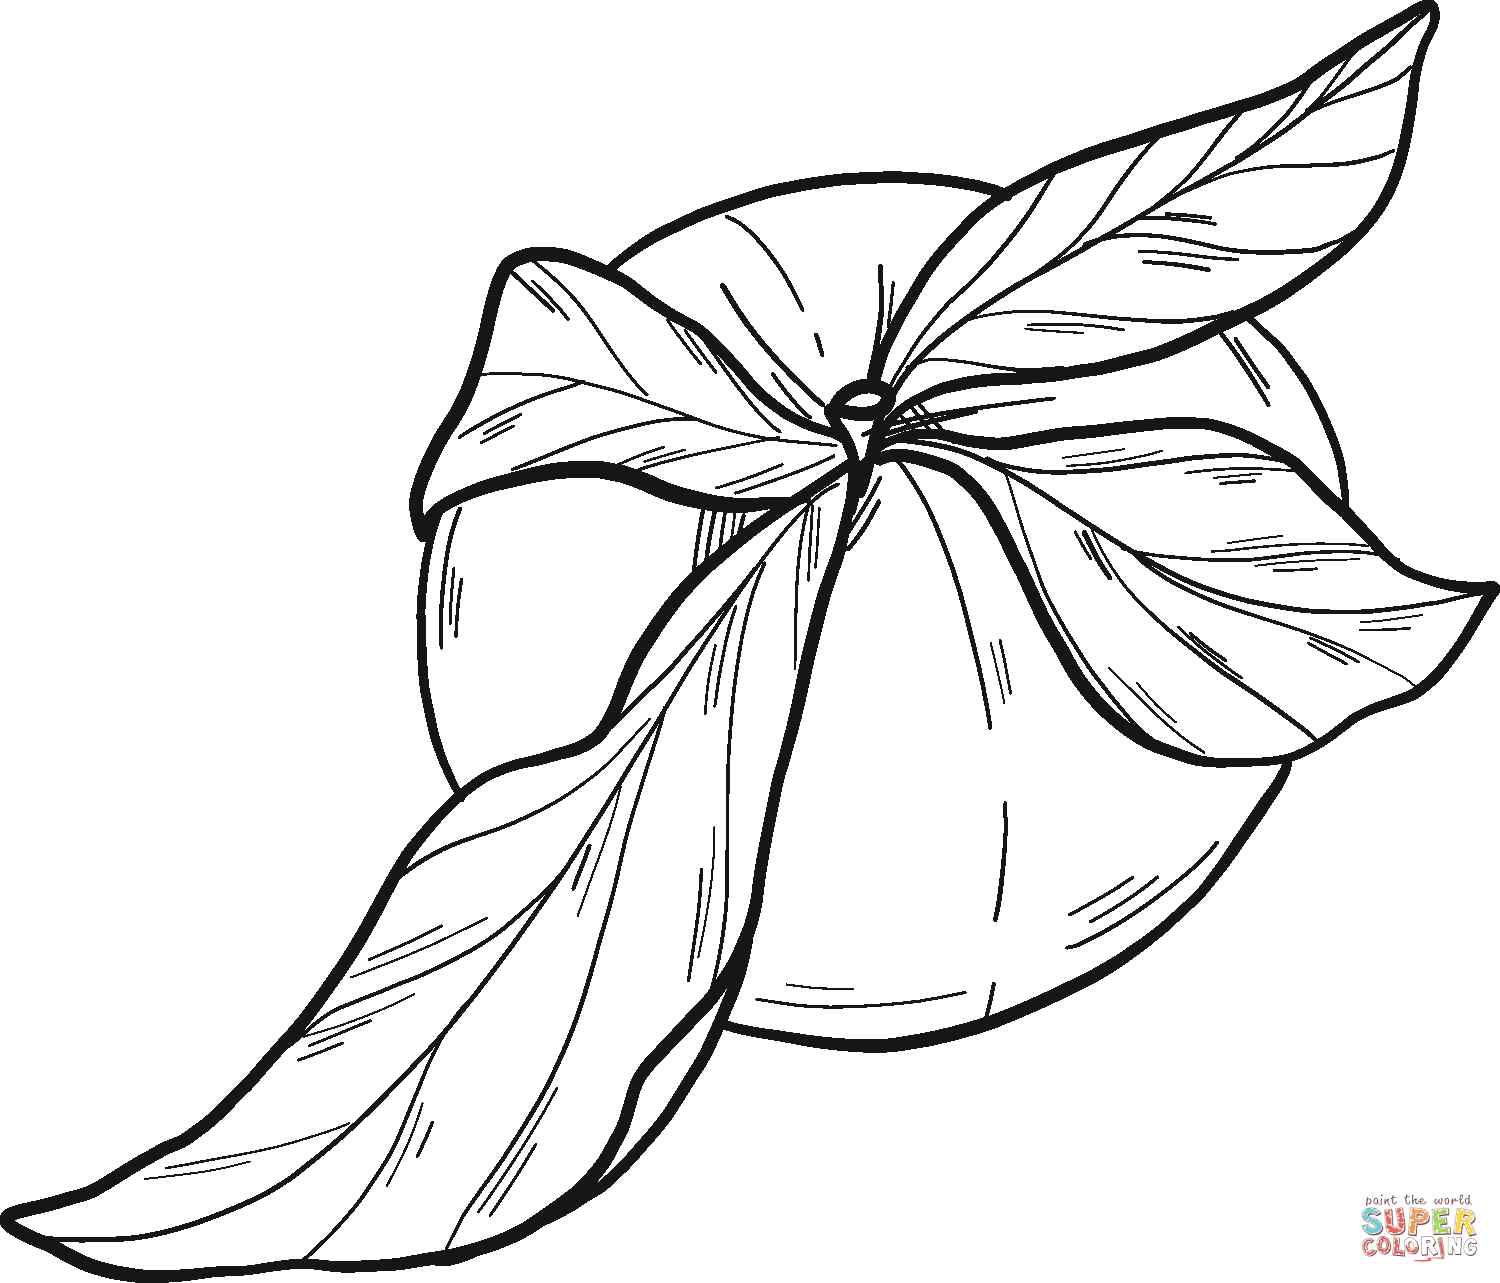
Step 3 – Add A Leaf For The Peach

To make the peach look more accurate, you should add a few leaves simply in this step, add 1 leaf to the stem on the left side. You use two curved lines to make a leaf for a peach. So, you finish the task in this step and move to step 4 to continue.
Step 4 – Add More A Leaf For The Peach

Similar to step 3, in this step, you will draw a leaf on the right side for your peach because you must draw one leaf larger and one smaller for them to look more natural. in the next step, we will finish off with some final details!
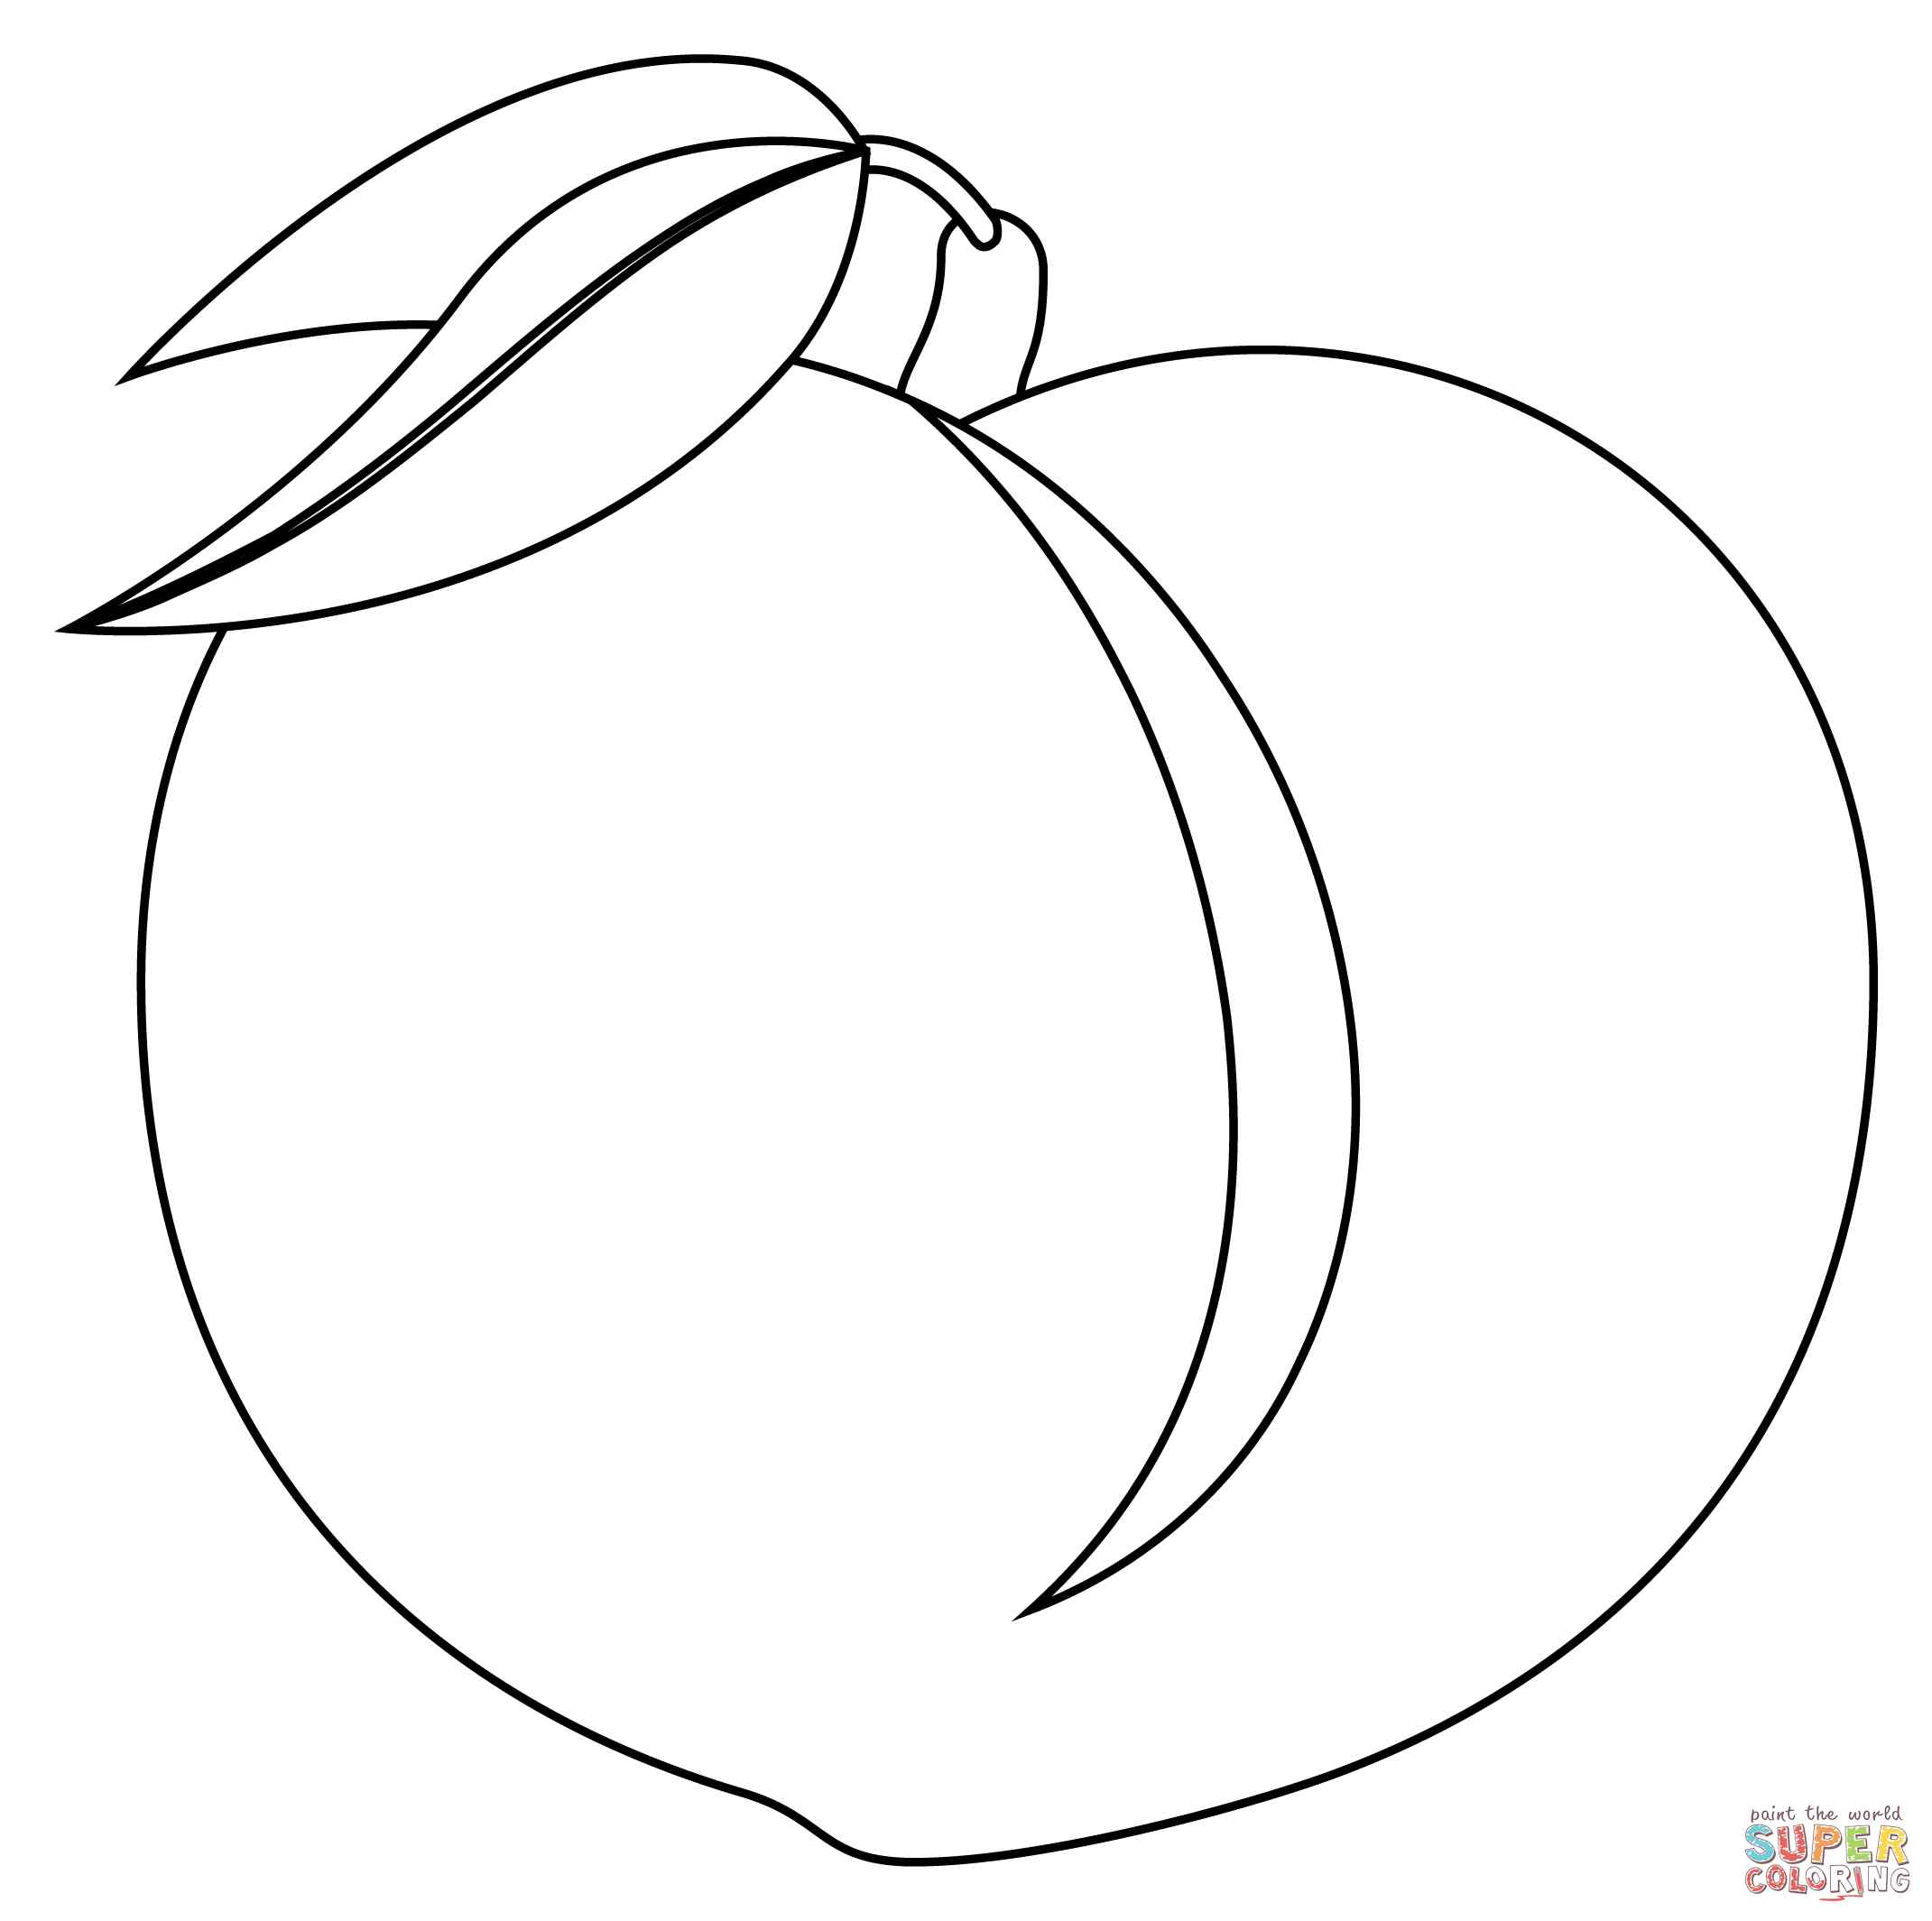
Step 5 – Finish Your Drawing Work

To finish your drawing mission, you must add the veins on the leaves. The veins on each side of a leaf will tend to have corresponding veins on the other side, but you should also draw a few of them out of alignment. Once you’ve finished drawing the veins, check to make sure that everything is in the right place. Now, you can go to the last step for the coloring of the peach.
Step 6 – Color Your Peach

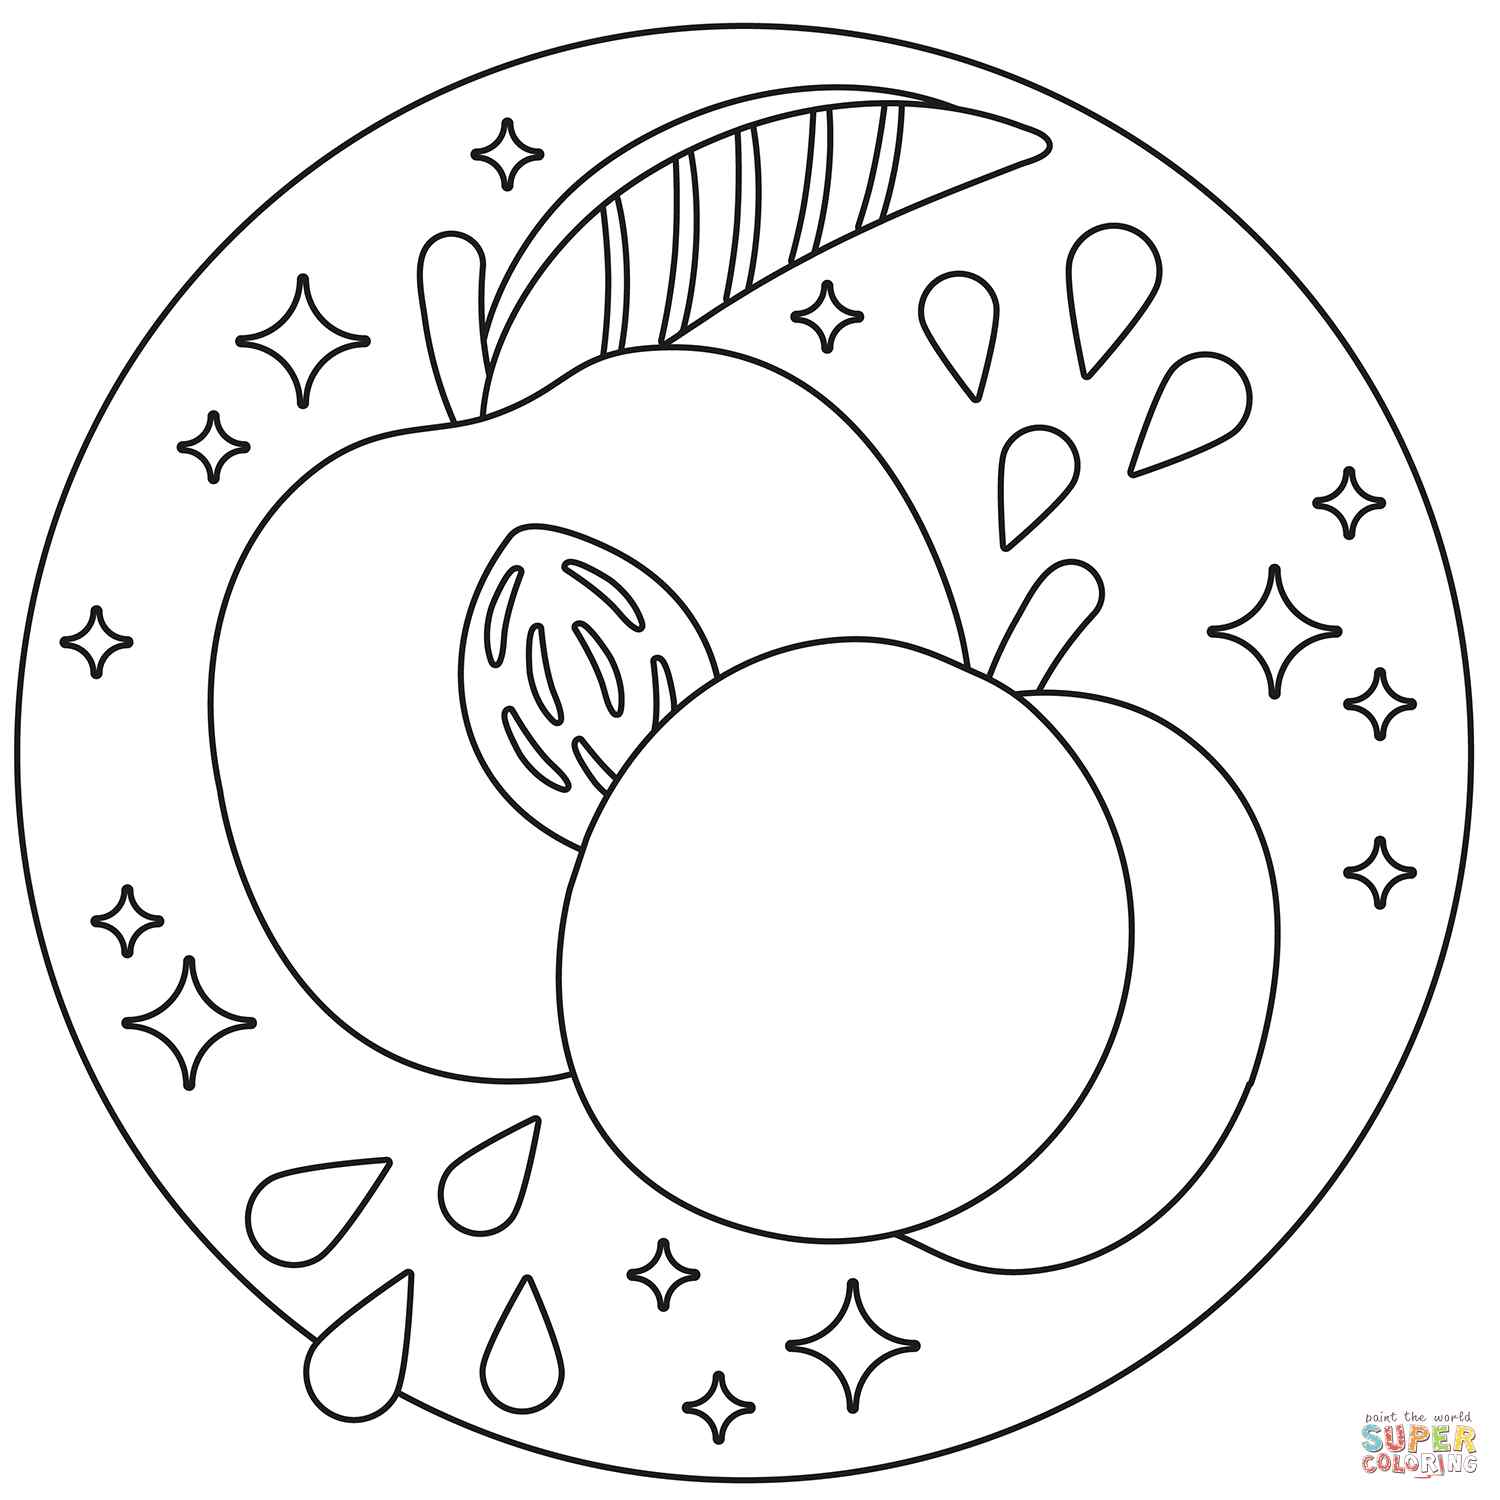
In this step, you will choose a color for your product, peach. This is the part where you can showcase your artistic skills and your ability to mix and match various colors. So, you can take any color and make coloring for your drawing. Here, we chose the natural color of the peach, which is light pink and green for the leaves.
Peach Drawing Is Complete
You finish off your drawing and coloring mission. You can practice your drawing or your coloring task on the peach coloring pages. We update drawing and coloring pages for free on our site you can come here each day. If you like our products, don’t forget to give us a thumb up and recommend them to your friends! You know how to draw a peach with us. This is a pretty simple tutorial, but it can be a good line drawing practice for beginners. And I hope you find these tutorials helpful. Please enjoy and happy drawing!