8 Simple Steps To Create A Nice Robin Drawing – How To Draw A Robin
To Create A Robin Drawing In Just 7 Steps
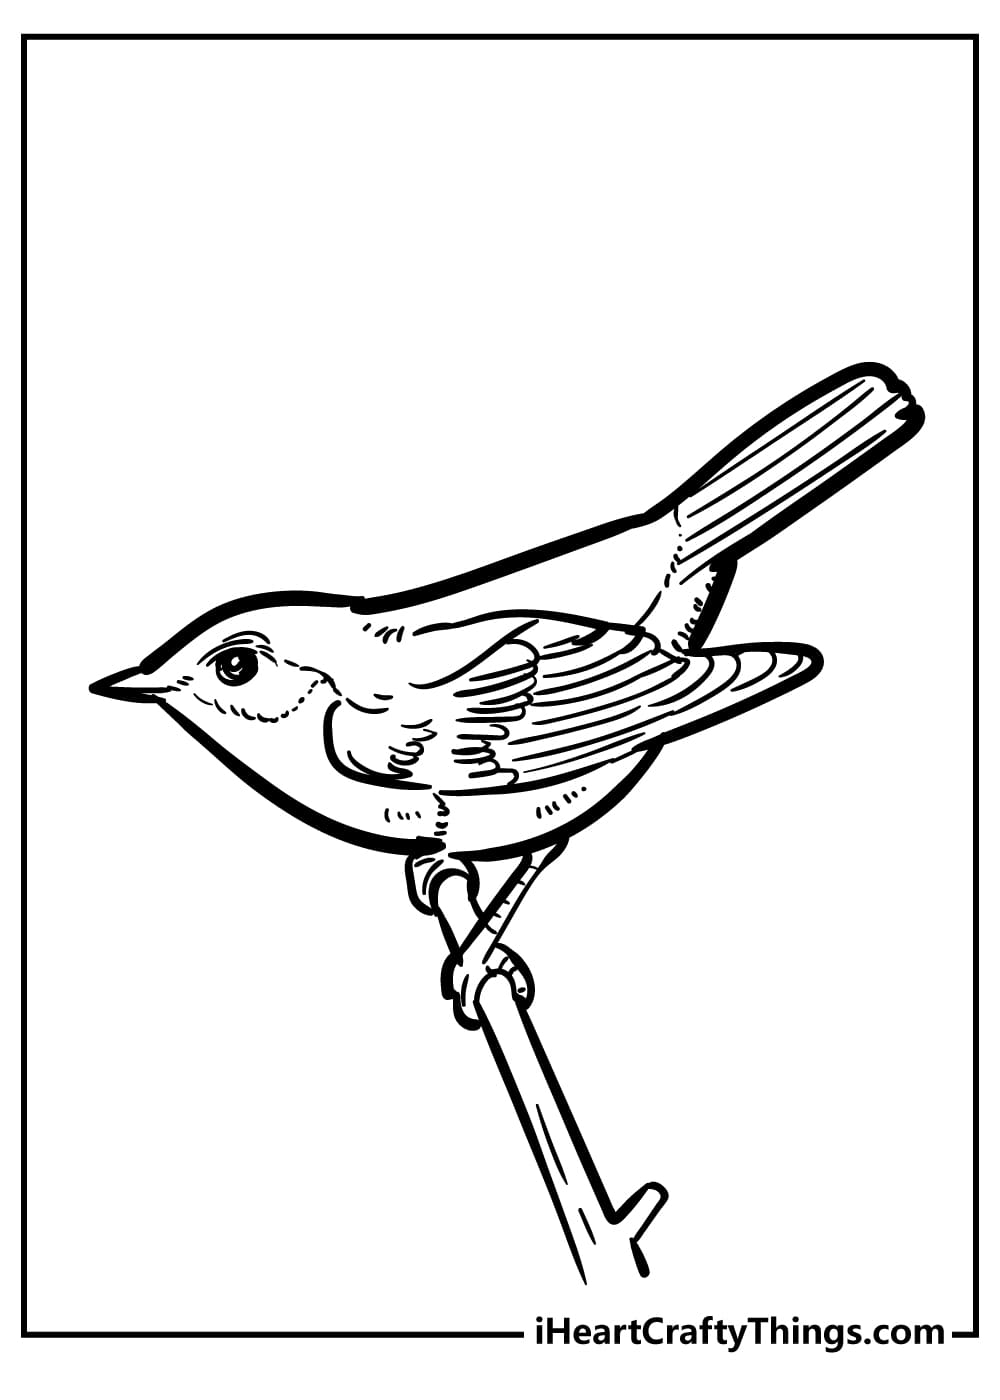
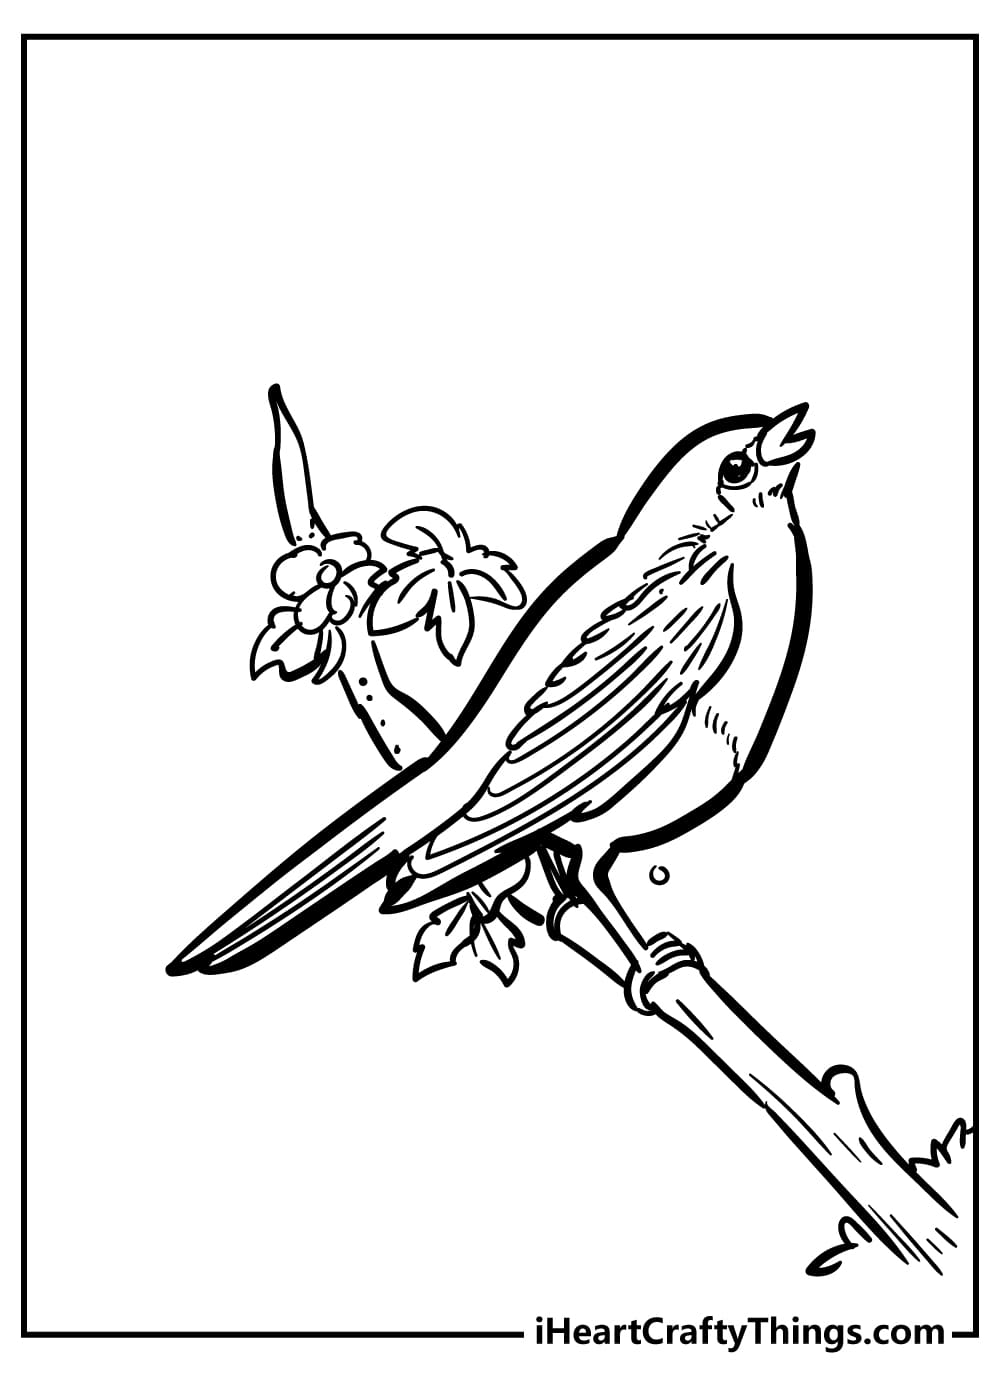
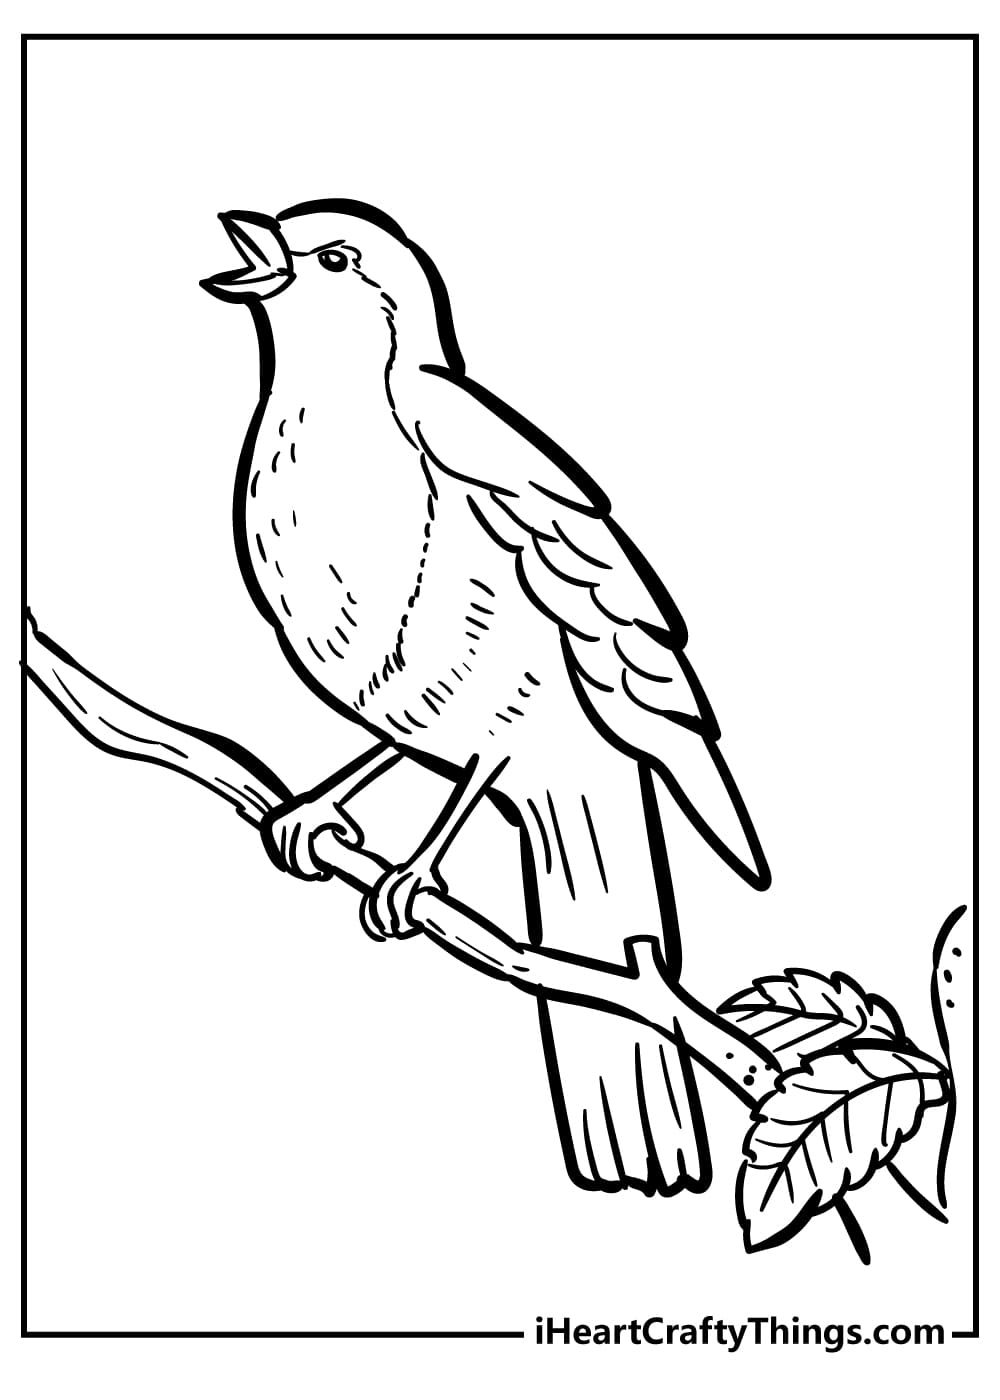
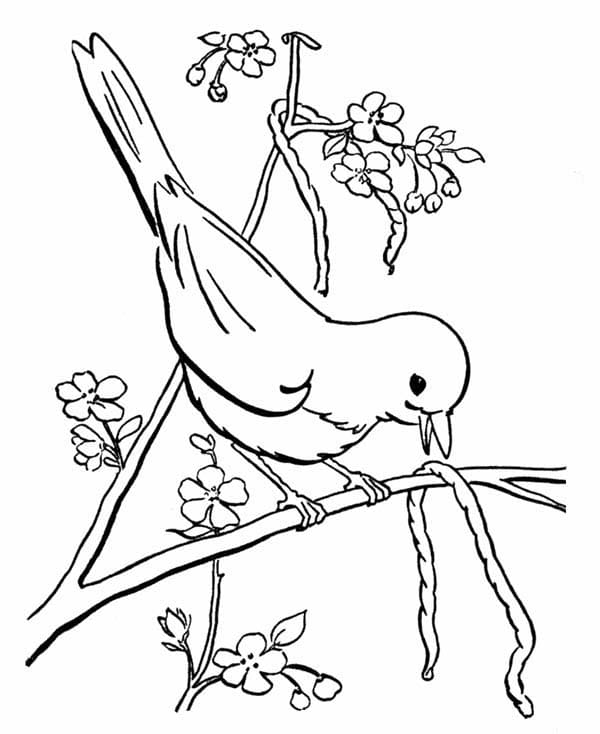
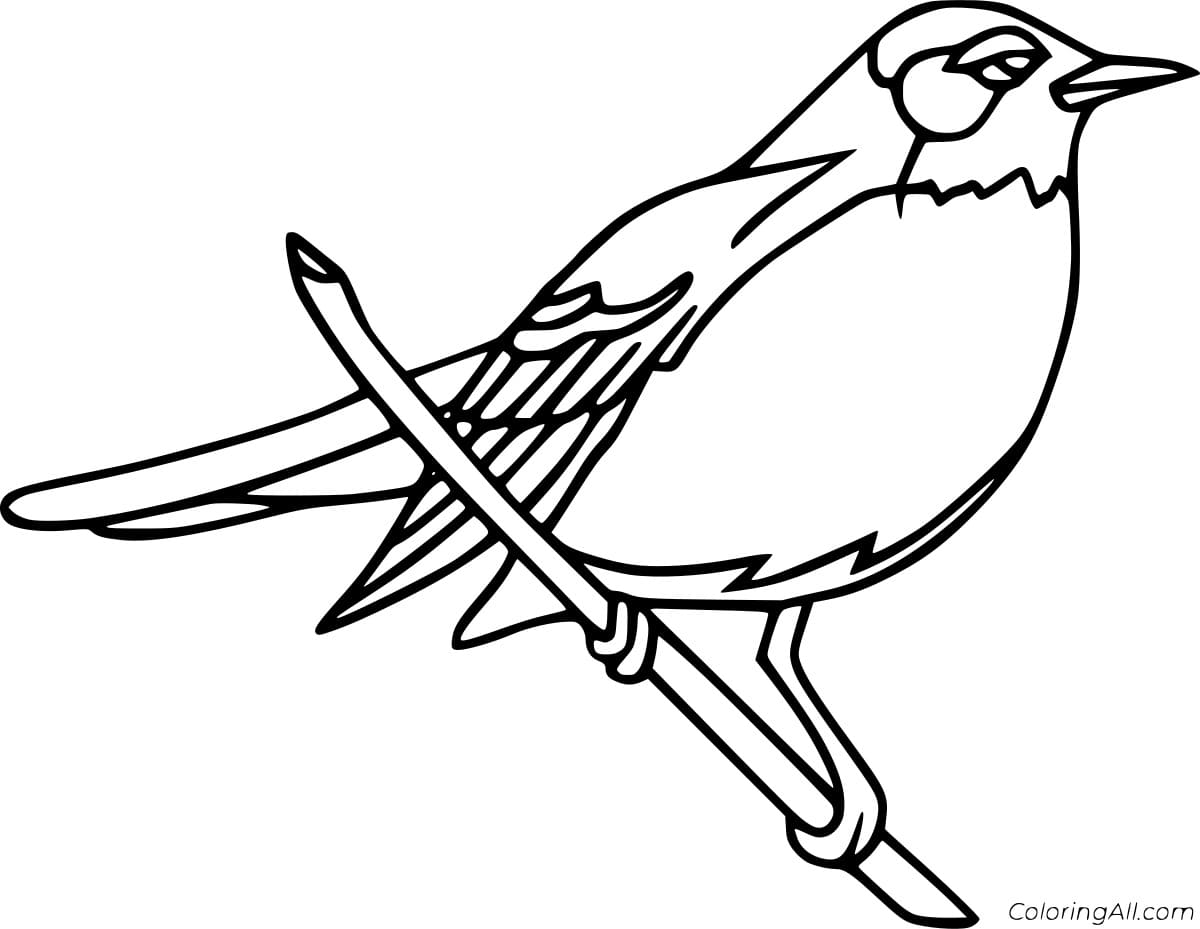
There are countless species of birds worldwide, but robins are quite versatile birds, and you get a chance to make a complete robin drawing with us here.
This is a small bird, common and abundant in some states in the United States.
They are also considered delicate birds, which is why many artists have depicted robins in pictures, history, or books. Today you also have a chance to learn how to draw a robin.
There are seven steps, which means you have to pass seven missions to complete to get a full robin.
It won’t be too difficult if you follow our basic steps, and in each step, we also illustrate to make it easier for you to learn to draw.
We have also arranged this robin drawing in order from easy to difficult, so whether you are a beginner or an expert, you can easily do it.
You also have to prepare necessary supplies like a pen, pencil, paper, colors, and eraser before starting to draw a robin bird.
You will start sketching the robin’s image with the face and wings, then go into more minor details with pencil and paper. So you can easily erase your mistake and redraw it until you feel satisfied.
Once you finish your drawing task with robin, you can choose the suitable colors for your product. The choice of color depends on your preferences, you can choose according to the natural color of the character, or you can also be creative with the color of your choice.
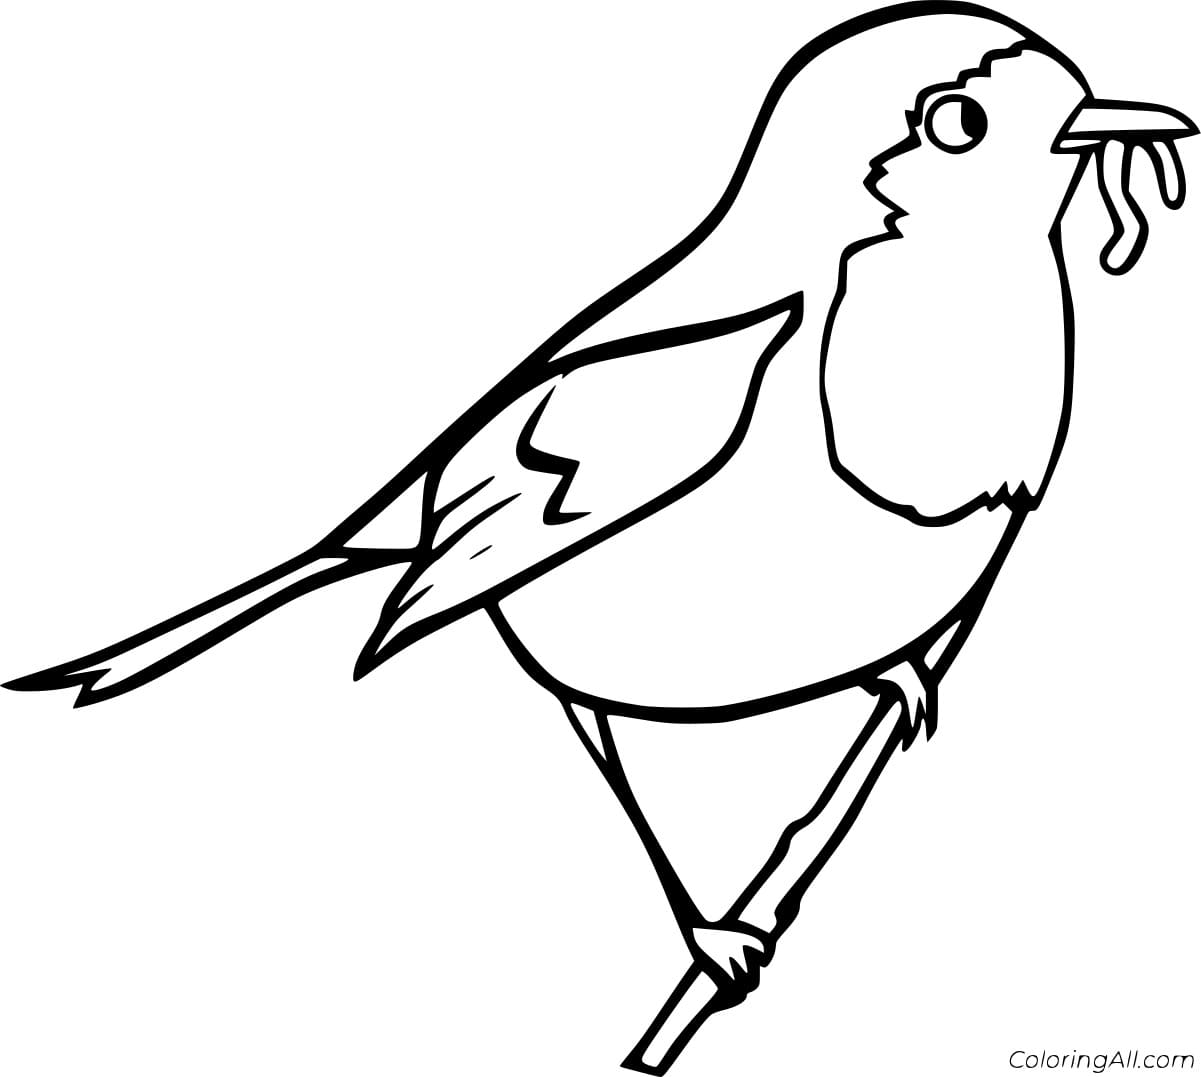
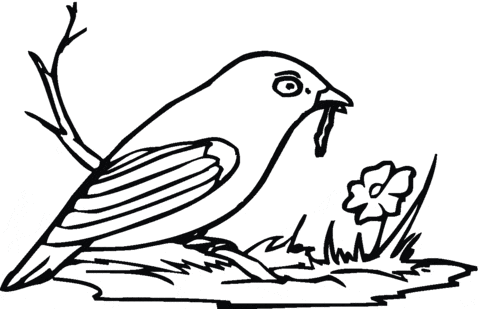
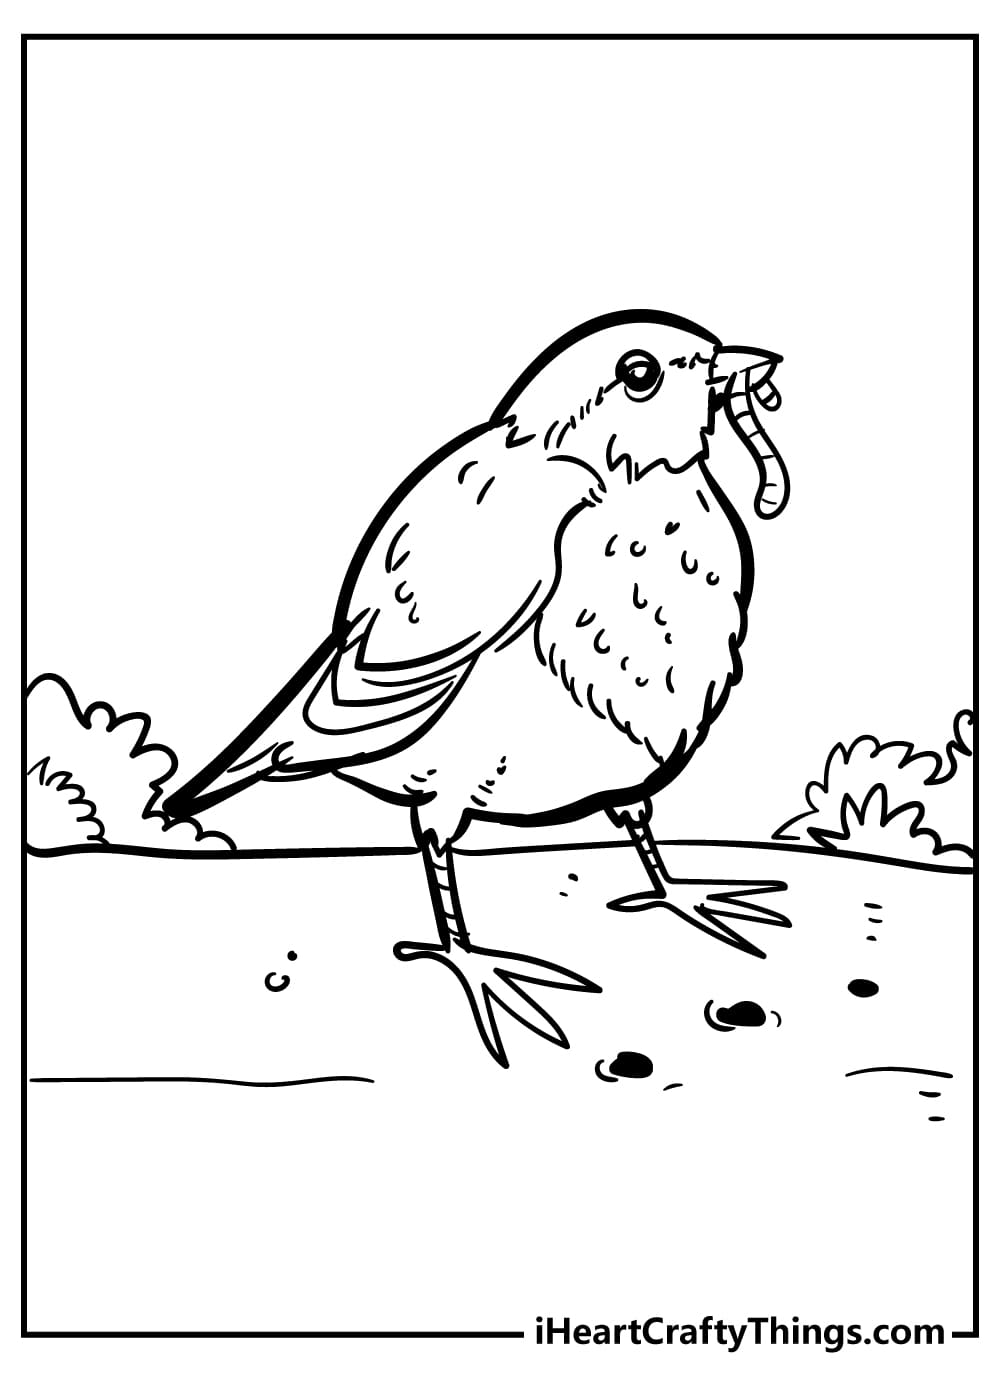
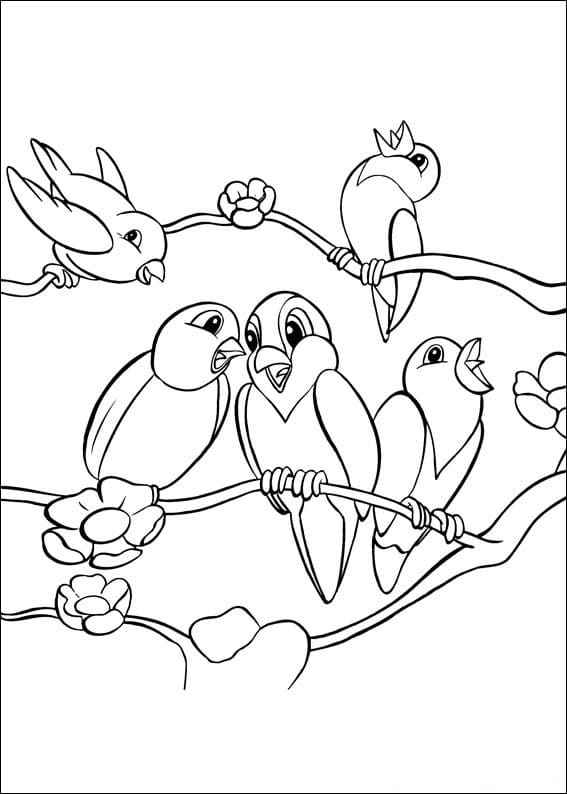
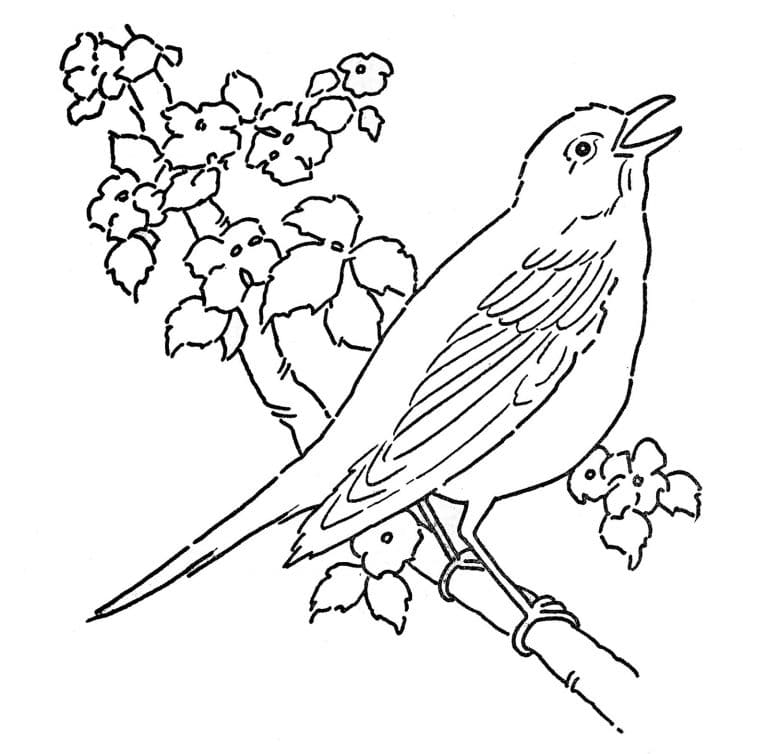
Along with this drawing guide, you can also robin coloring pages for free on our site to practice your drawing and coloring skill. Regularly participating in our activities will improve your drawing and coloring skills.
Let’s get started drawing a robin with us!
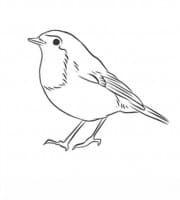
How To Draw Robin – Let’s Get Started!

Step 1 – Draw Beak And Back For Robin

Start to draw a Robin; you use two curved lines for its beak and a long curved line for its back, as you see in our reference image.
Your task in this first step of our guide on drawing a robin is simple, and you spend some minutes finishing before moving to the second step.
Step 2 – Draw Neck, Chest, And Legs Outline For Your Bird

For this second step of your robin drawing, you use a curved line from its beak to draw the neck and head and show its chest.
You will use two parallel lines to draw each leg of your robin.
So you have finished the task in this part, you can move to the third step and continue your drawing.
Step 3 – Draw Wings For Your Robin

You must draw your bird’s wings in this step. Use short curved lines and straight lines for your task.
Once you have finished drawing an image similar to ours in this third step of our guide on how to draw a robin, you can go to the next step.
Step 4 – Complete Body And Tail For Your Robin

Your work in this step of your robin drawing is to draw its body and tail.
Like many other birds, the robin has a long and beautiful tail. From the wings, you use curved lines to draw the seat for it.
Use another curved line to complete its body, as seen in our reference picture.
Step 5 – Draw Your Robin’s Eyes

Since we are drawing the robin sideways, you will attract the robin with one eye that we can see.
Use a circle to draw eyes for the robin, draw a circle inside for the pupils, and continue using two curved lines on each eye to draw eyelids, as you see in our illustration.
Step 6 – Finish Off The Robin’s Legs

If in step 2 you can only sketch two legs for a robin, in this step, you draw details of each toe and foot for its legs.
You draw three toes for each foot for your robin drawing.
Once you’re happy with your work, you can move to the last step, the coloring of your product.
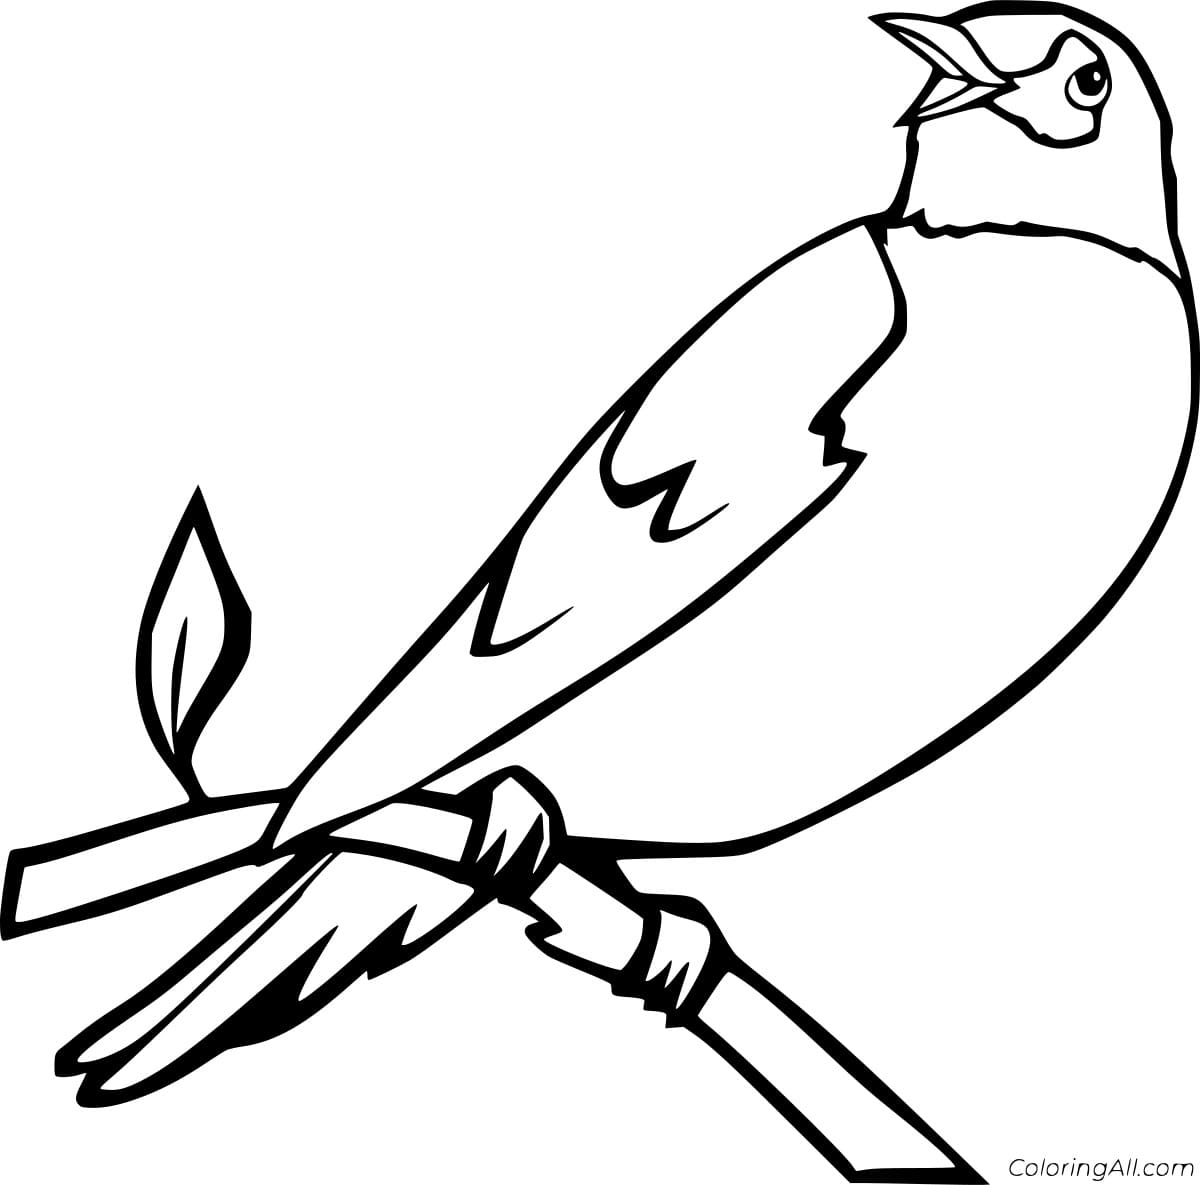
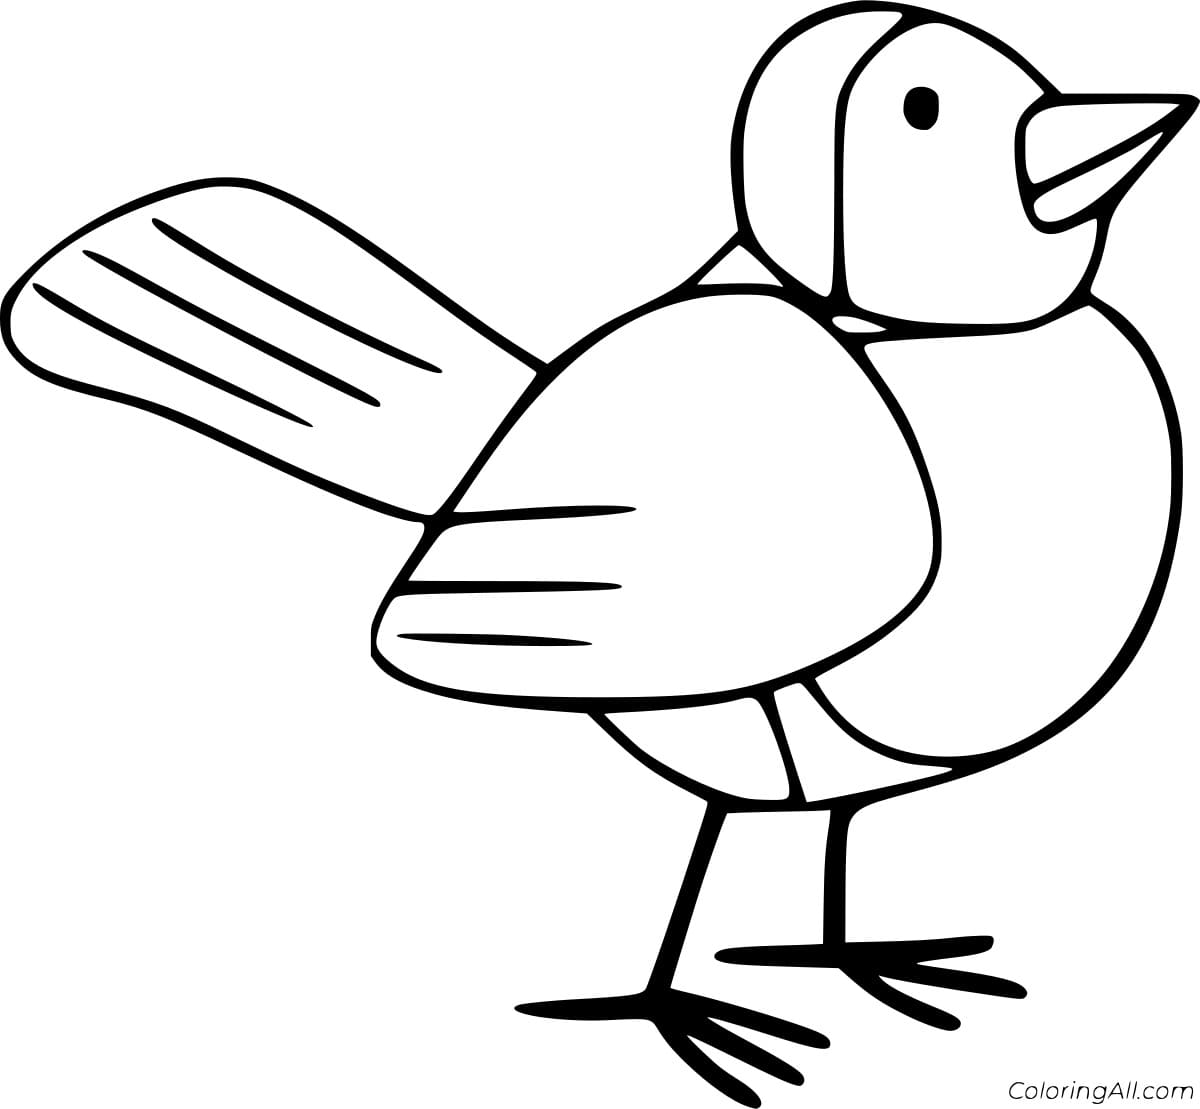
Step 7 – Color Your Robin

It’s time to choose suitable colors for your bird. As you see in our reference, we choose red and black for our robin drawing.
You can also use the same color as our robin bird or be creative with different colors. In this step, you are free to create as long as you feel your picture is beautiful.
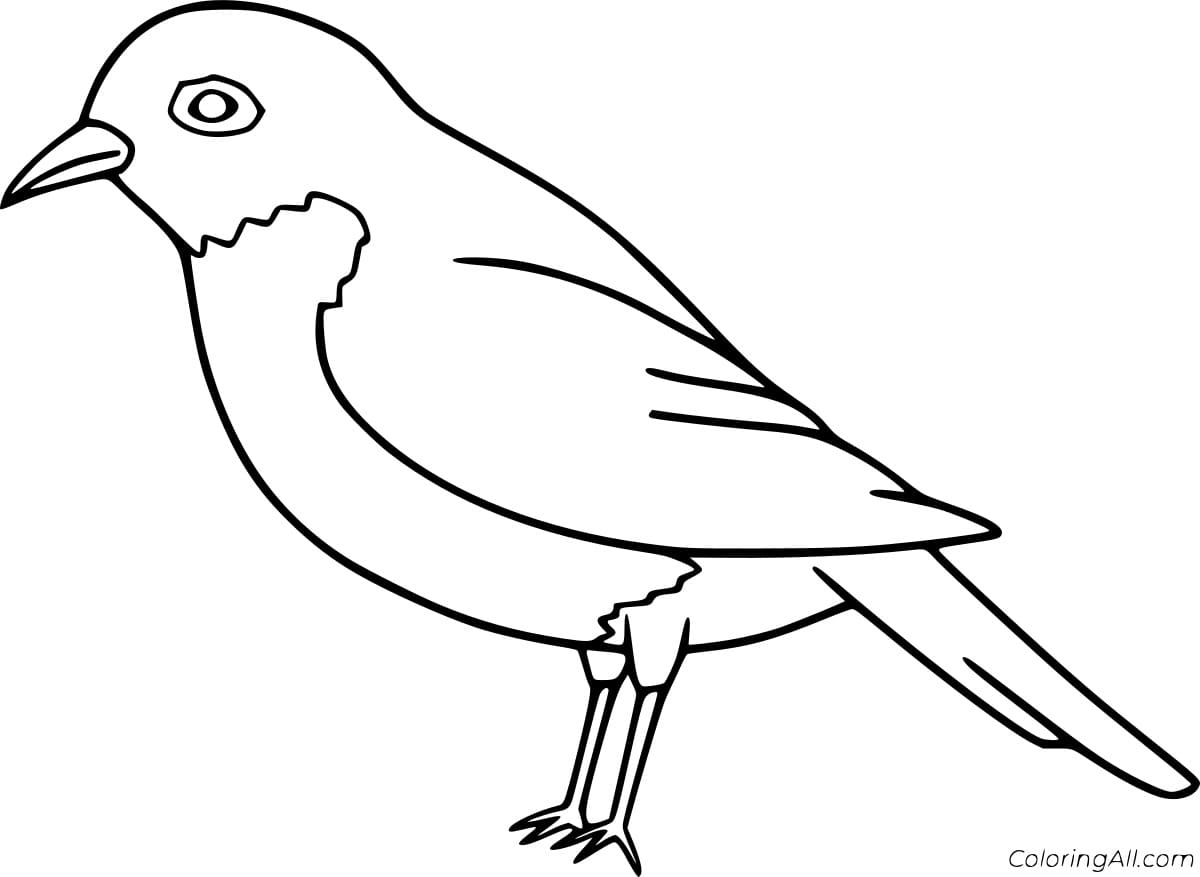
Your Robin Drawing Is Complete
So, you must finish all the tasks to get a complete robin drawing. It’s fantastic, I hope you have a good time with our drawing tutorial.
On our website Coloringcool.com, in addition to robin drawing tutorials, you can find many other drawing tutorials, coloring pages, and informative news on blog catalogs.
You also can enjoy some similar to robin drawing such as Mockingbird drawing, sparrow drawing, seagull drawing, or blue jay drawing. Here are the tutorials related to drawing birds; hopefully, they will help you to enrich your drawing learning collection.
We update them daily, so you can come here each day to enjoy after the hard-working hours to balance your life.
Life without entertainment is boring, so we advise you to find a suitable entertainment channel. Drawing and coloring is a better choice; this free entertainment channel is ideal for all ages. Why not?