8 Simple Steps To Create A Nice Mockingbird Drawing – How To Draw A Mockingbird
Going To Eight Easy Steps To Create A Mockingbird
In our today’s guide, you get an opportunity to create a complete mockingbird drawing with us. You will follow our instructions and get a perfect product through eight simple steps.
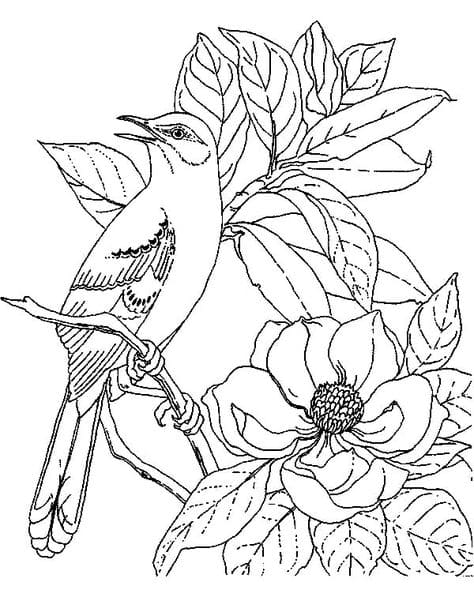
Mockingbird is a wild bird that lives all over the world. In addition to the beauty with wonderful plumage, you also see this bird has a memorable song.
Because of the attraction of mockingbirds, many real artists have many works related to this lovely bird.
You have eight missions equivalent to eight steps to finish and get a perfect mockingbird.
To draw a mockingbird is indeed a lot of detail and not easy, but if you follow our step-by-step instructions, you will find it is not too difficult, and I am sure you will be satisfied with the final result.
This mockingbird drawing tutorial takes about 30 minutes, but If you have a talent for drawing and are sharp in learning to draw, you can finish it sooner.
You must prepare all the necessary supplies to start drawing a mockingbird, such as a pencil, pen, paper, and eraser. Then you will draw this bird with a pencil and paper; when using the pencil to draw, you will quickly erase the wrong line and correct it until you are satisfied with your task. Once you finish off your drawing task, you will choose the suitable for your products.
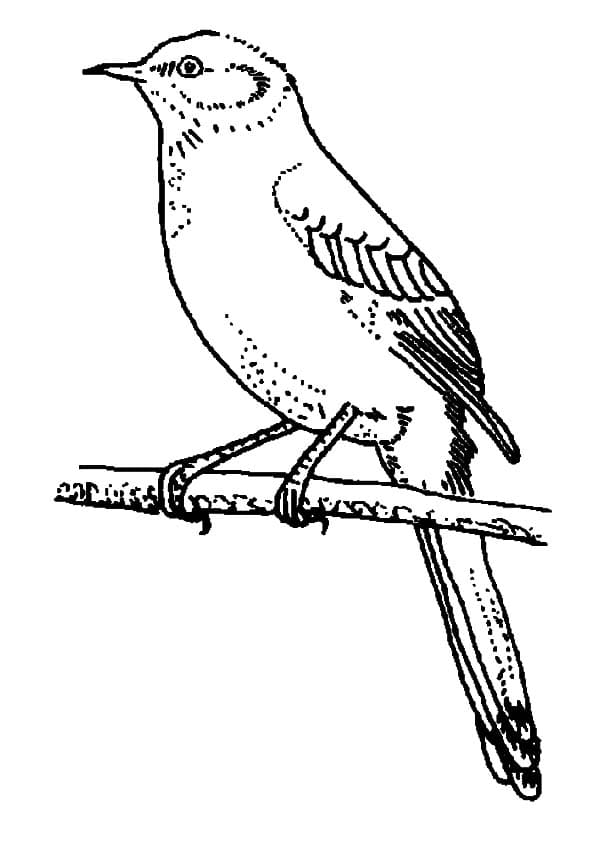
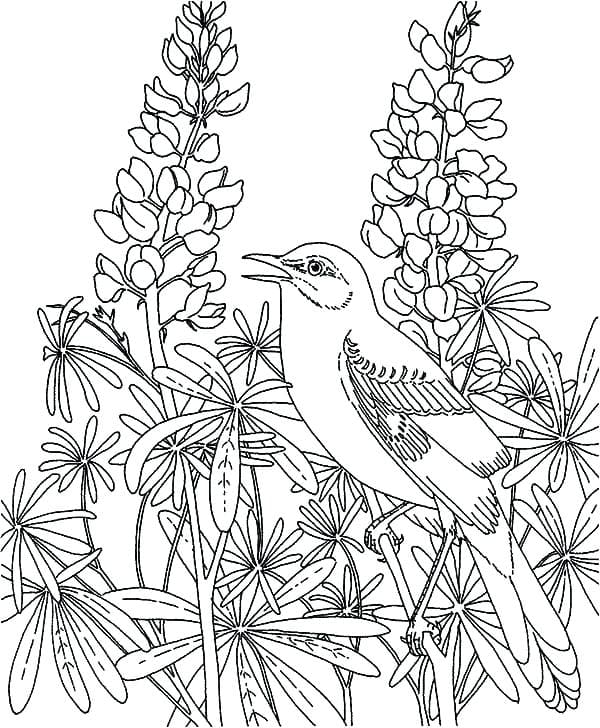
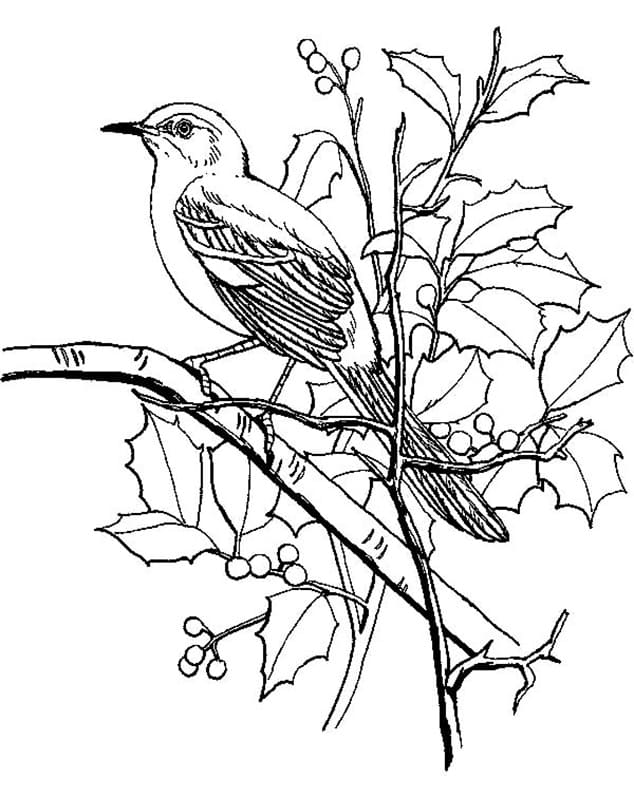
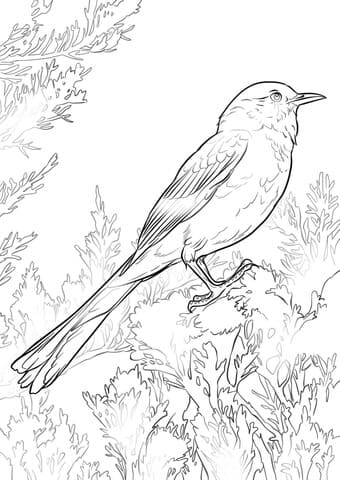
Along with this drawing guide, you can enjoy mockingbird coloring pages for free on our website.
I believe that when you practice a lot about drawing, you will become proficient at drawing and love this entertainment channel.
We are going to eight steps on how to draw a mockingbird with us!
How To Draw A Mockingbird – Let’s Get Started!

Step 1 – Draw Mockingbird’s Head

For the first step on how to draw a mockingbird, you must draw its head.
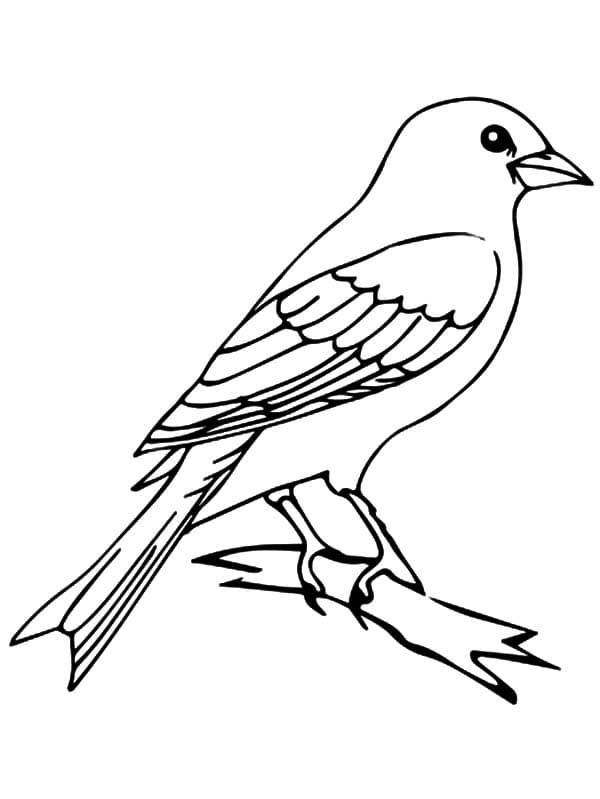
First, you will draw the mockingbird’s beak and then use the curve to draw its head, as you see in our reference image.
It’s simple. It will take a few minutes to complete this mission and quickly move to the second step.
Step 2 – Draw Neck And Chest For Mockingbird

You complete the mockingbird’s head, and now, you start to draw the body for your bird. You continue to use the curved lines for the neck and chest.
Your task in this step also is simple, and you spend some minutes finishing it. And once you’re happy with your image, you can come to the third step.
Step 3 – Draw Mockingbird’s Wings

It’s time to draw wings for your bird. The mockingbird’s wings are pretty broad, and we are drawing a side of the bird, so we only need the part of the wing that we can see.
The wings will have a lot of feathers, so you need to use small lines to draw the furs on the wings, as shown.
Step 4 – Draw Mockingbird’s Tail

Your task in this fourth step of our guide on how to draw a mockingbird is to create its tail. You use straight lines and curved lines for this task.
Once all details for the bird’s tail are done, you will come to step 5 to continue your drawing.
Step 5 – Draw A Leg For Mockingbird

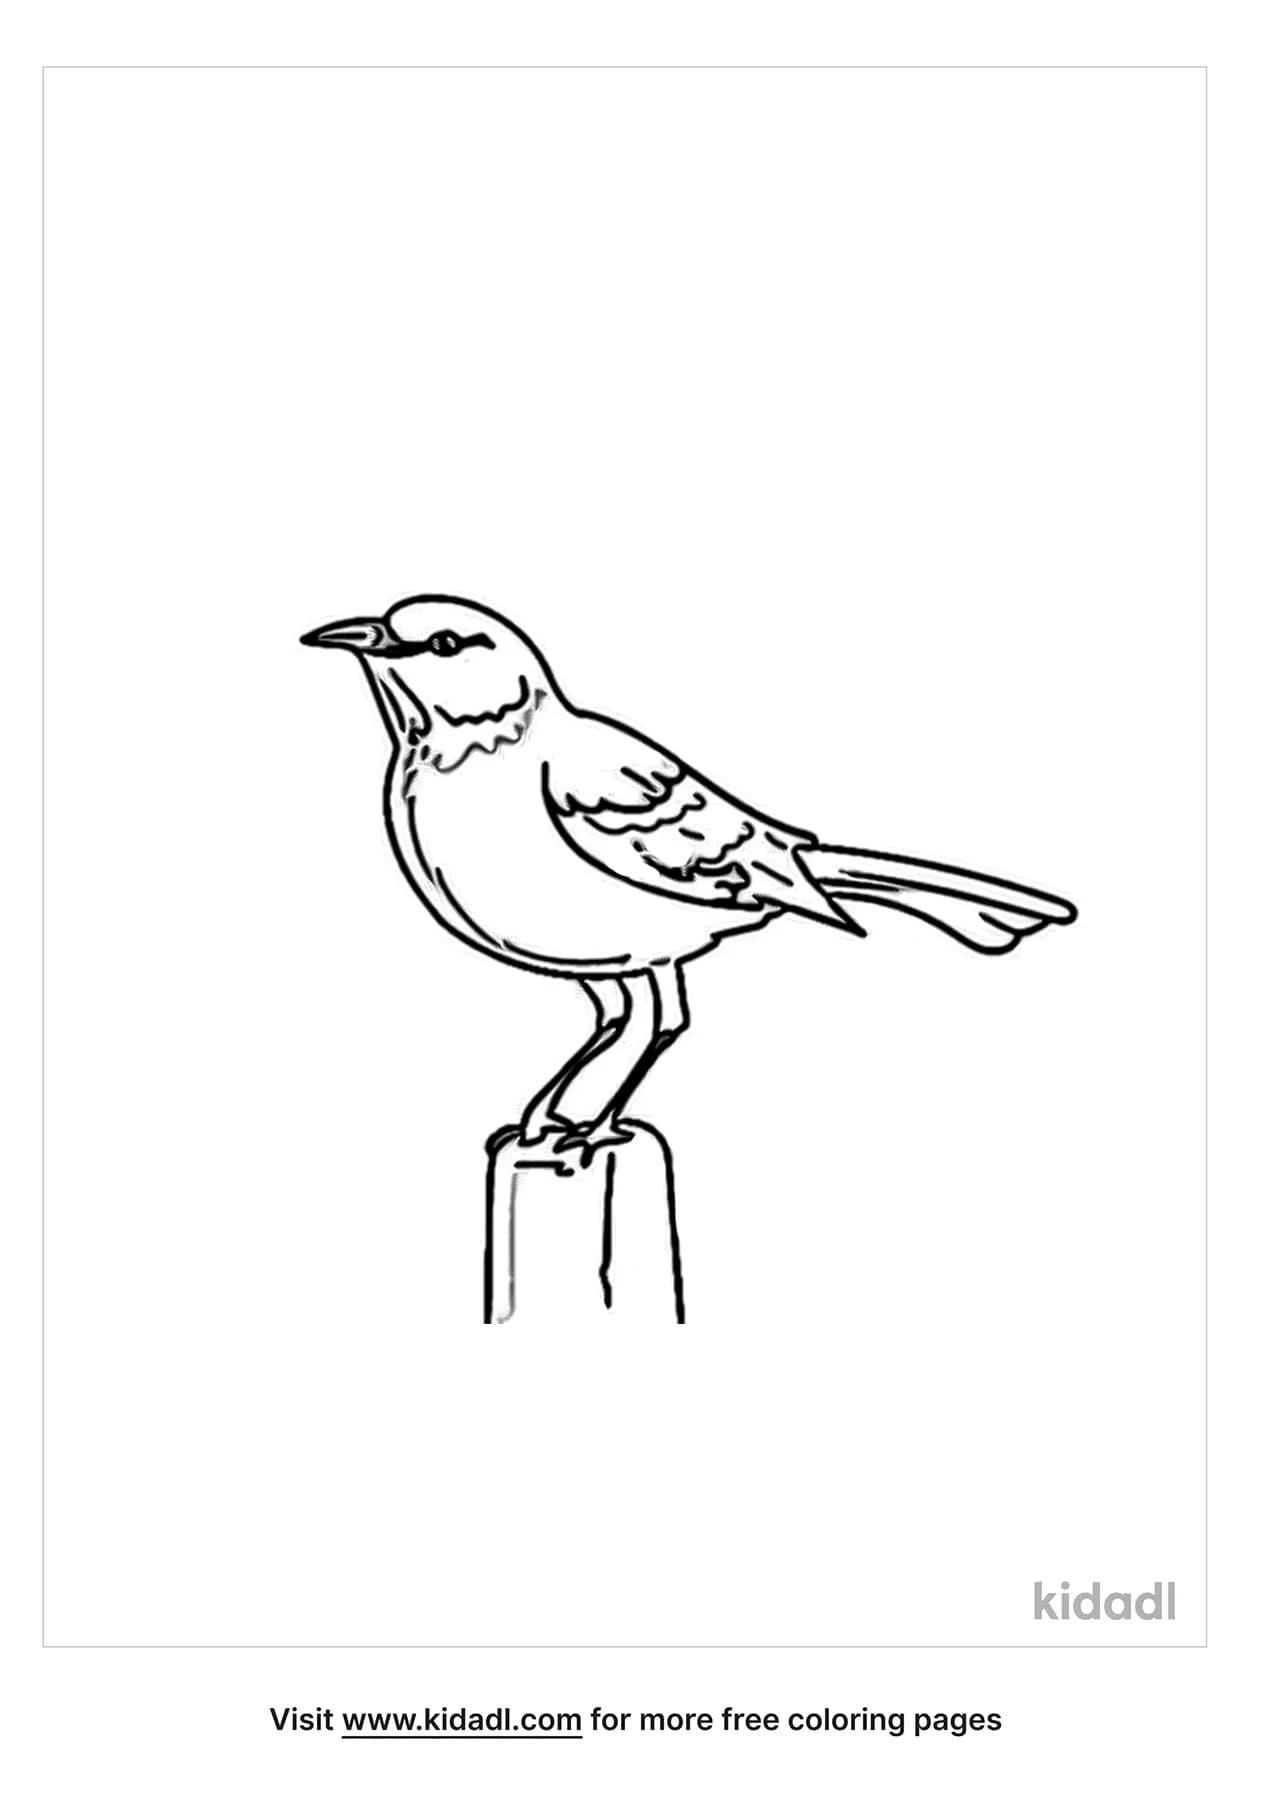
Once you have drawn the body, you begin pulling the bird’s leg. Like other birds, mockingbirds have four toes, one big toe and the other three smaller. You draw the leg with some lines and finish the foot with the toes we can see. You continue to draw legs in the next step.
Step 6 – Draw The Second Leg

Like step 5, in this step, you must draw the second leg for your mockingbird drawing. You use curved lines and straight lines for this mission.
There is also a bit of difficulty here; you can look at our reference and follow it.
Step 7 – Finish Off Your Drawing Mission

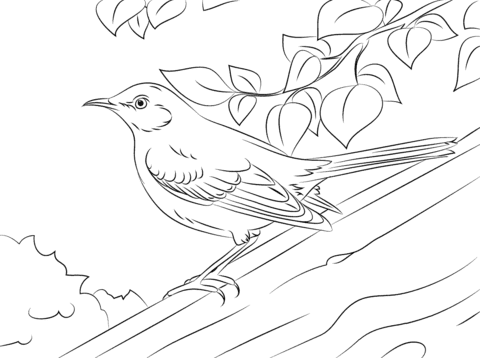
You finish your drawing mission with the branch on which the mockingbird sits.
You will use two seemingly parallel lines, and at the end of the branch, you will draw two smaller components.
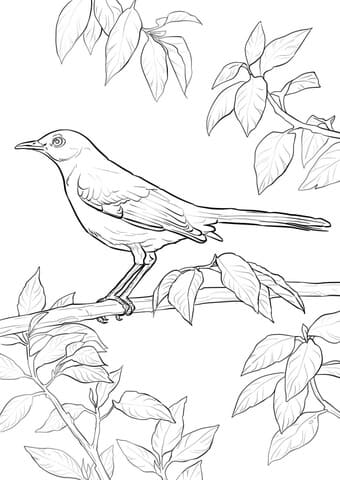
You draw all details to create your mockingbird. Before moving to the last step of coloring, you can make some pieces to decorate your bird.
Step 8 – Color Your Mockingbird

That brings you to the final step to make coloring for your bird. As you see in our reference picture, in the step of our guide on how to draw a mockingbird, we use light blue for wings, back, black for tail, eyes, and leg, and some white for the belly of our bird.
In addition to the colors we used for our mockingbird drawing, you can create more colors with your favorite colors.
Your Mockingbird drawing Is Complete!
You finish all tasks for drawing and coloring on how to draw a mockingbird in eight simple steps.
With the tutorial and our illustration, I hope you have understood all the things in this drawing guide. It’s comfortable. After a hard-working day, you must rest and be entertained with a suitable entertainment channel. Drawing is not a bad choice, and it’s completely free on our website Coloringcool.com.
You also can find more drawing institutions similar to mockingbirds such as sparrow drawing, seagull drawing, or blue jay drawing. You can refer to this bird drawing tutorials in learning to draw a mockingbird. Besides drawing guides, you can enjoy our education products on coloring pages or blogs we update daily. You can come here each day and relax with them for 100% free. I hope you like our mockingbird drawing guides and recommend us to your friends and your relatives.