8 Simple Steps To Create A Cute Ant Drawing – How To Draw An Ant
Making A Cute Ant Drawing In Eight Easy Steps
You will learn how to create a complete ant drawing by following our instructions below.
There are eight steps to practice, equivalent to eight tasks you must complete to get an ant.
You also don’t need too much time for this fun activity because we will guide you in the simplest way.
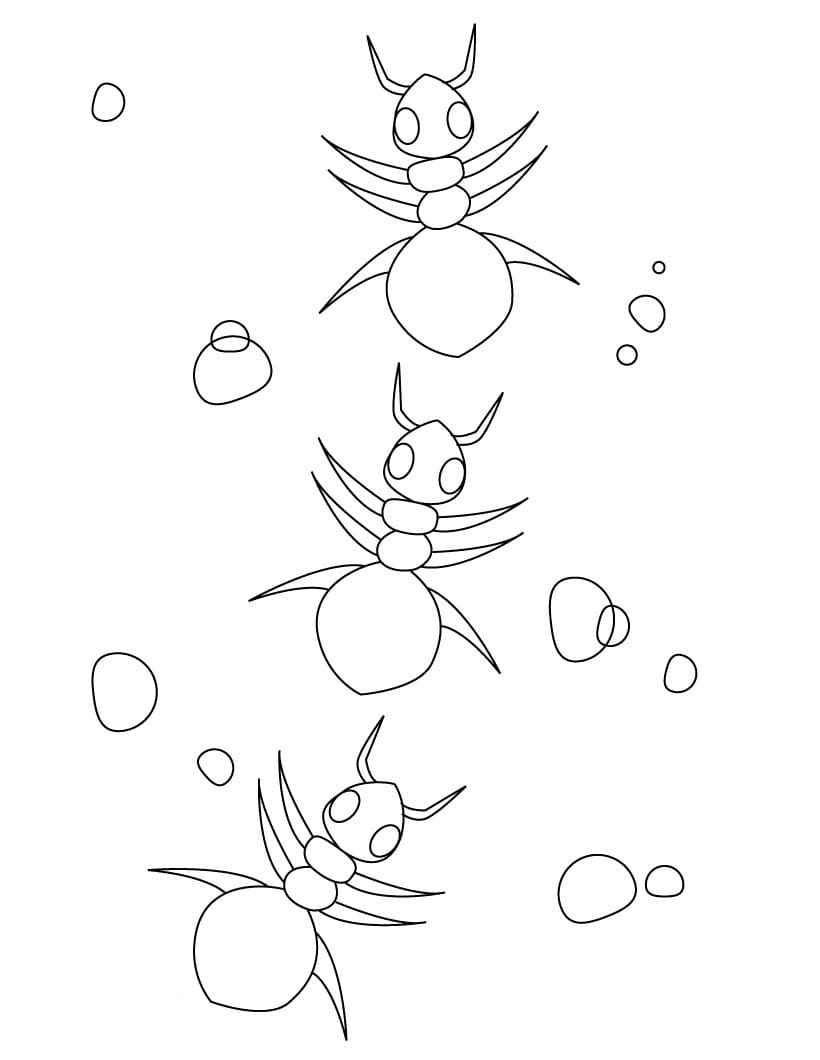
In each step, we provide an illustration to help you realize your task quickly.
Whether you’re a beginner or a drawing expert, this experience is worth your time.
Follow us and believe that there are many interesting things in our drawing guide.
How To Draw An Ant – Let’s Get Started!

Ants are a group of insects a group of which has millions of ants.
They are very disciplined with specific roles. Soldier ants are responsible for protecting the queen and their land, while other ants have a role in finding food and returning to the nest; in case there is no food, they still prey.
They are hardworking insects, so they are always interesting for art creators to draw their images. There is still a long sentence that is full of nests. And this is a saying that often appears in the education field.
Today you get an opportunity to learn how to draw an ant with us in eight simple steps.
We have built the draw an ant process from easy to difficult so that everyone can enjoy it.
With the detailed instructions and the simple reference images, I hope you get the job done and you’re happy with the final result.
You must have some supplies such as A4 paper, pen, pencil, marker, and colors before starting to draw an ant. Then you use a pencil and begin to sketch the first lines on paper.
In the process of drawing, you can erase the wrong lines and redraw them until you are satisfied, so always use a pencil to draw until you finish it as it will be convenient for you.
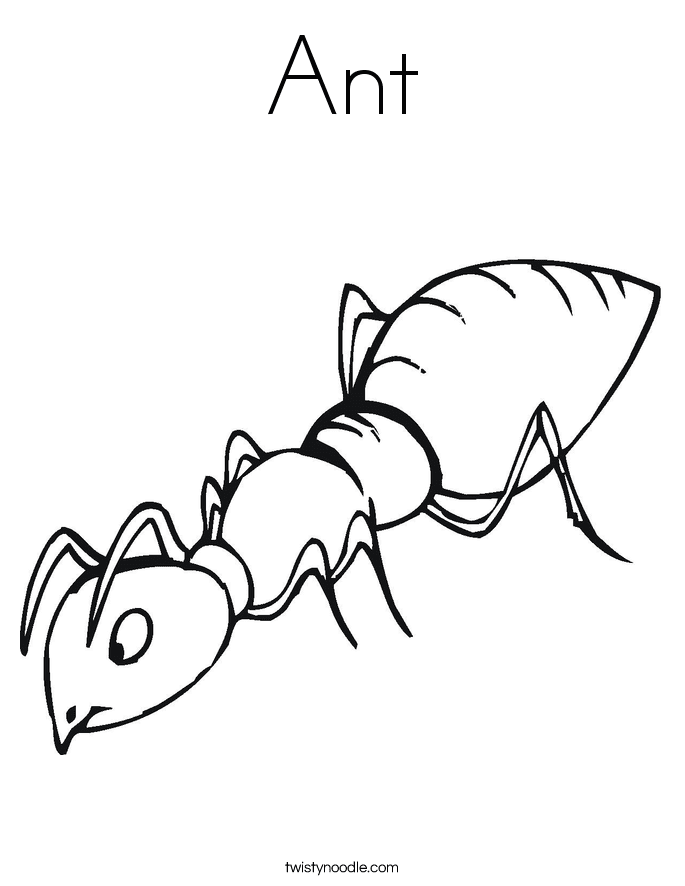
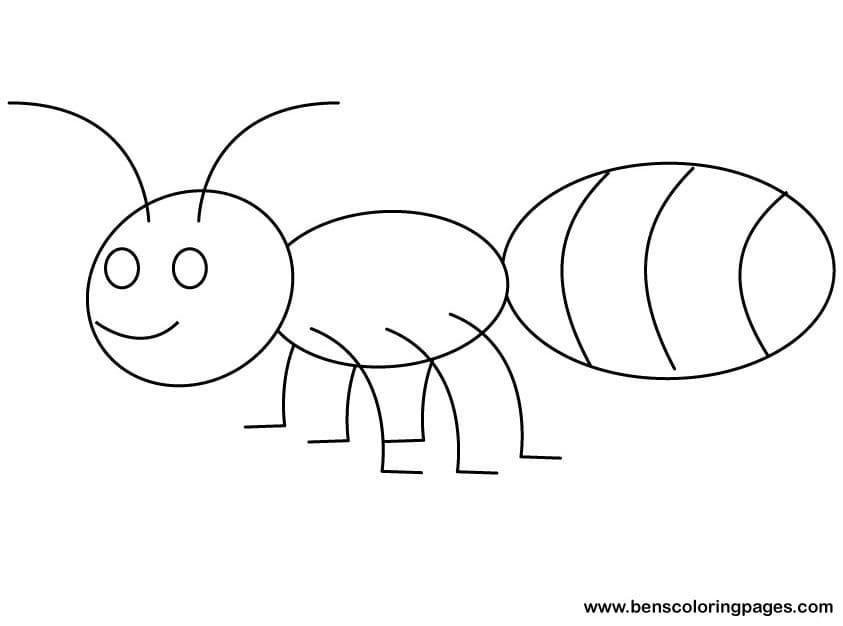
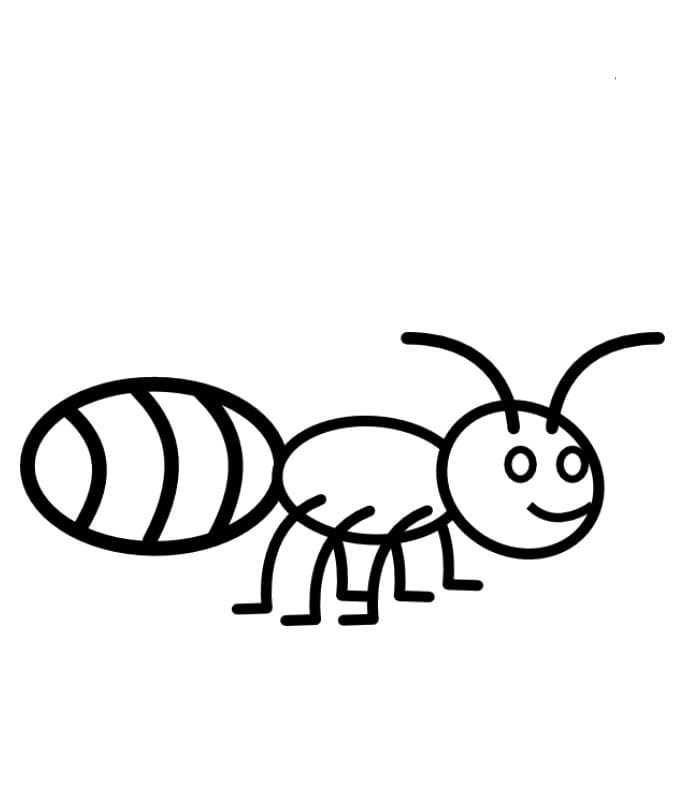
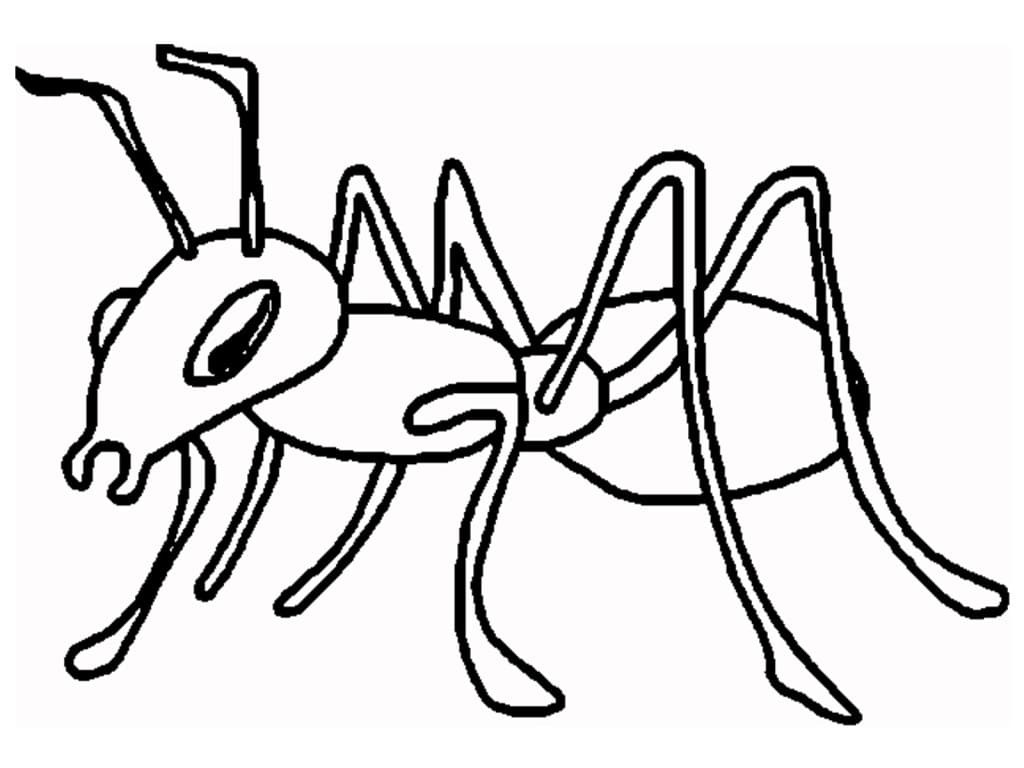
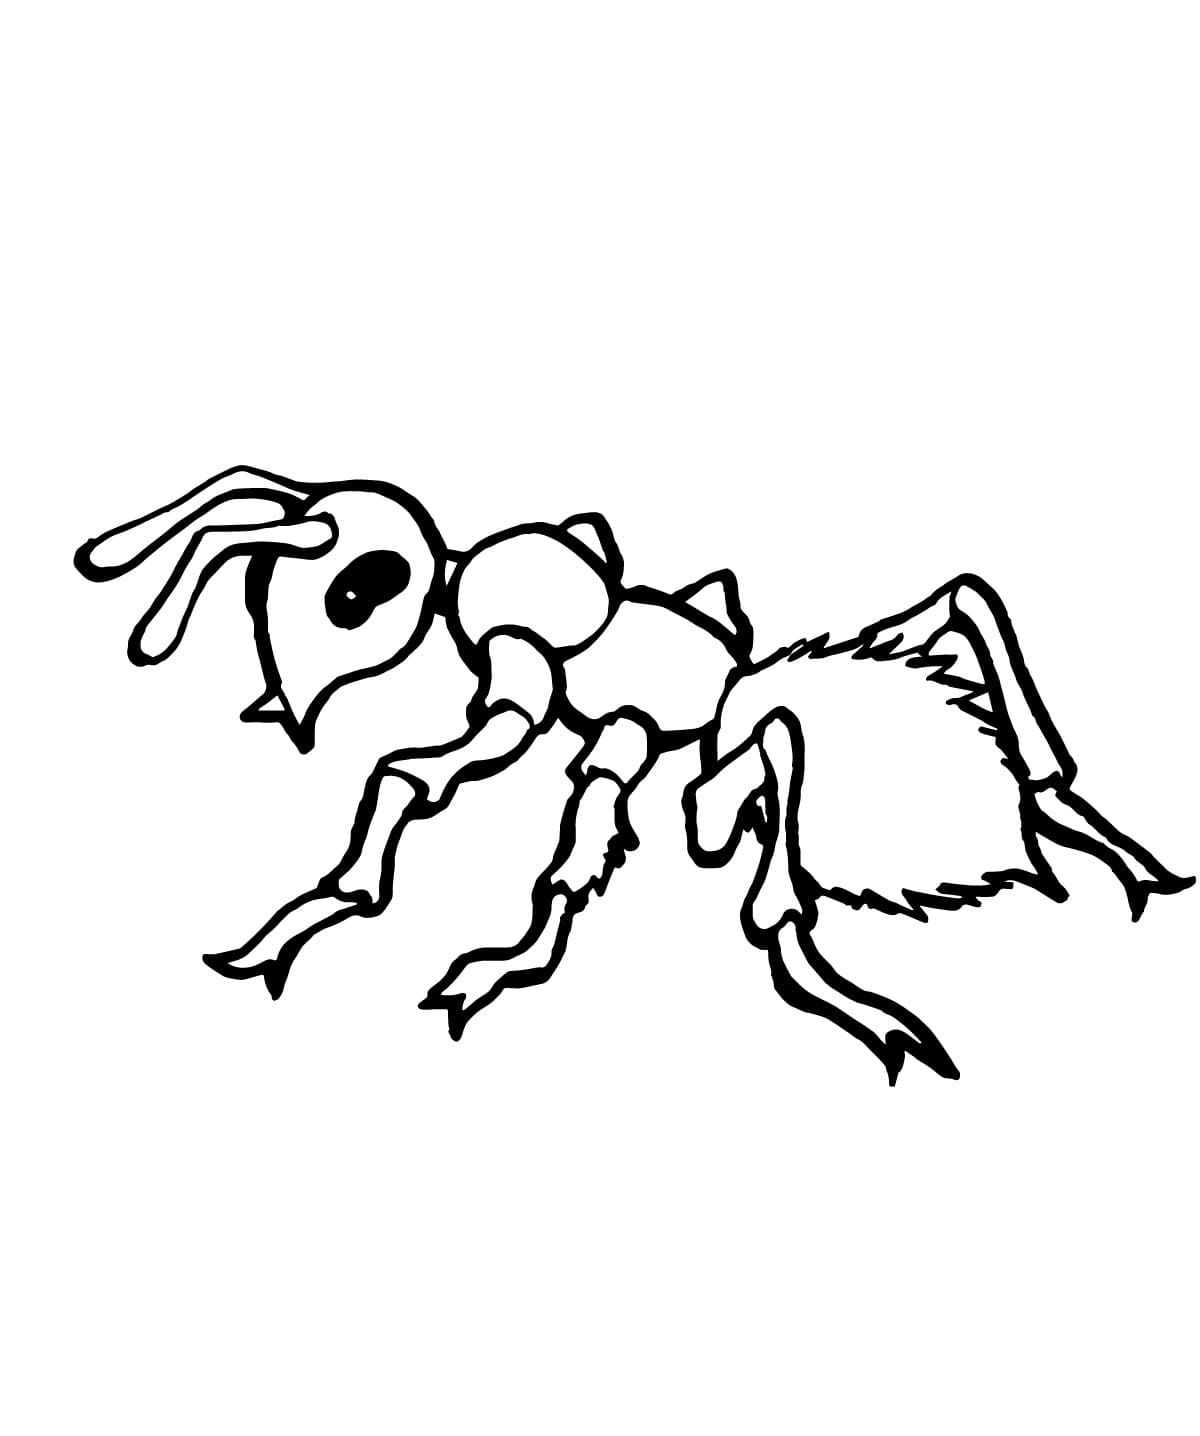
Along with this drawing, you can refer to ant coloring pages to practice your drawing and coloring skills.
Right now, we will go to draw an ant with us through eight easy steps!
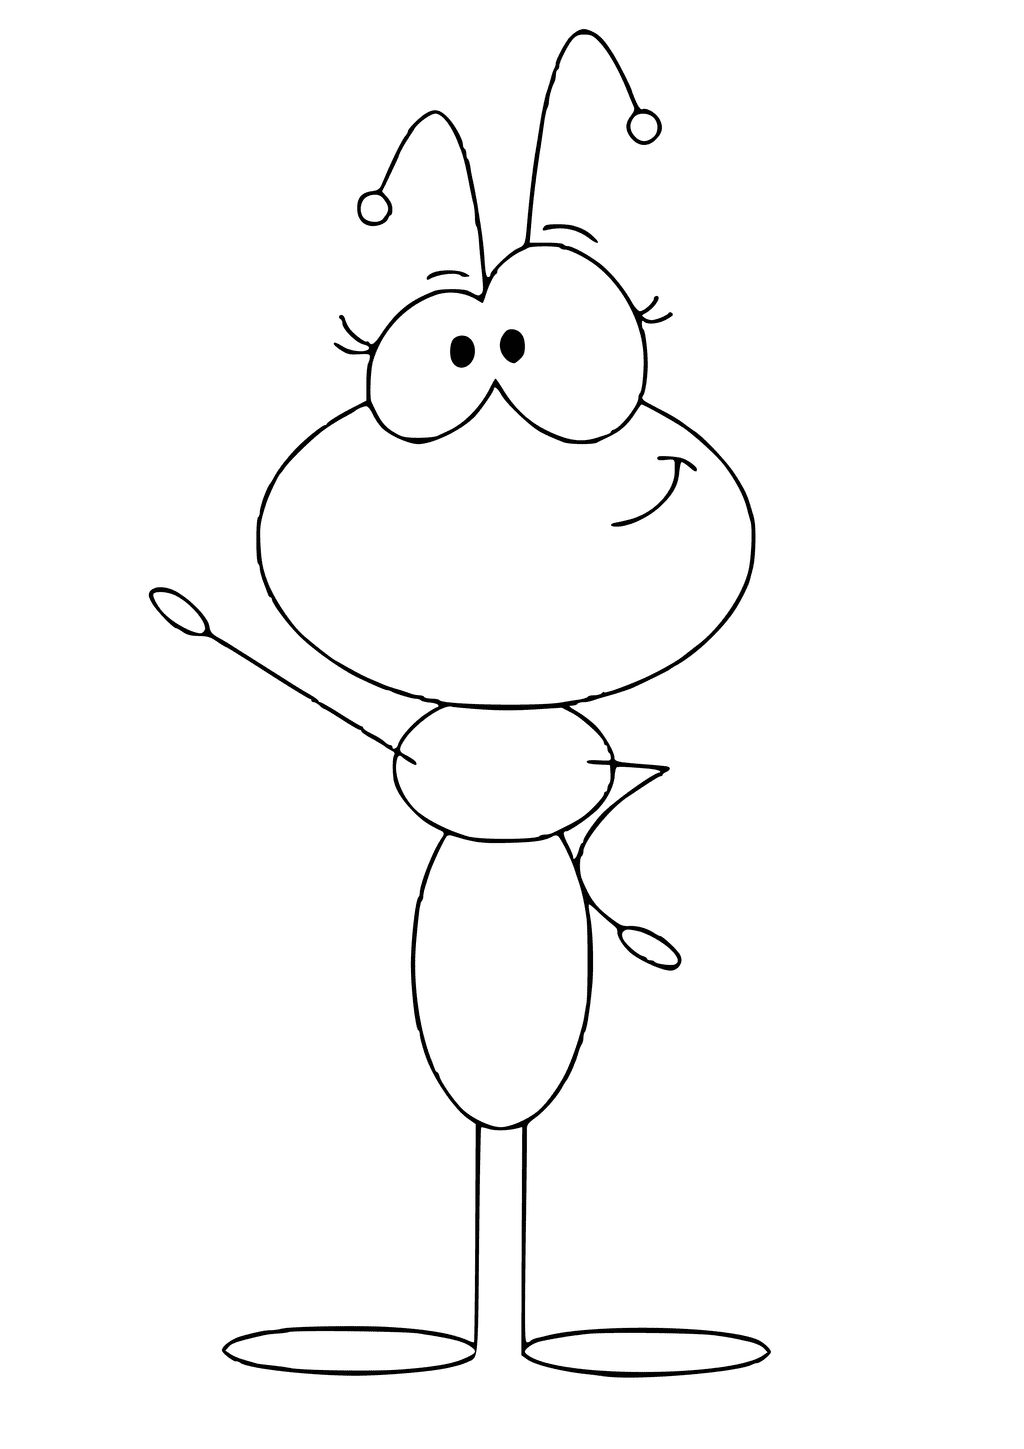
Step 1 – Draw Face And Head For Ant

You start your task with our guide on how to draw an ant with its details, face, and head.
You will use an oval for a head. Then, you draw two smaller ovals for the eyes of your ant.
Please don’t forget to draw the pupils for its eyes. Under the eyes is the ant’s mouth.
Above the ant’s head, you need to draw two antennae as you see in the reference image.
Step 2 – Start Drawing Body And Leg For Your Ant

Your task in this step of the ant drawing is straightforward. You draw a circle shape from the head to create its thorax.
You draw the first leg for the ant in this step with two curved lines, as you see in our reference image.
Step 3 – Create The Ant’s Abdomen

It’s easy to work for you. From the circle you draw in step 2, you draw an oval for the ant’s abdomen.
This oval is a bit pointed and raised; you can refer to our mage and follow it.
Your task in this step is just that. You will move on to the next section to draw more legs for the ants.
Step 4 – Add More Legs For The Ant

You will add some legs for your ant in this step.
For this step of our guide on how to draw an ant, you have o draw two hind legs for your insect. Use two curved lines for each leg and you can refer to our reference that will show you what it should look like.
Step 5 – Complete Legs For The Ant

You must complete the set of the ant’s legs in this step. You will draw more two front legs and draw two hind legs.
So, you finish off the task of our instruction on how to draw an ant, and you continue your drawing in the sixth step.
Step 6 – Decorate The Ant

You must add some decoration details for your ant in this step.
You draw some curves on the tail and belly; this detail makes your ant more beautiful and realistic.
In addition to the details on the ant’s body part, you can add some points to decorate if you like. Thus make your painting your style.
Step 7 – Finish Off Your Drawing Mission

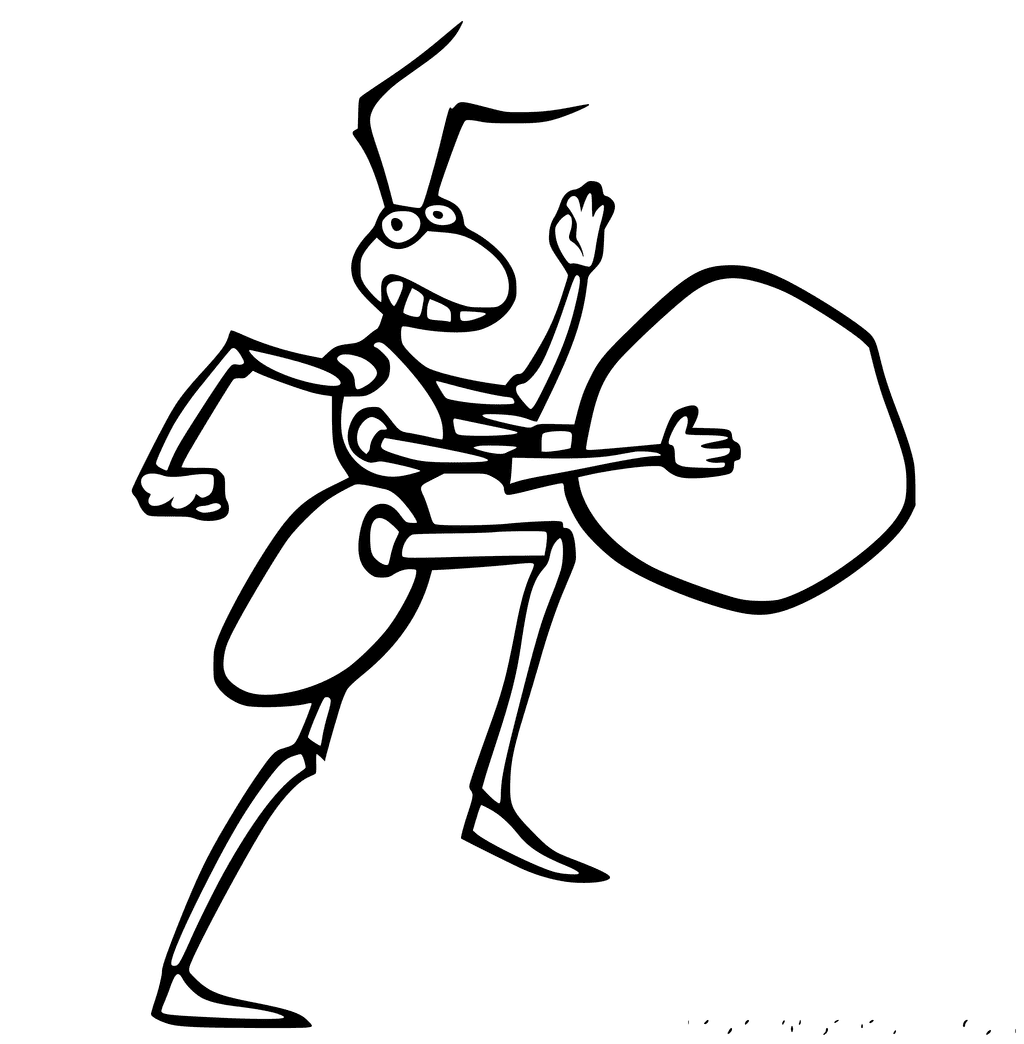
You have to all details related to your ant drawing in this step of our guide on how to draw an ant.
You can draw a cube representing the ant’s food for this step. Or you can draw a branch that is an ant being spared to build a nest…
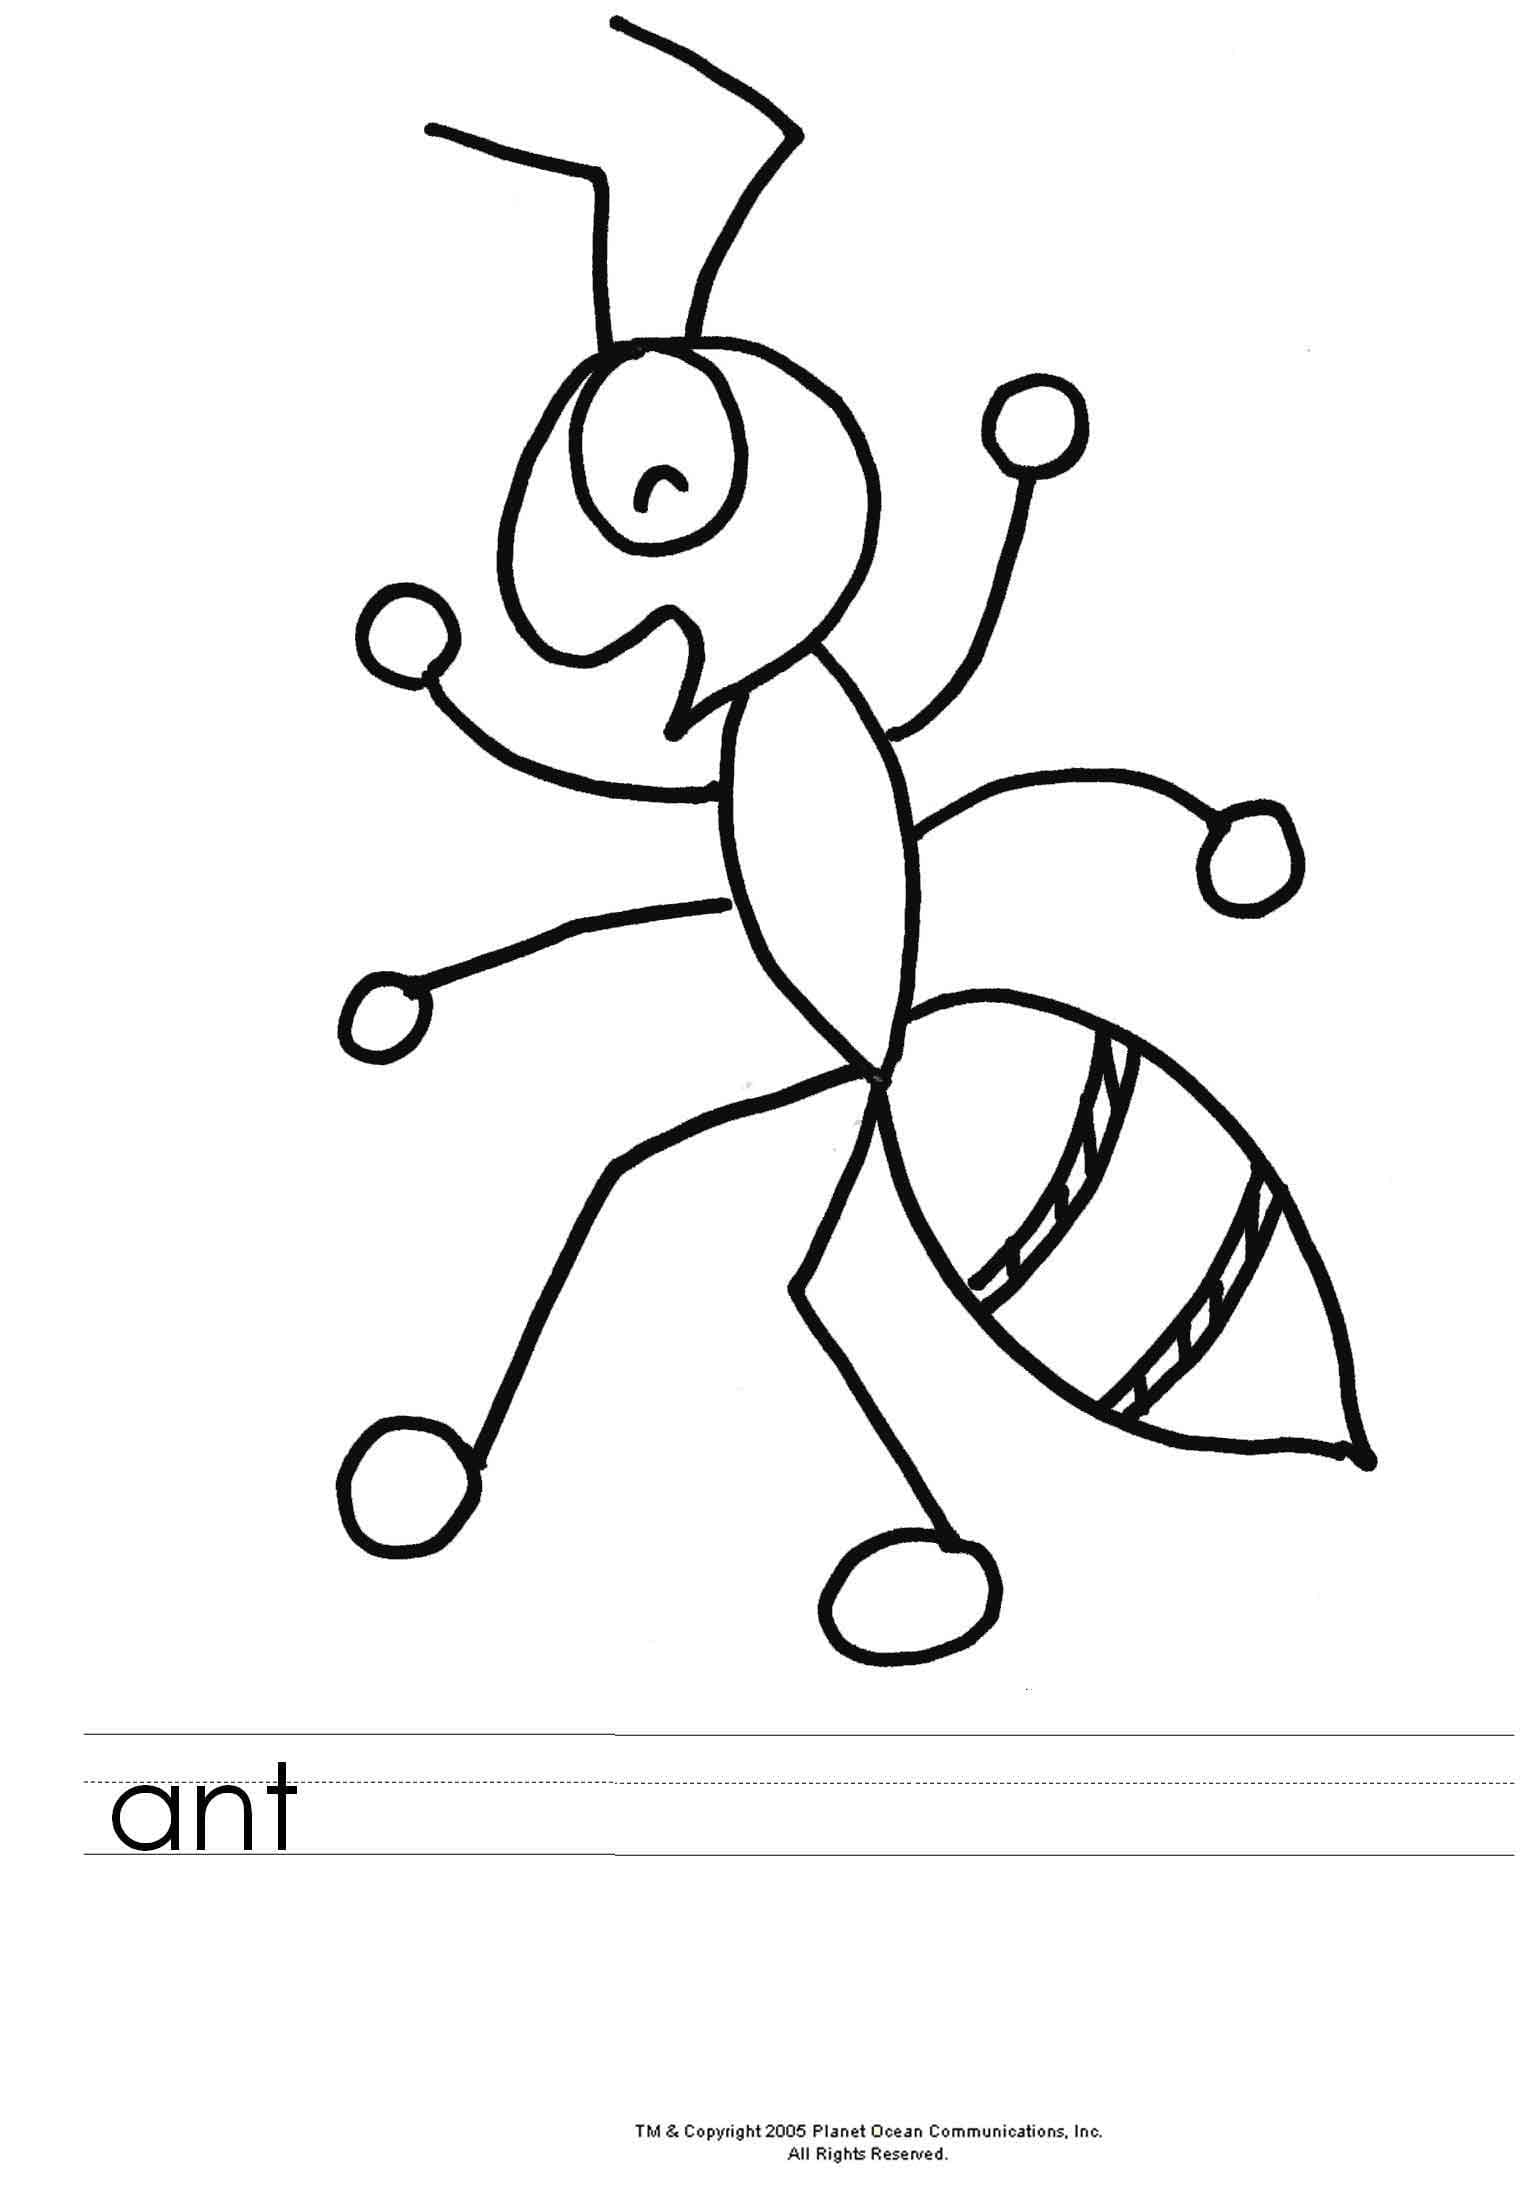
Step 8 – Color Your Ant

You are the final step of your ant drawing. You will choose the suitable color for your product.
Ants are mainly red or black; here, we have used red for our ant.
You can use black or red for your ant if you like it, and your ant image is beautiful.
Your Ant Drawing Is Complete!
You have finally completed the ant drawing. Isn’t it interesting and I believe you have a great drawing experience with us.
At first, glance, drawing ants is complicated with many details, but with instructions in eight steps, you can pass, and now you can enjoy your product drawing.
On our website Coloringcool.com, you can get some experince drawing guides for free about insect such as spider drawing, moth drawing, scorpion drawing,…
Drawing each type of insect, you will find its own experiences and exciting things. However, one thing that you get in common is that you will gain more knowledge about the insects you have drawn.
Hopefully, you get a perfect time here with us. You can visit our website regularly because we update our educational products, and please don’t miss out on them.