6 Simple Steps To Create Cute Kirby Drawing – How to Draw Kirby
Perform Six Simple Steps To Create Kirby Drawing
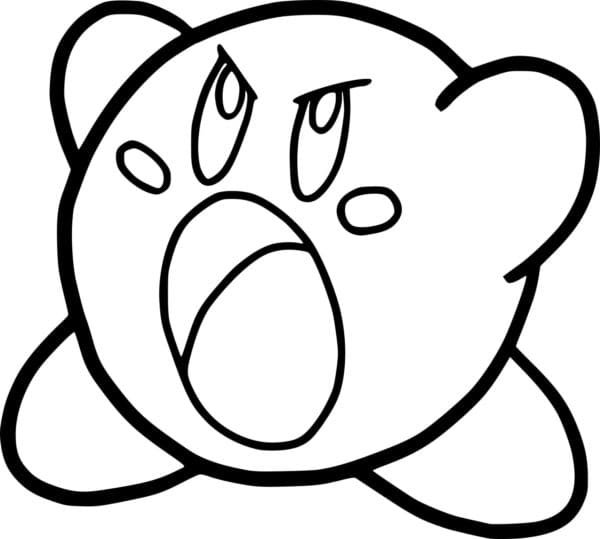
In the game world, there are many lovable characters, and today you have a chance to create one of them, Kirby drawing.
You have six missions equivalent to six steps to complete Kirby.
Although it looks simple to draw Kirby, there are many complex details you need to focus on while drawing Kirby.
Luckily today, we have designed how to draw Kirby in six easy steps; you can follow our step-by-step instructions, and you will surely be satisfied with the final result.
Join our drawing lessons; you will have a lot of fun in your leisure time.
It would help if you prepared a few things before drawings, such as a pen, pencil, eraser, and paper. You will sketch the character Kirby with pencil and paper, easily erase your mistakes and redraw until you are satisfied with your work.
Once you complete your character, you will choose the suitable color for Kirby.
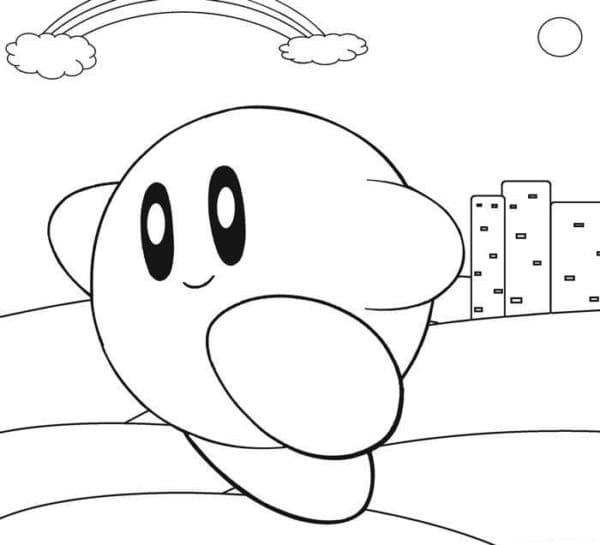
Along with this drawing guide, you can enjoy Kirby coloring pages to practice your drawing and coloring pages skills.
If you regularly practice drawing and coloring, your painting skills will improve, and if you have passion, you can also become a real artist.
Right now, let’s go to six steps on how to draw Kirby with us!
How To Draw A Kirby – Let’s Get Started!
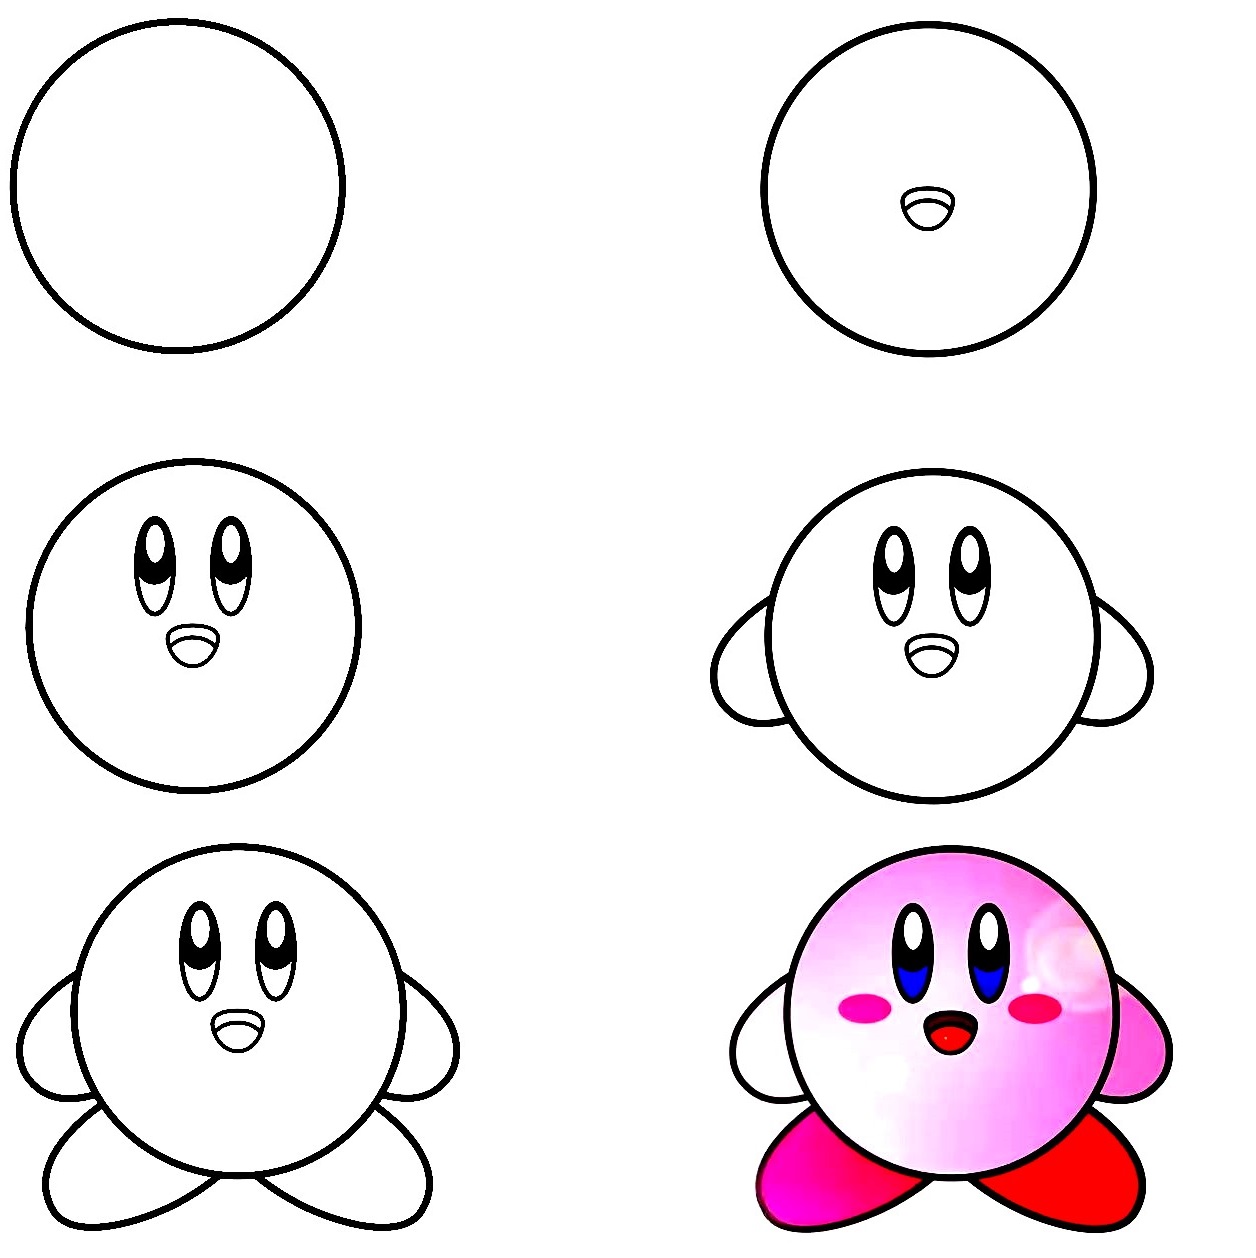
Step 1 – Draw Kirby’s Body
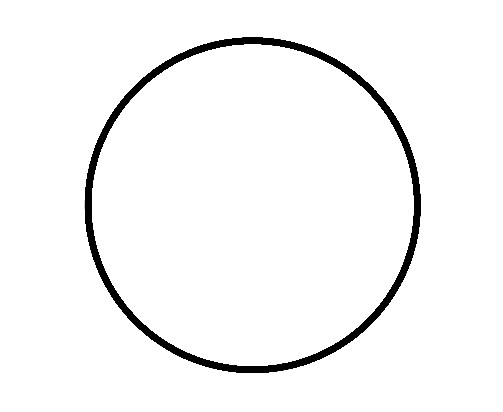
For the first step of our guide on how to draw Kirby, you will draw a circle for Kirby’s body. Very simple for you; you can use a compass or draw it by hand.
To finish this mission, you spend about a minute and come to step 2.
Step 2 – Draw Kirby’s Mouth
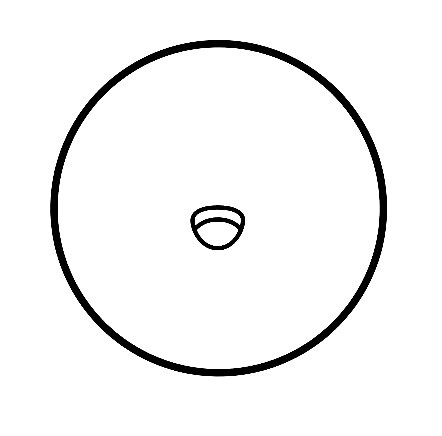
In this second step for your Kirby drawing, your task is to draw a mouth for your character.
As you see in our reference, you will draw an oval form in the circle you draw in the first step.
Once you’re happy about your work, you can move to the third step.
Step 3 – Draw Kirby’s Eyes

It’s time to draw eyes for your character; you will draw two ovals for this mission. You can add the oval inside to show the pupils for your Kirby.
There is a bit of complexity here; you need to look at our reference image to show you what it should look like.
You can move to the fourth step when you think all are good.
Step 4 – Draw Kirby’s Arms
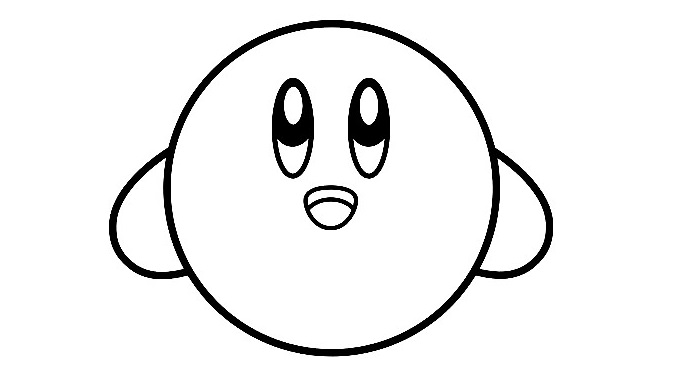
In this part of our guide on how to draw Kirby, you must draw the arms for your character.
From the body, you must draw a curved line similar to a backward letter C on the right side of the body; they are two arms.
So, you complete your mission for your Kirby drawing in this step, and you are ready to go to the fifth step.
Step 5 – Draw Kirby’s Legs
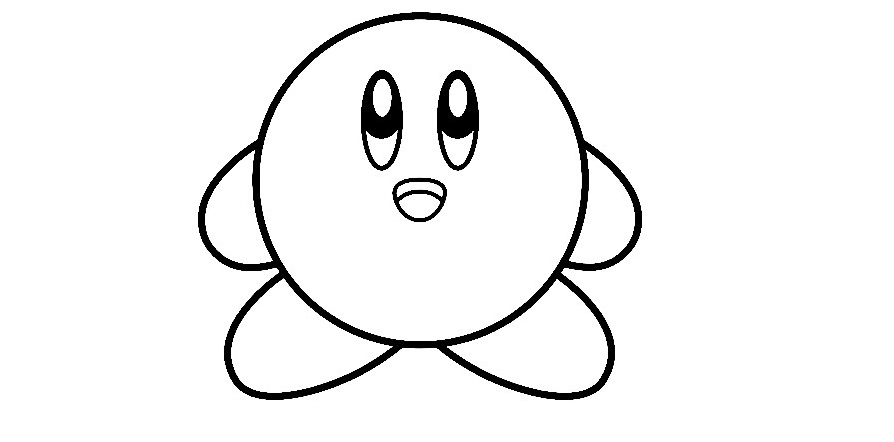
If in step 4, you drew two arms, in this fifth step, you must draw the legs for your character.
As seen in our reference image, you use a curved line to draw each leg.
When you finish the task here, you can go to the next last step for coloring.
Step 6 – Color Your Kirby

Right now, you add colors for your character. In this step, you can choose the color according to your illustration. In the reference image, we used pink for the body and arms, red for the legs and mouth, and black for the eyes of the character, Kirby.
You can choose the same colors with us or use any colors you like as long as your picture is lovely.
Your Kirby Drawing Is Compete!
You finish off your drawing and coloring mission on how to draw Kirby. Now you can admire your product, isn’t it wonderful? You will feel comfortable after joining our entertainment channel to learn drawing and coloring with us.
I hope you got everything clear in our guide to Kirby. Although drawing Kirby is not easy, we also arrange it from easy to difficult to make it easy for you to do any task, whether you are a beginner or an expert in drawing.
On our website Coloringcool.com, you can find many drawing instructions on many subjects Disney, Cartoons, Characters, Persons, Animals, etc. You can also enjoy drawing guides similar to Kirby drawing such as chicken drawing, penguin drawing, or hedgehog drawing. All educational products are free on our website and updated daily. You can come here each day to enjoy them after the hard-working hours.
After each drawing lesson, you’ll gain the tips and skills you need to learn to draw from the many drawing guides that follow.
Hopefully, you get a relaxing time and a lot of fun.


