7 Simple Steps To Create A Lovely Zebra Drawing – How To Draw A Zebra
Creating A Cute Zebra Drawing In Seven Easy Steps
Today, in our instruction, you get an opportunity to learn how to create a complete Zebra drawing with us in seven steps. This task is also quite simple because you just need to follow our tutorial and our illustration, and you will surely succeed with your zebra. You will stay focused throughout learning to draw, and our advice is to sketch each line with a pencil because pencils are easy to erase, and you can erase and redraw easily. It will take 25 to 30 minutes for this lesson, and with time you will get used to drawing, and you will probably finish your Zebra drawing sooner.
How To Draw A Zebra – Let’s Get Started!
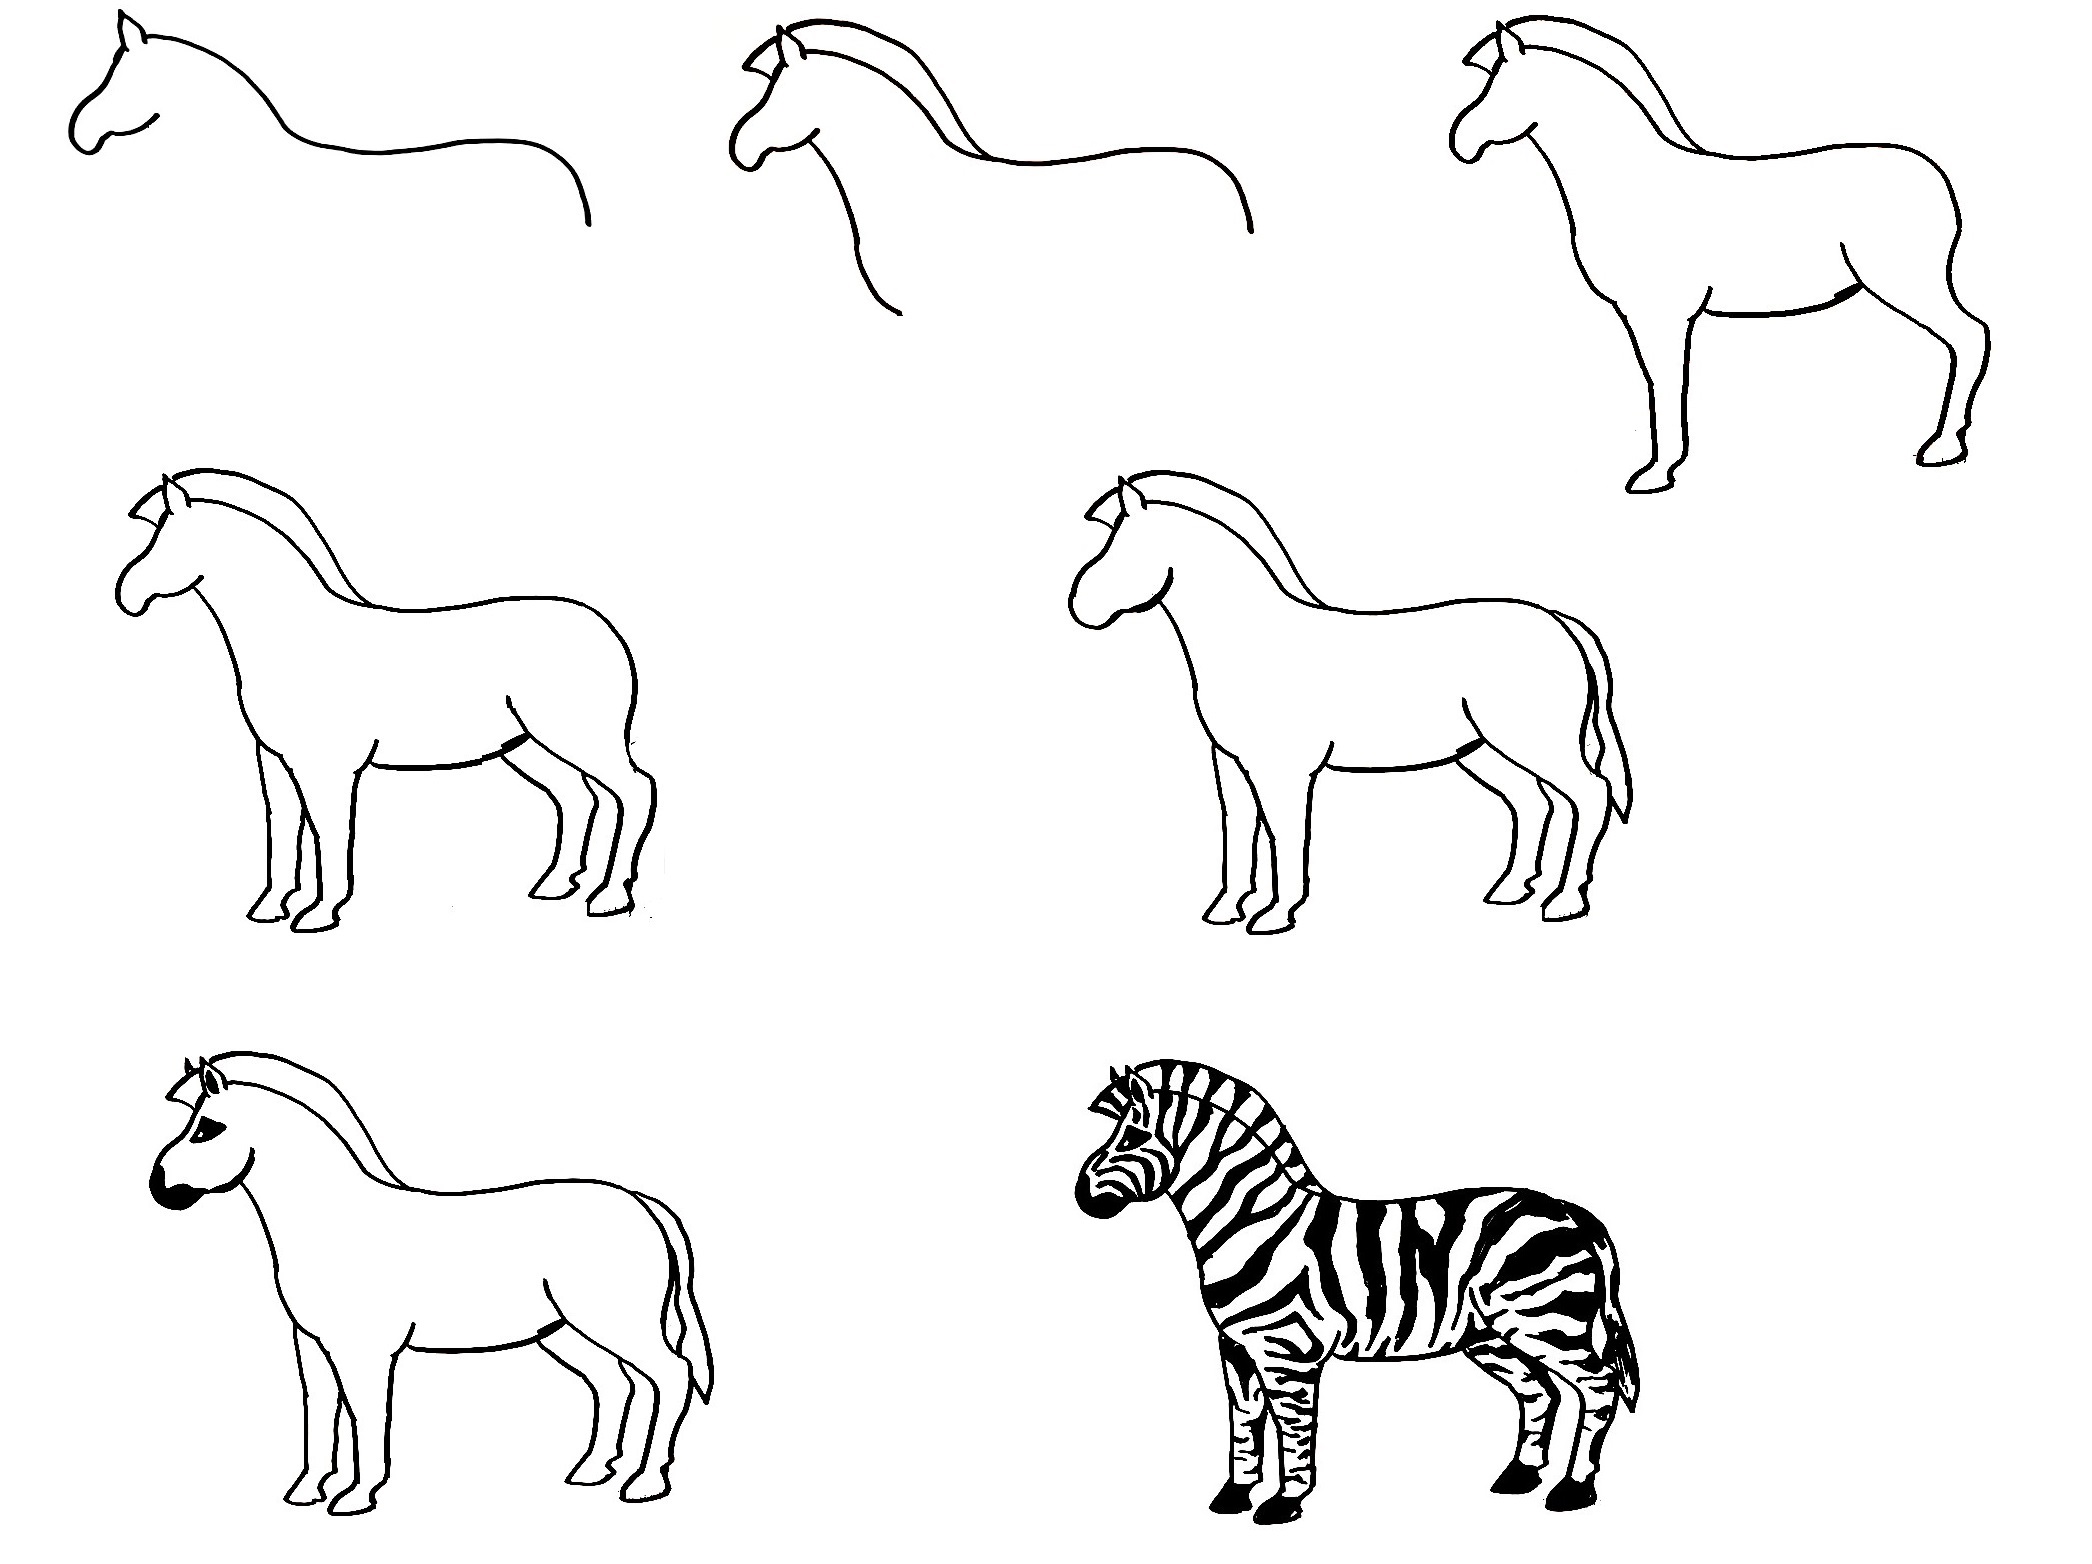
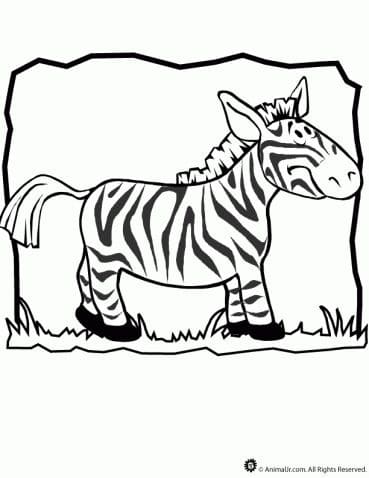
As we know, zebra is a type of horse with a special striped black coat. A member of the Equidae family, they are also closely related to donkeys and horses.
Nowadays, you can see zebras in the zoo, and you can also see zebras in movies, on Television, in newspapers, etc. In this tutorial, we will show you how to draw a zebra. With this drawing guide, you also have the opportunity to get more exciting information about this horse type.
But before starting to draw, you’ll need some basic art supplies such as a pencil, eraser, pen, paper, and some reference photos of a zebra to help you capture its likeness.
Like other drawing tutorials, this zebra drawing tutorial also arranges from easy to difficult to help drawing learners quickly perform operations to form a complete picture.
You will perform seven tasks equivalent to seven steps that you need to pass to get a complete zebra drawing.
Once you finish your drawing, you will choose the suitable colors and make coloring the zebra!
Along with this drawing guide, you can enjoy zebra coloring pages to practice your drawing and coloring skills and get a great time on our website.
Right now, let’s go to seven steps on how to draw a zebra!
Step 1 – Draw Head Outline And Back For Zebra
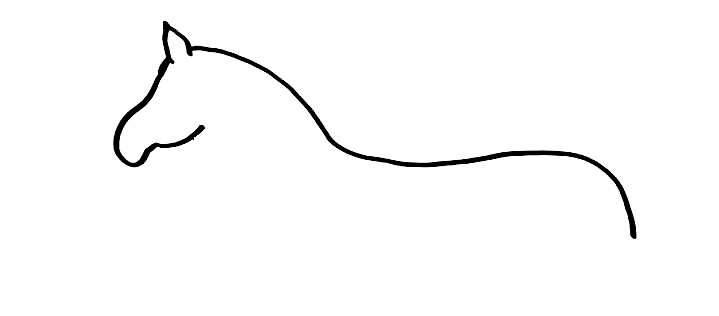
Begin the task on how to draw a zebra; you will draw the head outline and back for your horse.
You use a curved line for the head and back; on the top of the head, you draw an acute triangle. It is a zebra’s ear.
It is not difficult for you in this step, our reference image will show you what it should look like, and once you’re happy with it we can move on to step 2!
Step 2 – Draw Mane And Neck For Zebra
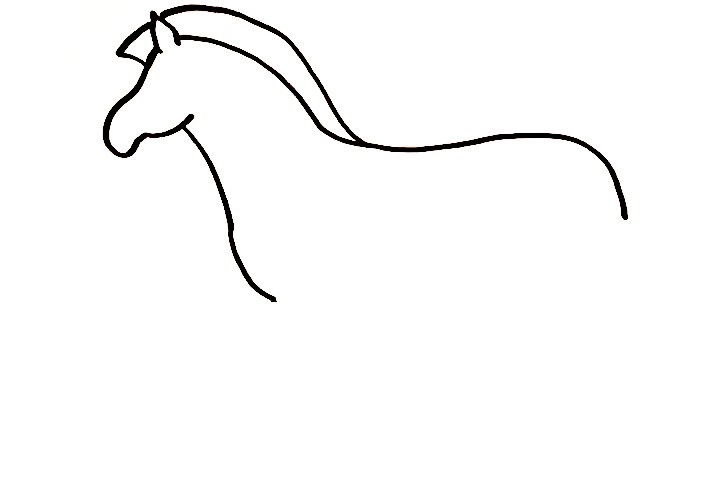
Your task in this second step on how to draw a zebra is to draw the zebra’s long, thick mane. On the zebra’s head, use a rather long curved line to draw its mane. And under the head, you draw a curved line for its neck. When you’re happy with your image, you can move to the third step to continue your drawing mission.
Step 3 – Draw A Front Leg And Hint Leg For Zebra
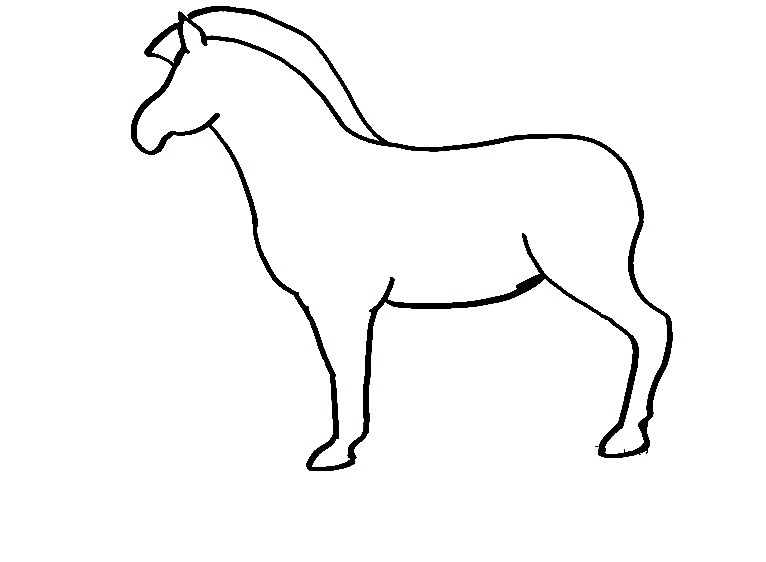
It’s time to start drawing the legs for the zebra. You will draw the large thighs for the zebra and gradually reduce the legs; ending up drawing the legs for it will be a clawed foot.
You will use two almost parallel lines to draw each pin for the zebra. The hind legs and the front legs are also almost the same, except that the zebra’s hind legs are slightly larger than its front legs.
Step 4 – Add More Legs For Zebra
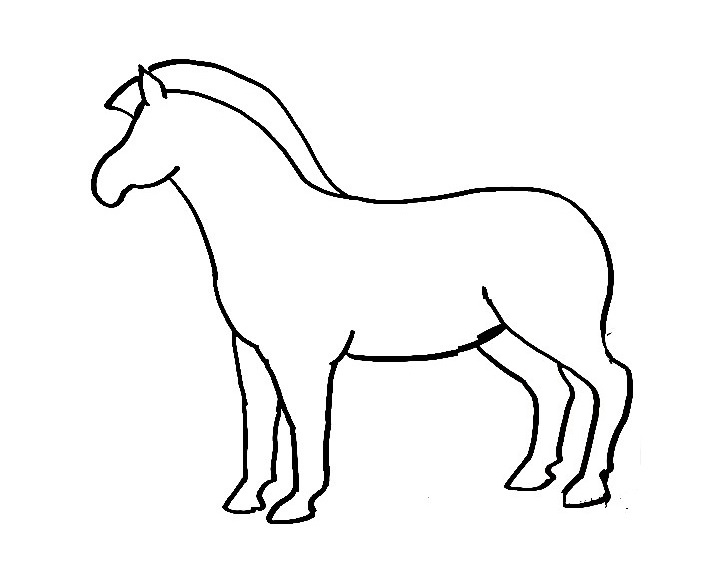
Similar to the third step, in this fourth step, you will add a front leg and a back leg for your zebra.
You will also use two nearly parallel lines for one leg. The task for this part is also quite simple because you drew the front and back legs in the previous.
As you can see in our reference image, part of the zebra’s legs will be lost, and we need to draw the leg that we can see.
Step 5 – Draw The Zebra’s Tail
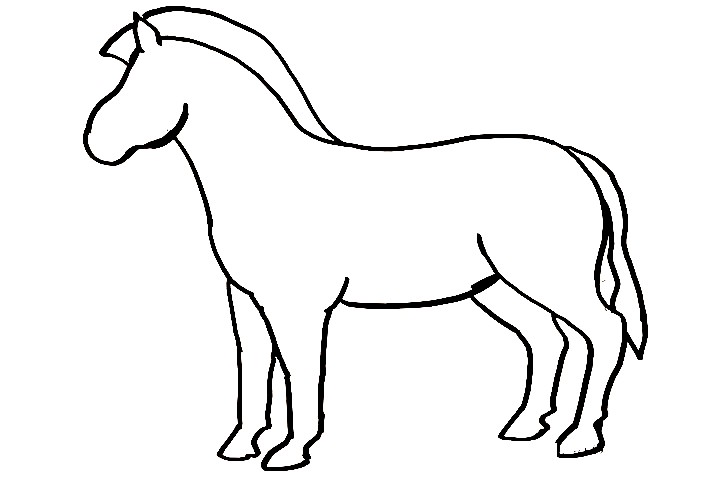
You have finished drawing the body, and now you will draw the tail for the zebra.
The hanging zebra’s tail is drawn from two parallel curves as you see in our reference image.
Step 6 – Draw Zebra’s Face Details
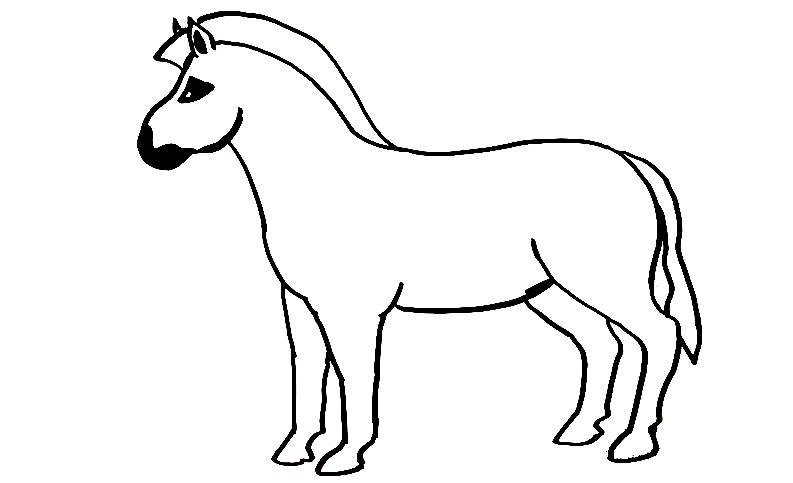
In this step of your zebra drawing, you must finish off all detail for the horse before going to the final step of coloring.
You draw an eye for the zebra. Since we are drawing the zebra on the side, we can only see 1 eye of the zebra, and we will draw this eye.
So, you complete all parts of your zebra and now choose the colors for your drawing.
Step 7 – Color Your Zebra
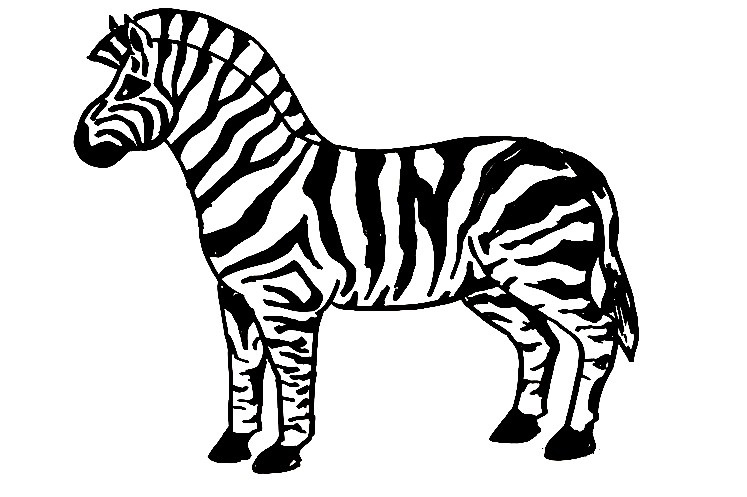
In this final step of your zebra drawing, we will be finishing it up with some amazing colors. In our reference image, we showed you just one way that you could go about coloring your picture. Two traditional colors, white and black, that we used for zebra.
Your Zebra Drawing Is Completed!
You finish off your drawing and coloring to make a complete zebra in seven steps. You will get a perfect time here. We can give you a few tips to make it easier for you to finish the drawing.
You can add a few more details to your picture, such as grasslands, to make your drawing more beautiful and realistic.
On our website Coloringcool.com, you can find more drawing guide such as horse drawing, donkey drawing,…they are related to horse and zebra. We hope that you enjoyed our tutorial on zebra art and that you will join us again for more easy and exciting drawing guides!


