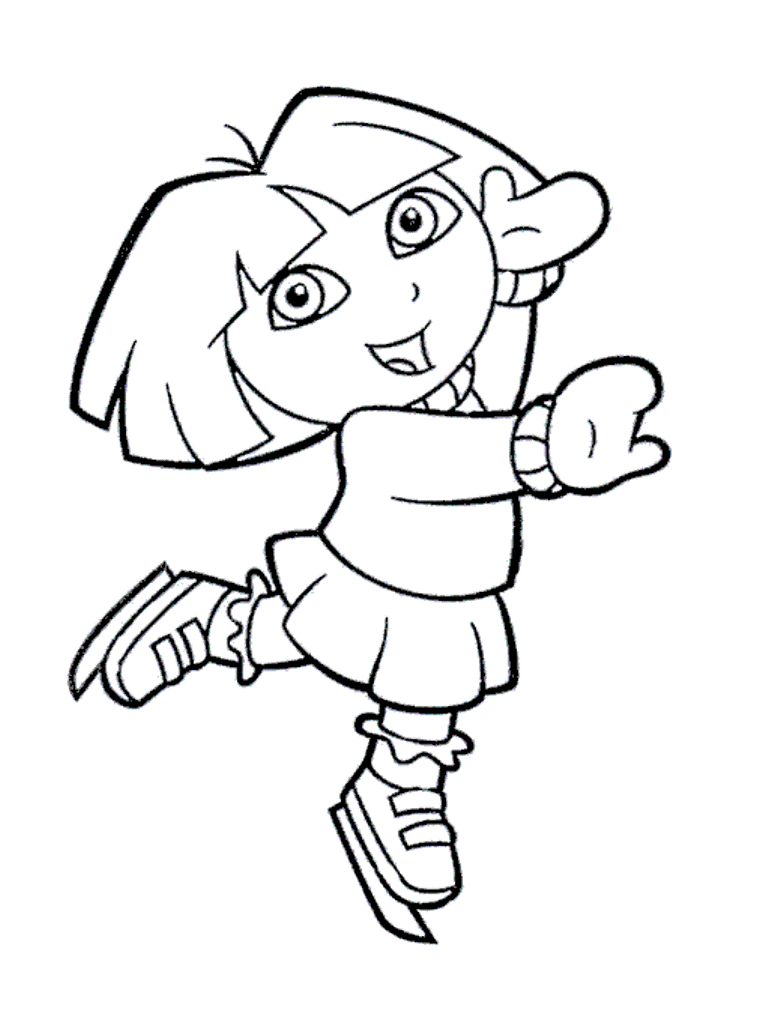
Dora The Explorer Drawing Is Complete In 8 Easy Steps
Creating Cute Dora the Explorer drawing in just 8 easy steps
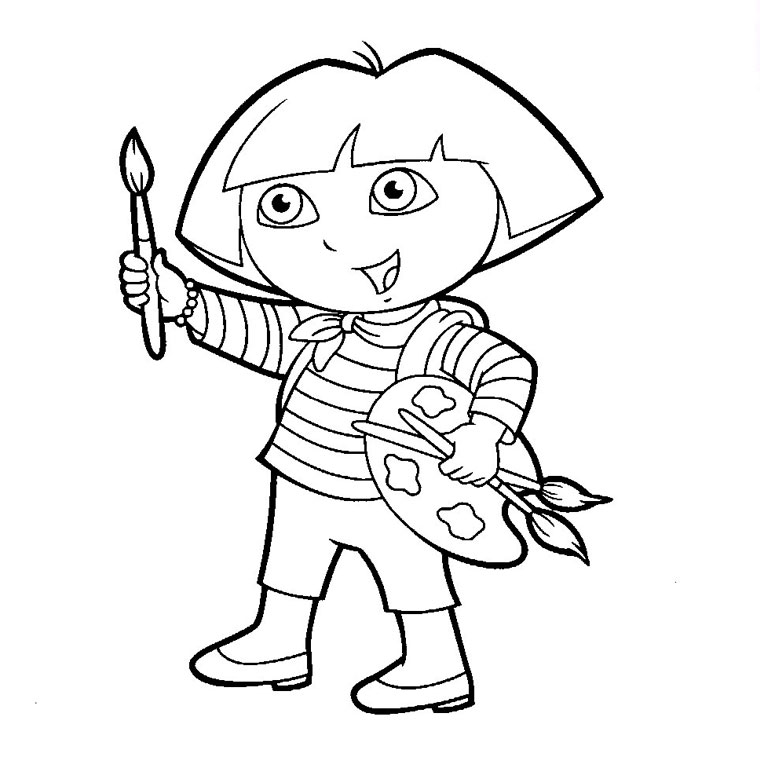
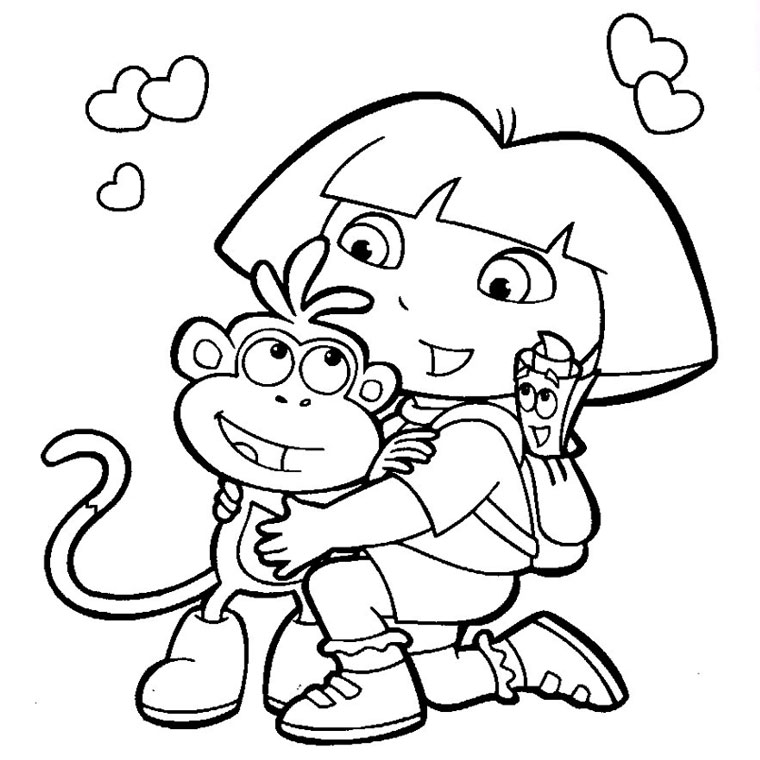
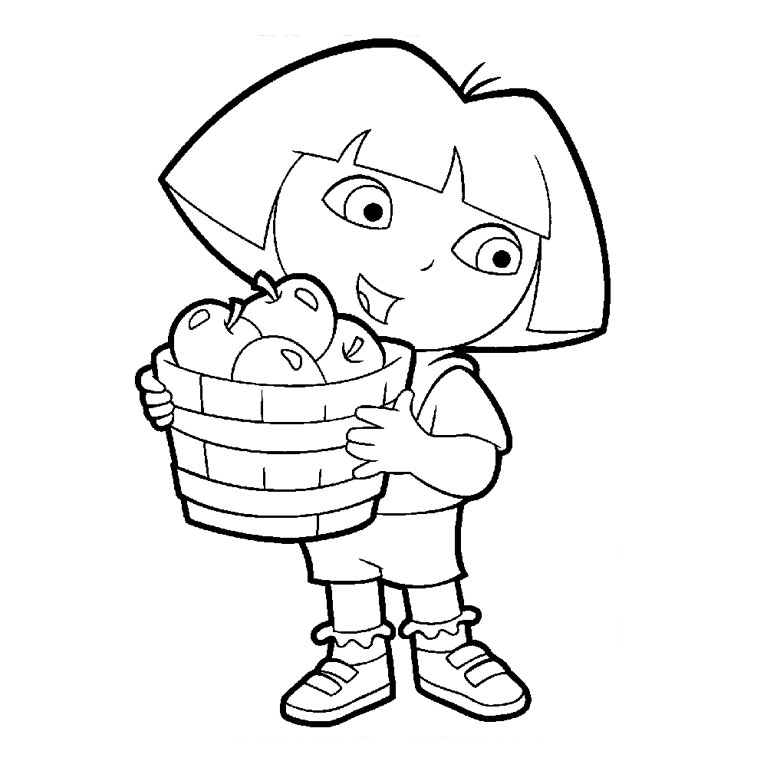
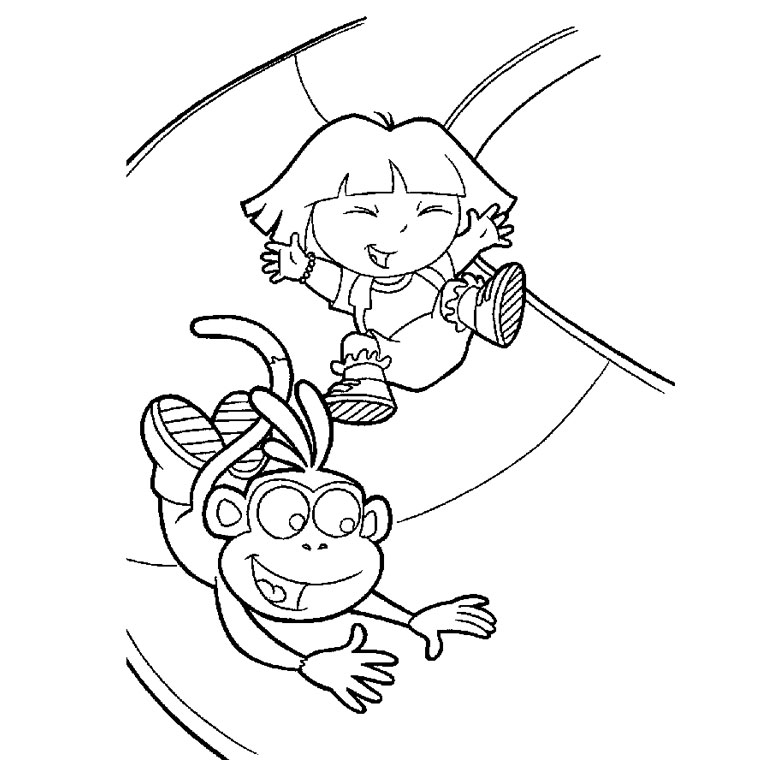
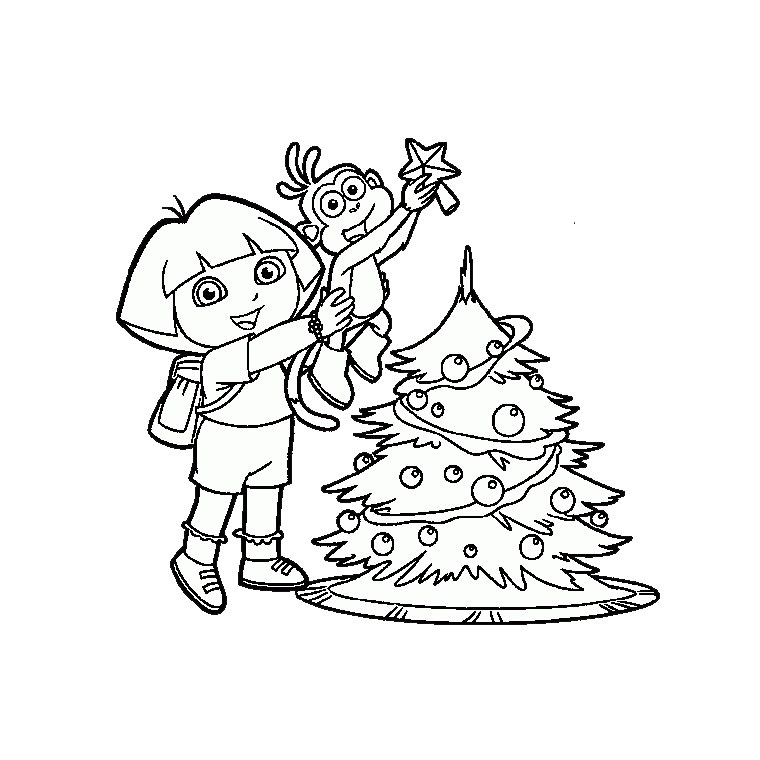
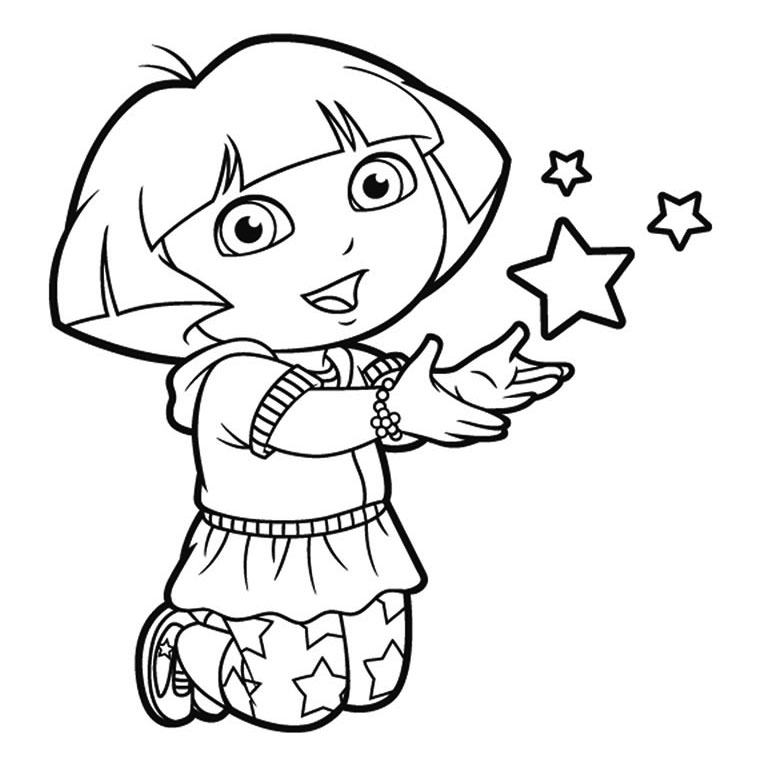
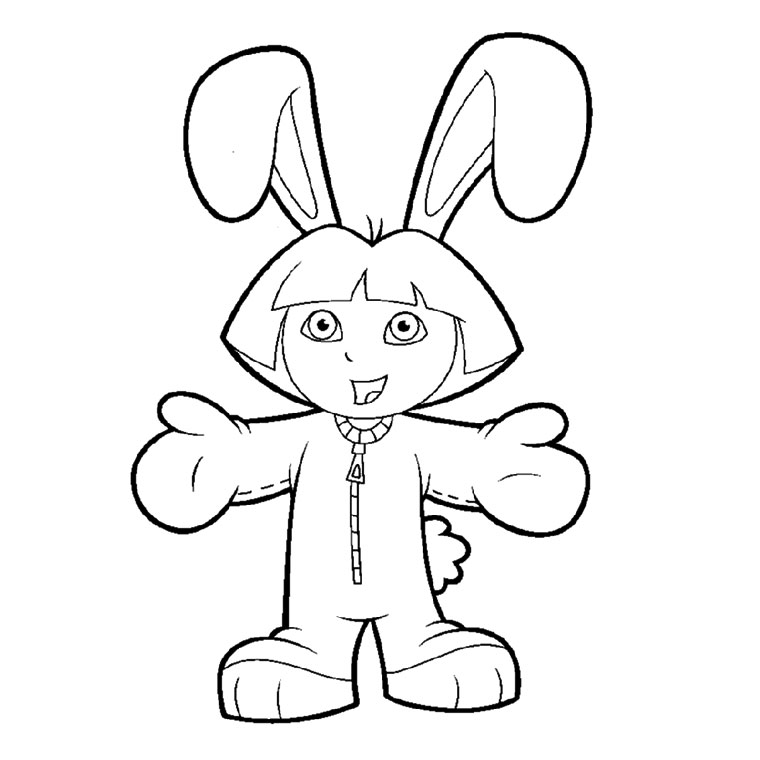
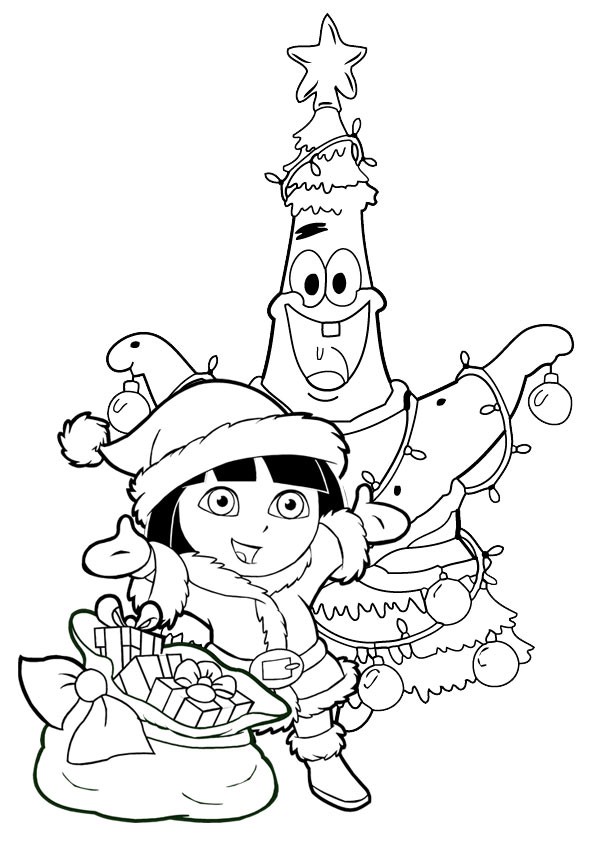
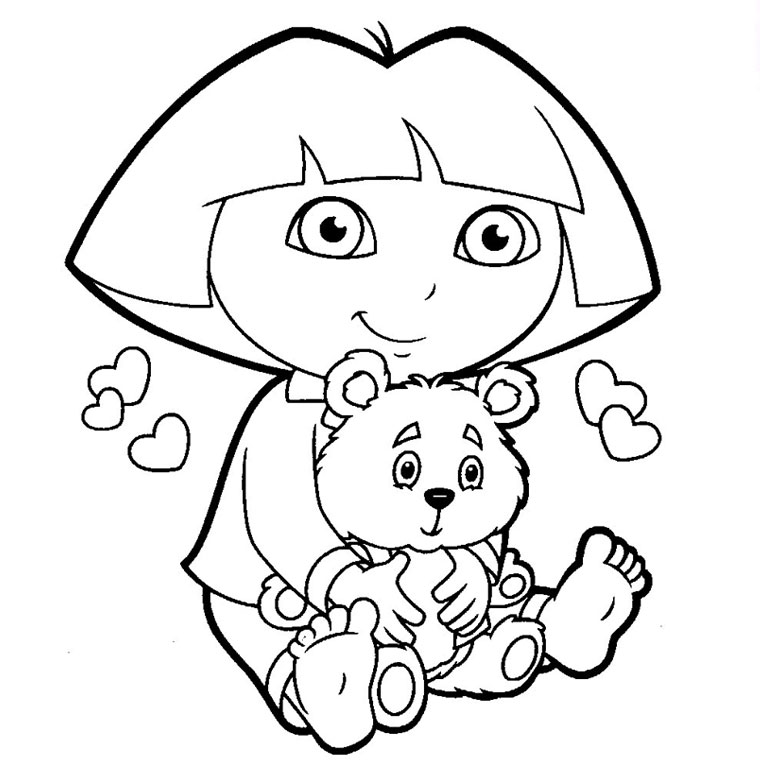
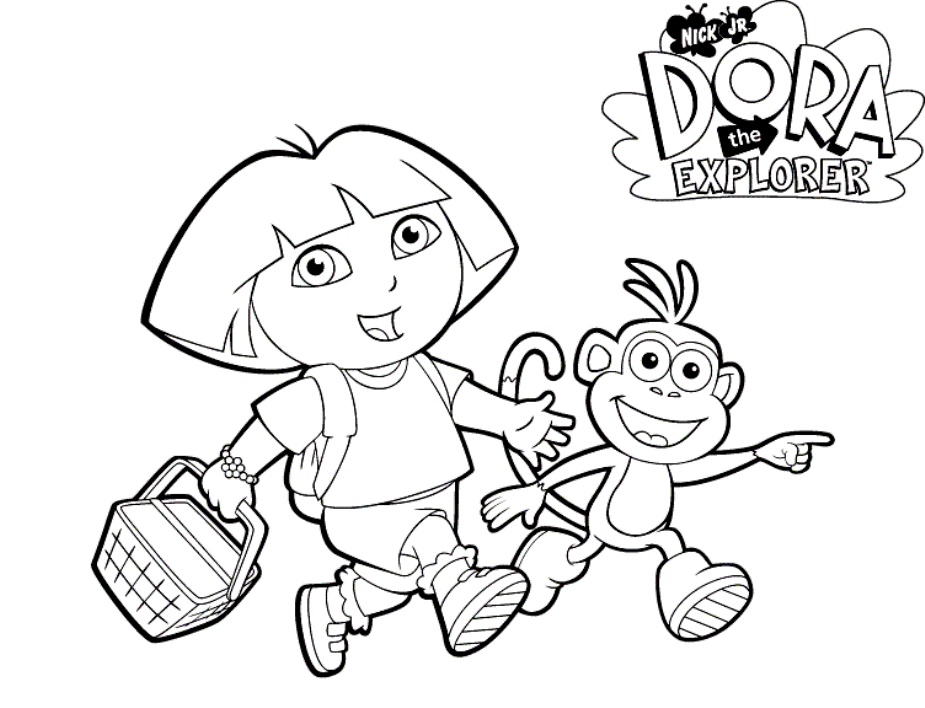
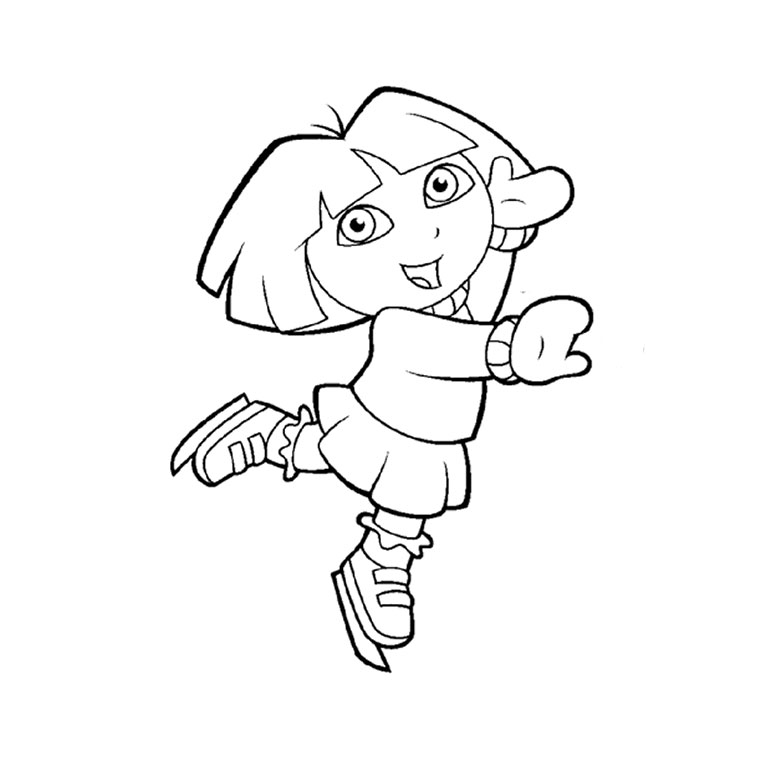
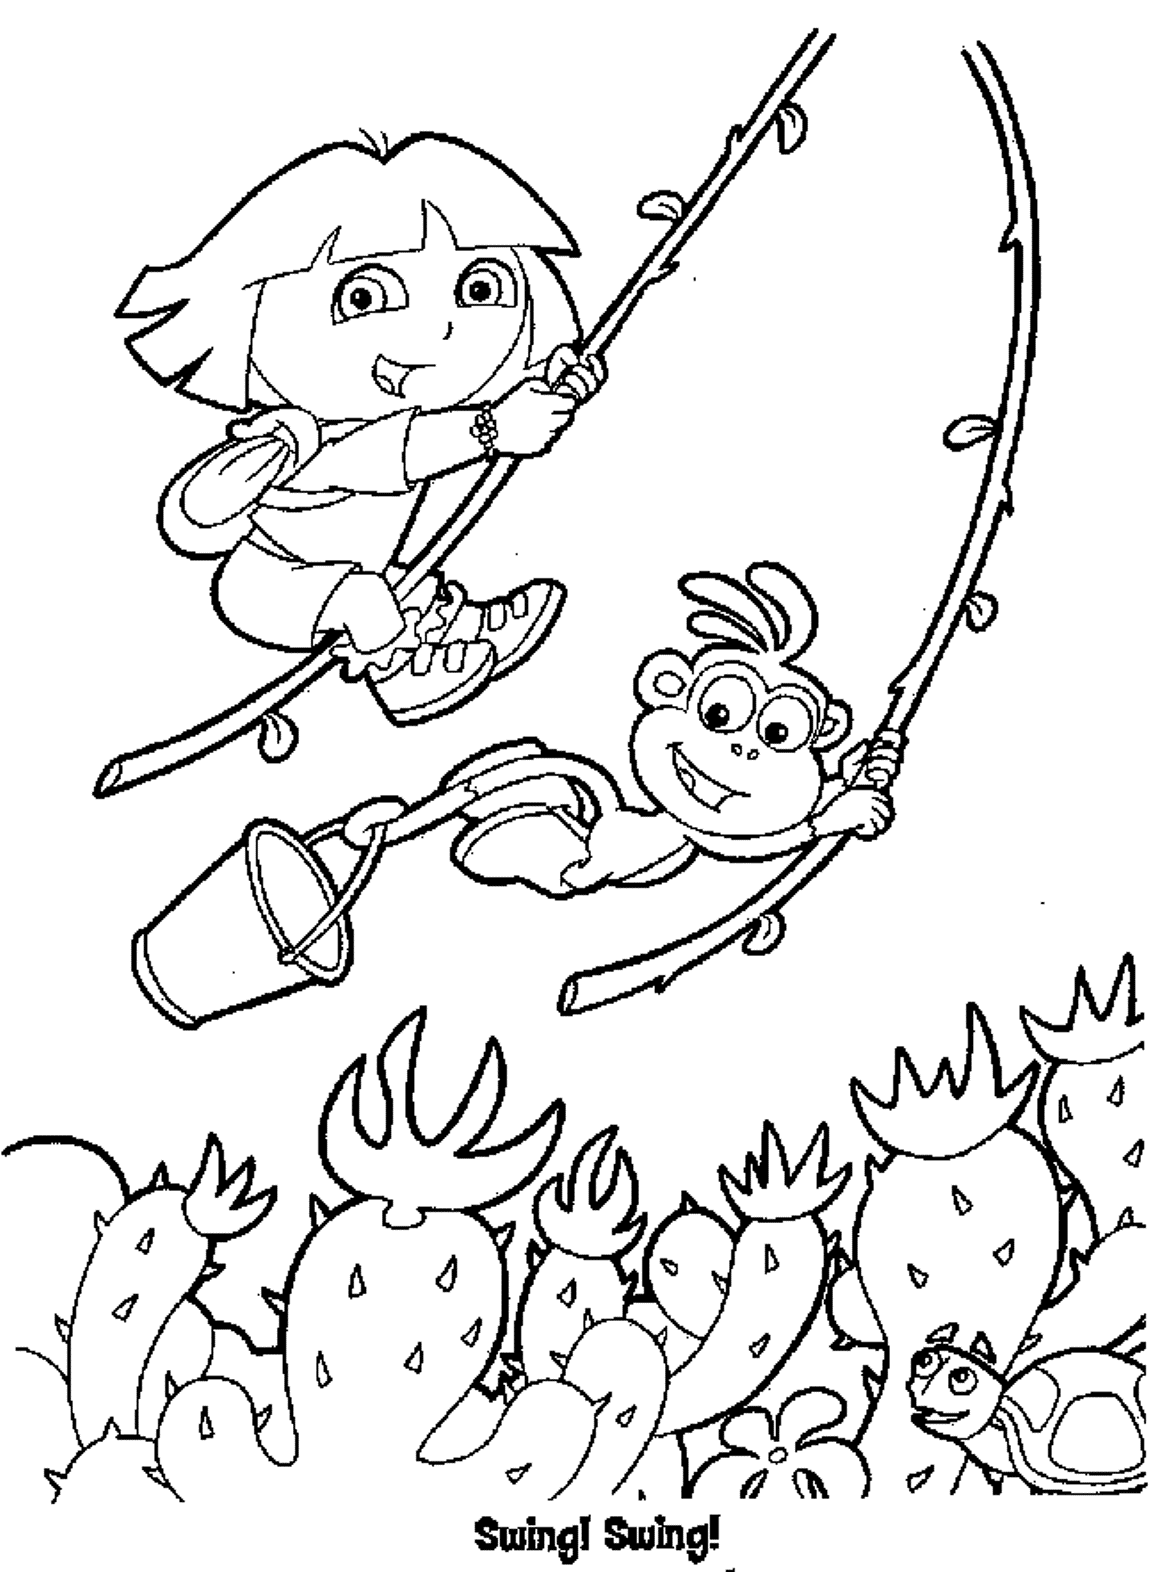
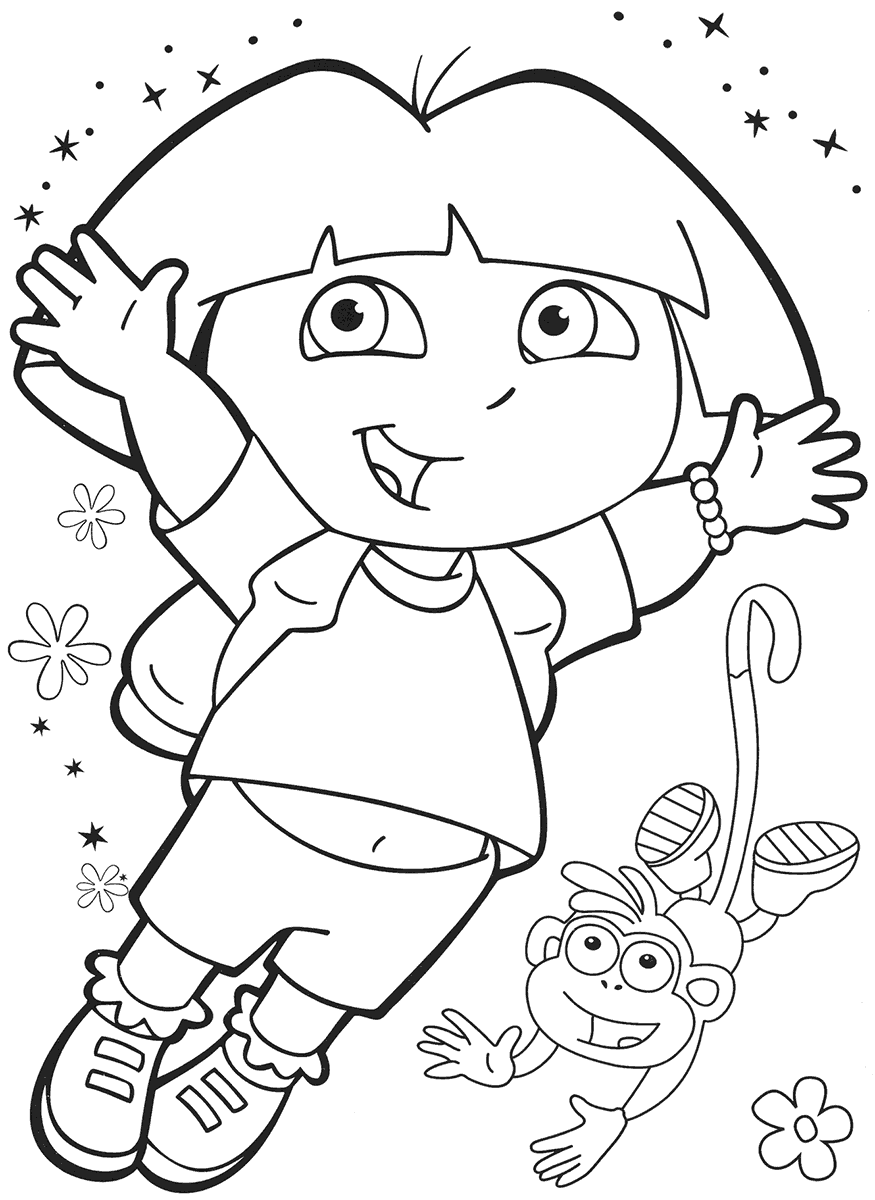
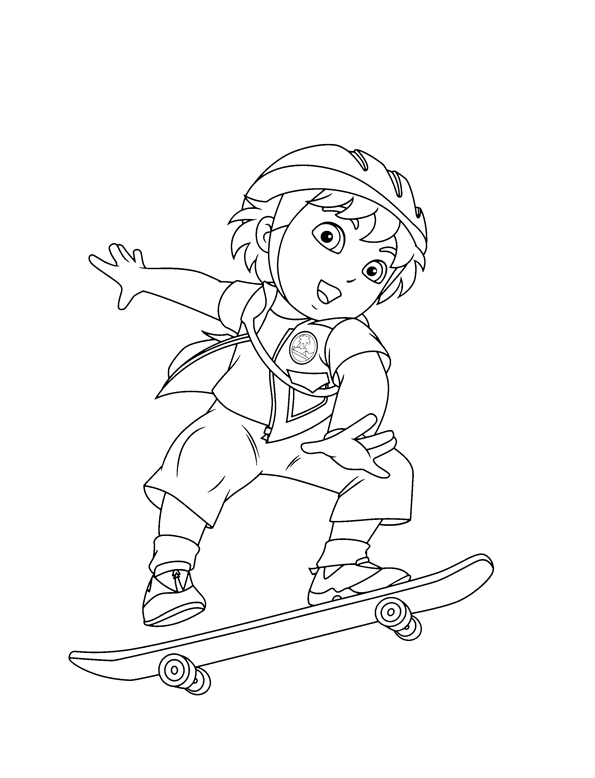
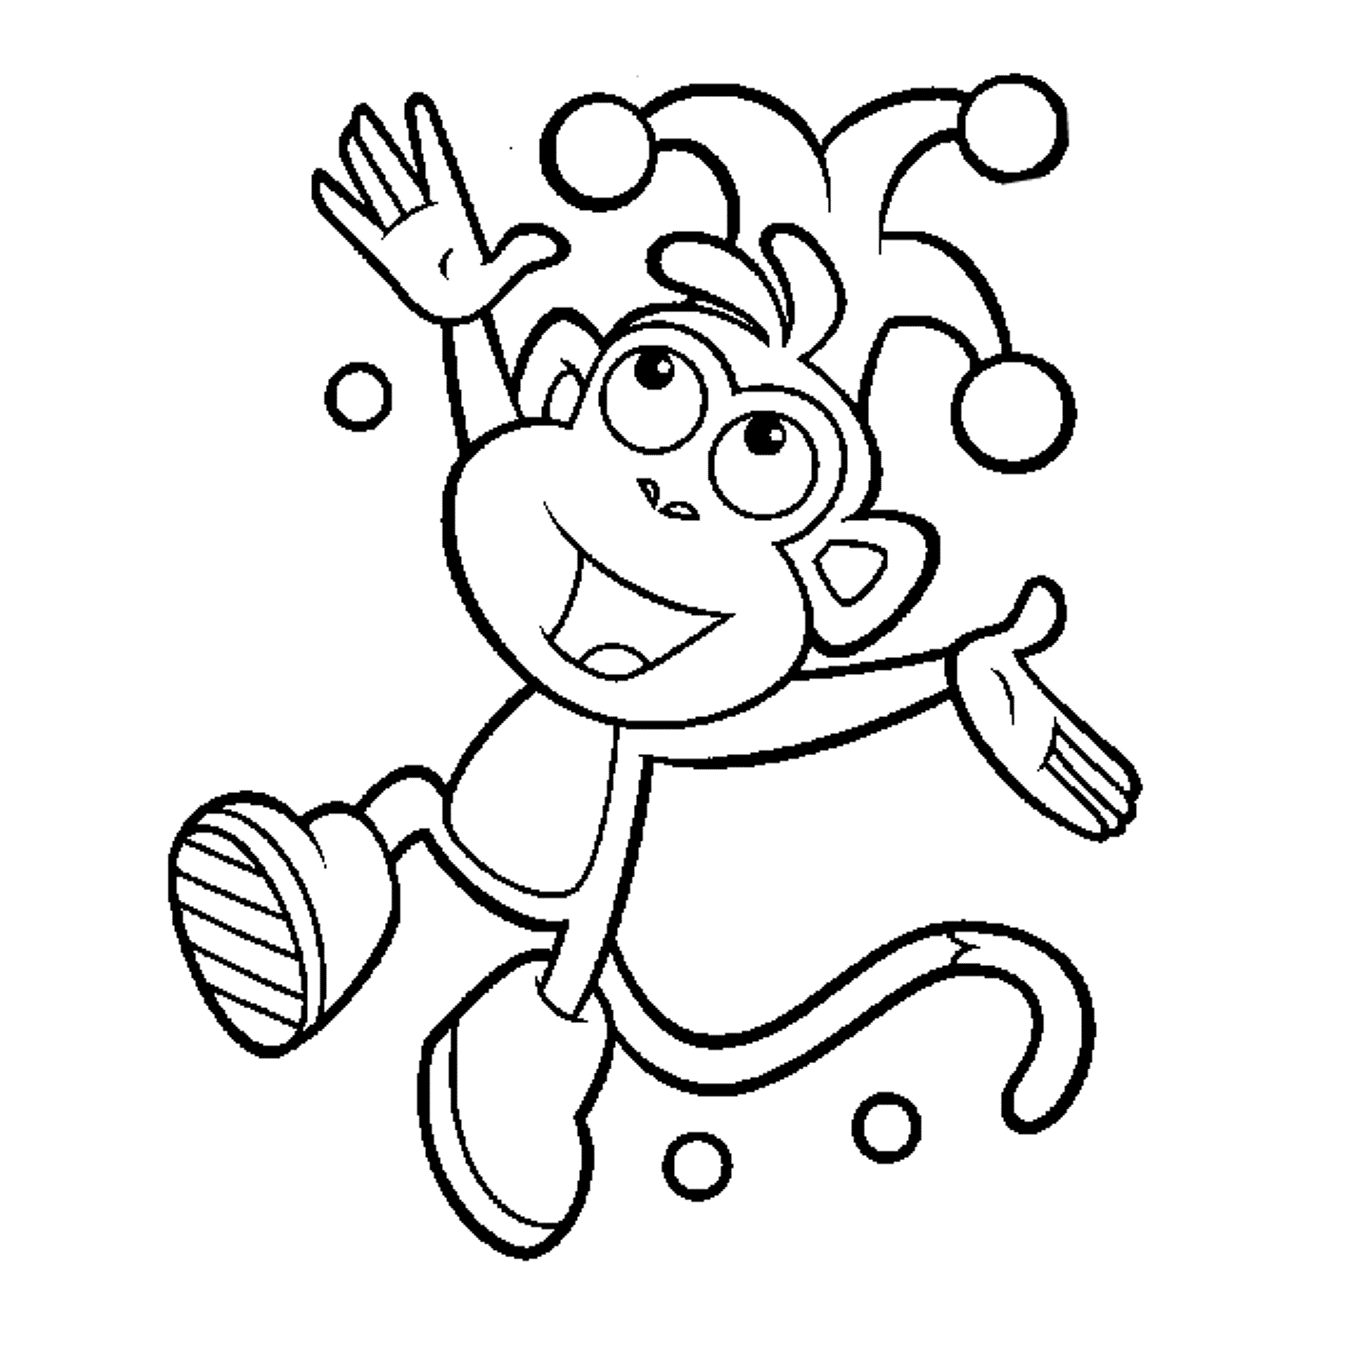
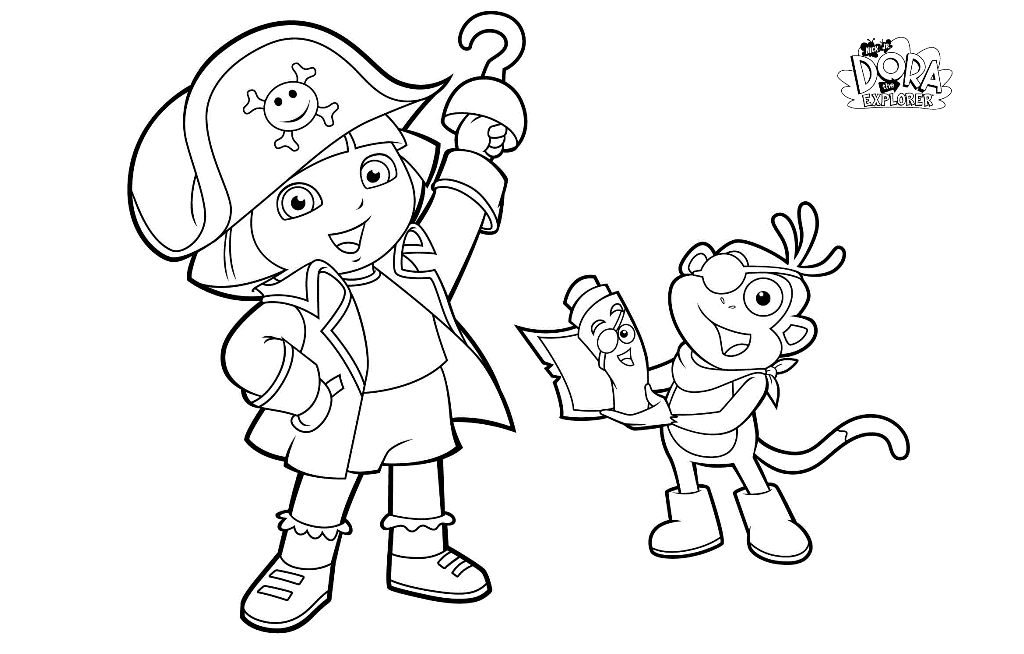
We will give tutorials for Dora drawing, and you can enjoy it with your kids if you are a parent. Do you want to learn how to draw Dora from the Nick Jr show Dora the Explorer? Why not? it’s free; you can go to step by step of instructions and finish your task. This is not a simple task but not too difficult for you. By participating in drawing Dora the Explorer you will have the opportunity to understand more about this character as well as understand more about your kids; there is a better way to educate them. This is a good activity suitable for everyone from children to adults, and you can enjoy it after the hard-working hours with any device connecting to the internet. We instruct 8 steps, equivalent to 8 missions you must finish. Along with the tutorial, we have also included a couple of free Dora the Explorer coloring pages that you can print off and give to your kids to color!
How To Draw Dora the Explorer – Let’s Get Started!

As you know, Dora Marquez is the main character of Nickelodeon’s hit animated television series, “Dora the Explorer.” She is a 7-year old girl who interacts with her viewers on her adventures and teaches them Spanish. Regardless of if you have accompanied Dora on her adventures, she is very smart, and you will learn and enjoy now how to draw her by following this tutorial. Before drawing, It would help if you prepared a pencil, eraser, colored pencils, and drawing paper. You will use a pencil to draw on paper; you can erase your mistake, so don’t be afraid to draw; you draw in the most relaxed mood. In our guide, some steps will require you to erase lines drawn in previous steps. You will realize your task from easy to difficult until creating a complete Dora the Explorer. Now, let’s get started by drawing Dora the Explorer with us!
Step 1 – Draw Dora The Explorer’s Eyes

You will draw Draw Dora the Explorer’s eyes now; on paper, you draw two small ovals with two dots inside each one for the eyes and pupils. So, you finish your task for Dora the Explorer’s Eyes and next to the second step.
Step 2 – Draw Nose And Mouth For Dora The Explorer

Here, her nose and smiling mouth can be drawn with some simple, small, curved lines, but you must show her smiling mouth. She is very cute in it. So, you complete your mission in this step and move to step 3.
Step 3 – Draw Dora The Explorer’s Face Outline

For this part of your Dora drawing, we will finish off the face outline, and this is also the mold for Dora’s head. At her forehead you use large curved lines around her forehead and small curved lines for some of her hairs.
Step 4 – Draw Hair And An Arm For Dora The Explorer

We will continue the guide on how to draw Dora The Explorer by starting with An Arm. Draw two curved lines coming down from her head, and then connect them at the bottom with a flat line for her neck, then, you draw her arm with a sleeve. You finish her arm with her finger and next draw her hair. She has cute short hair, needless to say, and you can also personalize the hair! You can draw short bob hair for her as our illustration.
Step 5 – Draw The Rest Of The Arm And Body For Dora The Explorer

Right underneath the head, draw the left arm for the character. Afterward, proceed by drawing the shirt your character is wearing. It is her body. On this hand, you add a lovely watch for Dora. That’s all there is to it for this step, so when you’re happy with the look of it, we shall continue adding to Dora in the sixth step.
Step 6 – Draw Dora The Explorer’s Shorts

Draw a vertical line on the left side below the shirt. Then, draw a shorter vertical line parallel to it. Afterward, draw a horizontal line at the bottom, connecting both endpoints of the vertical lines. This creates the left leg of the shorts your character is wearing. You continue with exactly the same right leg.
Step 7 – Finish Your Mission Task

You finish your mission task by adding a pair of shoes for her. From the short, you draw the straight lines for the rest of the part for the legs, and then you will draw a pair of shoes for Dora. Please don’t forget to add a pair of visible socks. So, you finish your drawing and coloring mission for Dora. You have the last step for coloring and finishing your work in this guide.
Step 8 – Color Dora The Explorer

Now, you will choose suitable colors for your product. Depending on your perception of color, you can choose colors for Dora The Explorer. You can take colors you like or choose the same colors. We take black for her hair and watch, peach for her skin, purple for her shirt, brown for shorts, white for shoes, and yellow for the visible part of her socks. You create a complete Dora The Explorer with your skill. You can move to Dora the Explorer coloring pages to enjoy our images related to Dora for free on our site. I hope you find these tutorials helpful. Please enjoy and happy drawing! We update many guides for drawing. If you like our products, don’t forget to give us a thumb up and recommend them to your friends! Have a great time here!
Use the video and step-by-step drawing instructions below to learn how to draw Dora The Explorer. Thanks for visiting! Subscribe to the How To Draw YouTube Channel for our new tutorial.