8 Easy Steps To Create Yamper Drawing
Creating a cute Yamper drawing in just 8 easy steps
The detailed instruction will show you how simple this tutorial really is to make Yamper drawing. In this cool tutorial, you will learn how to draw Yamper. Any kid from any age will have a blast drawing their favorite cartoon character. You will get an opportunity to learn more about this character. You will go to step by step to create a complete Yamper character. This is children’s favorite, and you can learn to draw Yamoer with your kids. They will surely like this activity. It only takes about 25 to 30 minutes to finish your task here. We have the illustration in the lesson you can easily print or download. You can use them to realize the mission of each task. Along with the tutorial, we have included a couple of free Yamper coloring pages you can print off and give your kids to color! This is not a difficult task, and you must concentrate your mind, your passion, and your time to finish your job as soon as possible; you get a fun time here to relax after the hard-working hours; drawing or coloring will also help you to reduce your stress and worries.
How To Draw Yamper – Let’s Get Started!

It would help if you prepared something like a piece of paper, a pencil, a black marker, an eraser and some colors such as dark green, brown, red, yellow, orange-brown…before drawing. With our guide, you will take the task from easy to difficult until your work is done. You will start drawing from Yamper’s head and finish to his tail. You can finish this work quickly if you are a beginner or an expert in drawing. We give eight steps for this mission, and you will follow us to complete it. Drawing activity is suitable for everyone, especially for kids. They can work better if you give them a convenient entertainment channel. So, on our website, you can enjoy every product for free. We update the products daily. Now, let’s get started drawing Yamper with us!
Step 1 – Draw Eyes And Nose For Yamper

You will draw eyes and a nose for Yamper, draw two dots for eyes, and under the eyes, you will draw a dot for the nose. You check the locations of your shapes with the reference and use your pencil as a measuring tool to correct any proportion that is off. You can stop drawing here and move to step 2.
Step 2 – Draw Yamper’s Mouth

You know that Yamper has a slobbering mouth that should be complete with tongue and teeth. You use the curved lines to draw the mouth and tongue for him. You use two small lines on the sides of the tongue and lower jaw to draw two teeth for Yamper. At the end of the task of this part, you use an arch around the mouth of the tongue to create the chin.
Step 3 – Draw Yamper’s Face Outline And Ears

You use a curved line to draw around Yamper’s face and head, and then you draw two triangles for two ears of Yamper. Inside the left ear, you draw another small triangle to make the earlobe for Yamper. So, you finish your Yamper with a complete head and face here. You continue drawing your Yamper in the fourth step.
Step 4 – Draw Shoulder And Neck For Yamper

You continue drawing Yamper with shoulder and neck.
Here all you have to do is draw the thick collar, neck, and shoulder for Yamper. From the face, you draw a curved line to make the collar. Your task here is very simple, and you can finish now and move to step 5.
Step 5 – Draw Yamper’s Legs

since we are drawing Yamper on one side, we only see three legs and a small part of the other leg, so in this step, you also only have to draw three visible legs, and a few small details for the leg covered up. From the collar, you use a line to go around and make a body for Yamper. After that, you draw the toe details on the feet. Here, you must draw lightly, use short and repetitive strokes, slowing draw heavier as you commit to more definitive lines.
Step 6 – Finish Yamper’s Body

Your task in this step is too easy, and you just need to use a curved line from the collar to the legs to form the back for Yamper. You can go to the seventh step now to finish your drawing mission.
Step 7 – Draw Yamper’s Tail

Right now, you draw two triangles overlapping for the tail. Then you must add some details for your character, and you can observe our image and follow it. You can add textures and details all over the elephant’s body to make it look dimensional and realistic. You can finish the task here and move to the last step for coloring.
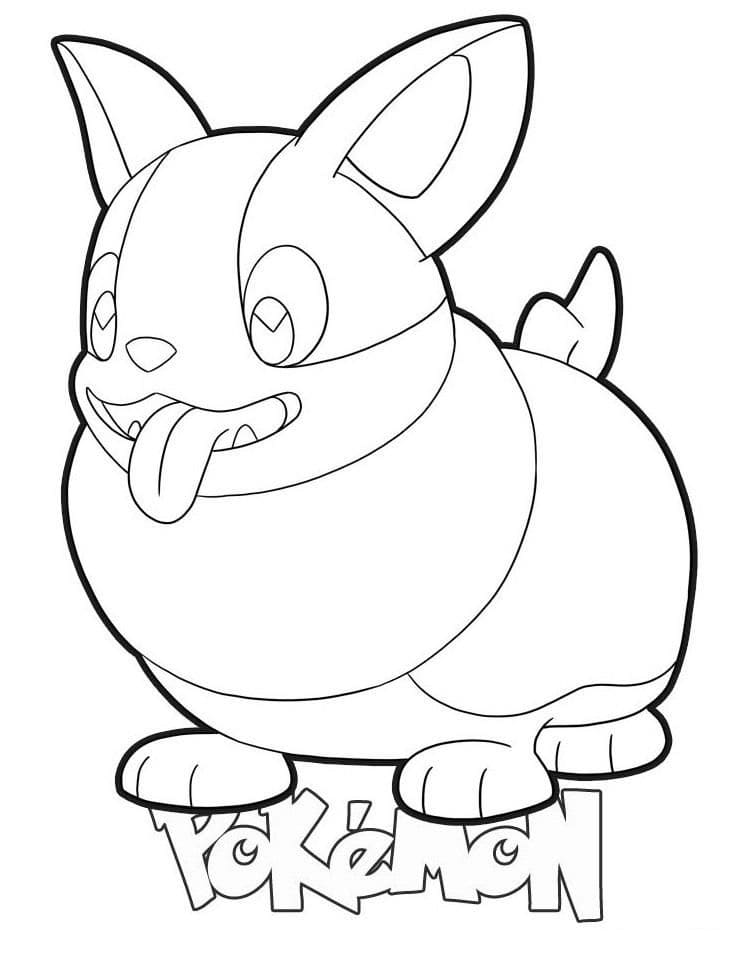
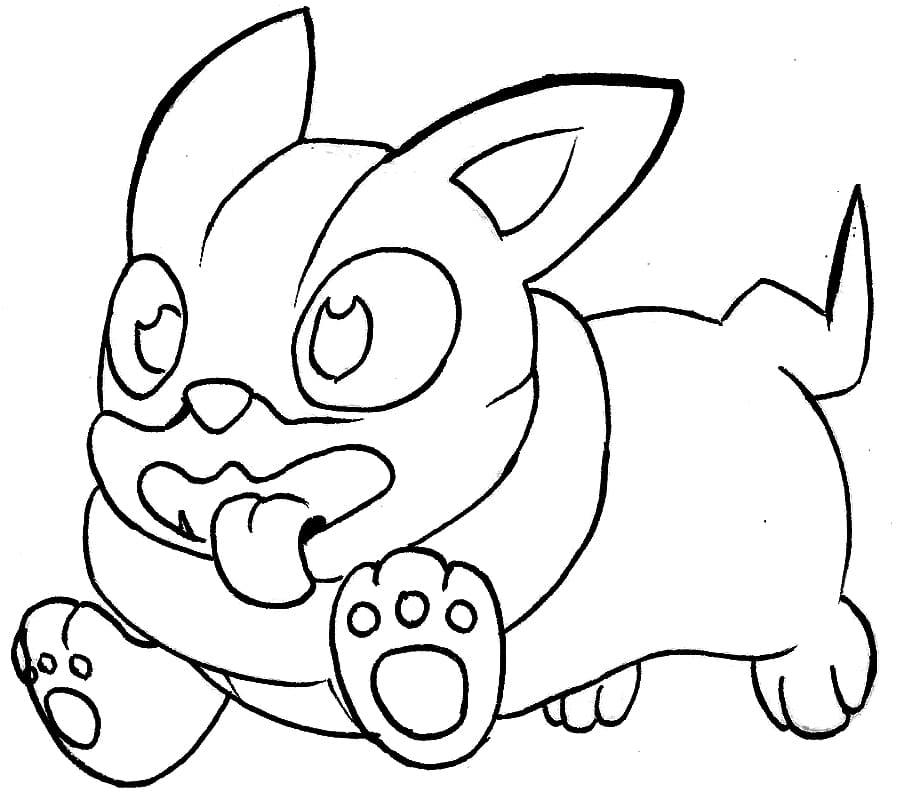
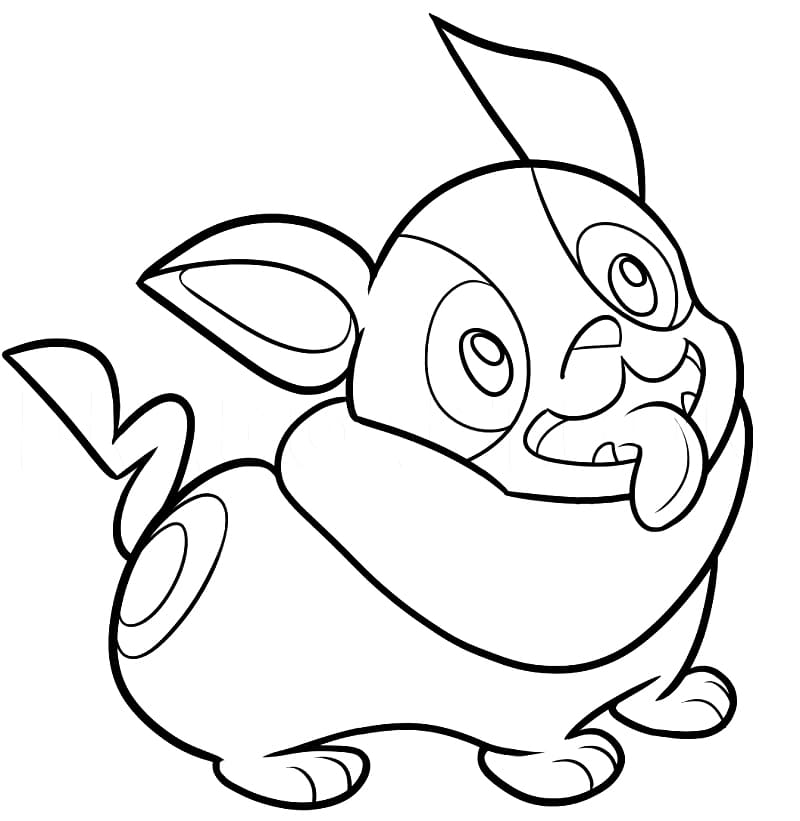
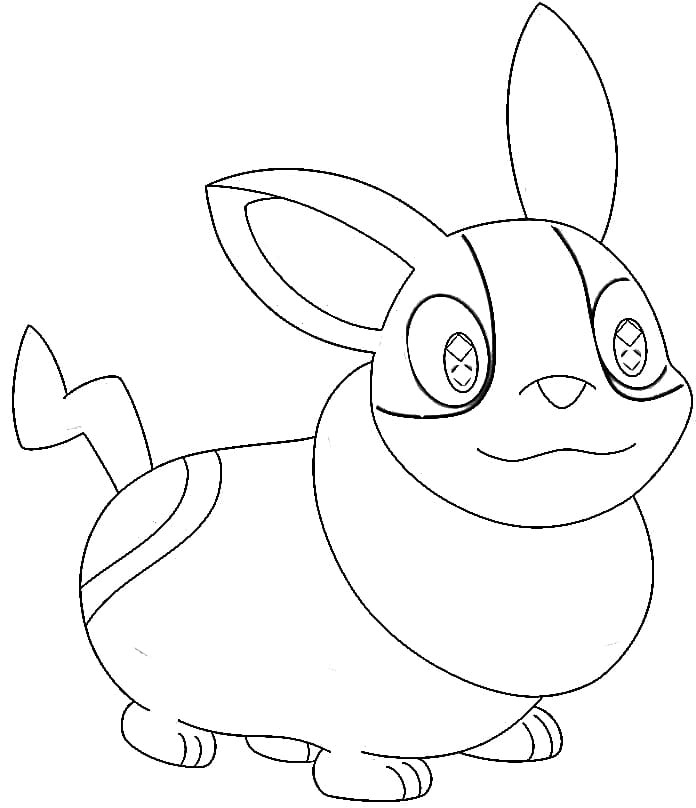
Step 8 – Color Yamper

Finally, here is the most exciting part—filling in the colors for your awesome drawing! This is the part where you can show off your artistic skills and your ability to mix and match various colors.
The majority of the Yamper have brows and yellow skin. However, there are some Yampers in various drawings that have brownish or reddish skin. You can choose the colors for Yamper as your favorite color or our colors. We take light brown and light yellow for all bodies, and red for the mouth and tongue. So, you finish your drawing and coloring mission for Yamper. You can move to Yamper coloring pages to enjoy images related to Yamper. We update hundreds of pictures for free. It is exciting here, and you can enjoy all our activities for free here. If you like our products, don’t forget to give us a thumb up and recommend them to your relatives your friends! I hope you get a great time here.