8 Steps To Make A Tulip Drawing
Creating a nice Tulip drawing in just 8 easy steps
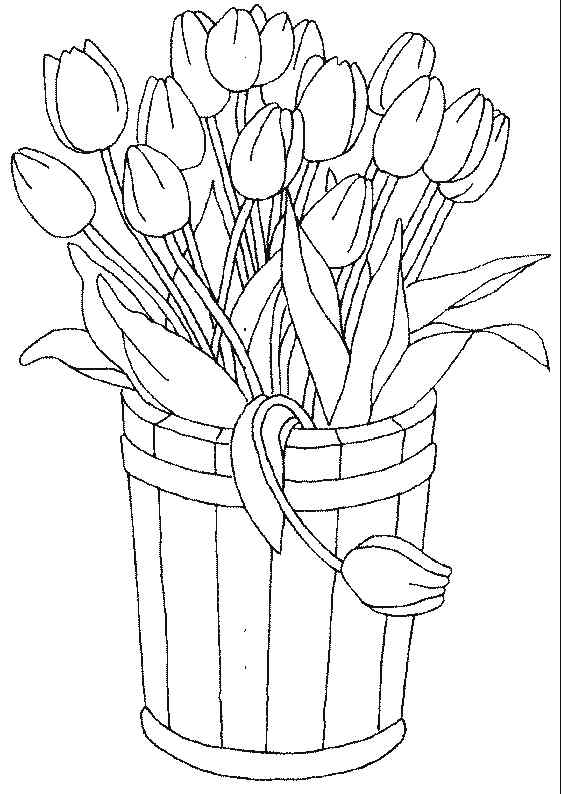
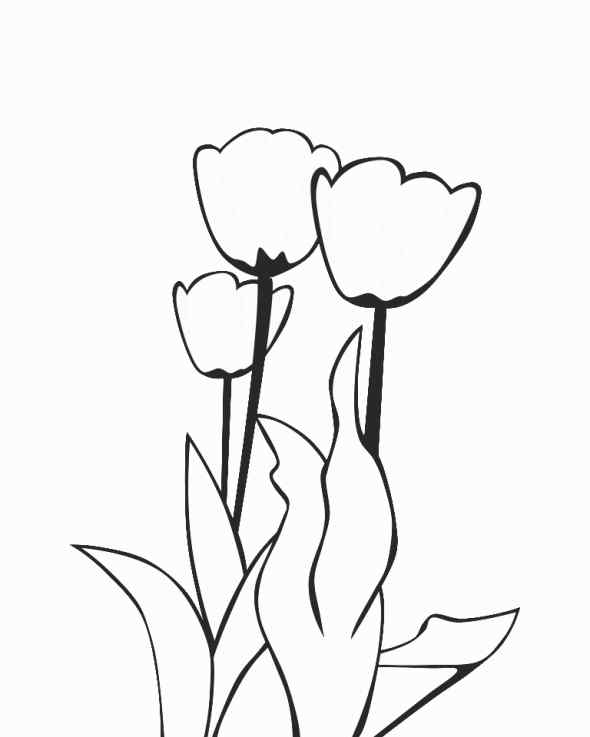
Create an excellent Tulip drawing with easy, step-by-step instructions and our illustration. You will follow our 8 steps and create a tulip In a pot. This is a leisure activity that benefits everyone, from children to adults. Everyone needs some leisure time after hours of working hard. You can learn to draw a Tulip and learn about this flower. You will go step by step to realize your task and enjoy a relaxing time with us. Why not? Feel free to use whatever tools and materials you like the most; we highly recommend drawing with a pencil when you first start so you can make mistakes without stressing about it! Never be shy about erasing. Along with the tutorial, we have also included a couple of free Tulip Coloring Pages that you can print off and give to your kids to color!
How To Draw Tulip – Let’s Get Started!

Tulips are loved for their bright colors, but they also have a background story. Their name originates from the Persian word for turban, as they resemble a turban in full bloom. For centuries, giving a tulip has been seen as a symbol of love and affection, the dark center of the flower representing a heart scorched by the flames of passion. Many people love this flower; however, not everyone can show it in their drawings, so with our tutorial, you become an artist with your tulip artwork. Whether you are a novice or a picture expert, you can follow these steps effortlessly. You will create a complete Tulip in a pot with our instructions, and you get fun here. Our tutorial goes from easy to difficult. You will easily accomplish the task of drawing tulips here. Now, let’s start drawing a tulip in a pot with us!
Step 1 – Draw Tulip’s Form Outline

Very simple for your task in this step; you need to draw your shape to illustrate the form of a tulip. You can move to the second step and continue drawing your product with pencil and paper.
Step 2 – Create The Tulip’s Petals

Draw two curved lines across and cross the flower, enclosing a teardrop shape. This outlines one of the tulip’s petals. It is simple for your task; you can observe our image and follow it. You move to the third now.
Step 3 – Finish The Tulip’s Petals

Similar to step 2, the task of this step will continue to create and complete tulip petals. Draw the curved line across the flower, enclosing another partial teardrop shape. This forms another flower petal. Continue drawing a curved line like an upside-down “U” on top of the flower. This encloses yet another petal.. That’s all there is to it for this step, so when you’re happy with the look of it, we shall continue adding to this tulip in the fourth step.
Step 4 – Draw Tulip’s Stem

You create the flower’s stem by drawing two long, curved, parallel lines. This will form the tulip’s stem. It’s that simple, and it only takes a few seconds to complete the task here before moving on to the next one.
Step 5 – Draw Tulip’s Leaves

Here, you extend two long, curved lines from one side of the flower’s stem, allowing the lines to meet at a sharp point. This outlines one of the flower’s leaves. It’s also very easy to do the task, and you can look at our illustration and follow it.
Step 6 – Draw Tulip’s Pot

You start drawing the pot for the tulip by drawing two parallel arches to form the mouth of the pot. So that’s the task at this step. You can continue your drawing, tulip in the pot in the seventh step with us!
Step 7 – Finish Your Drawing Mision

To complete the drawing for the tulip in the pot, you will finish drawing a pot. You draw two parallel straight lines downwards and then draw a horizontal line at the bottom, connecting both endpoints of the vertical lines to create a complete pot for a tulip. You finish the task here and continue your task in the last step for coloring.
Step 8 – Color Tulip

Finally, the most exciting part is filling in the colors for your awesome drawing! This is where you can show off your artistic skills and your ability to mix and match various shades. You know that Tulip has many color combinations, including stripes, patterns that resemble paint spatters, and differently colored petal edges. Tulips may be white, green, orange, purple, or even black, and every color in between. You can take any color you like for your tulip.
Your Tulip Drawing Is Complete!
Here, we choose red for the flower, green for the leaves and stem, and dark orange for the pot. You finish drawing and coloring to create a complete Tulip in a pot. You can refer to Tulip Coloring Pages, with many coloring pages for your drawing. We have many products on our site; if you like our services, don’t forget to give us a thumb up and recommend them to your friends! Have a great time!