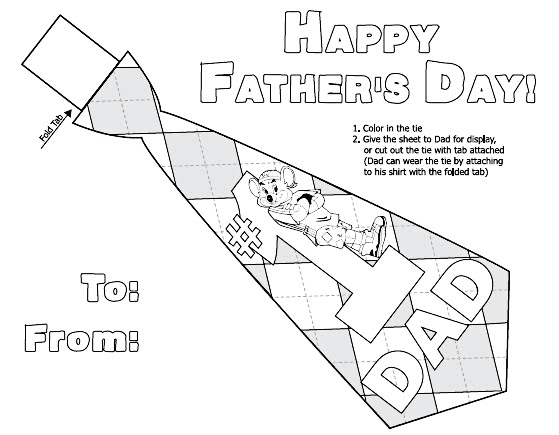
Tie Drawing Is Completed In 11 Easy Steps
Tie Drawing Is Complete In 11 Simple Steps
Today, you will have a new challenge with tie drawing with our help.
Please don’t worry; we have made a straightforward 11 steps tie tutorial for you whether you are a beginner or an expert in drawing.
Drawing a tie is suitable for everyone, from children to adults; you can enjoy it in your free time.
As we all know, a tie is a favorite fashion accessory that shows courtesy and professionalism in important events.
You can wear a tie in job interviews or speak at conferences to show professionalism and style.
There are many tie designs, and you can choose a distinct or straightforward style.
Although tying a tie doesn’t have to be complicated, it can be tricky the first few times.
Along with learning how to draw a tie, you also have the opportunity to learn more about this accessory.
Drawing a tie is also tricky, but it gets easier as you follow our steps.
Before you start learning to draw, you will have to prepare supplies such as a pen, pencil, paper, colors, and an eraser; then, you will draw with a pencil and paper. Using a pencil will help you easily erase mistakes and redraw them until satisfied.
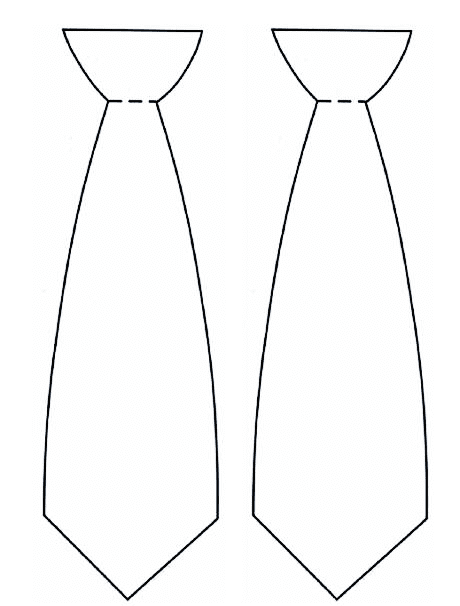
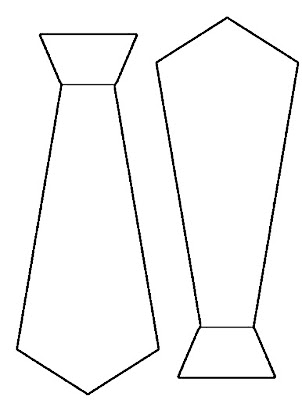
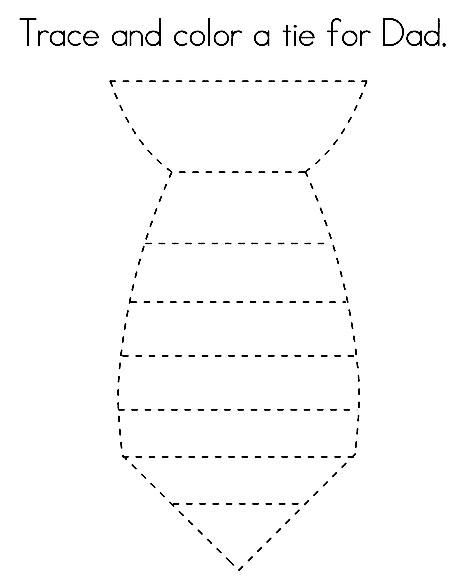
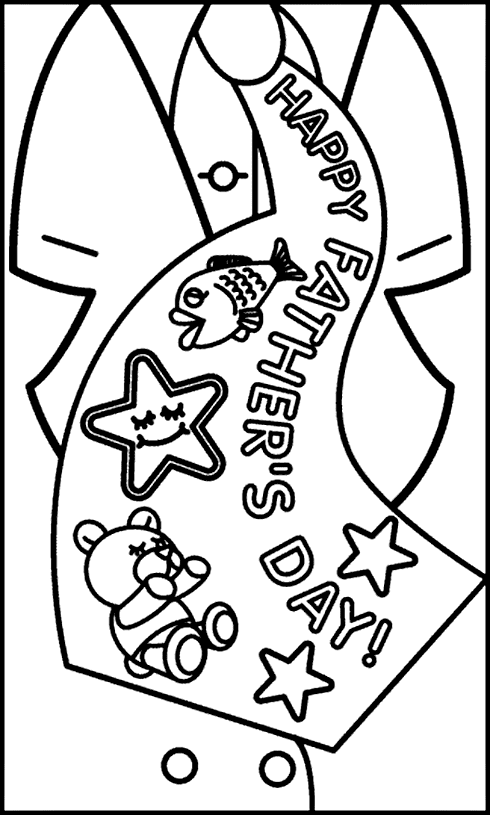
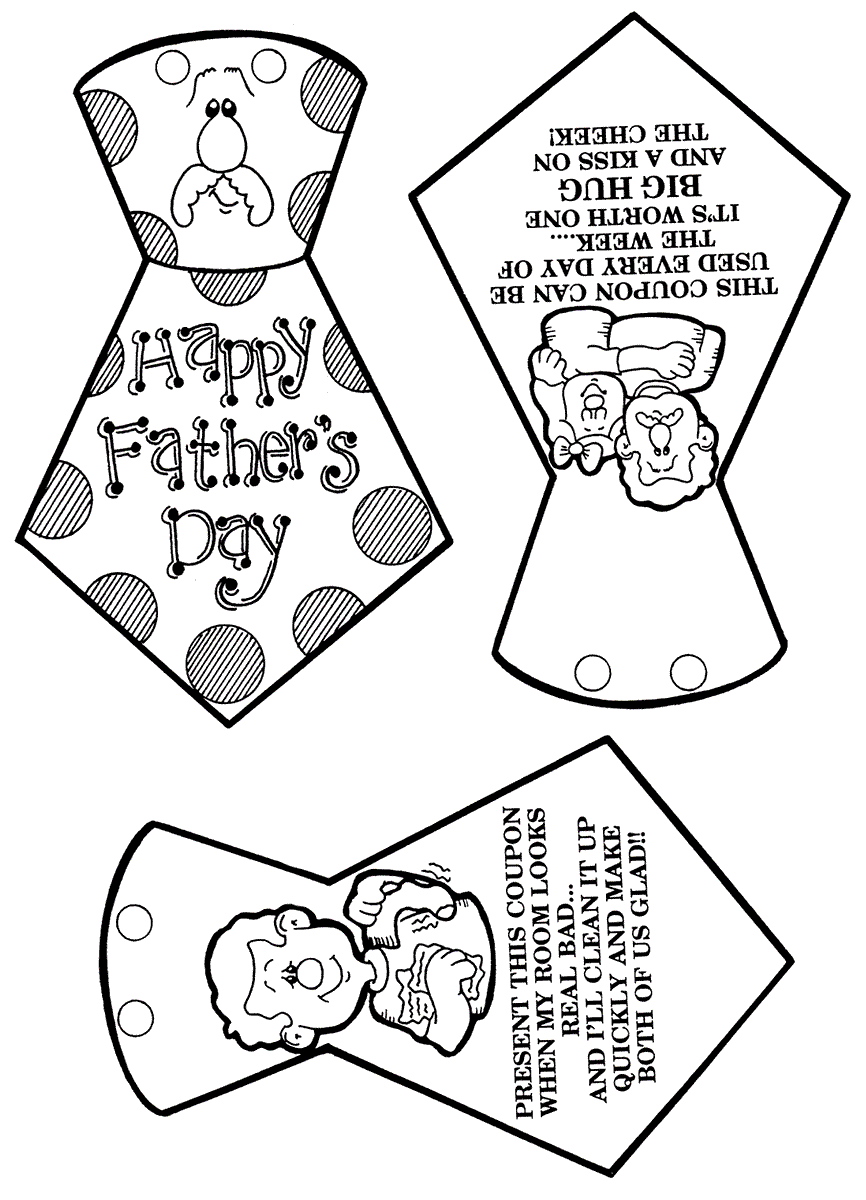
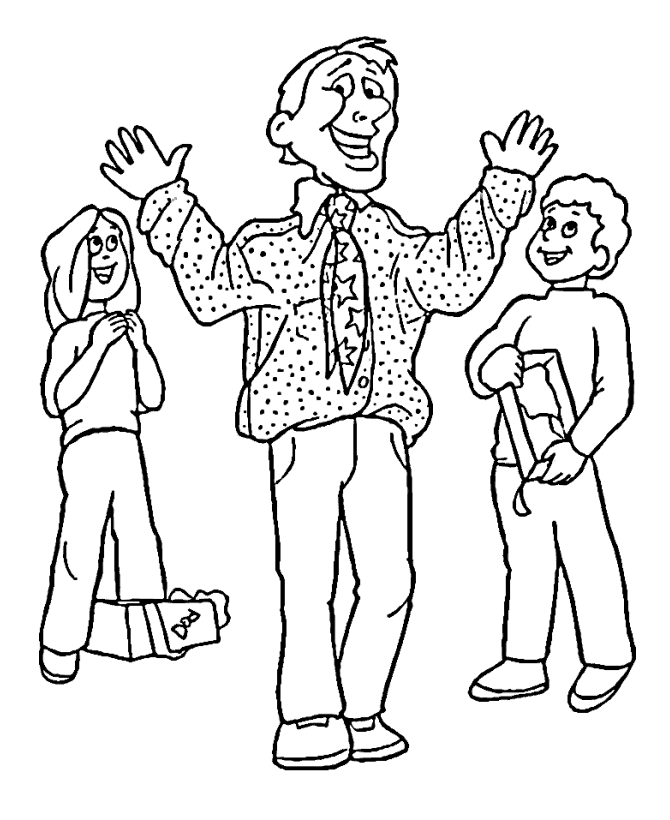
Along with this drawing guide, you get a chance to enjoy tie coloring pages for free to practice your drawing and coloring skill.
Right now, we go to 11 steps of our guide on how to draw a tie.
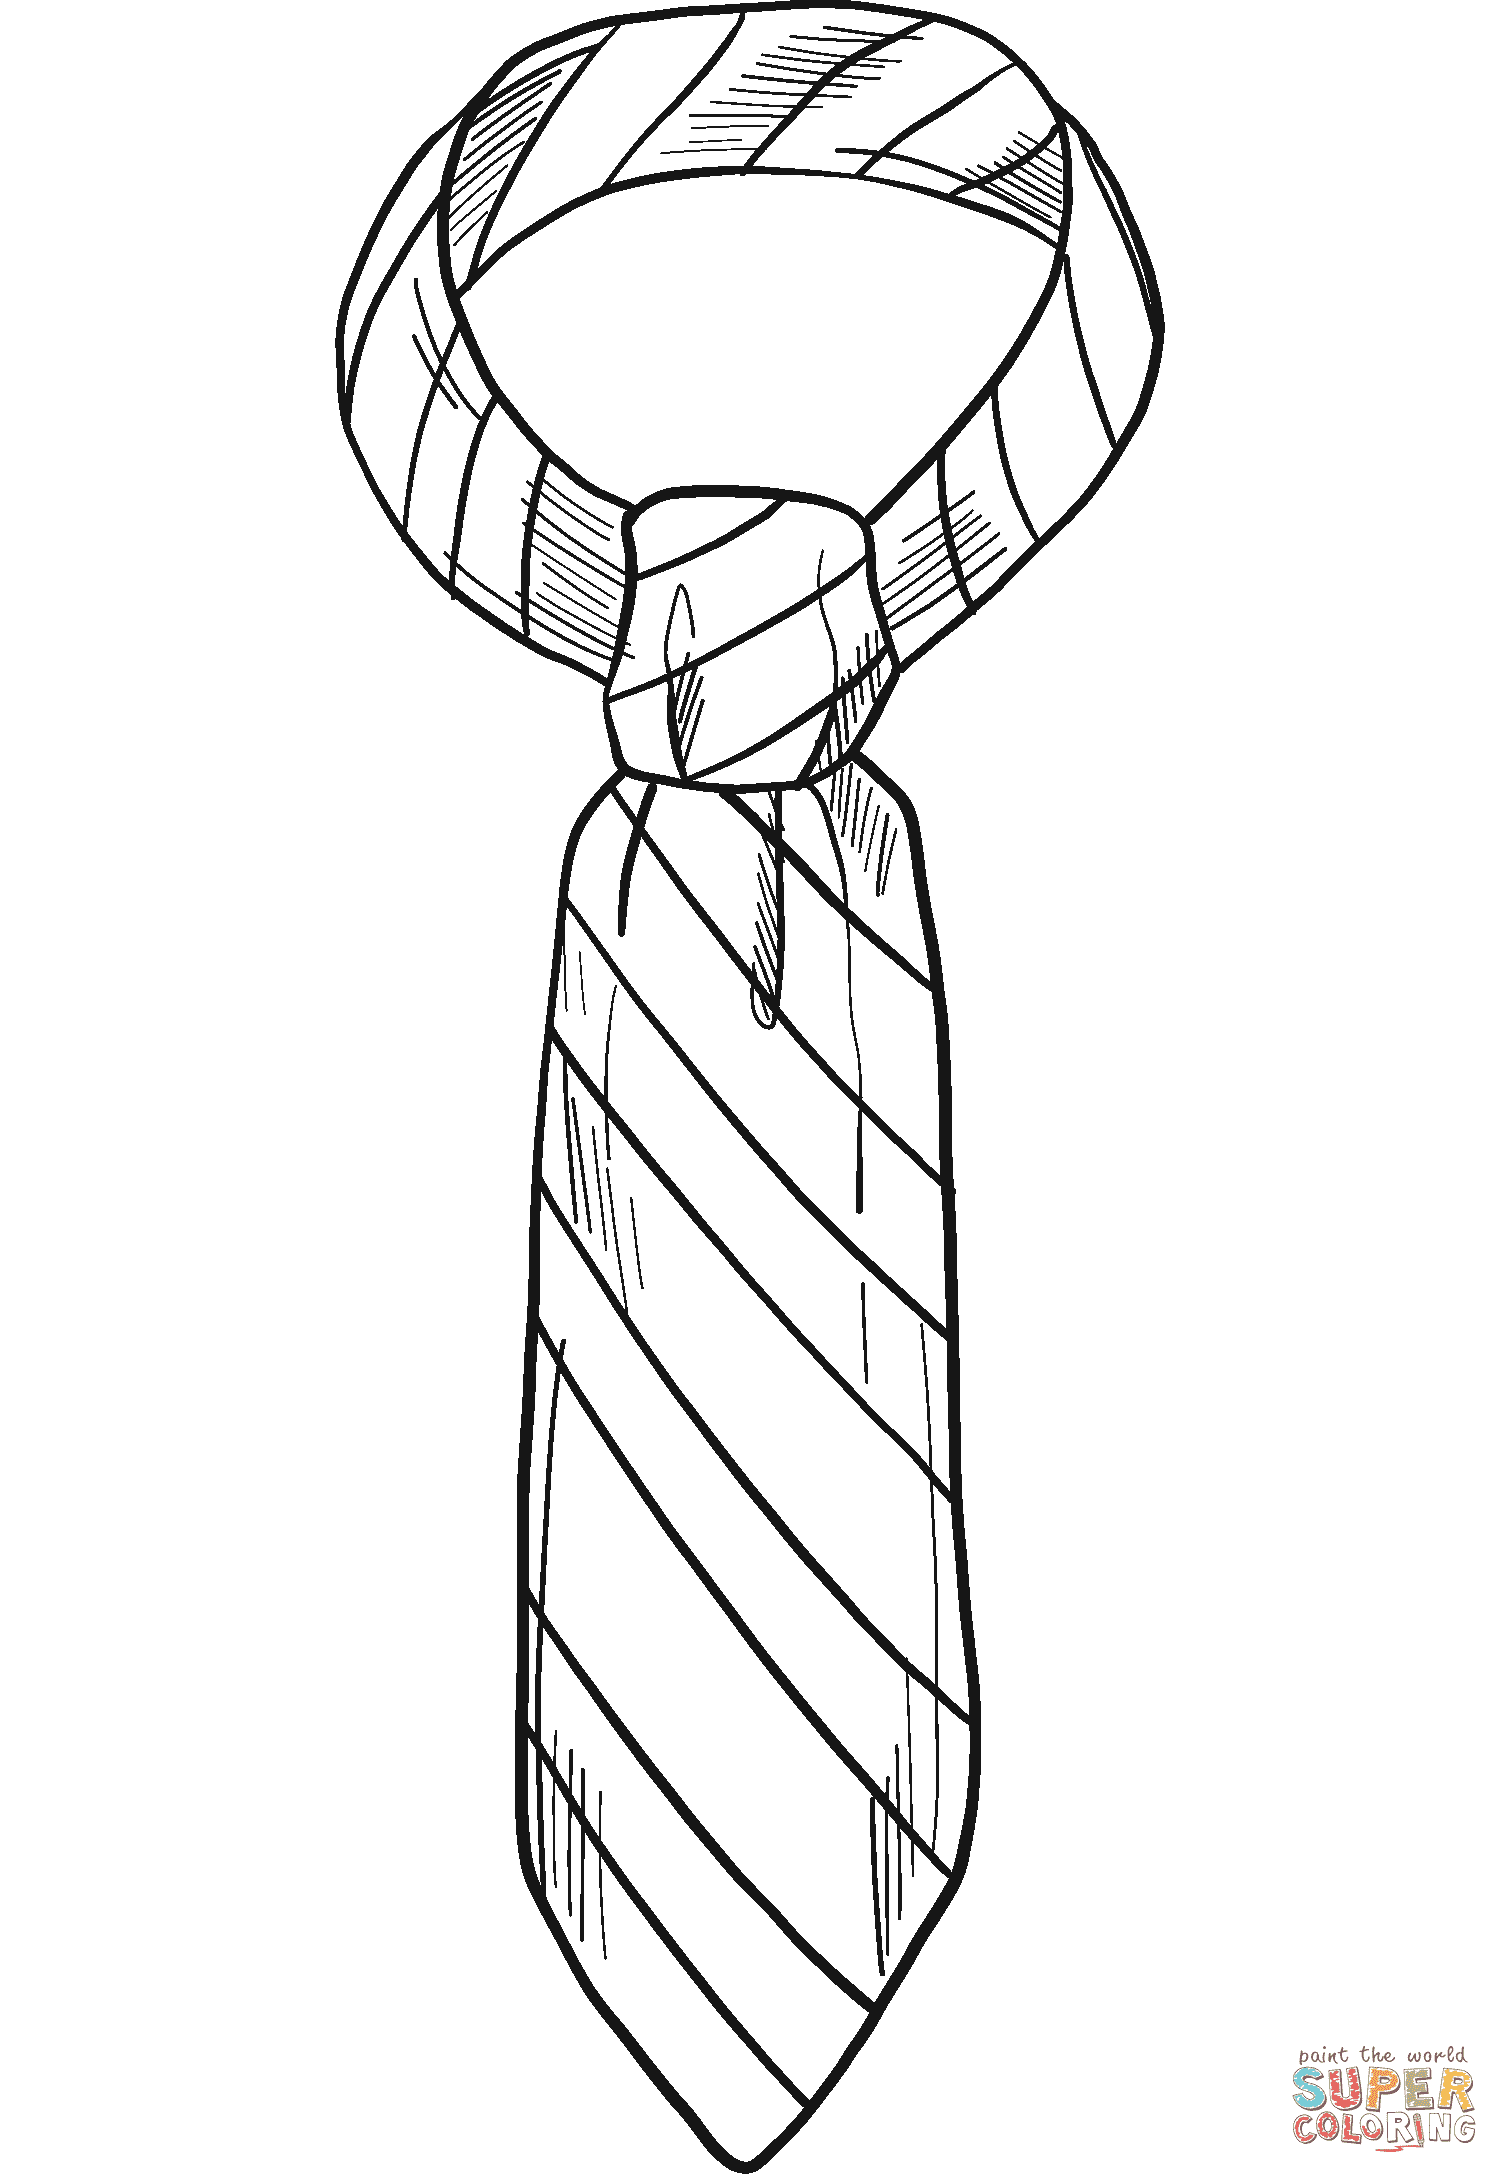
How To Draw A Tie – Let’s get Started!

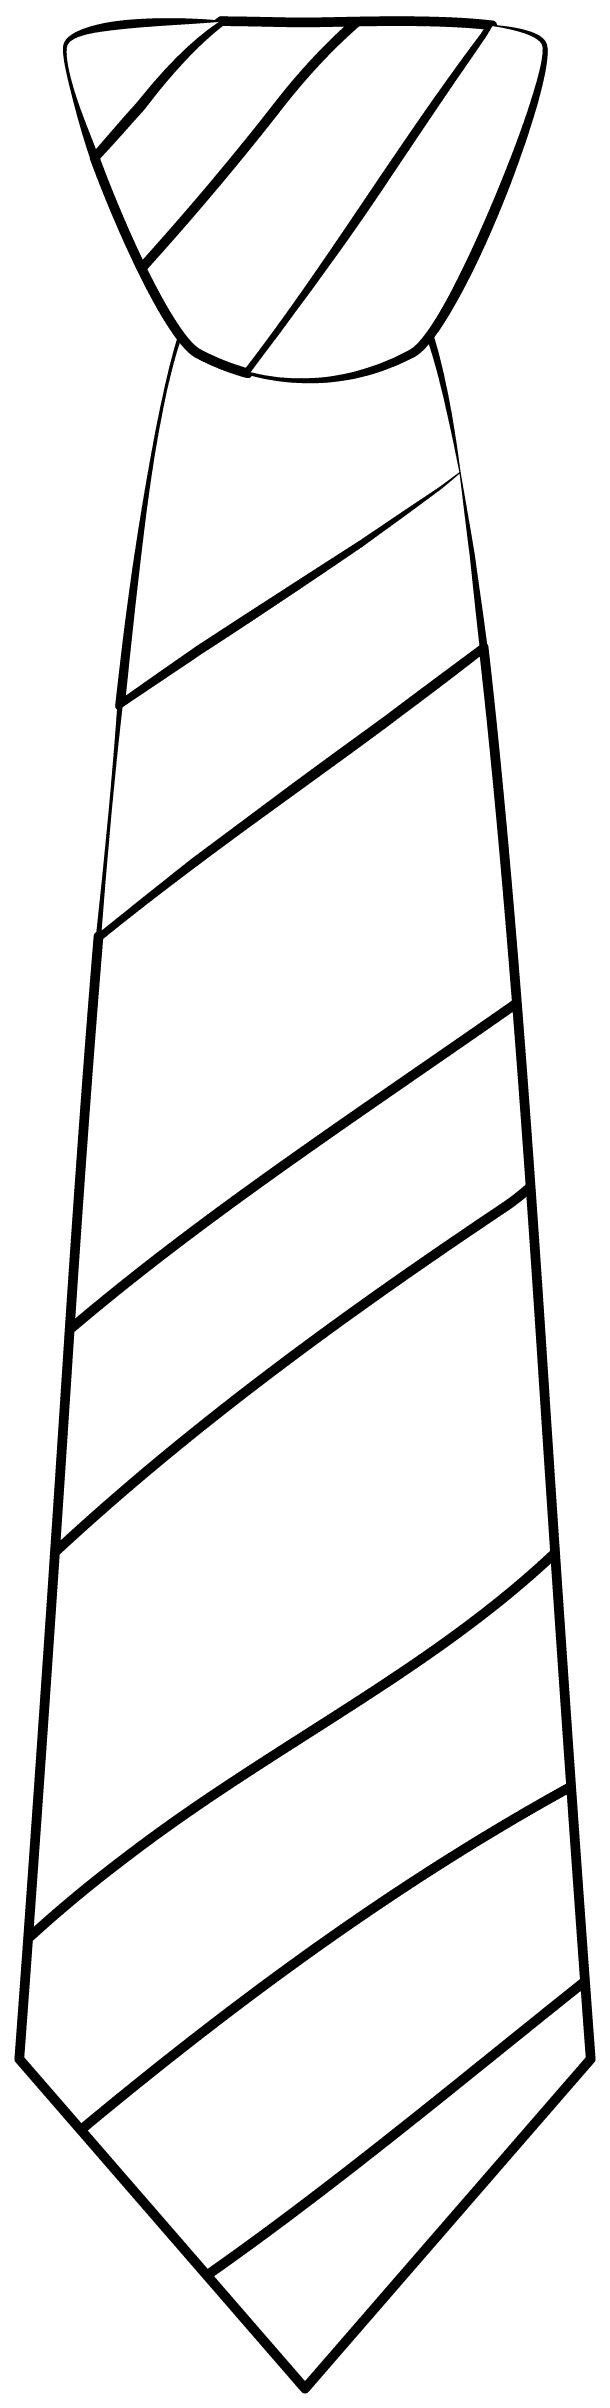
Step 1 – Draw The Tie’s Top Outline

To draw the tie smoothly, you can use a ruler because there are too many straight lines in this case. Although you can draw by hand, the ruler will help you a lot.
For this step of our guide on how to draw a tie, you will draw the top of the tie outline with two short parallel unequal lines, as you see in our reference image.
Once satisfied with your image, you can go to the next step.
Step 2 – Complete The Tie’s Top

You will draw two more sidelines to complete the tie’s top of the tie.
Too simple right? You’ve done it brilliantly, and now you’re ready to move to the third step.
Step 3 – Add Details For Your Tie Drawing

In this next part of our guide on how to draw a tie, you must two lines from the tie top and a little further away the more they go down.
You can go to the next part when you see your drawing is similar to our illustration.
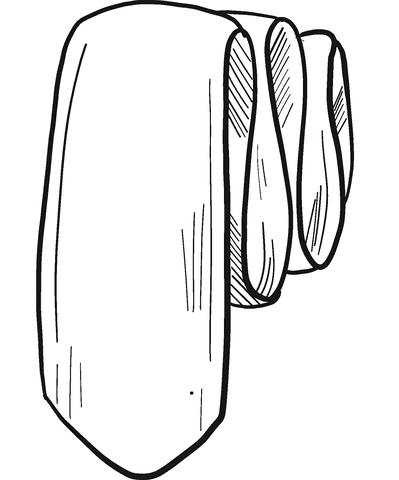
Step 4 – Complete The Tie Form

You continue to use the ruler to draw two lines and meet at a point to form the tie form.
Now that you have the tie form, you will add more details for your tie in the fifth step.
Step 5 – Draw The Tie Details

Your task in this step of our guide on how to draw a tie is effortless; you draw two diagonal lines for the tie.
Once you think she is good with your image, you can go to the next step.
Step 6 – Add Details To The Tie

You will continue to draw another diagonal line parallel to the two lines you drew in the previous step of the product, tie, as our illustration.
When you complete the 3rd diagonal for the tie, you are done with the task in this step; you can go to the next step and continue drawing on the tie.
Step 7 – Add A Line To Your Tie

Similar to the previous steps, you continue to use a diagonal line.
This diagonal line is the detail that makes your tie more realistic. You will also use a ruler to draw it.
When everything is done, you can move to the eighth step now.
Step 8 – Keep Drawing The Line For The Tie

Your task in this step of our guide on how to draw a tie is to draw a line for your tie. You use a diagonal line for our image in this instruction of the tie.
You can also look at our references and follow along if this task is difficult for you.
Step 9 – Draw More A Line For The Tie

You add a line to your tie in this step of our guide on how to draw a tie. The task is too forgetful for you, isn’t it? Please complete it well and move to the next step to continue your drawing task
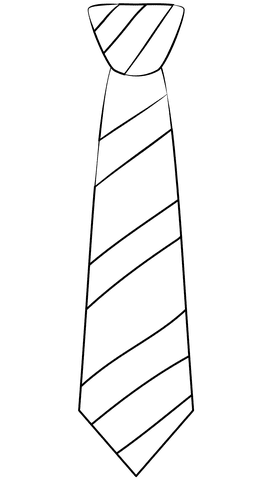
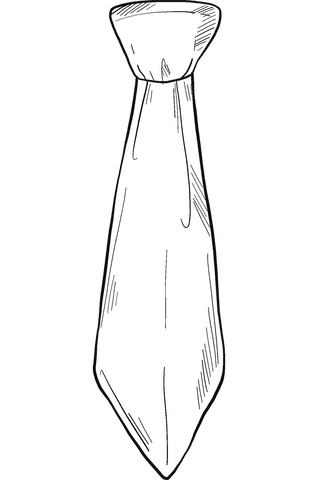
Step 10 – Draw The Final Details For Your Tie

Let’s draw the last two diagonal lines to complete the tie sketch of our guide on how to draw a tie before moving to the last step for coloring.
You use this step to draw the final details of the tie, as you see in our reference.
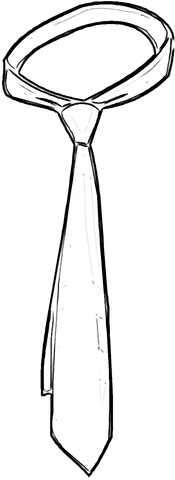
Step 11 – Color Your Tie

Only this step is left, and you have completed a complete tie drawing. Now you will choose the color for your tie. It’s fun because you can choose any color you see fit with your tie.
As our reference picture, we mix green and red for our tie. And what color for your product, tie? Once your product is complete, you can share it on our Facebook and Pinterest for us to see.
Your Tie Drawing Is Complete!
So, you finish your drawing and coloring skills with our guide on drawing a tie in 11 steps with us.
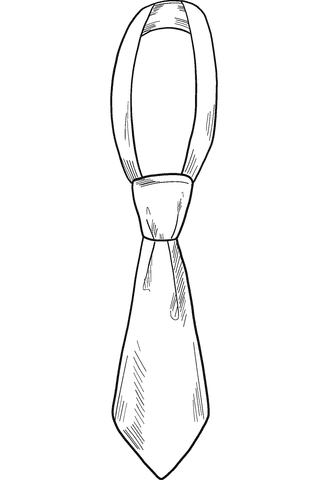
In learning how to draw a tie, you can also create more details that we do not have, such as the head and body of the person wearing the tie.
There are many different tie patterns in the tie coloring pages that you can try.
On our website Coloringcool.com, you can enjoy many educational products about coloring pages or drawing guides for free. You also find more drawing guides such as Clown face drawing, Marie drawing, or Charmmy kitty drawing. They are free and we update them daily, you can come here often to make sure you don’t miss any products