8 Steps Making Talking Tom Drawing
Creating a cute donkey drawing in just 8 easy steps
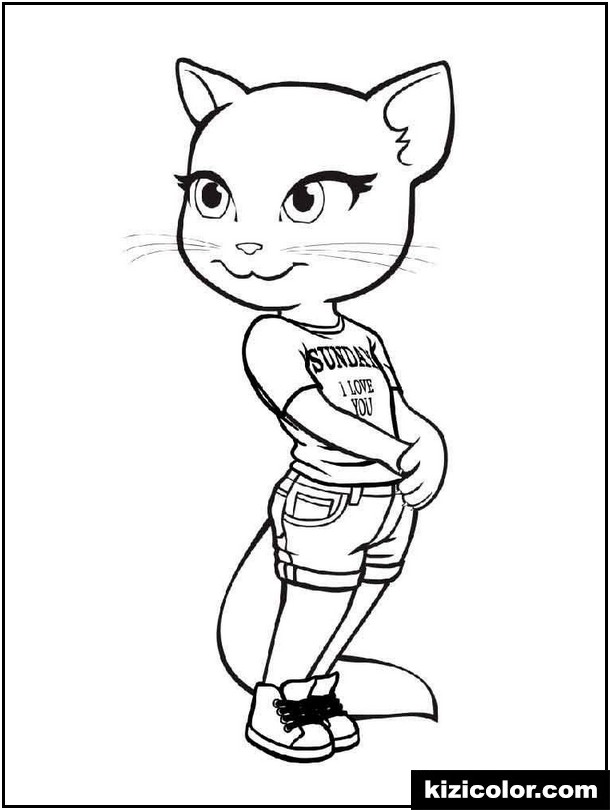
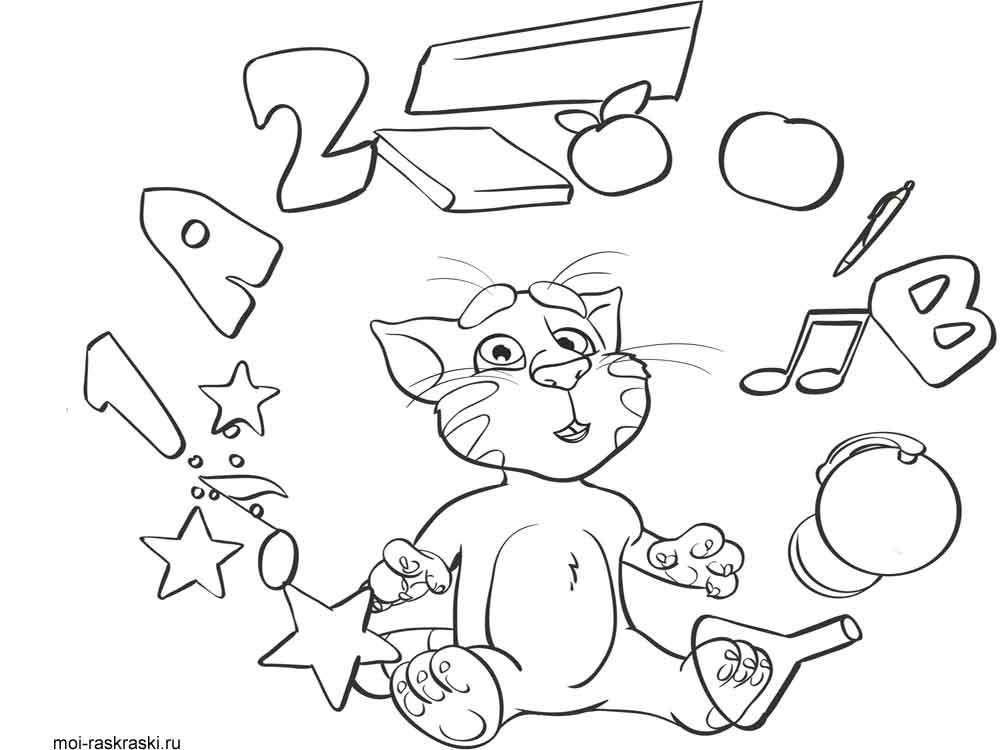
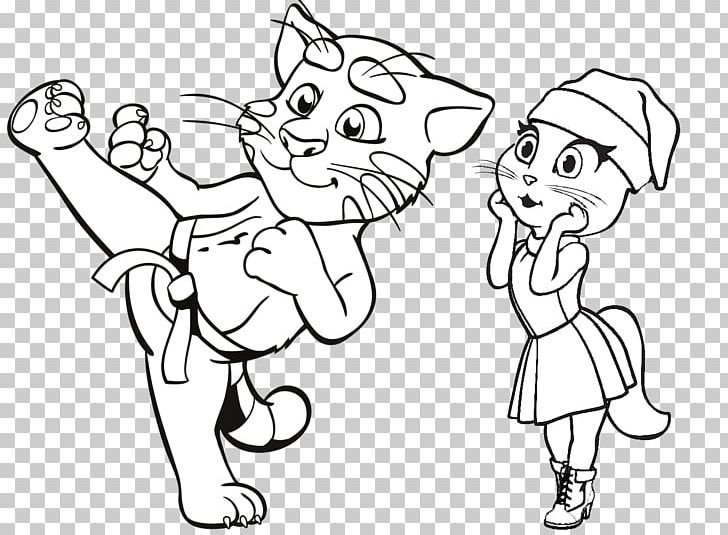
How to draw Talking Tom with this how-to video and step-by-step Talking Tom drawing instructions. Whether you are a beginner or you are an expert in drawing, you can finish your task easily with our instructions. You will follow our instructions and our illustration because we update the illustration in each step. Talking Tom is a favorite character of children. They love drawing him, and today, you get an opportunity to learn to draw him for free. You can enjoy this activity after the hard-working hours. Very interesting, you will use your pencil, paper, and color to make a complete Talking Tom. Drawing and coloring are good activities, and they can help you to reduce stress and worries; your kids can avoid using technical devices such as smartphones, television, and tablet if you print out our images and teach them drawing and coloring. Why not? Because they are free on our site and you can come here anytime and anywhere with your device connecting to the internet. Along with the tutorial, we have also included a couple of free Talking Tom coloring pages that you can print off and give to your kids to color!
How To Draw Talking Tom – Let’s Get Started!

It would help to prepare a pencil, paper, and color before drawing. This is not a complex mission, but you need to be patient and concentrate on drawing. You get a funny and great time with us. If you are a parent, please don’t hesitate to give this tutorial to your kids. They love surely like it. They can enjoy after hours of class with your instructions as well. The entertainment channel is very important for our children and us because it will help us to relax, and we will work more efficiently. More, this is a free entertainment channel and suitable for everyone from children to adults. Now, let’s get started drawing Talking Tom with us!
Step 1 – Draw Talking Tom’s Eyes

You must draw Talking Tom’s eyes for now. You will draw dots for eyes then use the parallel curved lines around dots to make Talking Tom’s eyes more real. It is not difficult in this step, and you can see our illustration and follow it. You can finish your task in this step and next to step 2.
Step 2 – Draw Nose And Mouth Talking Tom

You view Tom’s mouth details. Use the “U” shaped lines to draw the lower jaw and inner mouth. Surrounding the peanut shape and opening the “U” shape on top. Finally, outline the nose in the shape of a circle. You add the Tongue for Talking Tom in the mouth.
Step 3 – Draw Talking Tom’s Eyebrows

You will draw curved lines between the eyes and enclose a curved shape above each eye to represent the eyebrows. Your task here is simple; it takes some seconds to finish and come to step 4 and continue.
Step 4 – Draw Talking Tom’s Face Outline And Right Arm

You use curved lines to draw the forehead, cheeks, and chin around the eyes, mouth, and nose. Use short, overlapping curves that meet at jagged points to indicate tufts of hair on one side of the face. Now, you must draw Tom’s ears; you use curved lines to outline the triangles of the ears. Then use a long, curved line to draw the inside of the proximal ear. View inner ear detail by short and curved lines that meet at points. Use curved lines that meet at points to draw tufts of hair that protrude between the ears. You continue your drawing with Tom’s arm. Use two lines for the upper arms and two for the lower body. Notice how they overlap at the finger’s elbow. Use curved lines to draw them back and palm, and “U” shaped lines for the fingers.
Step 5 – Draw Talking Tom’s Left Arm

Now, you use long and curved lines to draw the other arm. You continue to use the “U” shaped lines to enclose the fingers and thumb and draw a zigzag line along the wrist. That is all tasks in this step, and you move to step 6 to continue your drawing.
Step 6 – Draw Body And Legs For Talking Tom

In this sixth step of Talking Tom drawing, you use a long, curved line to outline the point on Tom’s belly; after that, you must draw legs. You use a series of short lines that meet at jagged points to draw the legs, bent at the knees. You will finish your task with your feet and move to step 7.
Step 7 – Finish Your Drawing Task

You finish your drawing mission at the tail of Talking Tom. You use two parallel lines and meet at a point to draw the tail. After that, you must use the short lines to make the horizontal stripes for Talking Tom. Now, you get a Talking Tom and have the last step for coloring.
Step 8 – Color Talking Tom

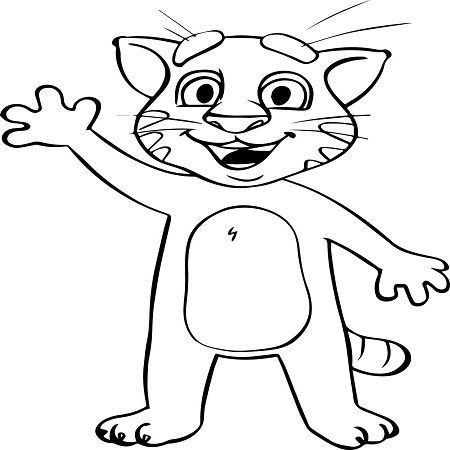
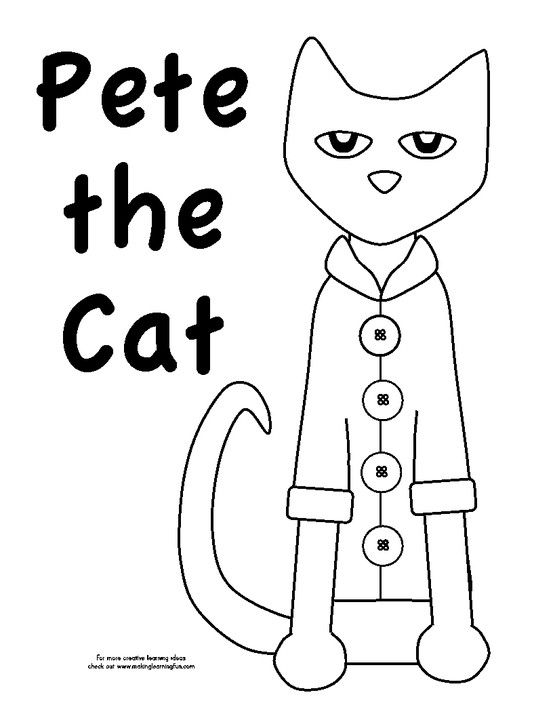
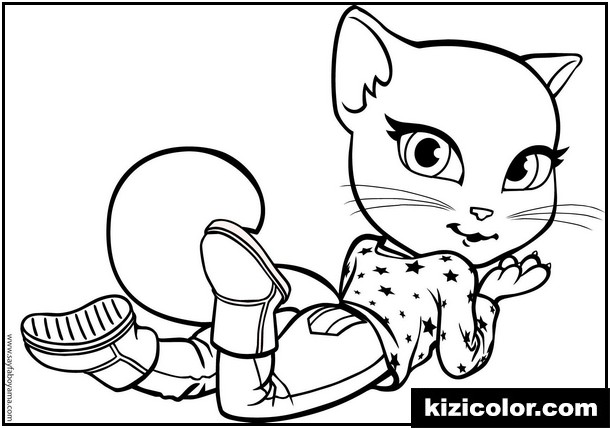
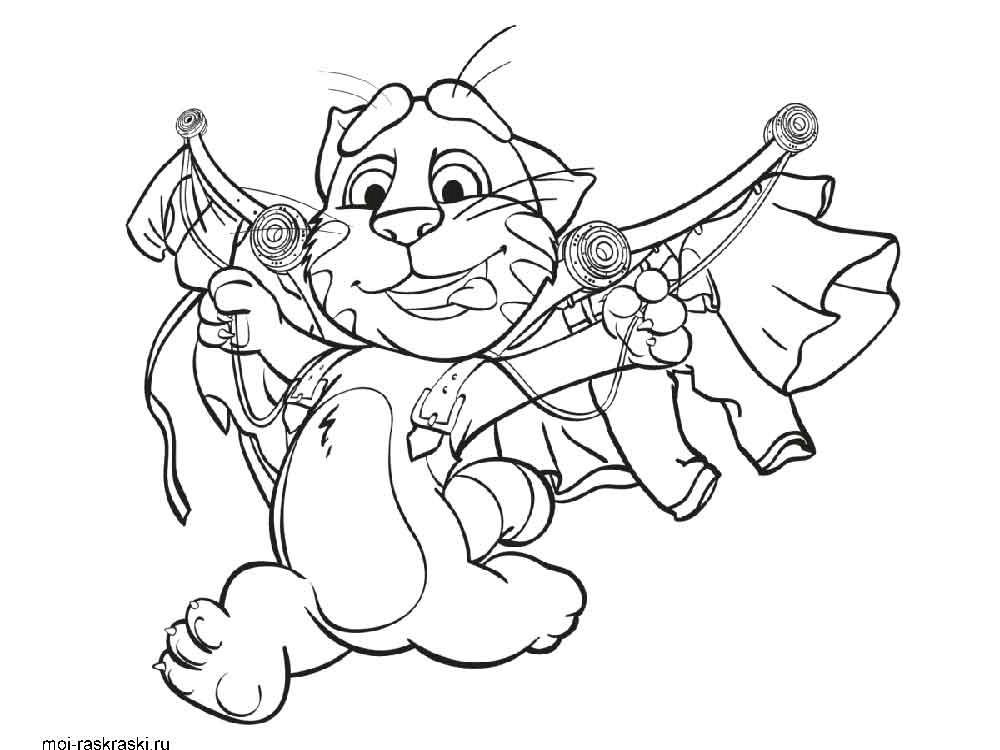
Now, you will choose the suitable for your product. This is the simplest step for you. You can take any color you like because the is no rule in choosing a color for your drawing. We are beginning the coloring process by using a medium shade of grey as the base coat for the Talking’s body and tail, light pink for the tongue and ears,, green, white, and black for the eyes, and white for the belly,… You can add some other colors at some places on Talking Tom. Right now, you get a complete your Talking Tom with our tutorials. Once you finish your drawing and coloring work, you can move to Talking Tom coloring pages and enjoy images related to Talking Tom, we update the hundreds of Talking Tom here, and you can practice your drawing. Have fun!
Your Talking Tom Drawing Is Complete!
You can use the video and step-by-step drawing instructions below to learn how to draw Talking Tom. A new drawing tutorial is uploaded every day, so come here! Thanks for visiting! Please subscribe to the How To Draw YouTube Channel for a new tutorial!