Fist Drawing Is Made In 10 Simple Steps
Creating A Fist Drawing In 10 Simple Steps
You will learn how to make complete a fist drawing with us in 10 easy steps. We have tried to create the most straightforward fist drawing tutorial for everyone, whether you are a beginner or an expert in drawing.
You will follow ten simple steps step by step to perform, equivalent to ten tasks you need to complete.
It takes about 30 minutes to complete a fist, but if you are gifted with drawing, you can finish it in less time.
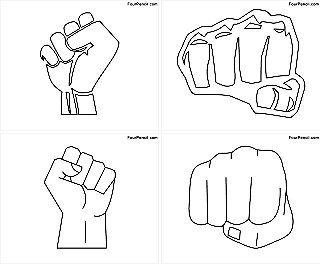
Hands are part of our body, and today you will have the opportunity to draw a fist with five fingers clenched together.
This task is not easy, and we need your concentration while learning to draw. Before drawing, you will prepare all supplies such as a pen, pencil, paper, colors, and eraser. Then you will learn to draw with a pencil and paper; using a pencil will help you easily erase your mistakes.
Once you get a fist, you will choose the suitable colors for your product. Choosing a color is entirely up to your preferences.
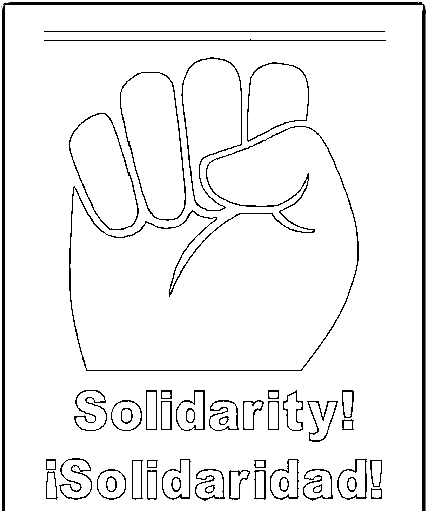
Along with this guide, you can enjoy fist coloring pages to practice your drawing and coloring skills. You will improve these skills if you practice regularly.
Right now, you go to 10 steps of our guide on how to draw a fist.
How to Draw A Fist – Let’s Get Started!

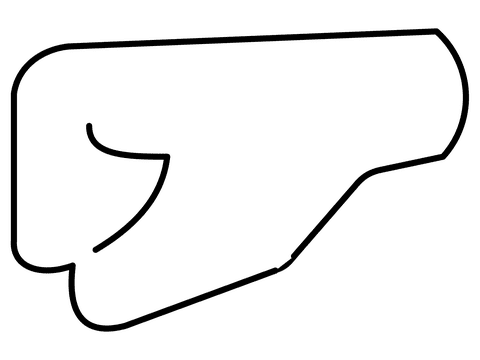
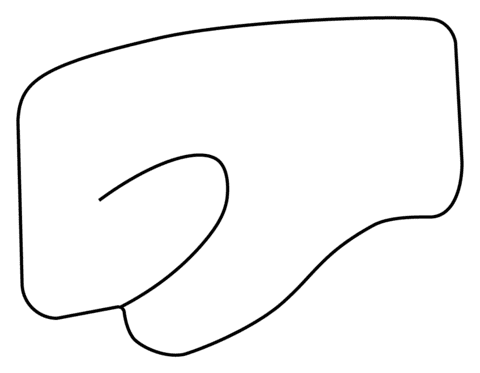
Step 1 – Start Drawing Thumb

For the first step of our guide on how to draw a fist, you must draw the first finger, thumb. This is the giant finger of the hand; we will use some lines for this task. If you have difficulty, please observe and follow our reference image.
Once you’re satisfied with your image, you can move to the second step.
Step 2 – Add Details To The Thumb

Similar to step 1, in this step 2, you will add more details to this thumb. Use some lines for the details of your task here.
You can draw more lines to make this finger more realistic. You can continue your drawing mission in the next step.
Step 3 – Complete The Thumb

You will draw the final details for this thumb. Don’t forget to draw the fingernail at the top of the thumb that resembles a rectangle.
You have completed the task in this step and are ready to move on to the next step.
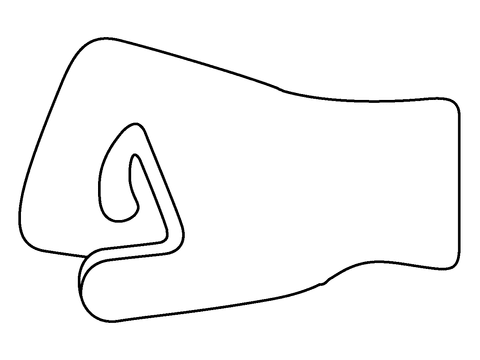
Step 4 – Draw The Index Finger

Since we are drawing a fist, the fingers are all clenched together, so the index finger is also drawn when we hold hands, as you see in our reference. You will continue the task of drawing fists with other fingers.
Step 5 – Draw The Middle Finger

Like step 4, in this fifth step of our guide on how to draw a fist, you will add a finger to your fist. When five fingers are done, in this case, you can draw the middle finger roughly equal to the index finger.
You can now move to the sixth step to continue the quest for your fist drawing.
Step 6 – Draw The Ring Finger

You will continue to draw the finger for your fist, and in this step, you will draw the ring finger. Since we are drawing fist, you won’t be able to draw a complete finger; let’s draw the part that we can see.
When everything is done, you can go to the seventh step for your work.
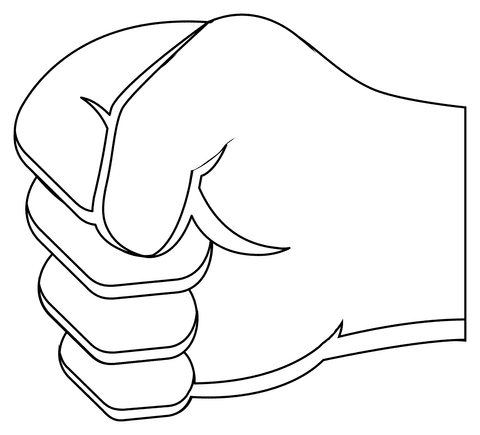
Step 7 – Draw The Pinky Finger

It’s time to draw the last finger for your fist. It’s a pinky finger. By completing this quest, you finish off the fist outline. You will decorate it in the next steps.
Step 8 – Draw Wrist For Your Fist

We will draw the wrist so that the hand looks more realistic and lively. From the drawn details, use two parallel curves to draw the wrist. You can adjust the distance between these two parallel lines to match your fist.
Step 9 – Draw The Final Details

In this ninth step of our guide on how to draw a fist you will draw the final details. This is also a step for you to add some details to show your creativity in the drawing. In addition to the drawn elements, you can draw more details to show the difference in your fist drawing before coming to the last step for coloring.
Step 10 – Color Your Fist

Now you will choose the color to color your product first. In this step, you are completely free to decide and choose the color according to your preference.
As you see in our reference image, we used yellow and brown for our image. You can use the same color as our fist or choose one or more colors, feel free to be creative and shear your product on Pinterest or Facebook pages for us to see.
Your Fist Drawing Is Complete
You have completed all quests of our guide on how to draw a fist with us. I hope with our simple guide; you can easily understand all tasks and accomplish your purpose. Drawing and coloring is an entertainment channel suitable for everyone, so if you are a parent, you can introduce our drawing guide and coloring pages to them on our website Coloringcool.com. They can enjoy it in their free time after the hard-working hours at school. You can also find more drawing guides on our sites, such as Hand drawing, or Person drawing . Here are the tutorials for drawing people and body parts. I think it will help you to draw good fists and body parts if you want.