Cello Drawing Is Made In 6 Easy Steps
Create a classic Cello in 6 Easy steps
Today, you get an opportunity to know how to draw a cello with us. You will follow us to create a complete cello drawing in six simple steps. We give detailed guides and illustrations to help you realize your task easily. Cello is a familiar musical instrument to us, this is a commonly used musical instrument with traditional light music, and symphonic music, you can see it in every performance with these types of music. And today you have the opportunity to learn to draw a cello and get more information about this musical instrument. With these 6 simple steps we’ve come up with, we hope to give you some time to relax and unwind so you can return to work more focused and productive. Now you will know well how to draw a cello with us.
How To Draw A Cello – Let’s Get Started!

It’s the same with any of our drawing tutorials, you’ll start off with the easy details and then work your way up. However, before you start learning to draw a cello, you need to prepare some necessary things such as paper, pen, pencil, ruler, and colors, then you will learn to draw. First, you will draw the blurred lines with a pencil then you will erase the wrong lines and highlight the correct lines, finally you choose the suitable for your cello drawing. This is not a simple task, but it is not too difficult because whether you are a novice or an expert in the field of drawing, you can complete this job easily. Because you can erase your mistakes easily, so, don’t be afraid to draw; you can draw in a comfortable mood. Along with this guide, you can enjoy cello coloring pages to practice your drawing and coloring skill. Here are the step-by-step details of our tutorial on cello drawing.
Step 1 – Draw Cello Bell For Your Cello Drawing

Start your task in this guide on how to draw a cello, and you draw a small bell shape at the top of your page.
You will use a small curve to draw the bell in a spiral, then draw a little more down the body.
So, you finish off the task of this step for your cello drawing, you are ready to go to the second step now.
Step 2 – Draw Cello Body

Your task in this second step is to draw a cello body. It is not difficult for this task, as you see in our reference image.
Take a pencil and a ruler, and bring two straight lines down and out at an angle.
The body of the cello will have some bulge and wiggle room, so you should look at our image to draw it right. So, in the next steps, you make the task easier, and most importantly, your drawing is more beautiful. Now, you can move to step 3.
Step 3 – Add Details To Cello Body

If in step 2 you draw the right half of the cello, in this step, you draw the left half. Like the mission in step 2, you will use curves and draw the perfect cello body according to your ability.
You have completed the first details for the cello, and the work on the cello drawing will continue in the fourth step.
Step 4 – Draw Detail For Cello

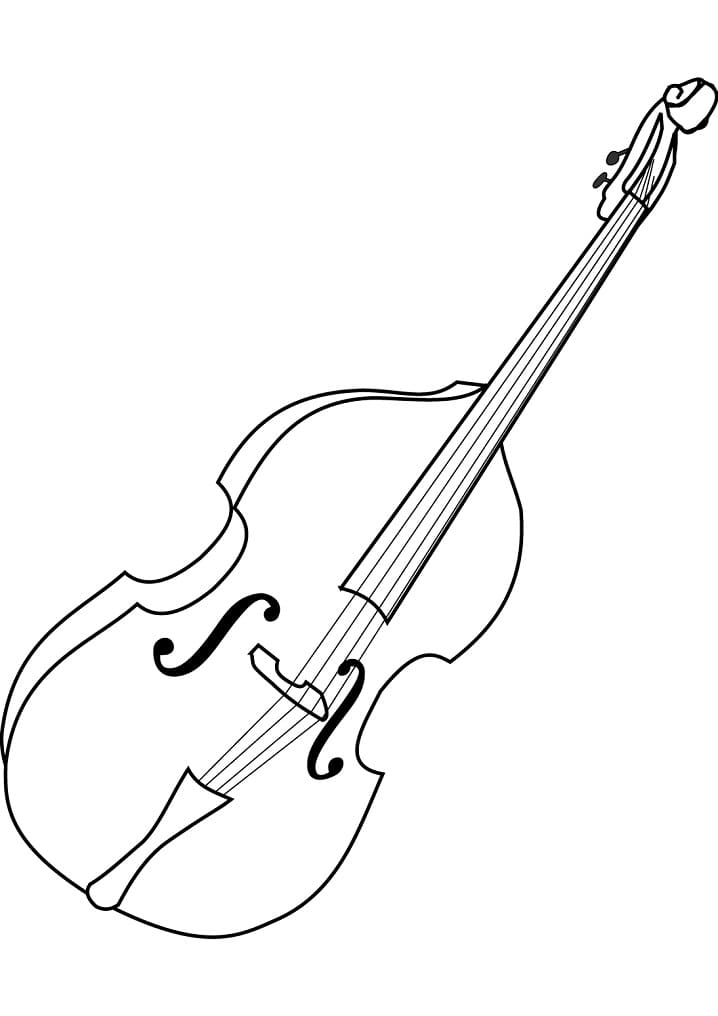
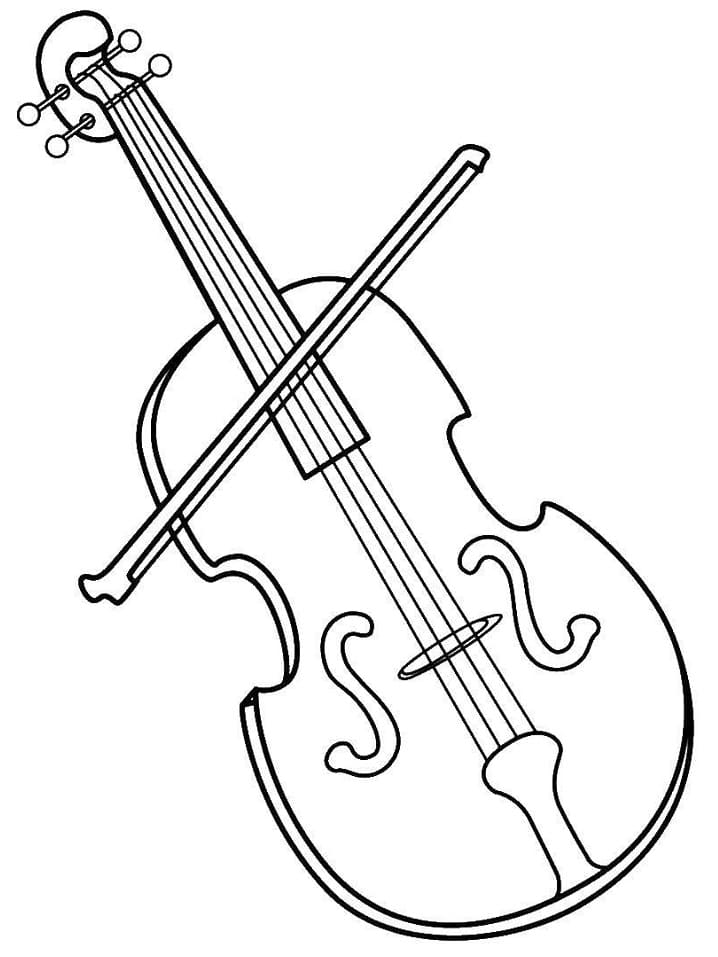
You will add some detail to your cello drawing. You will use a black pen to bring up two curved lines, one on each side, curving across, out, and then back in – like the bottom of figure 8.
You will add two lines with 2 notes on both sides of the body. You can move to the fifth step and continue your work on cello drawing.
Step 5 – Finish Off Your Cello Drawing Mission

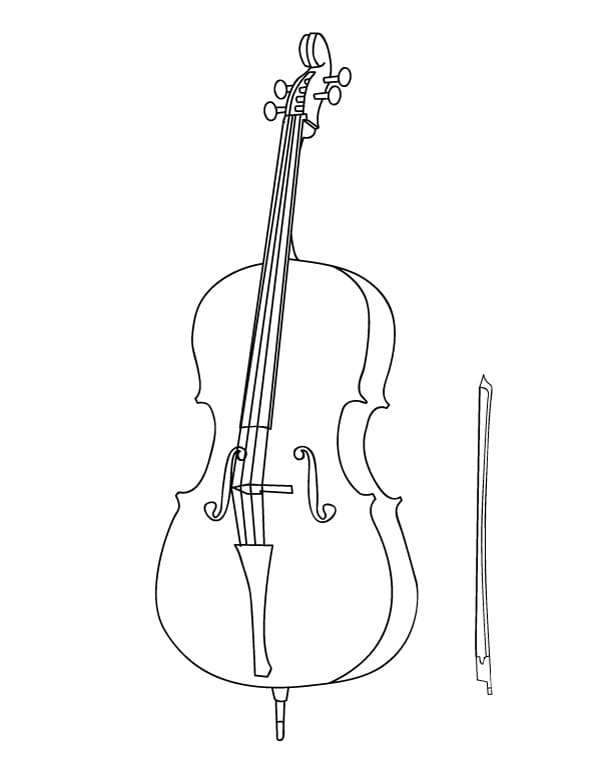
You will have to complete all the remaining details for the cello in this step
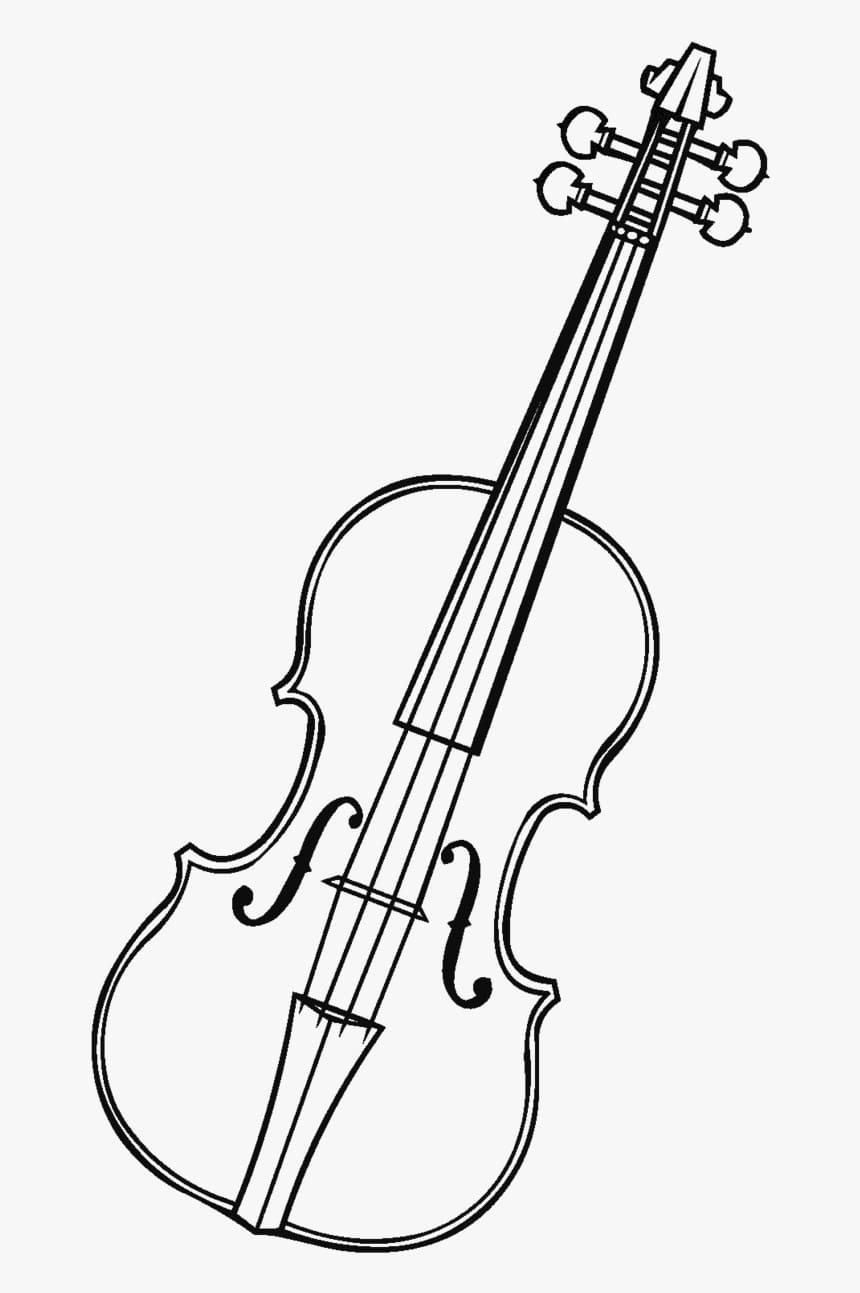
You will add all the details, like buttons and strings, for your cello drawing.
You finish off your drawing task here and have the last step for coloring.
Step 6 – Color Your Cello

Your task in this step for your apricots drawing is simple, and you just choose the color for your product. What color do you see the cello? You can choose any color you like for your product, the cello. Very simple task for you in this step, choose the suitable color and complete a cello. We choose yellow for the cello and black for its string. More we add blue to decorate the cello.
Your Drawing Mission Is Complete
So, you finish your task in our six steps for your cello drawing mission. This is an interesting mission and suitable for everyone. If you are a parent, you can join in this activity with your kids; they will surely like it. Your kids have the opportunity to better understand his preferences as well as psychology. In addition, children participating in drawing and coloring activities will practice more skills such as pen-holding skills, painting skills, and concentration skills. They also avoid using technical devices such as television, tablets, and smartphones,…they are not good for their eyes and evolution. The benefits of entertainment are huge, so finding yourself a suitable entertainment channel is extremely important; our website Coloringcool.com is a good choice because we always update the drawing instructions and coloring pages. for free daily. You can come here anytime and anywhere to enjoy our product. Besides cello drawing, you can enjoy more similar musical instruments, such as how to draw a piano. I hope you like this cello drawing guide and come here to enjoy more drawing with us. Have fun!