Skiing Drawing Is Created In 9 Easy Steps
Creating A perfect skiing drawing in just 9 easy steps
We have created a step-by-step tutorial on how to draw skiing and complete a skiing drawing, summed up in 8 quick and easy steps. You will follow our instructions and illustration to make a perfect skiing drawing. Our guide is very detailed; whether you are a novice or an expert in drawing, we’re sure you can follow these steps effortlessly. If you are a parent, you can join in this drawing activity with your kids. They will be excited about learning to draw; more drawing will help your child avoid electronic devices such as television, smartphones, and tablets. They are not good for their eyes and evolution. You will spend about 30 minutes on this drawing; this is an interesting activity and suitable for everyone. Everyone can join in this activity and get a fun time. With this tutorial, you also can enjoy skiing coloring pages for free on our site.
How To Draw A Skiing – Let’s Get Started!

Skiing is a very healthy sport, many people want to participate in this game, but it is also quite difficult, so you need a lot of time to practice it. Today you also have the opportunity to learn to draw skiing with us, so you also have an additional opportunity to gain more knowledge about this much-loved sport. To realize this task is not simple, but it is not too difficult, you need to concentrate here and go to step by step in our guide. You will take some things such as paper, pencil, colors etc, before drawing. You use your pencil to draw details on paper, and you can erase your mistakes easily. So, you can draw in your comfortable mood because If you make mistakes, you can erase them and redraw them. Please don’t hesitate to draw and relax with us! Now, let’s get started by drawing skiing with us!
Step 1 – Draw Face And Head For Skier

For this guide on how to draw skiing, we will be showing you the basics of a template for a character, and as we move on to later steps, you will be able to personalize aspects to make your character! You start with the face and the head of your character, the skier. You draw an oval to make the head, and then you draw detail for faces, such as protective glasses for the eyes, nose, and mouth. Those details for the face are simple, and you need to use some curved lines on his face. Because he wears a helmet, you don’t need to draw hair here. Once you feel your drawing is good, you can continue your work next to the second step.
Step 2 – Draw An Arm For The Skier

In this third step of our guide on how to draw skiing or skier, we have a bit of a tricky step, so be sure to follow the reference image closely while taking it slowly. From his head, you draw a curved line to make a part of the shoulder and then make an arm. So, you finish this task and move to the third step right now.
Step 3 – Add An Arm And Draw Body For Skier

Similar to step 2 for this drawing, in this step you add an arm for your skier. You use curved lines and straight lines to show his arm and body. To finish this work, you can refer to our illustration and keep calm during the drawing.
Step 4 – Finish Off The Skier Hand

In this fourth step, you draw the hand of your skier. Because he is wearing gloves so you don’t need to draw the details of the hand with the fingers, you just need to draw simple hand-wearing gloves to finish the task in this step. Once you have these elements looking as they do in the reference image, you’re ready for step 5!
Step 5 – Draw The Skier’s Leg

You draw the first leg for your skier. On how to draw a skier, drawing a leg may also look a bit complicated, but if you refer to our example picture closely, you can see that they are composed of some fairly basic shapes. You can finish this task in some minutes and move to the sixth step.
Step 6 – Finish Off The Skier Legs

If in step 5 you only sketched one leg for the skier, in this step 6, you will have to complete two legs for the skier. Also quite complicated for you; you need to pay attention to the bend in the knee and the protective shoes for the skier. That’s all there is to it for this step, so when you’re happy with the look of it, we shall continue adding to this skier in the seventh step.
Step 7 – Draw The Ski Tools

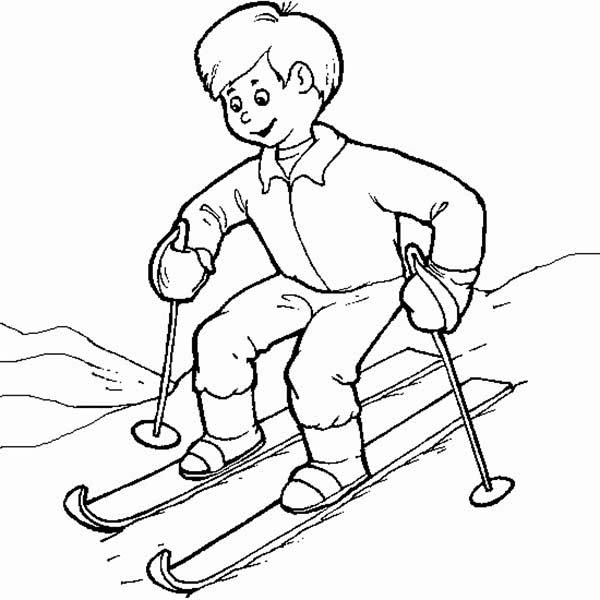
Your task in this step is to draw the tool for the skier. The ski tool consists of a separate board that attaches to 2 legs, and with two canes, you can add any detail for decoration of your image as well. You finish them as soon as possible and get to the last step of coloring your character.
Step 8 – Color Your Skier Character

Finally, here is the most exciting part—filling in the colors for your awesome drawing! This is the part where you can show off your artistic skills and your ability to mix and match various colors. It is you who decide the color of your product. You can take any color you like for your skiing. We choose red and yellow for skiers, blue for shoes and grey for two canes in our product.
Your Skiing Drawing Is complete!
Now, you finish your drawing and coloring mission on how to draw skiing. To help you draw skiing more easily, you can refer to our skiing coloring pageson our site and practice your drawing and coloring skill. I hope you find these tutorials helpful. Please enjoy and happy drawing!