Motorcycle Drawing Is Created In 8 Easy Steps Creating
Creating a strong motorcycle drawing in just 8 easy steps
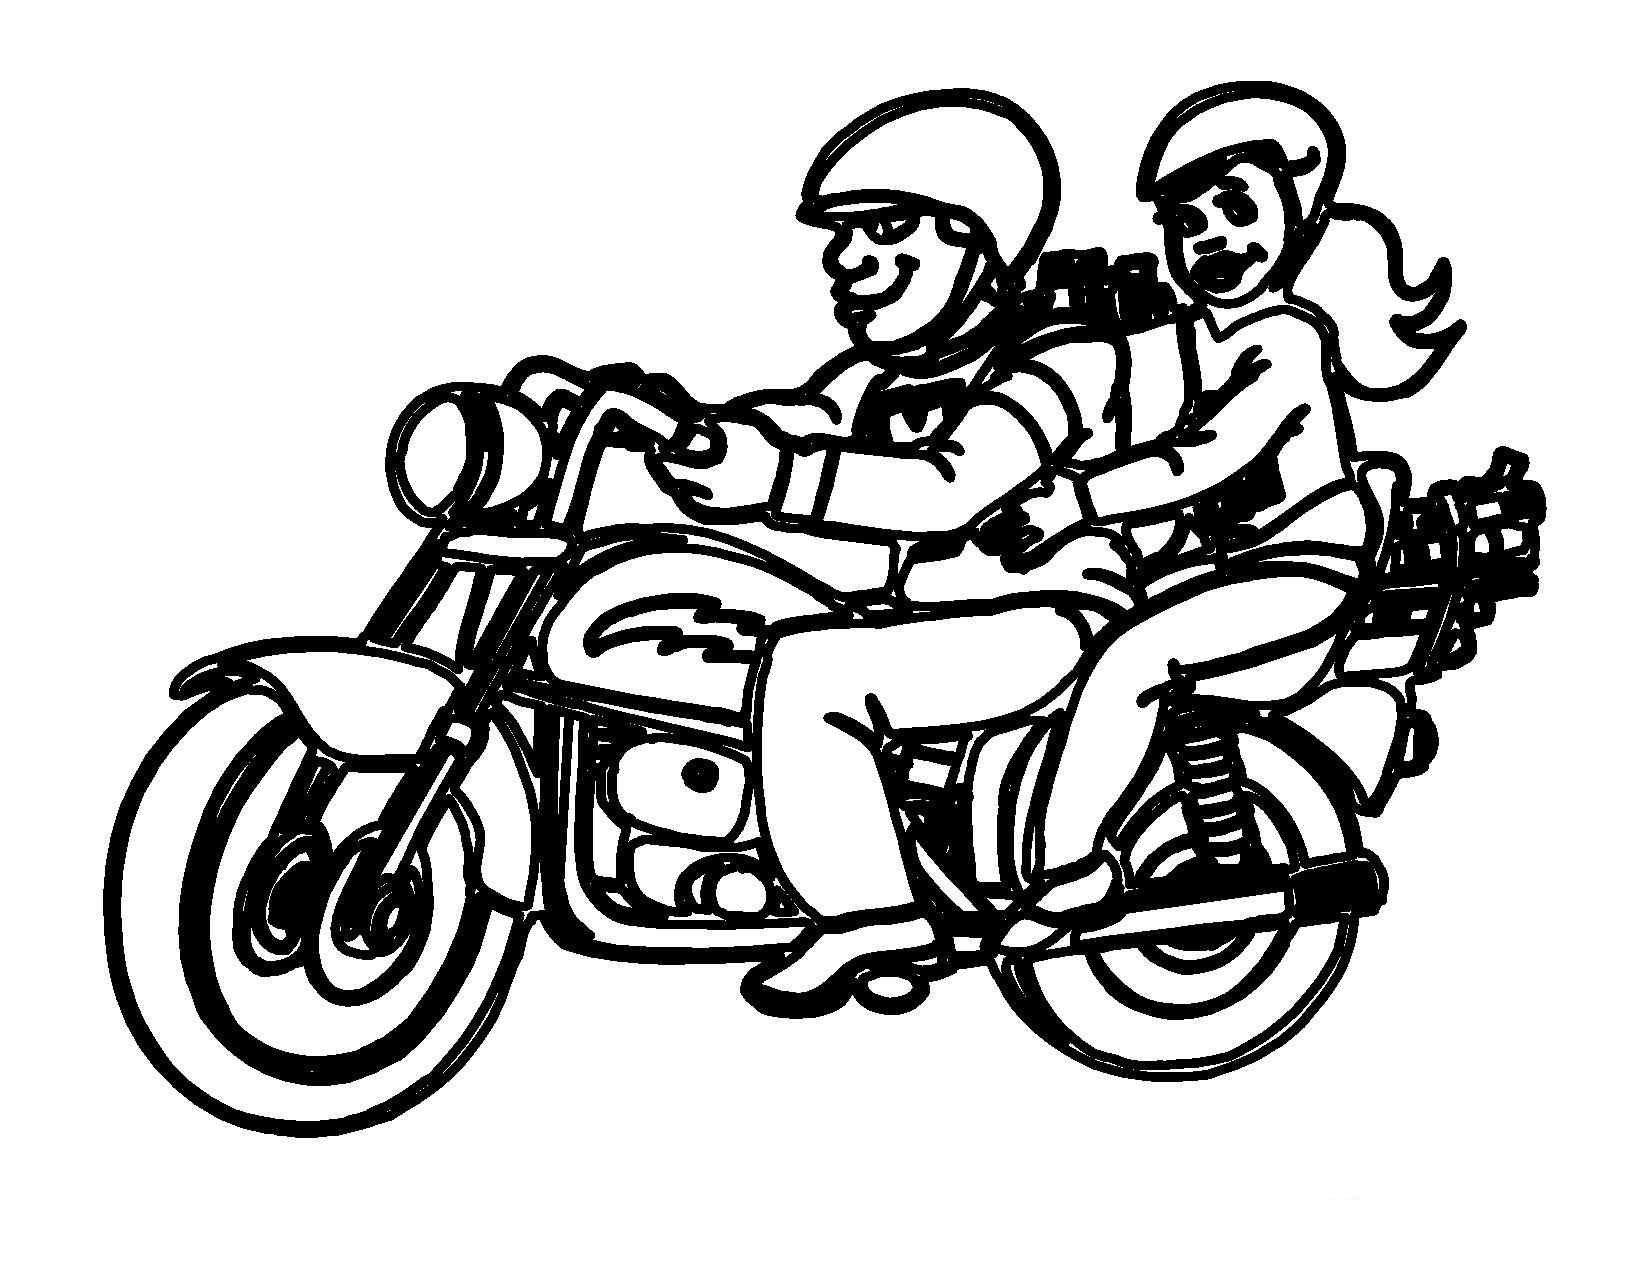
Simply follow this easy how-to draw a step-by-step motorcycle tutorial, and you will have your motorcycle drawing finished in no time. You will use our instructions and make a complete motorcycle with your skill. This is not easy, but it is not too difficult; you will go to step by step until finish your task. We update the guide from easy to difficult. Whether a novice or an expert in drawing, you can follow these steps effortlessly. There are eight easy steps for you to come over. You need to concentrate and be patient while realizing your task. There are many types and colors for motorcycles, and today, you learn to draw a simple motorcycle. Through this study, you will have the opportunity to understand the bridge of a motorcycle better. You have eight missions here and must finish them as soon as possible. This is a very detailed tutorial and suitable for all ages. You can participate in this drawing activity with your kids; they will love it. Along with the tutorial, we have also included a couple of free motorcycle coloring pages that you can print off and give to your kids to color!
How To Draw A Motorcycle – Let’s Get Started!

With this tutorial, you will learn to draw a motorcycle with the simplest details first, then the more complex details, and finally, you will have to color your product, the motorcycle. As you know, the motorcycle, also known as a motorbike, bike, or cycle, is a two-wheeled vehicle that is powered by a motor. This is the type of vehicle that people love because of its convenience. Easy to use, cheap, and easy to move, you use it to go to school, go to work, go sightseeing, and travel. Depending on your preferences and finances, you can choose for yourself a suitable motorcycle from design to color, you can completely choose a suitable motorcycle for yourself. The extreme popularity of motorcycles nowadays has created a huge demand for free motorcycle drawing tutorials. It would help if you prepared a pencil, eraser, colored pencils, and drawing paper before drawing. Use your pencil to draw on paper. You can erase your mistake, so please don’t be afraid to draw. You can draw in your comfortable mood.
Step 1 – Draw The Wheel Of The Motorcycle

Draw two circles with some smaller circles inside right below the middle of your paper. They are the front and rear wheel of the motorcycle. You can draw by hand or use a compass to draw easily. It is very simple in this step; you just spend some minutes and move to the second step.
Step 2 – Draw The Handles Of The Motorcycle

You use straight lines to realize your task in this step. Draw two curved lines coming up from the motorcycle wheel, and then connect them at the bottom with the flat lines. Make sure to add a bigger line figure at the bottom, in the middle, and at the top of the shaft. This creates the coverings as well as the handles of the motorcycle. That’s all there is to it for this step and we’re ready to move on!
Step 3 – Start Drawing The Motorcycle’s Body

You use a long curve connecting the two wheels, then add some other short curves; as you see in our illustration, this creates a part of the body of the motorcycle. It is not complex here; you can follow our reference image.
Step 4 – Draw The Gas Tank Of The Motorcycle

Right now, you draw the gas tank of the motorcycle. Starting with this step, we will draw the details for the gas tank of the motorcycle, so use clear and dark lines. You draw a sideways irregular oval shape right next to the motorcycle’s seat. Once you finish the task here, you move to the fifth step.
Step 5 – Add Detail For Motorcycle’s Body

In this step, you must add details for the motorcycle’s body. At the motorcycle’s handles, you will draw a curved line to add details for decoration to protest the front wheel. You can look at our illustration and follow it.
Step 6 – Finish Detail To Protest The Front Wheel

In this step, you will add details to the front wheel guard of the motorcycle. You use the line to show that. It also is simple for you. From the stroke in step 5, you add a curve almost parallel to it and meet a point. You can go to the next step now.
Step 7 – Finish Your Drawing Mission

In this step, you will complete all the remaining details for the motorcycle. You add some details for two motorcycle wheels. Then you draw all parts of the motorcycle such as the oil tank and, the tail light, the muffler. Then you can add details and patterns on the motorcycle. You can add some detail to decorate your motorcycle as our reference image.
Step 8 – Color Your Motorcycle

In this final step of your motorcycle. drawing, we will be finishing it up with some amazing colors. In our reference image, we showed you just one way that you could go about coloring your picture. We used a gradient of shades of blue to create a strong motorcycle. We use black and red for the main colors of our motorcycle and add some white for some spaces to make decorations for the motorcycle, but you could use any other colors you love to make your own perfect model.
Your Motorcycle Drawing Is Complete!
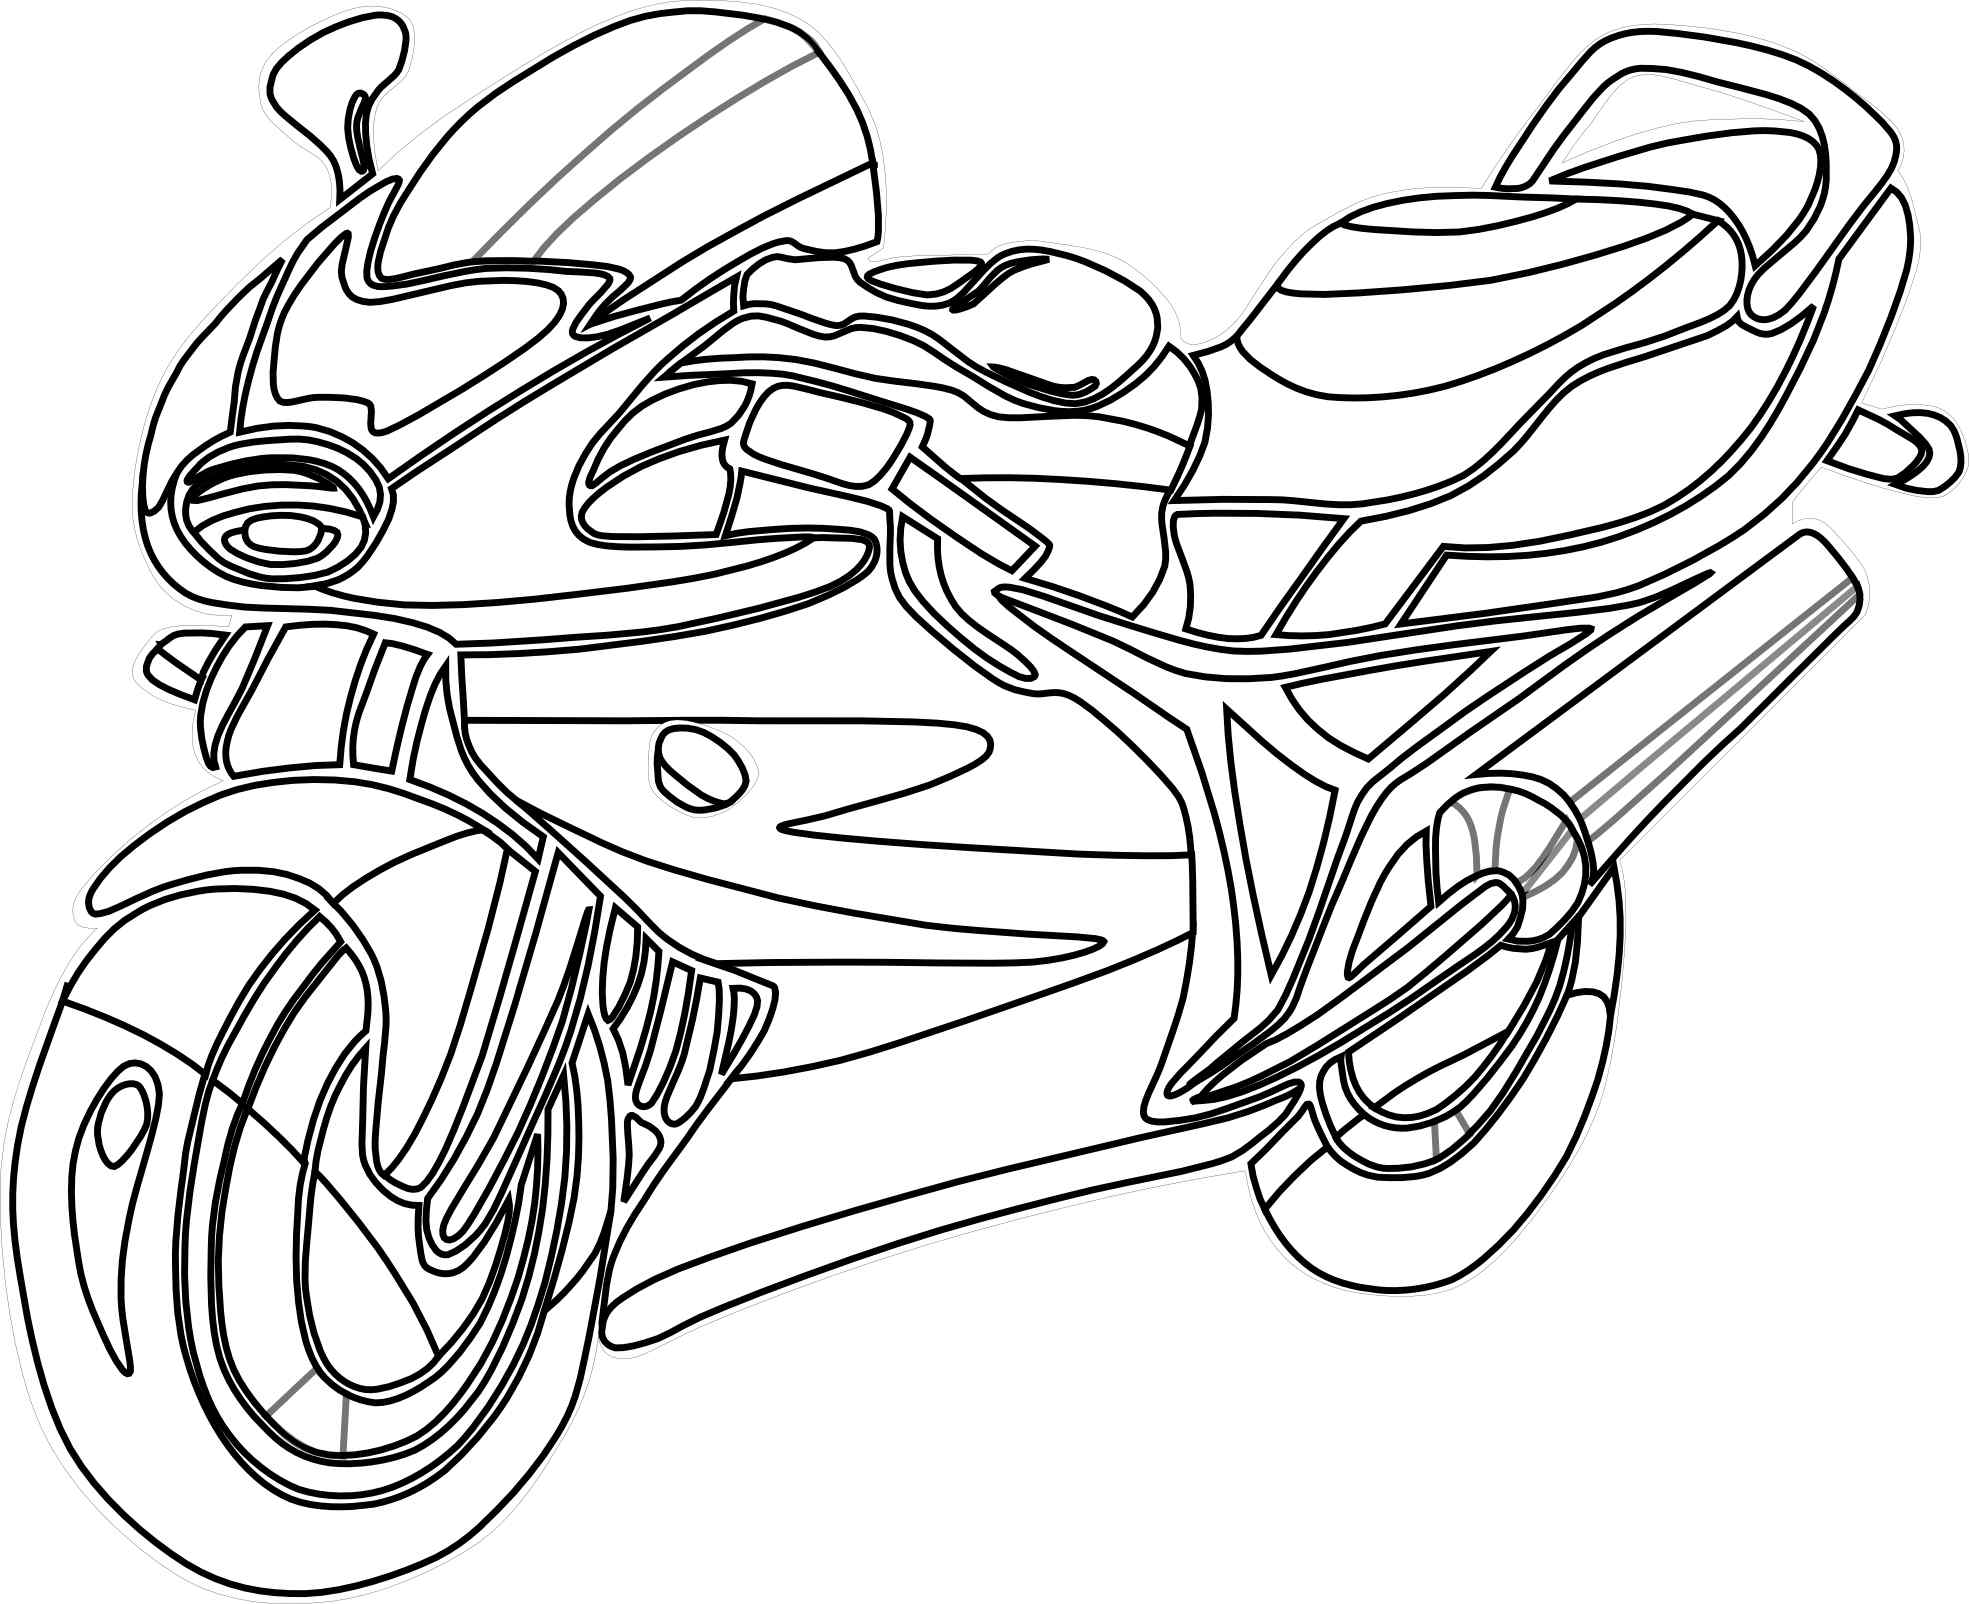
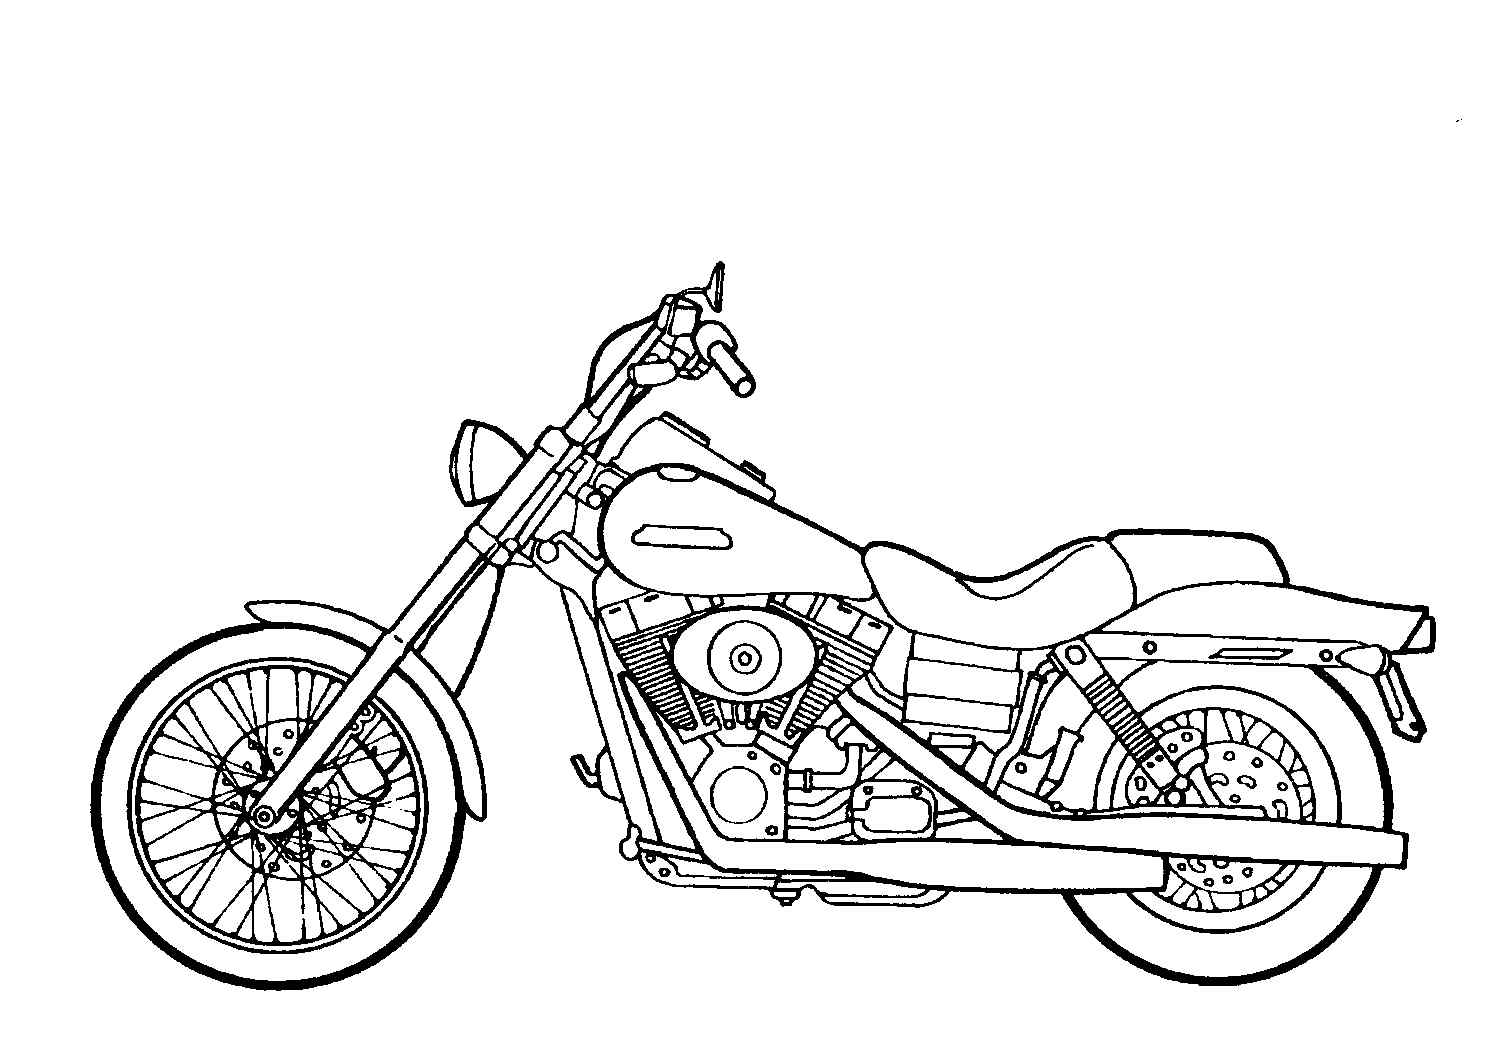
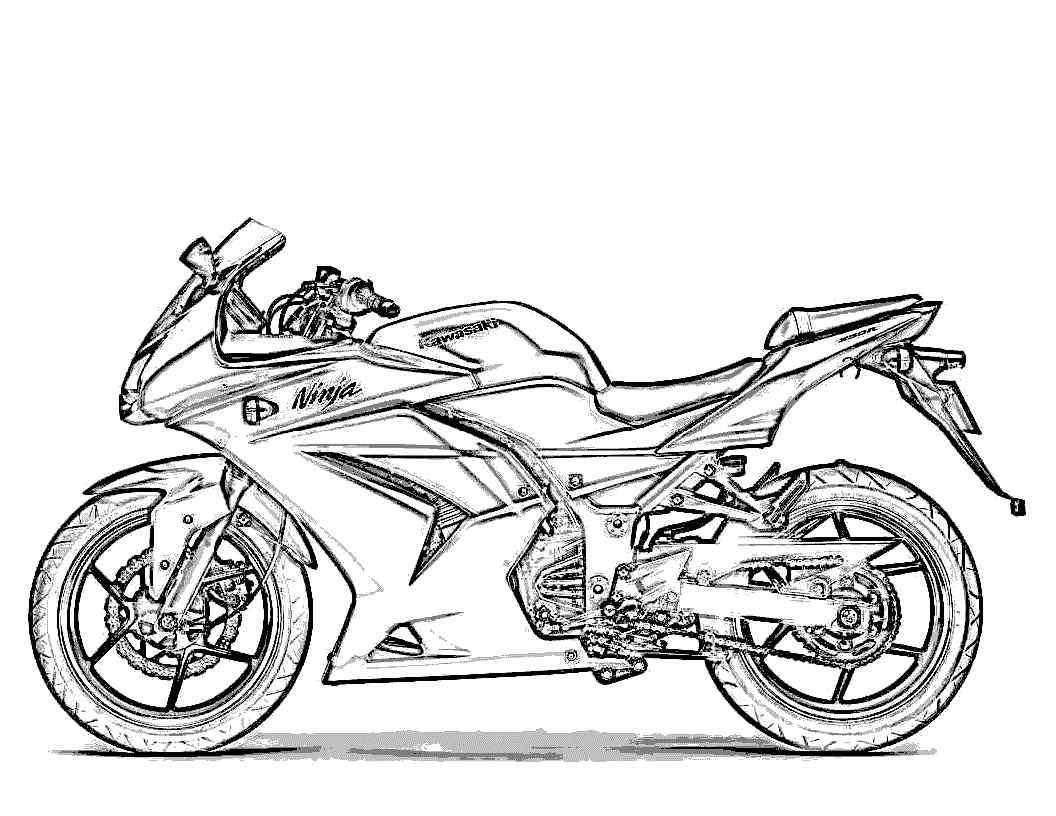
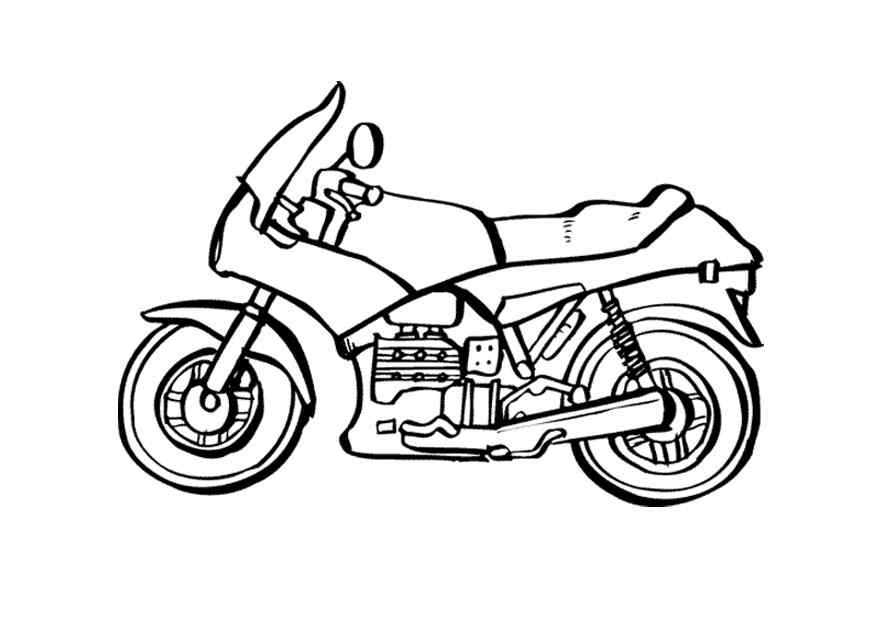
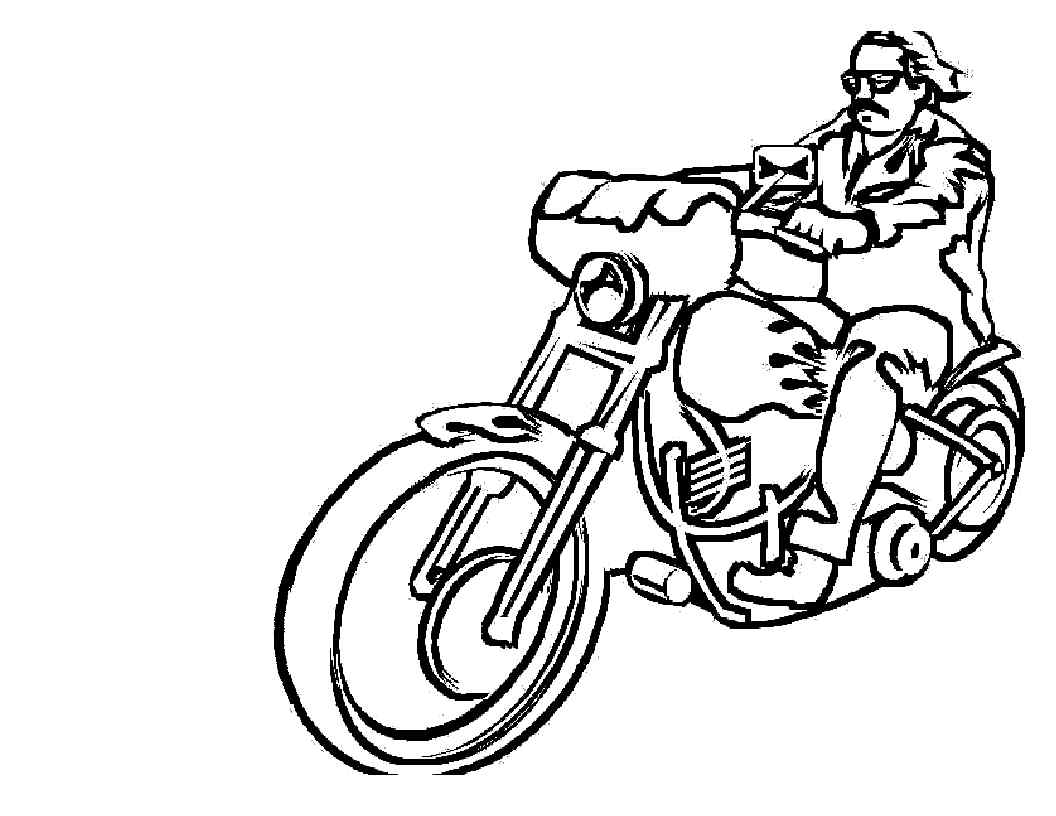
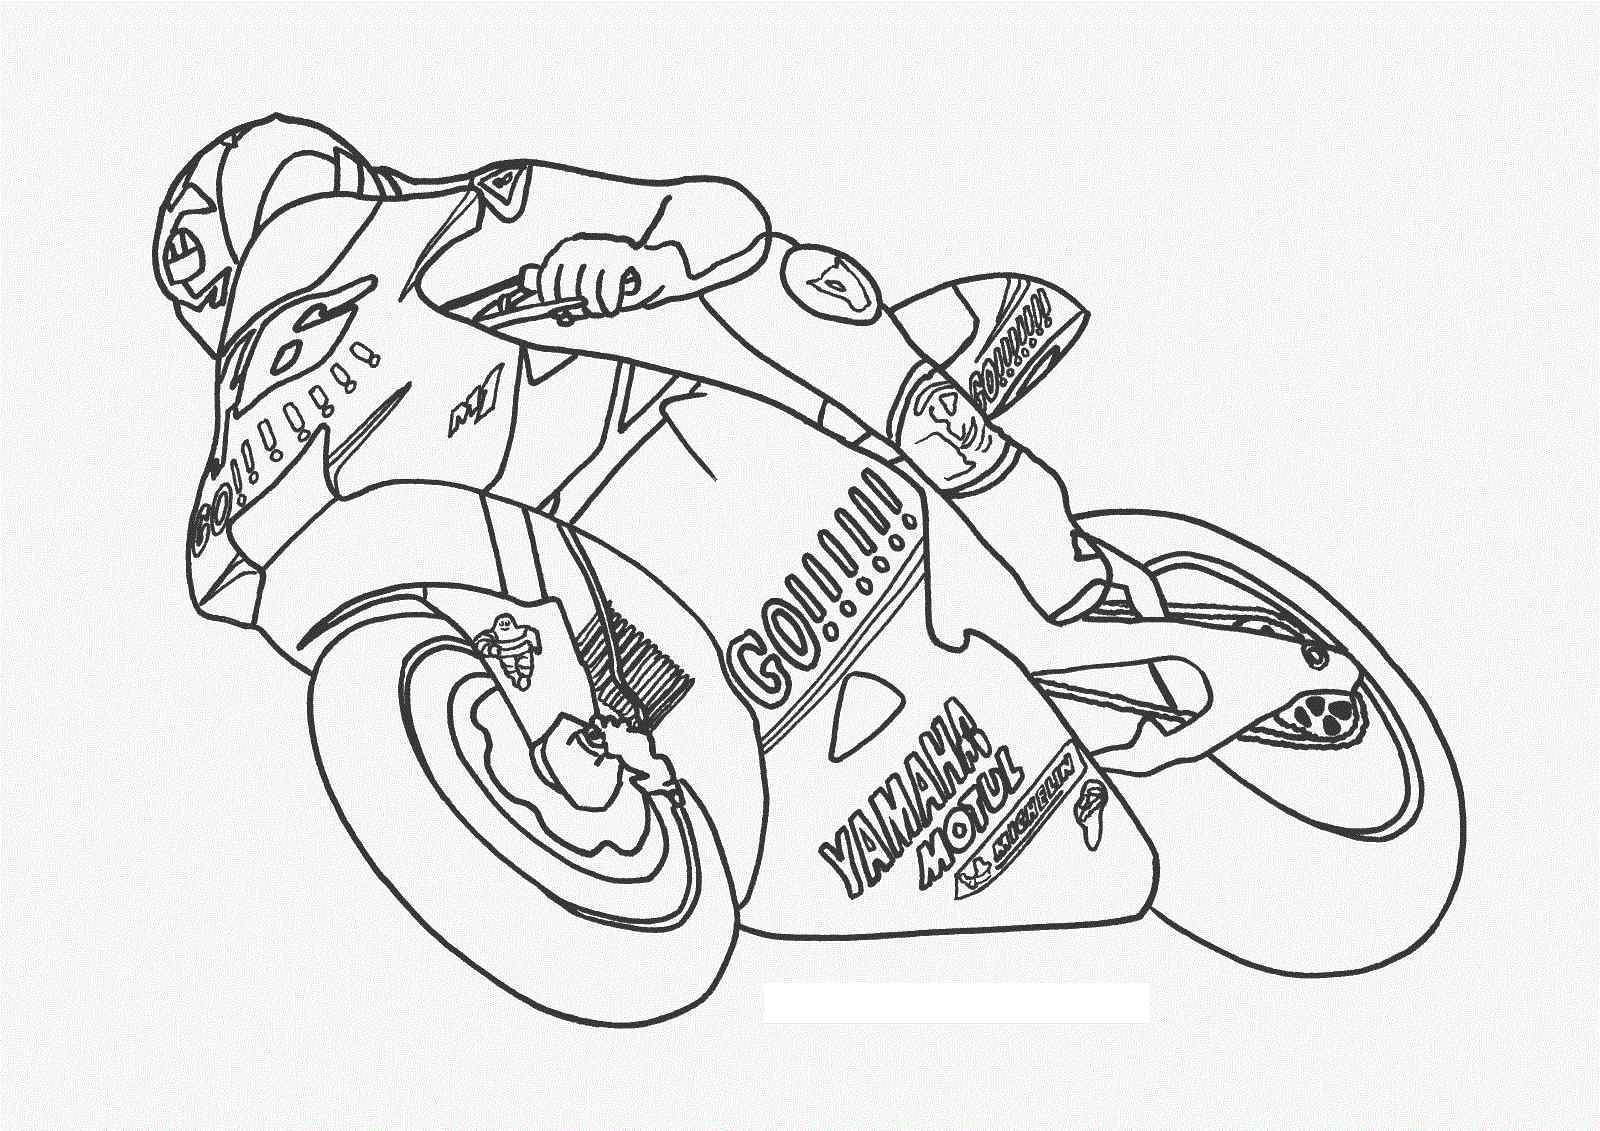
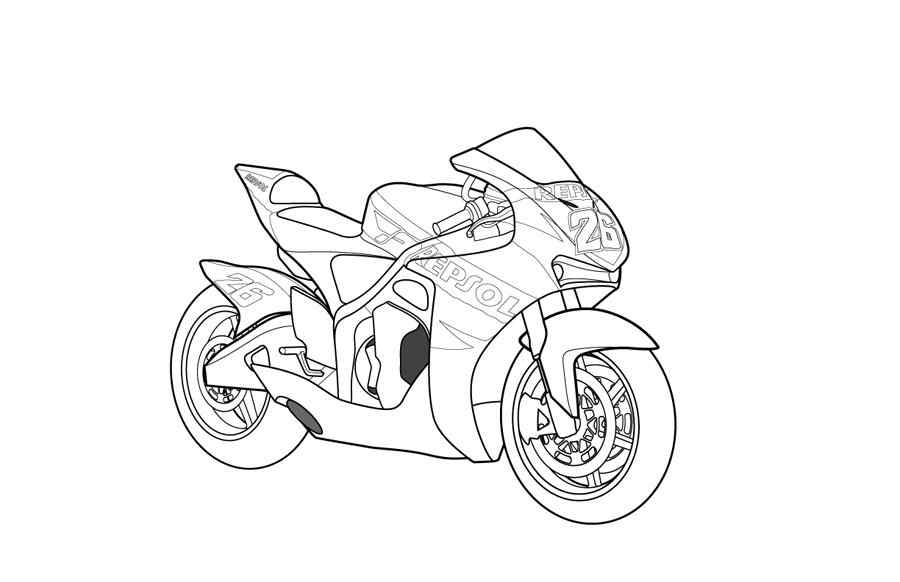
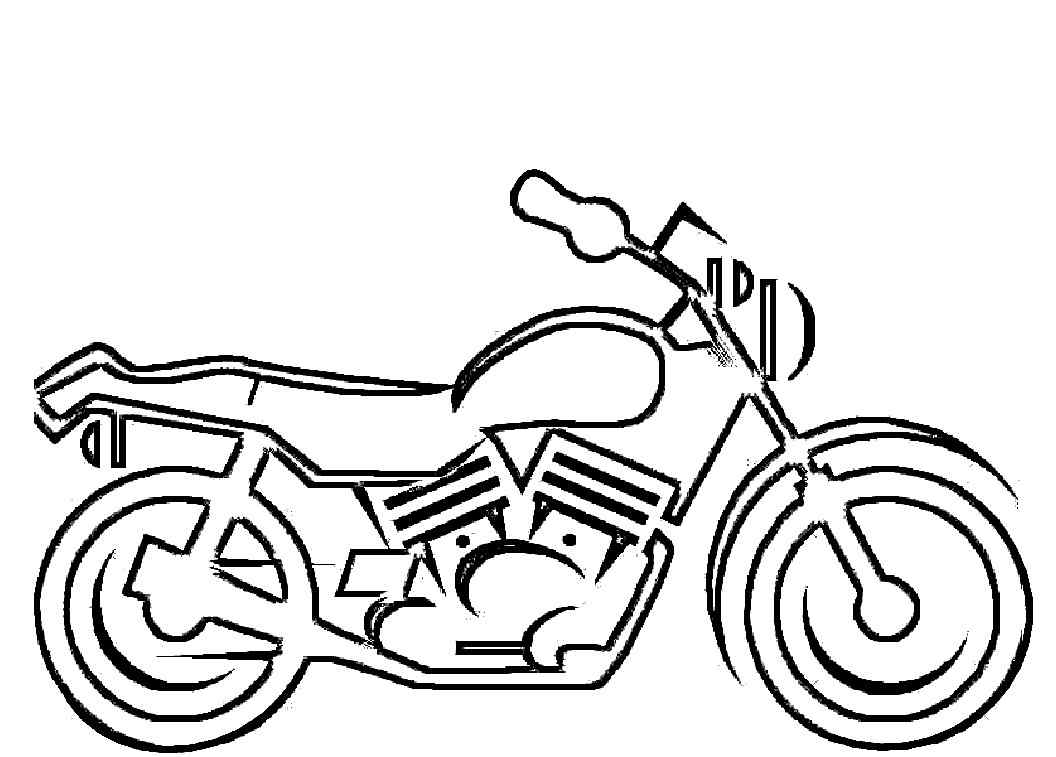
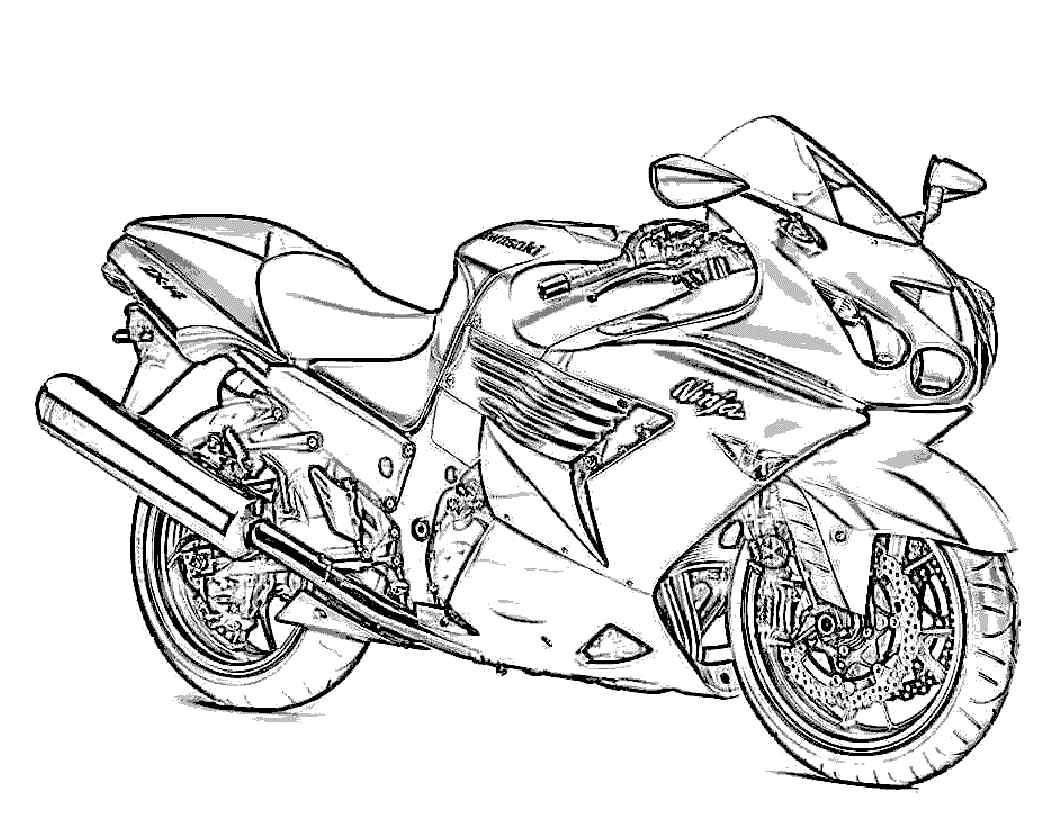
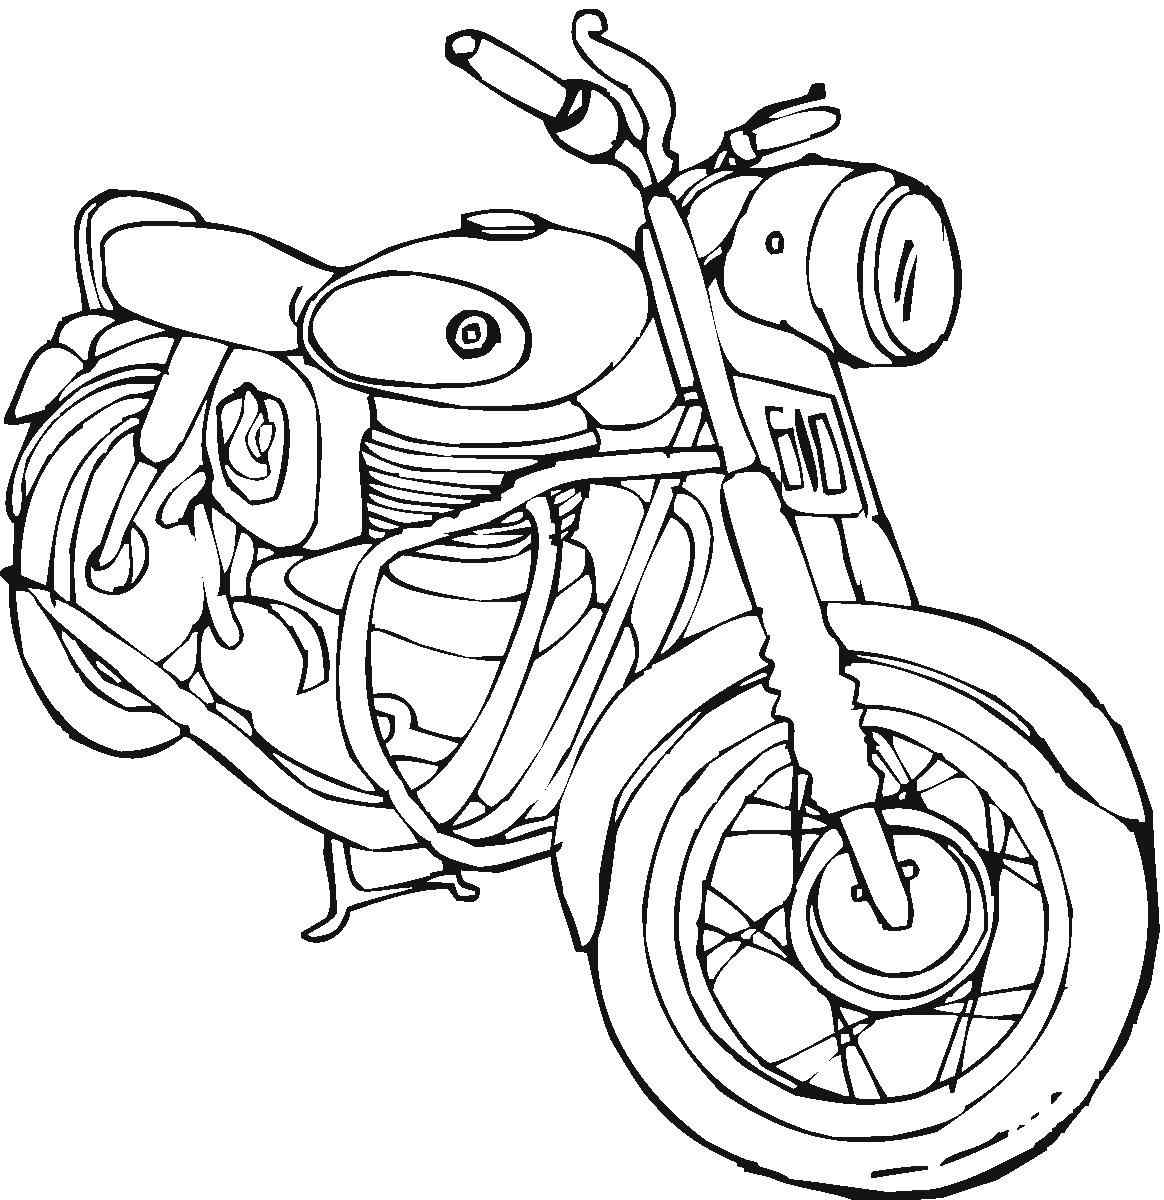
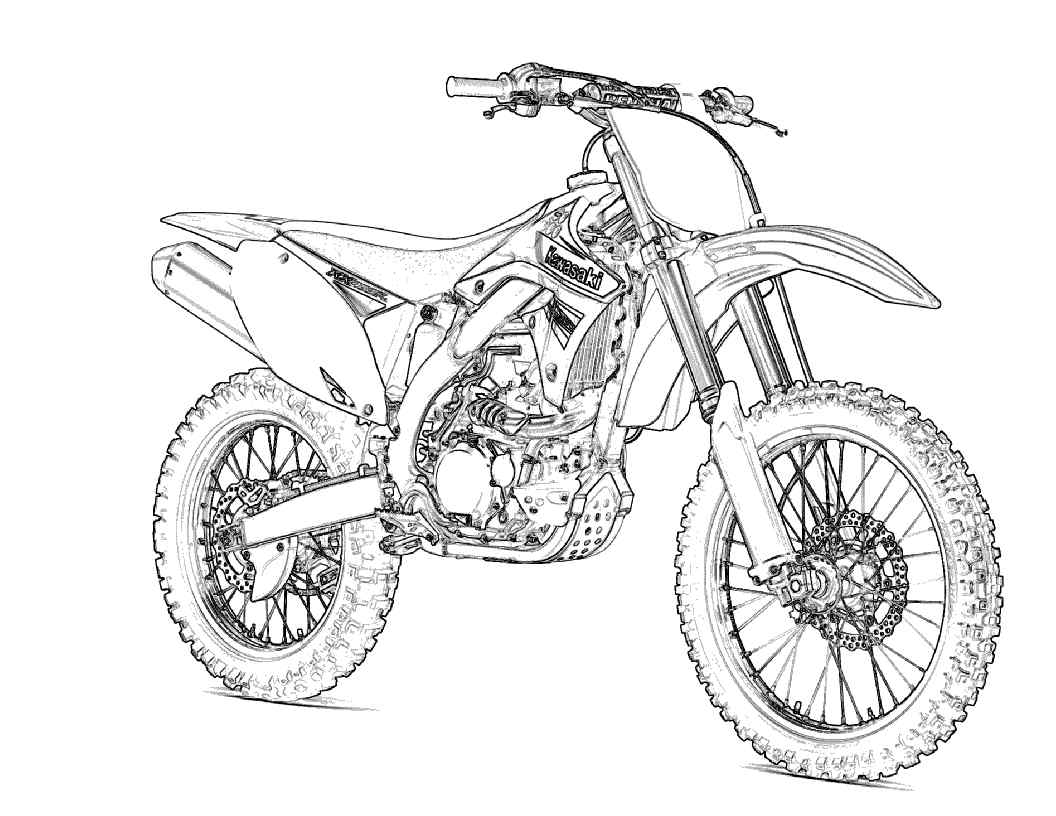
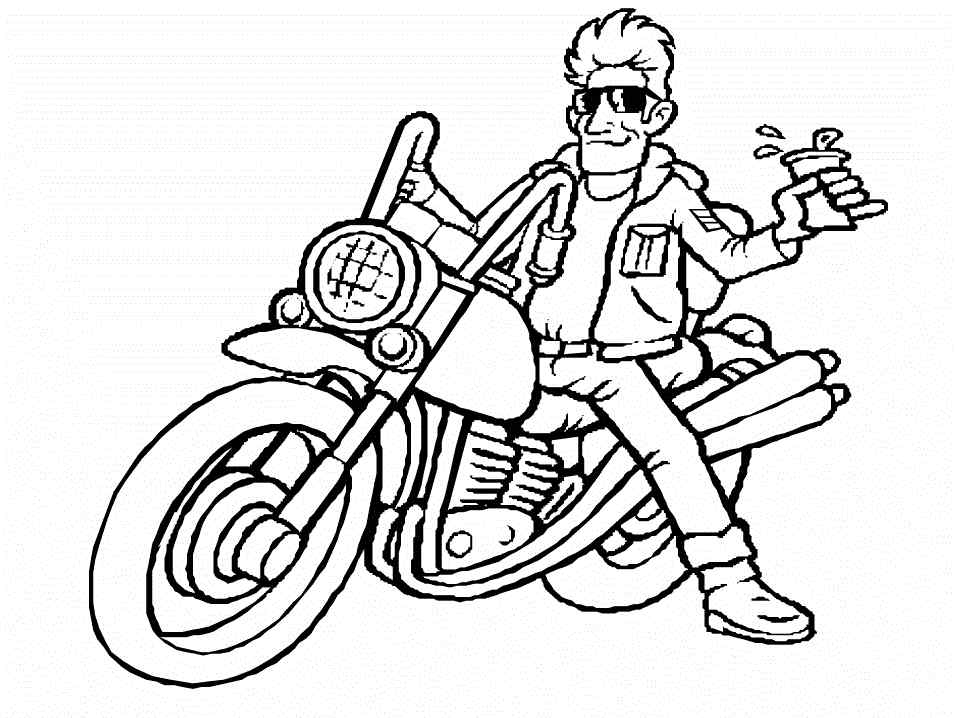
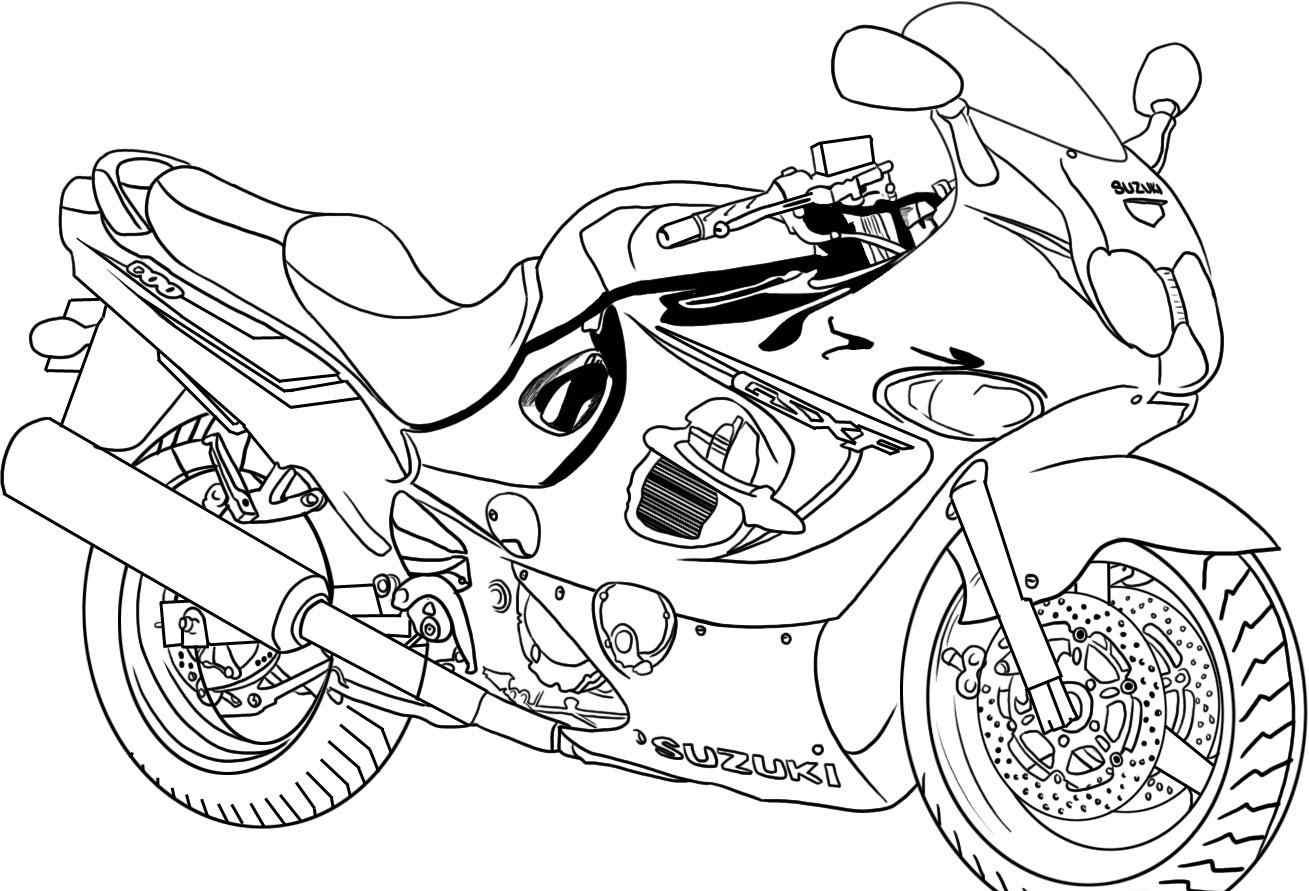
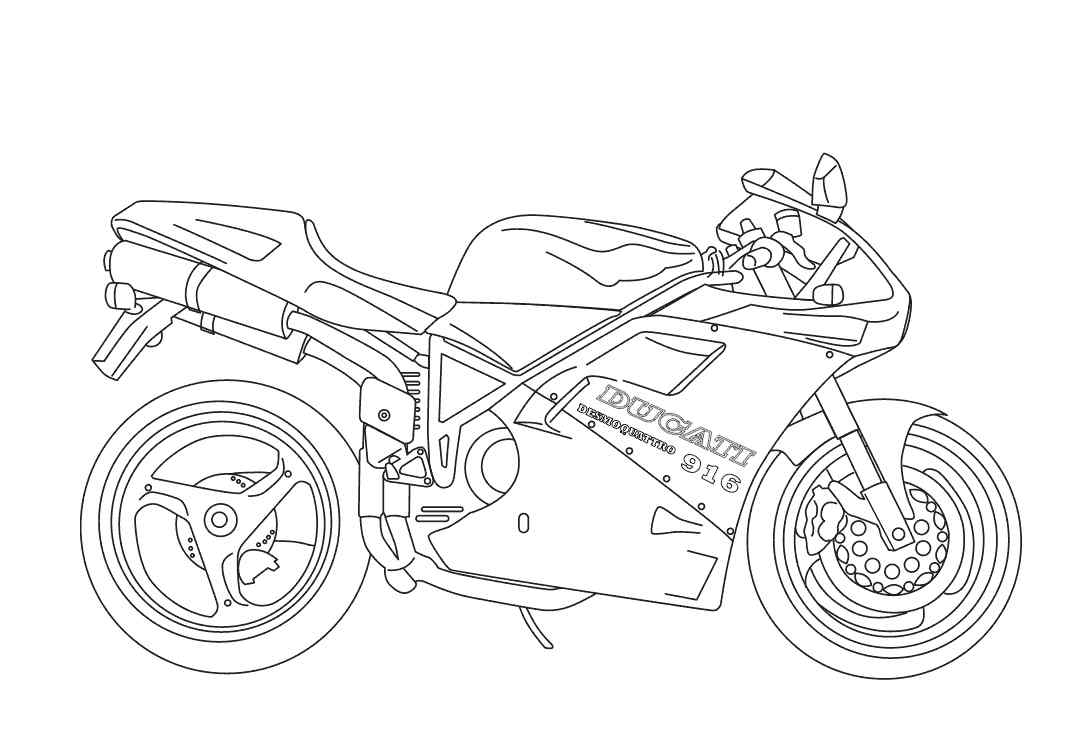
Here, you finish all tasks of the motorcycle. You can move to motorcycle coloring pages and enjoy images related to motorcycles. We update many images related to motorcycles. This simple guide shows you how to draw a motorcycle with us. We update many drawings and coloring pages for free on our site, and if you like our products, don’t forget to give us a thumbs up and recommend them to your friends! Have a great time!