Shamrock Drawing Is Made In 6 Easy Steps
Making A Nice Shamrock Drawing In The 7 Easy Steps
Learn to create a single Shamrock drawing step-by-step illustrated for kids and novices. Draw with a light hand at the initial stage and follow the instruction carefully. Shamrock is Ireland’s national flower, also called clover. In some parts of the world, shamrock represents good luck, so shamrock is loved by many people, today you have the opportunity to learn how to draw a shamrock with a great time. Through this, you get more information about shamrock drawing, which is very interesting.
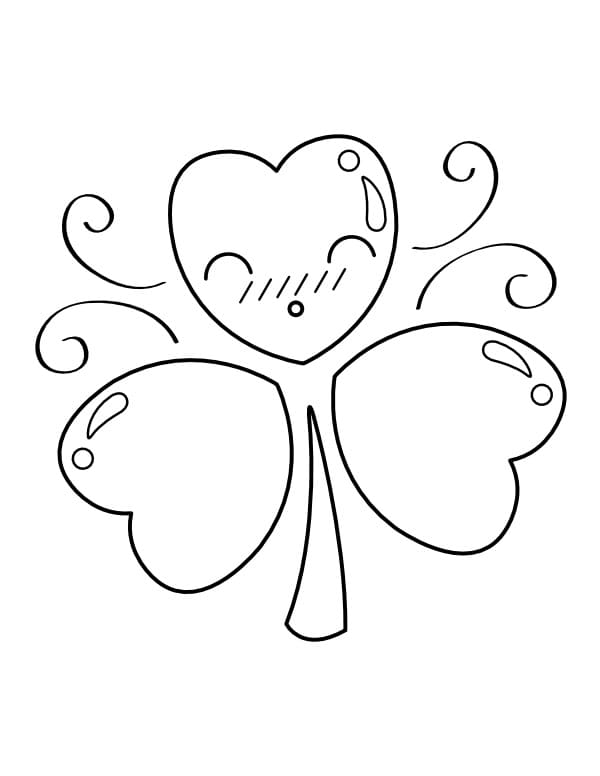
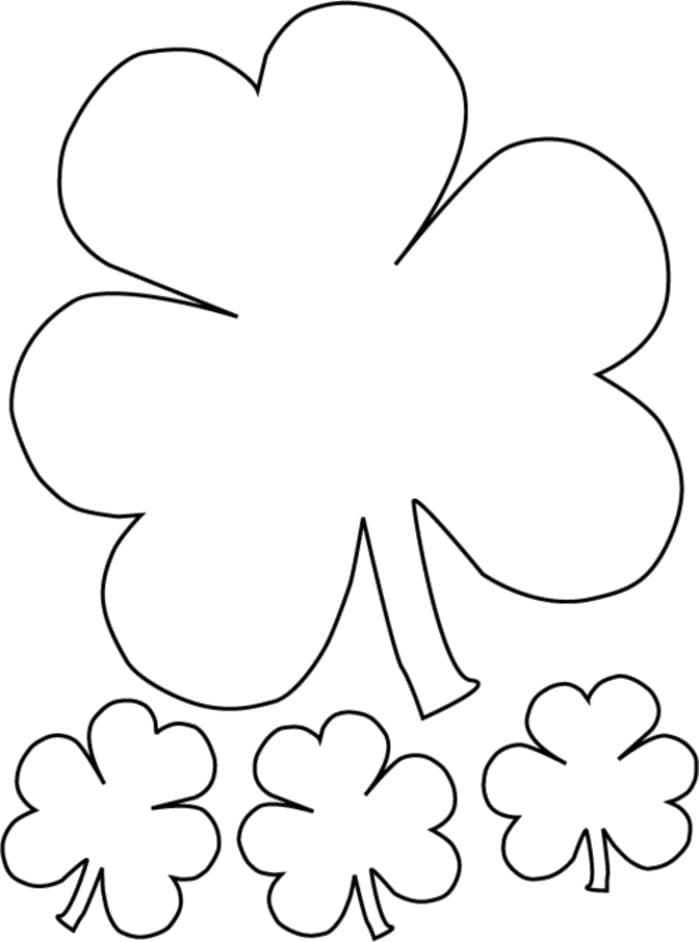
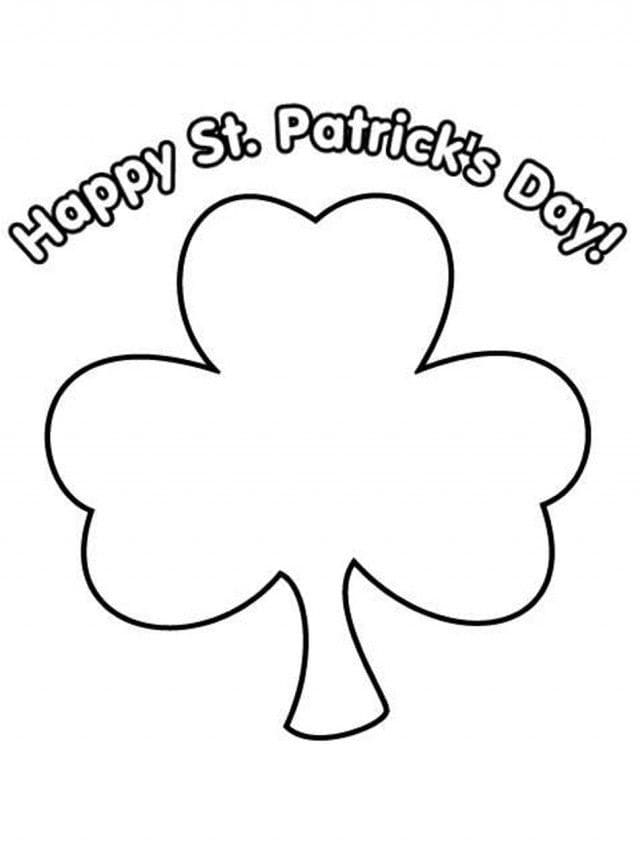
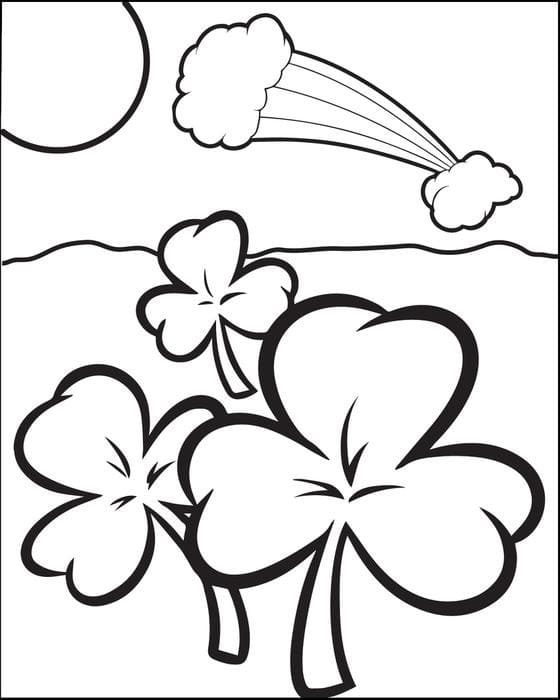
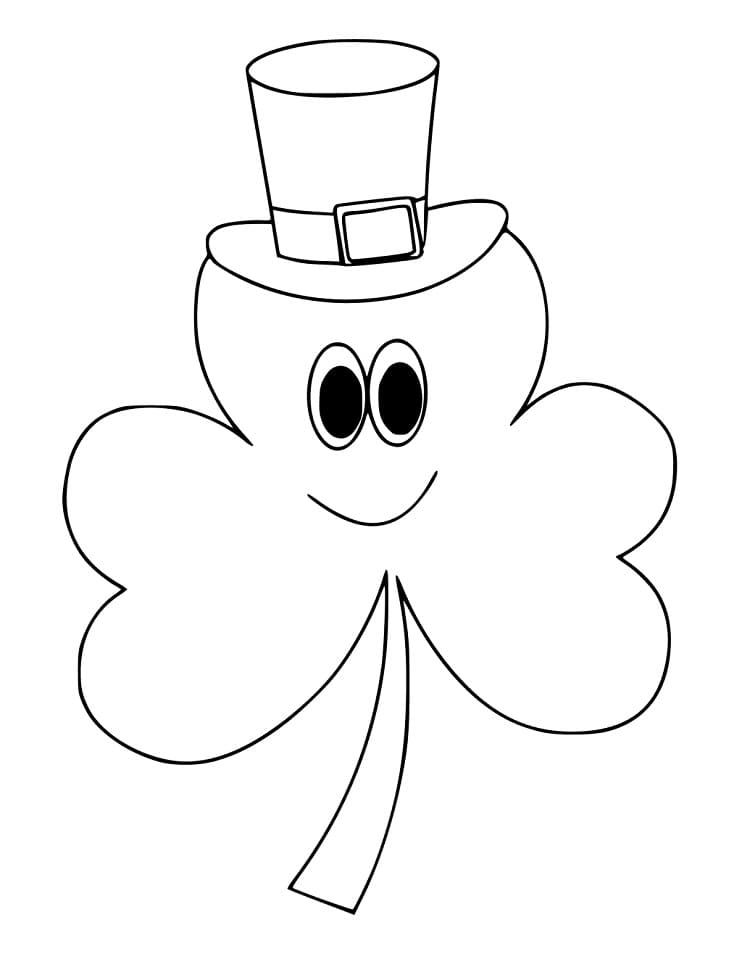
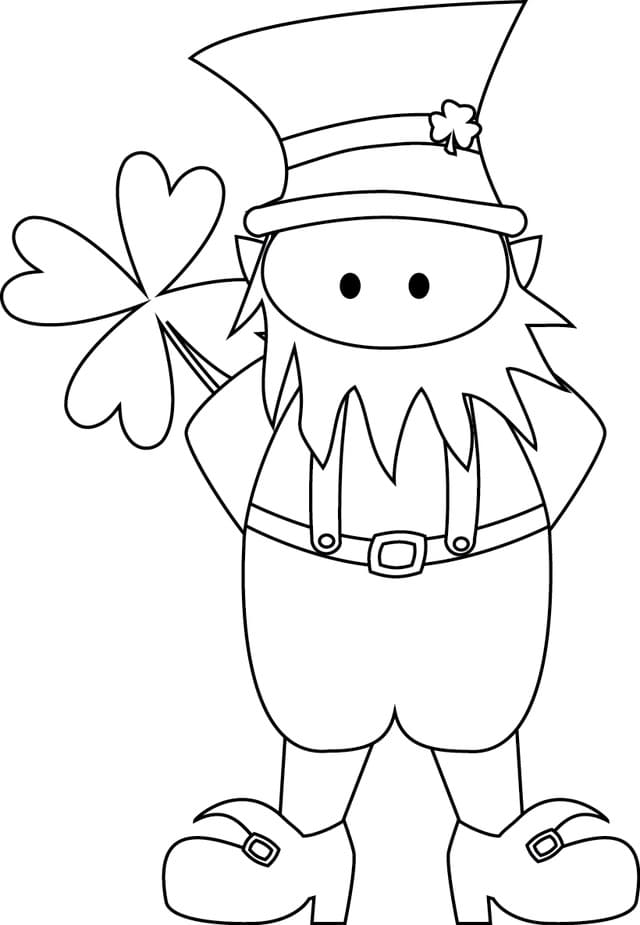
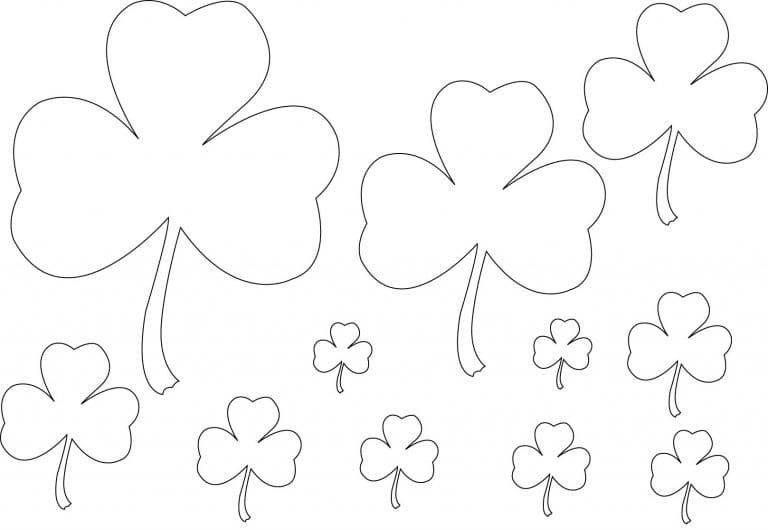
With our 6 easy steps, you will create a shamrock to get the fun. More, you can enjoy it in your free time after the hard-working hours, and it can help you to balance your life. You will know well how to draw a shamrock with our specific tutorial. Along with our guide, you also can enjoy shamrock coloring pages for free on our website to practice your drawing and coloring skill.
How To Draw A Shamrock – Let’s Get Started!

Our shamrock drawing tutorial, from easy to difficult, helps you understand the details of each step. You need to know the work at each step so your drawing will be easier. There are six missions equivalent to six steps that you must come over and create a complete shamrock. Before starting to draw, you must prepare some things such as paper, pencil, pen, colors,…then use the pencil to draw on paper, you can erase your mistakes easily, so, please don’t be afraid to draw, you can draw in your comfortable mood. Whether you are a beginner or you are an expert in the field of learning to draw, you will make the task easy with our tutorials. First, you will sketch with pencil lines. Then, if you make a mistake, you can erase and redraw will bold the correct lines. finally, you will color your shamrock drawing.
This is not a simple task, but it is not too difficult, so you must concentrate on the course of your drawing to realize your task until your shamrock is complete. You will go step by step to finish off your task, and now we are going to go through 6 specific steps on how to draw a shamrock.
Step 1 – Draw The First Leaf

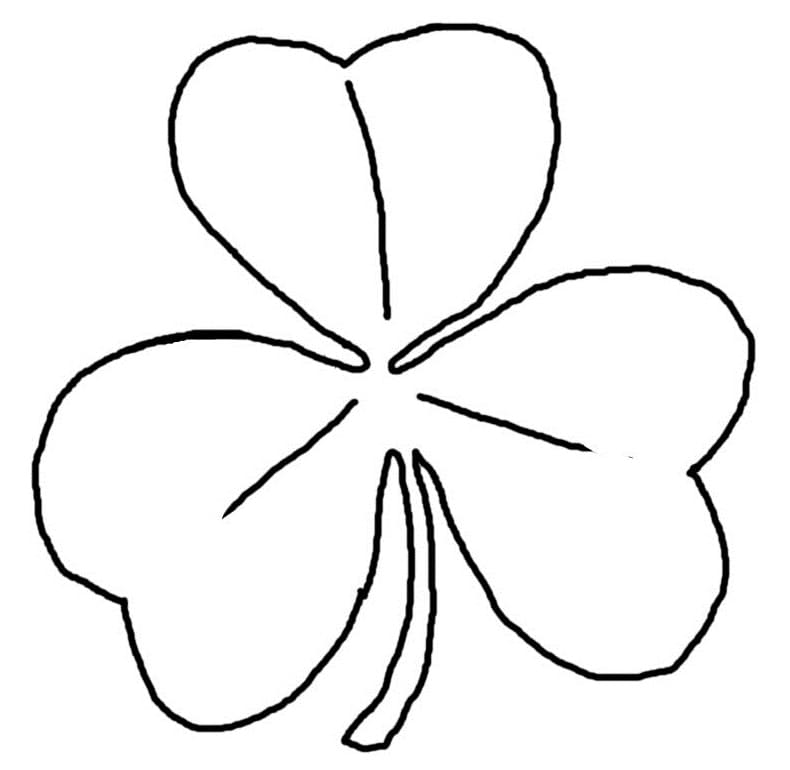
We will create the complete clover, and your task in this game is to make the first leaf. You draw an incomplete heart here to make the first leaf for your shamrock drawing.
You use two curved lines and meet a point, as you see in our reference image.
This task is not too difficult as it only takes you a few minutes to complete, but this is the first step, so you have to draw it correctly to make the later parts look better.
Step 2 – Draw The Second Leaf

Similar to step 1, in this second step on how to draw a shamrock, you will draw the second leaf for your shamrock drawing.
You also draw two curved lines for your shamrock; this is a second heart for you.
Concentrate and observe our illustration and follow along. You will not find it too difficult to do this task
Step 3 – Draw The Third Leaf

Similar to steps one and step 2, you must add a leaf to your shamrock, and right now, you will get a structure as three hearts are joined together.
Since you have already drawn the heart in the first and second steps, you will not have any difficulty in this step, so please stay calm and work through every detail to make your shamrock drawing more complete on the next step.
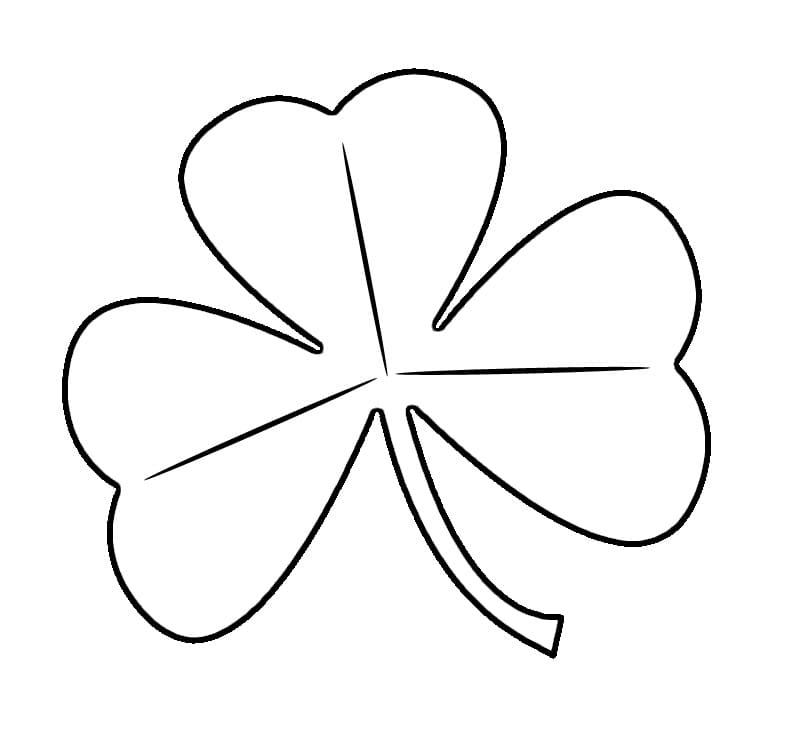
Step 4 – Draw Shamrock Stem

In the above three steps, you have completely drawn three leaves like three hearts for your shamrock drawing; in this fourth step, you will draw the stem for the shamrock
You draw two parallel curved lines and meet with a straight line as in our illustration.
It’s so simple; you don’t need to spend too much time on the task in this step; if you find it difficult, please look at our reference picture and follow it.
So, your shamrock is complete with three full leaves, and you are ready to go to the fifth step of your shamrock. Your task for this guide on drawing a shamrock is to decorate your shamrock with some decoration details.
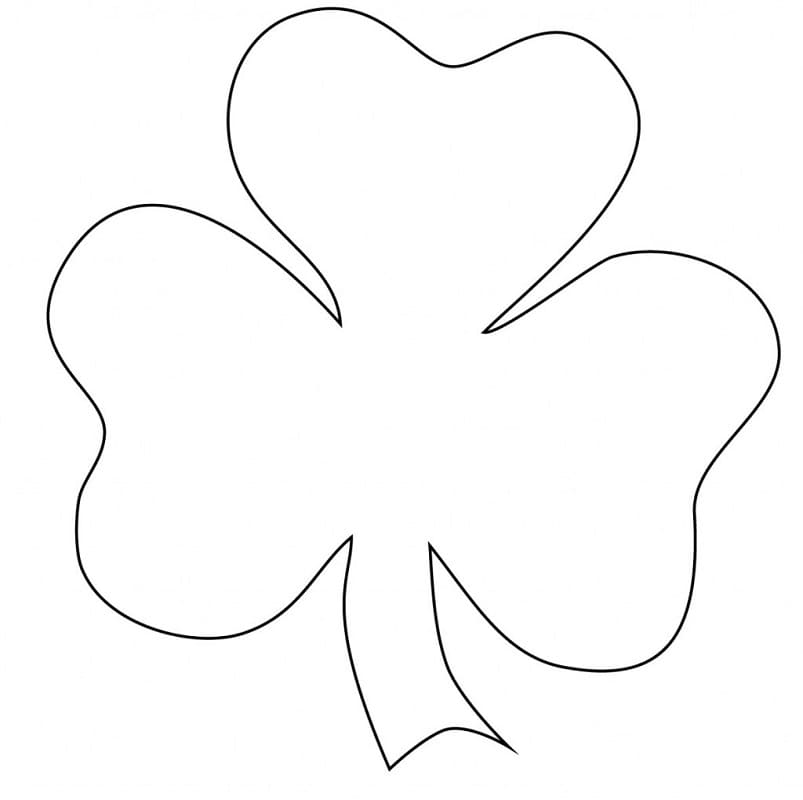
Step 5 – Finish Off Your Drawing Mission

You have to add decoration to your drawing. You will use a pencil to darken the previous lines to create a fuller and more realistic shamrock.
Repaint all the drawn pencil lines one more time, and you will have a fuller and more complete shamrock, as you see in our reference image.
Before going to the final step of coloring for your shamrock drawing, look again. If any line feels wrong, you will draw it again.
Step 6 – Color Your Drawing Mission

You will choose suitable colors for your shamrock drawing. At this step, you are free to choose the color that you feel is the most suitable, but it is better to choose green for your shamrock, but you can change the color mixing to make the color more beautiful.
We also take green for our image, and you can choose green, blue, or mix them and create a nice color for your product.
Your Shamrock drawing Is Complete
So, you finish off your drawing and coloring to create a shamrock. With our six simple steps, you have a complete shamrock. How do you like this drawing tutorial? Drawing shamrock we also have many other drawing tutorials for you, such as How To Draw A Tree. This is an interesting task, and everyone can enjoy this drawing activity. You can go to how to draw on our website Coloringcool.com each day and enjoy the drawing guide and coloring pages for free. If you like our product, you can recommend our site for your friends and kids to enjoy together. Drawing and coloring activities will help your kids create a perfect entertainment channel. More, they can avoid using technical devices such as television, smartphones, and tablets, as they are not good for their eyes and evolution. I hope you find these tutorials helpful. Please enjoy and happy shamrock drawing!