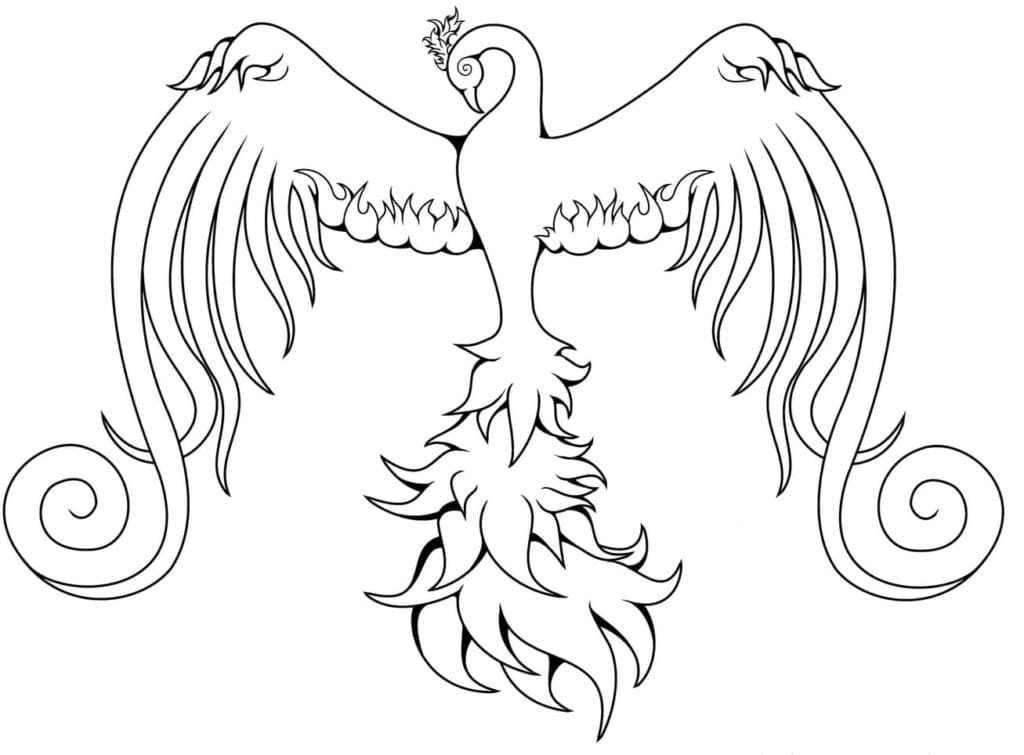
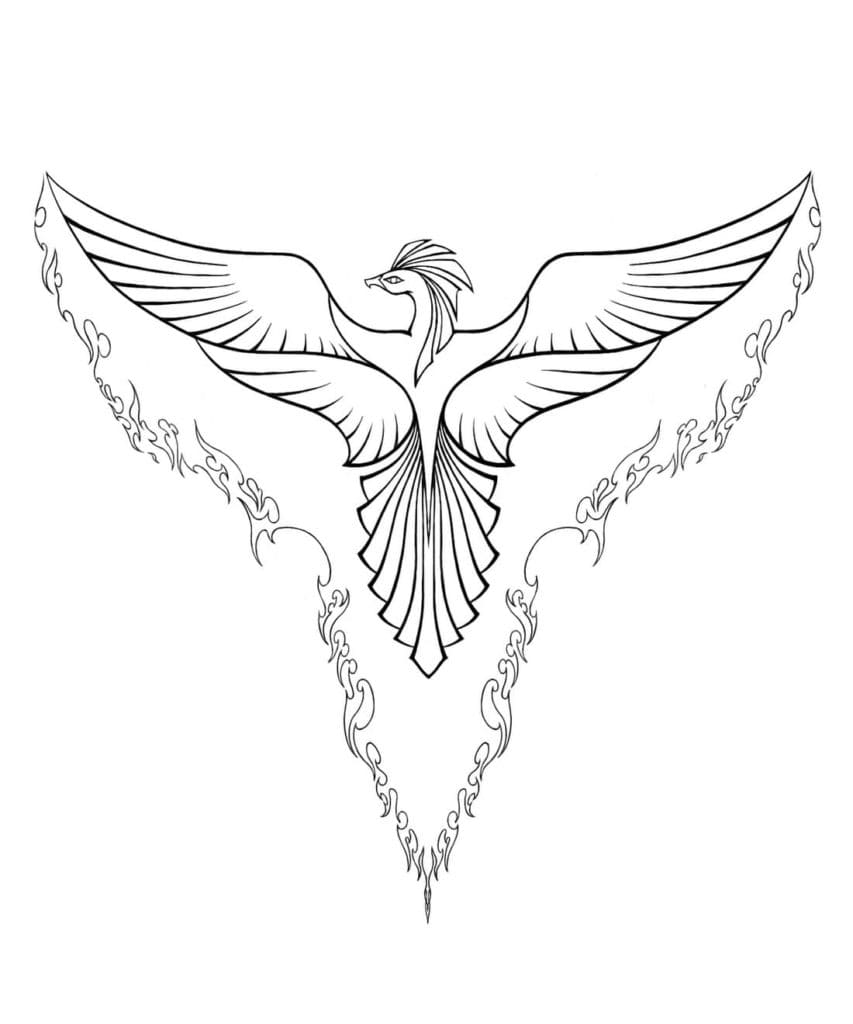
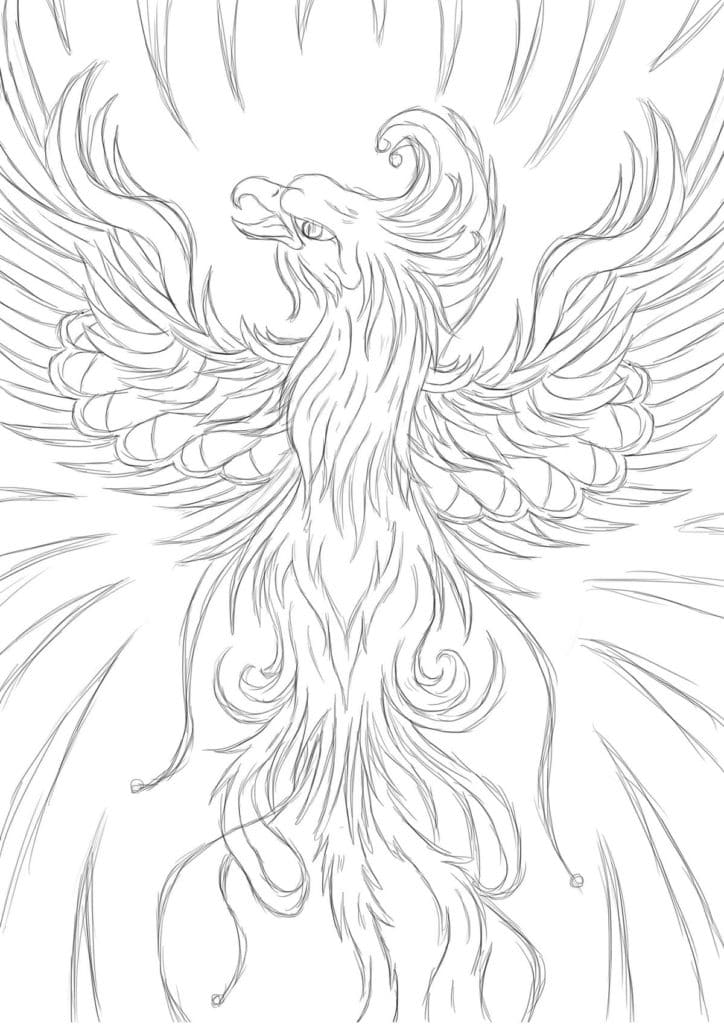
7 Easy Steps To Create A Phoenix Drawing – How To Draw A Phoenix
Creating a nice phoenix drawing in just 6 easy steps
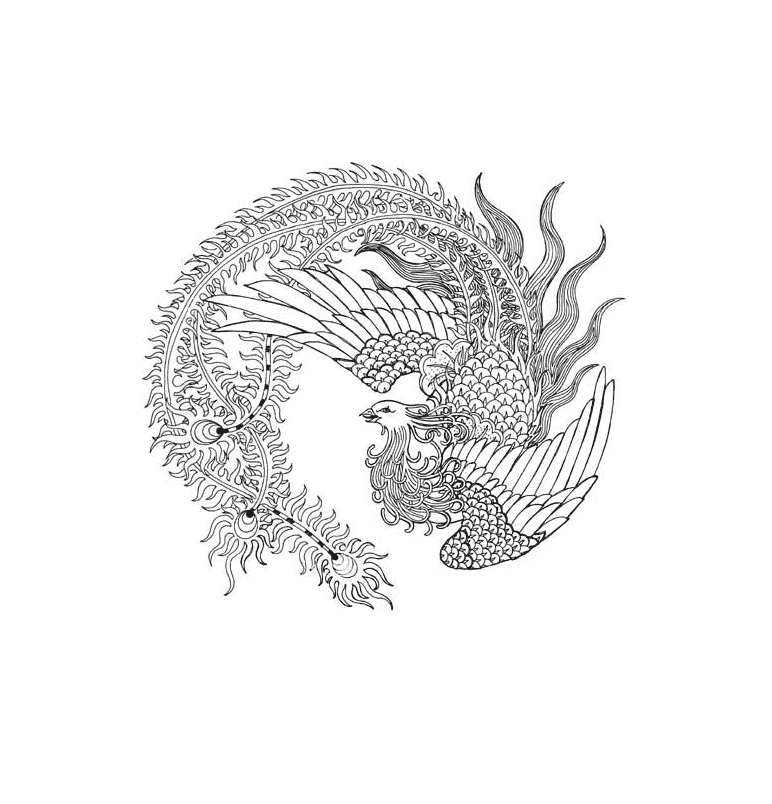
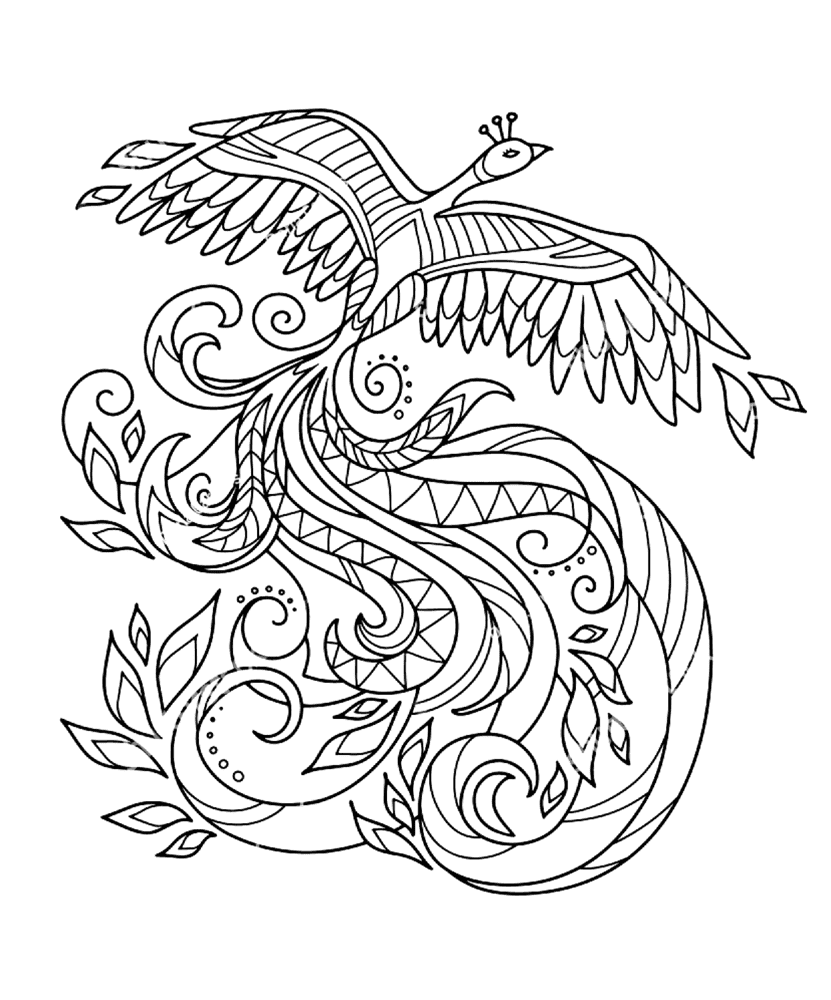
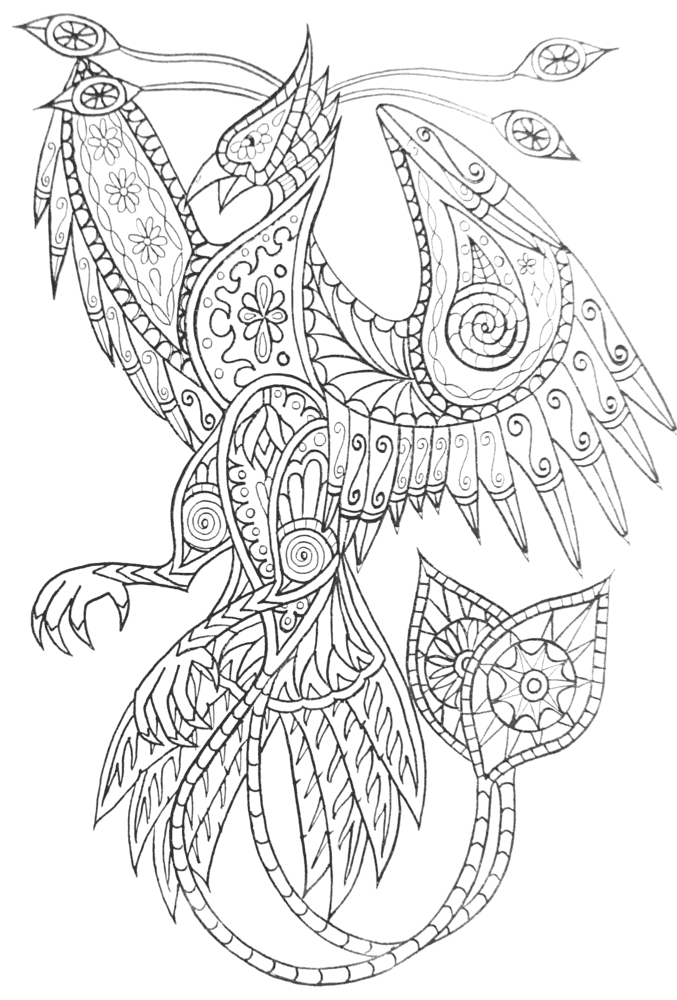
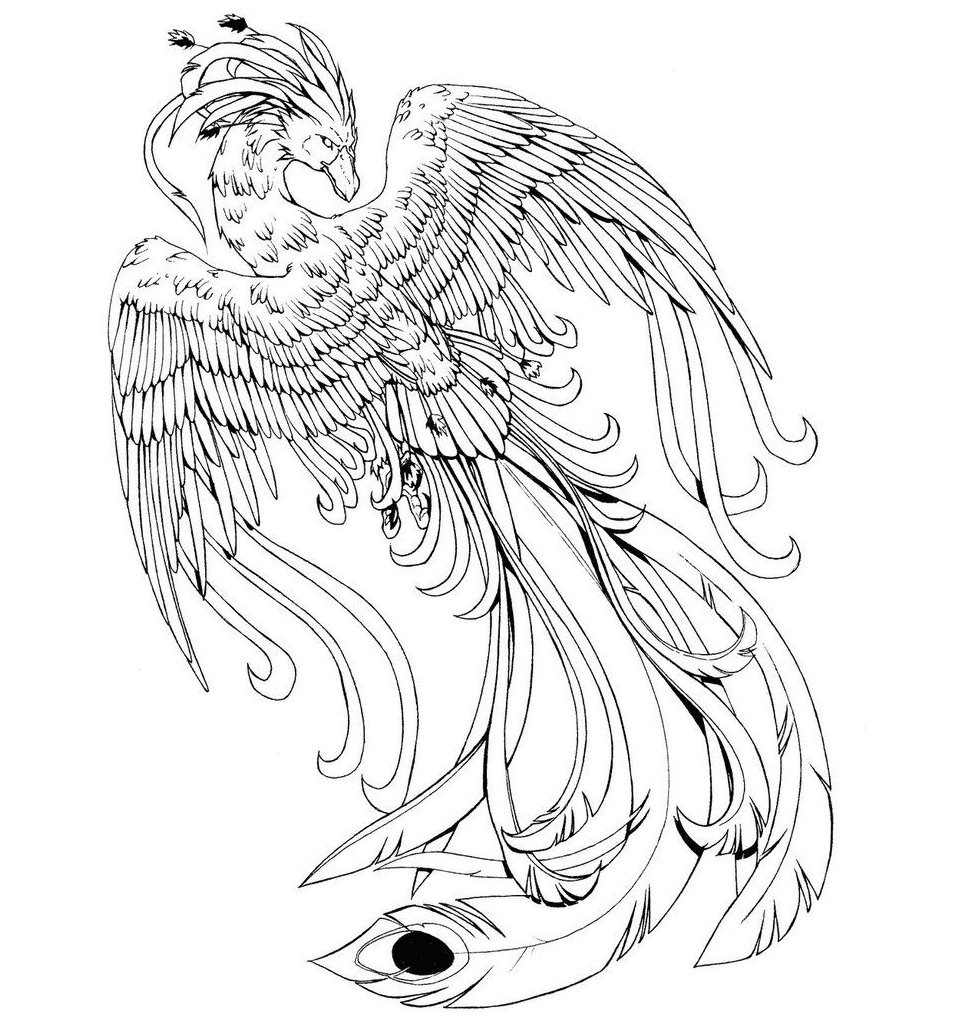
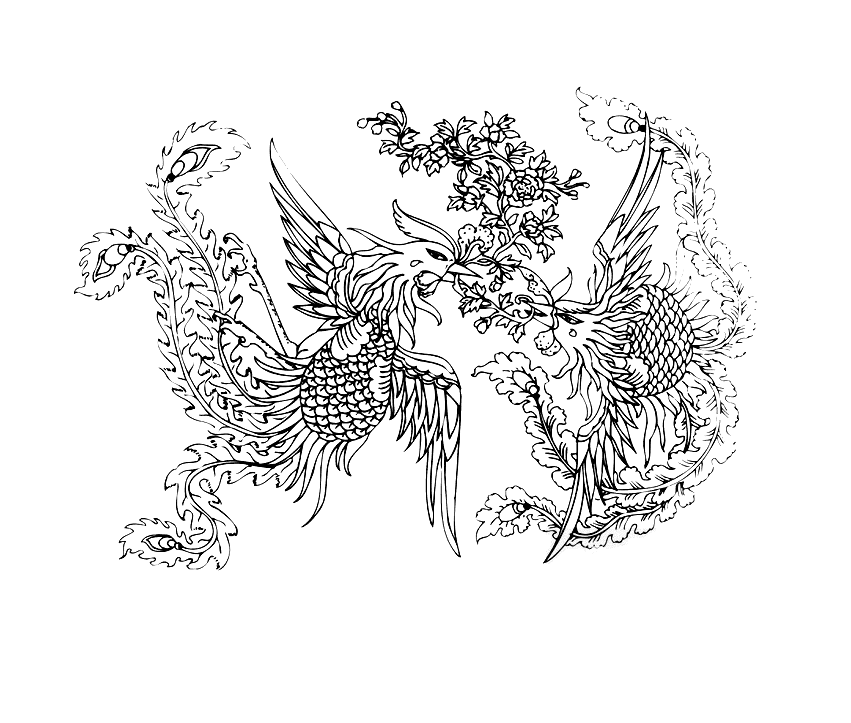
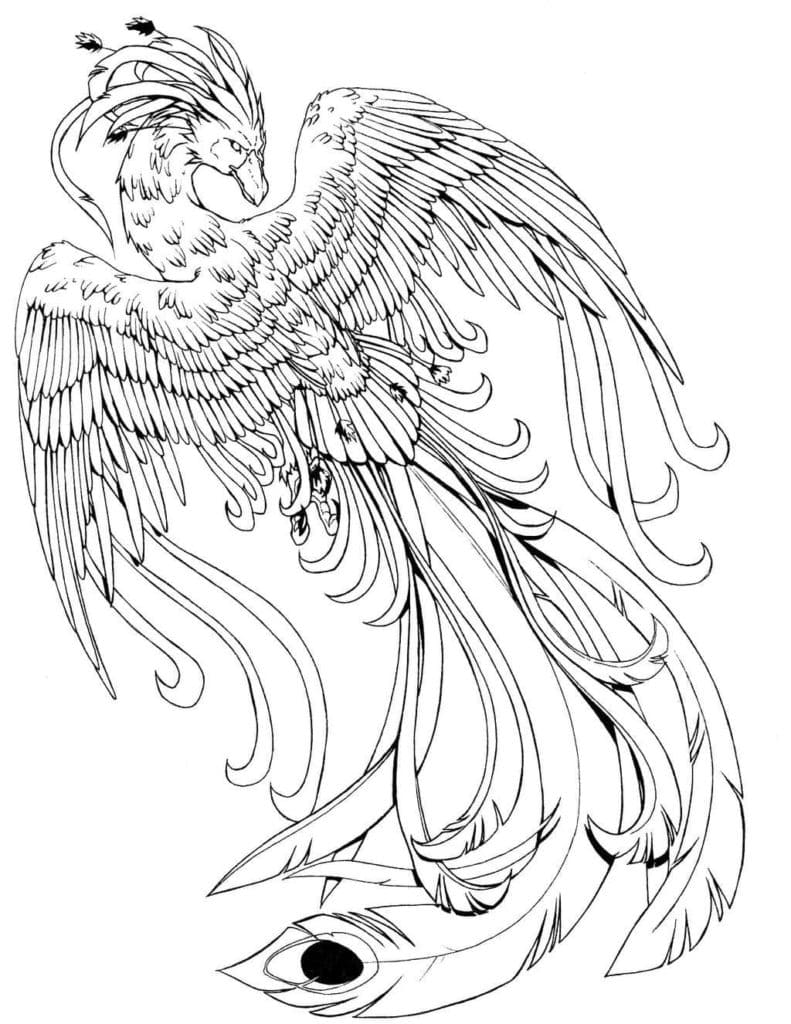
In today’s drawing tutorial, you will learn how to make a phoenix drawing. As you know, it is a mythological bird that has the ability to burn itself and then be reborn. Known in the mythologies of different cultures. We will give the instructions seven-step, and you will go to step by step. Because our guides are simple and suitable for everyone. Whether a beginner or an expert in drawing, you can finish this task easily. Since it is a mythical creature, it does not have an exact form. So all works about the phoenix are very vague and often formed by the imagination of the artists. And now, you can become a real artist by learning to draw phoenixes. This tutorial only takes about 25 to 30 minutes and has the illustration in the lesson you can easily print or download. You can learn to draw in your free time with your kids. Through this lesson, you and your child will have the opportunity to learn more about this creature and get to know each other better. With this learning, you can know more about phoenixes with phoenix coloring pages. We update the hundred of images related to phoenix and you can enjoy them for free.
How To Draw A Phoenix – Let’s Get Started!

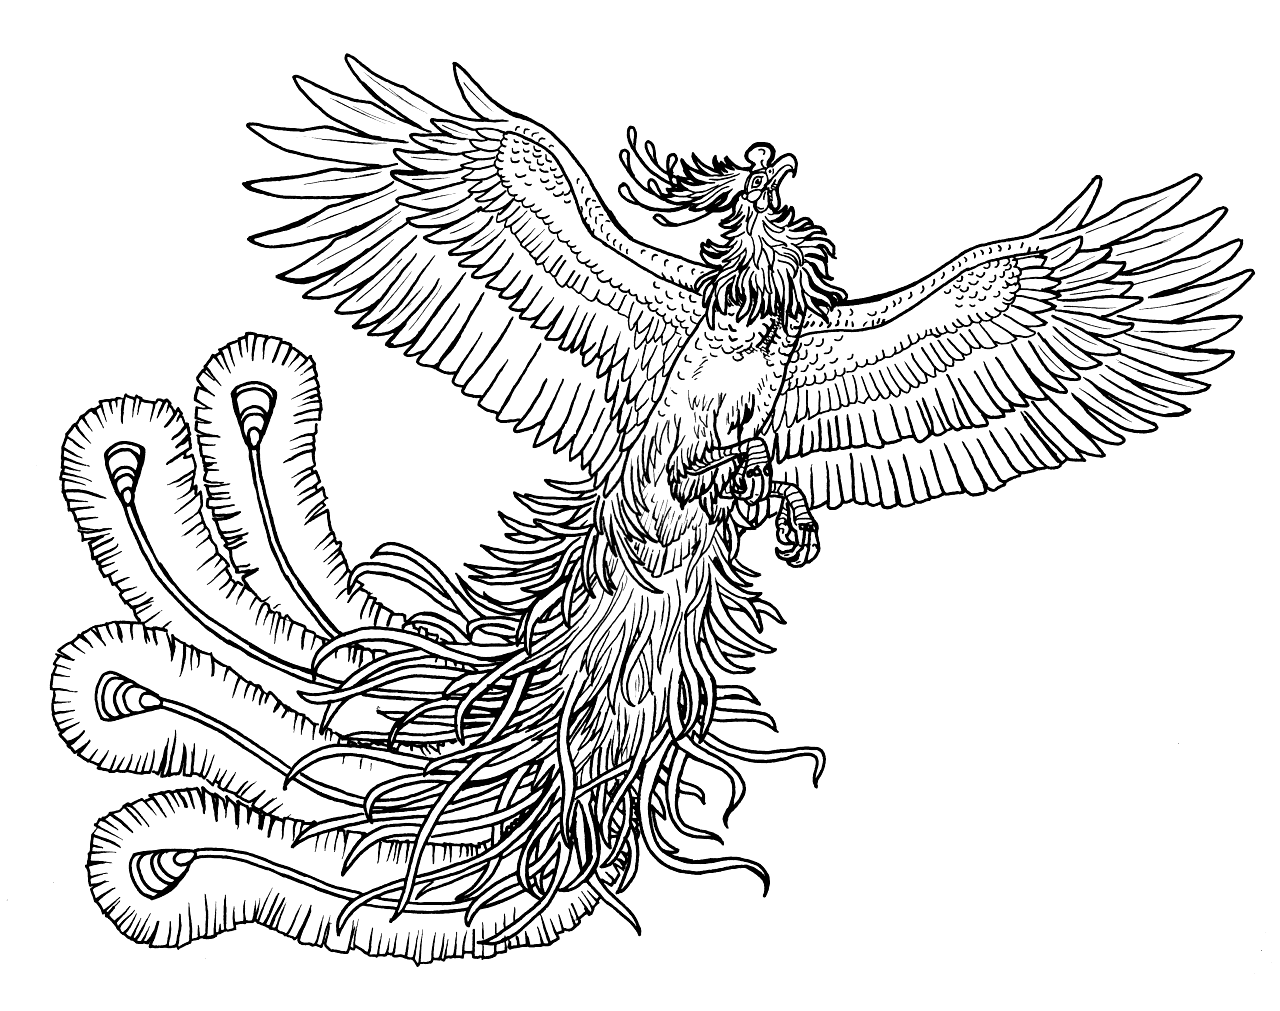
As you know, the phoenix is one of the most magnificent of all the mythological creatures. These majestic, legendary birds are said to rise, flaming out of the ashes. You get an opportunity to know about this creature with this learning. You will draw a phoenix with your talent and drawing skill. When drawing everything, you must prepare some things such as a pencil, pen, colors,…before drawing. You will proceed to draw a phoenix using a pencil and draw the faint lines first, so if you make a mistake, you can easily erase it; then you will use a pencil to draw darker lines and finally, choose a color to make your work more amazing. This work is very interesting and helps you to relax after the hard-working hours. Proper entertainment will make your life better. You will have a comfortable time to rest your mind so you come back to work more efficiently. Now, let’s get started drawing a phoenix with us.
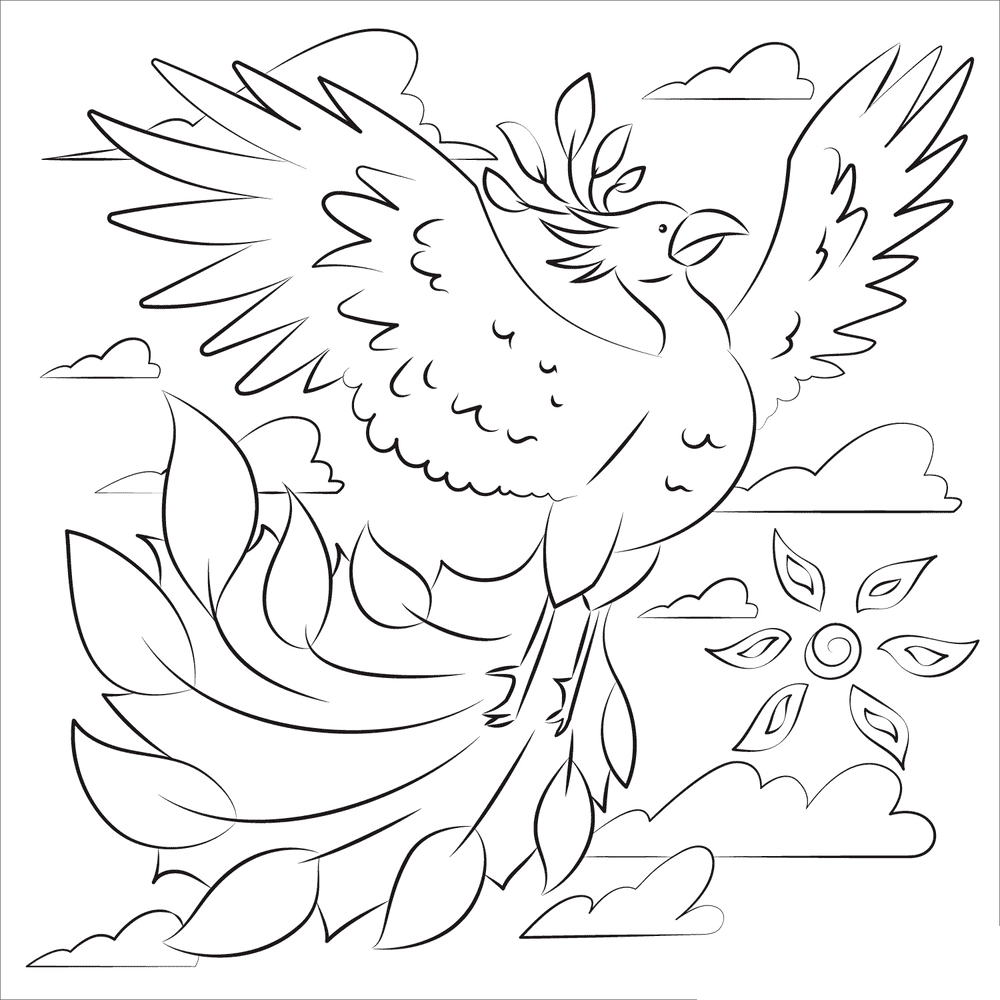
Step 1 – Draw The Phoenix’s Head

To start drawing a phoenix in our guide, you draw a head for it. You start with the phoenix’s beak, draw the eyes, then use the pen to draw two almost parallel lines to complete the head and begin forming the phoenix’s long neck. So, you finish the task in step 1 and next to the second step now.
Step 2 – Draw The Phoenix’s Wings Outline

Very easy for you in this step. As seen in our illustration, you use two long curved lines for the Phoenix’s wings outline. What are the tasks you must finish in this step before moving to the third step and continuing your drawing?
Step 3 – Start Drawing The Phoenix’s Wings

In this step, you will continue the work of the previous step. You start drawing wings for your phoenix. You will use zig-zag curves to draw wings and details of phoenix wings. There is a complexity here that requires your dexterity, and you will use a pencil to sketch the first strokes and then erase the unnecessary lines until you finish work in this step.
Step 4 – Draw The Tail And Legs For Phoenix

One of the most recognizable features of the phoenix is its long, flowing tail. Your task in this step is to realize work at the tail. Once you create a tail for the phoenix, you draw legs for the phoenix. From the wings, you draw some lines to make two legs and continue your drawing in the fifth.
Step 5 – Add More Detail For Phoenix’s Wings

If in the previous steps you drew the first details for Pheonix’s wings, in this part, you will add more details to the wings. You use curved lines to add more decorations for wings. So your Pheonix is almost complete with all body parts such as head, wings, and tail legs. Before you move on, you can also add any extra details that you would like.
Step 6 – Finish Your Drawing Mission

You must finish your drawing mission in this step. You will decorate your character, phoenix. You will make more wing feathers and longer tails, making your phoenix look more amazing. Your drawing work is finished here, and you have the last step for coloring the phoenix.
Step 7 – Color Phoenix

You will finish your complete phoenix with a suitable color. It depends on your hobby about colors that you choose a color for your product, phoenix. As we usually see phoenix has a yellow color, and so in this section, we also choose bronze gold color to color the phoenix.
Your Phoenix Drawing Is Complete!
So, you finish off your work on your phoenix with drawing and coloring. We have updated many instructions for drawing that you can come here to enjoy for free. You can recommend your friends or your kids, and they also like it. Once you finish your drawing, you can move the phoenix coloring pages to refer to images related to the phoenix. You know how to draw a phoenix with our simple guide, and I hope you like this tutorial. You can come here every day and enjoy them. Have a great time!